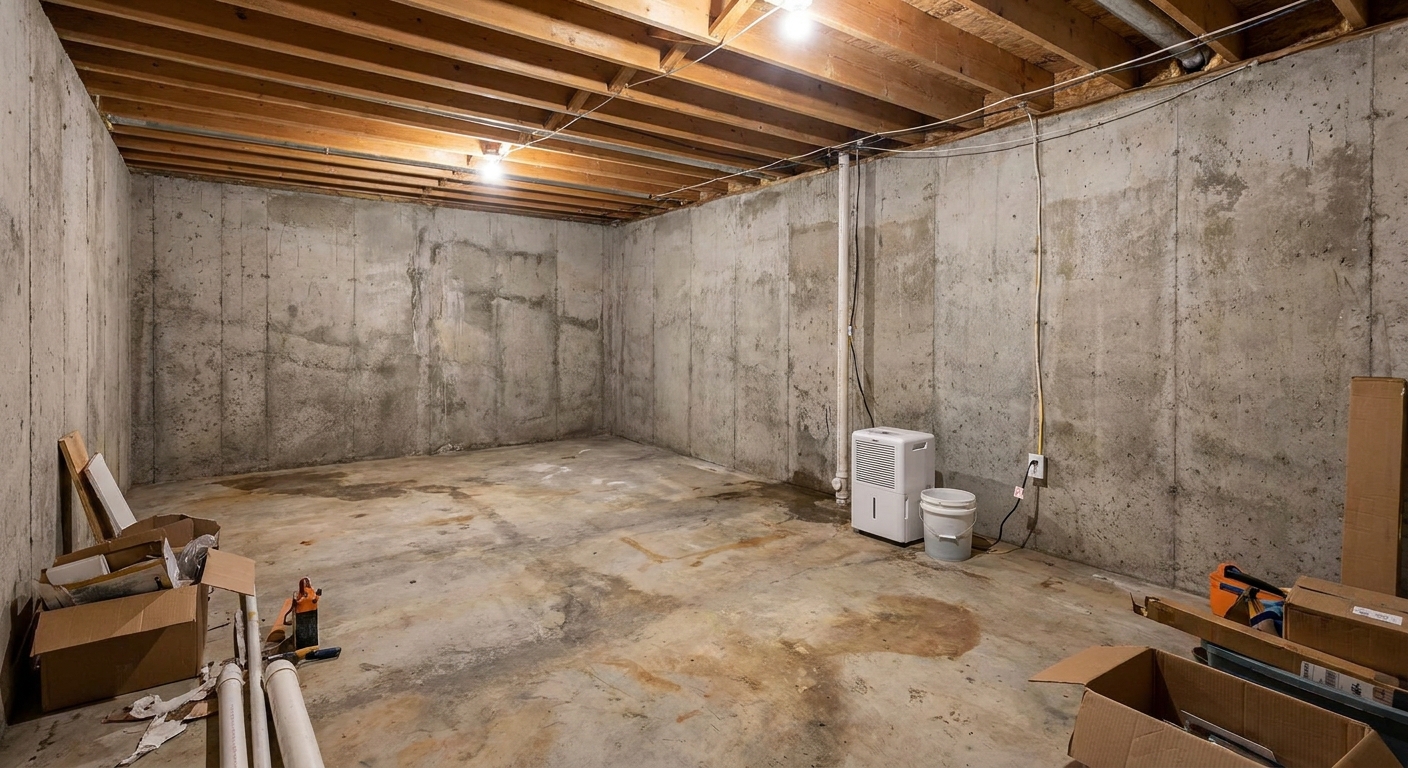
The first basement I ever tried to finish had that classic “old concrete” smell. I figured I’d slap on some waterproof paint and move on. It looked great for about a month, then the damp spots came back, the paint started bubbling, and I learned a lesson the hard way: masonry sealants only work when the wall is properly prepped and the moisture problem is truly minor.
This guide is for that exact scenario: interior concrete or cinder block walls with light dampness, occasional weeping, or humid wall surfaces, not active flooding. If you’re trying to create a dry, finish-ready basement, this is one of the simplest upgrades you can do, as long as you do it in the right order.
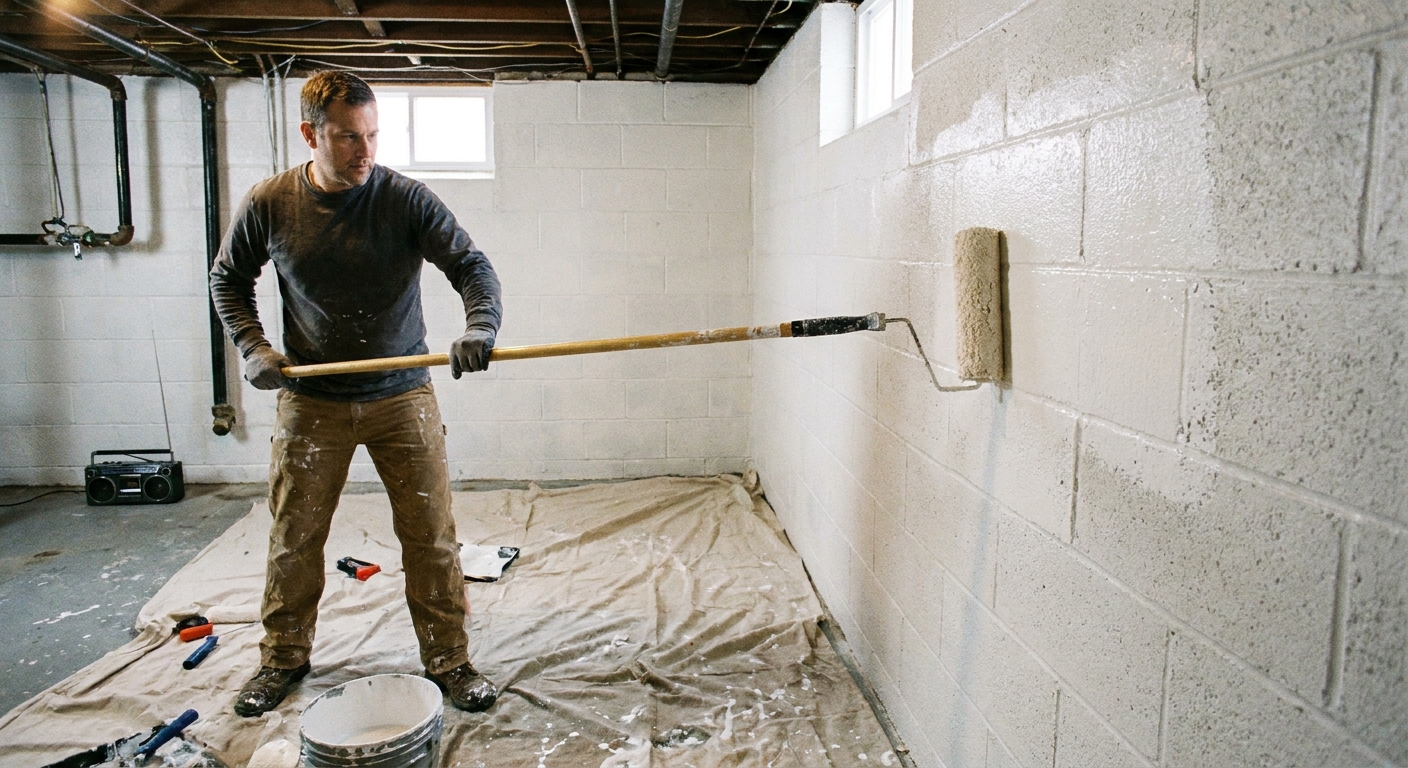
What masonry sealants can and cannot do
Most interior “waterproofing” products for masonry are either thick acrylic coatings (often called waterproofing paint) or cementitious coatings (more like a slurry). Both are designed to reduce minor moisture migration through porous masonry. Depending on the product, some are more vapor-permeable than people expect, so think “help block dampness and seepage,” not “turn your basement into a submarine.”
They work best for
- Damp walls with no visible running water
- Occasional small dark spots after heavy rain
- Musty smell worsened by humidity and porous block
- Efflorescence (white mineral deposits) that keeps returning
They are not a fix for
- Standing water or active leaks (water running in, puddles)
- Structural cracks that widen, shift, or reappear
- Hydrostatic pressure problems where water is being forced through the wall
- Exterior drainage failures like missing gutters, negative grading, or downspouts dumping by the foundation
If you have active water entry, start with the basics: gutters, downspouts, grading, and drainage. Interior coatings are a helper, not a miracle. I walk through basement moisture priorities in the site’s Moisture Control section.
Pick the right product for your wall
Before you buy anything, identify what you are coating. Concrete and cinder block behave differently, especially at mortar joints.
Poured concrete walls
Poured concrete is usually smoother and less porous than block, but it can still wick moisture. Many homeowners use a thick acrylic masonry waterproofer here. Pay attention to the manufacturer’s rules on surface condition and crack prep.
CMU or cinder block walls
Block walls are full of pores and mortar joints. They often need more prep and a heavier coat, especially along joints. Some products include an optional first “scrub coat” that you brush aggressively into the pores. On block, that step really matters.
A note on “drylok-style” coatings
Brand names vary, but the category is consistent: thick, high-solids coatings designed to bridge tiny pores. Read the can for your specific product’s humidity, temperature, and recoat timing. Those details are where DIY jobs usually go sideways.
Tools and materials I actually use
- Stiff nylon masonry brush and a wire brush (for efflorescence and loose material)
- Shop vac with brush attachment
- Degreaser or masonry-safe cleaner (as needed)
- Hydraulic cement (for small active weeping points or holes)
- Masonry crack filler (for non-moving hairline cracks, if allowed by the coating system)
- Painter’s tape and plastic for windows, outlets, and mechanicals
- Drop cloths or rosin paper
- 4-inch masonry brush for corners and joints
- Thick-nap roller cover (often 3/4 inch to 1 inch) and a sturdy frame
- Extension pole
- Gloves, eye protection, and a respirator if the label calls for it
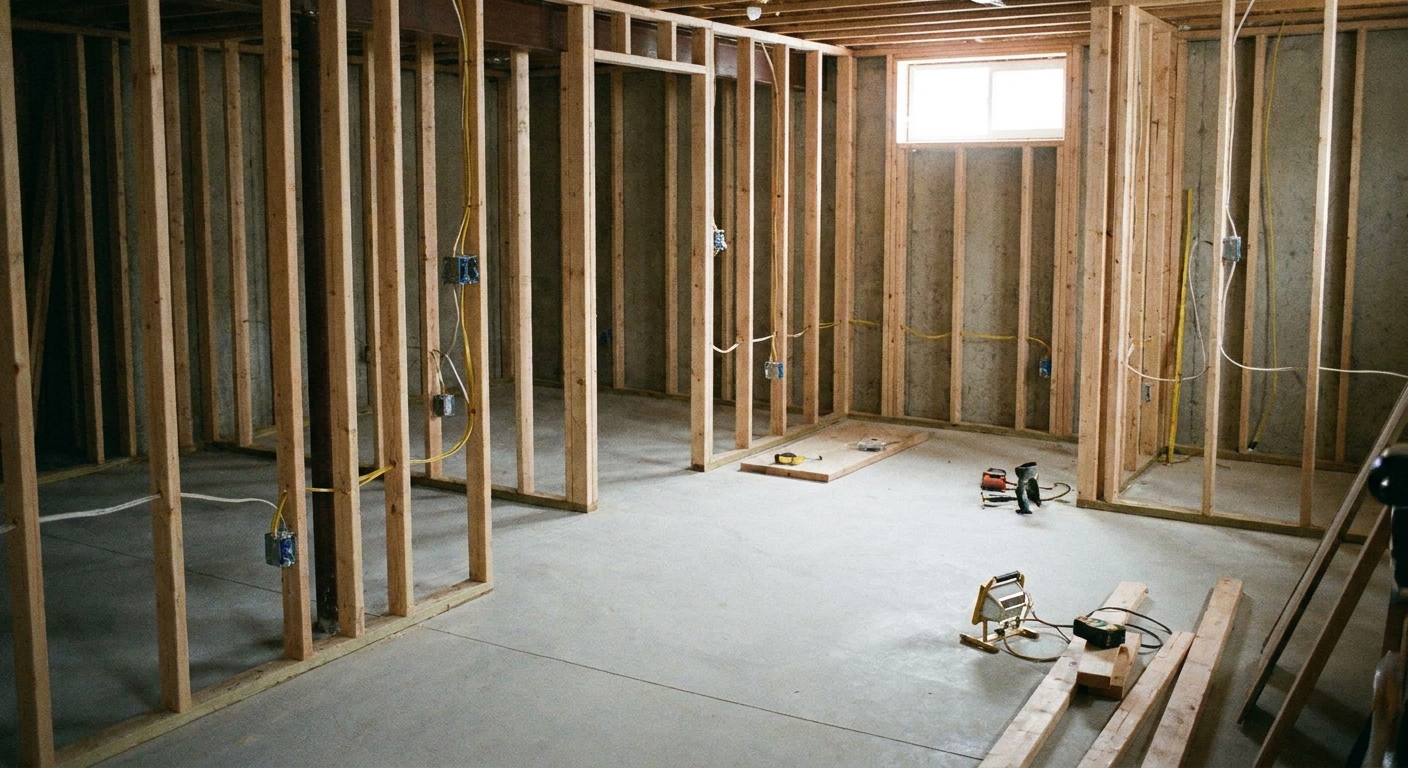
For any basement finishing project, I also keep an eye on sequencing. Waterproofing belongs early, before framing and flooring. If you’re mapping the whole project, see Basement Remodel Timeline: Correct Order of Operations.
Step 1: Confirm it is minor seepage
Here’s a quick, practical check:
- After a heavy rain, inspect the wall and floor joint. If you see running water or puddles, stop and address drainage or a true leak first.
- Tape test: Tape a 2-foot square of plastic to the wall (all edges sealed) and wait 24 to 48 hours. If you see moisture behind the plastic (against the wall), that is a clue moisture is moving through the masonry. If moisture forms on the room side, that points toward condensation. This is a clue, not a lab test, but it helps you decide what to chase first.
- Efflorescence: White, chalky deposits are a sign moisture is migrating through the wall and evaporating in the room.
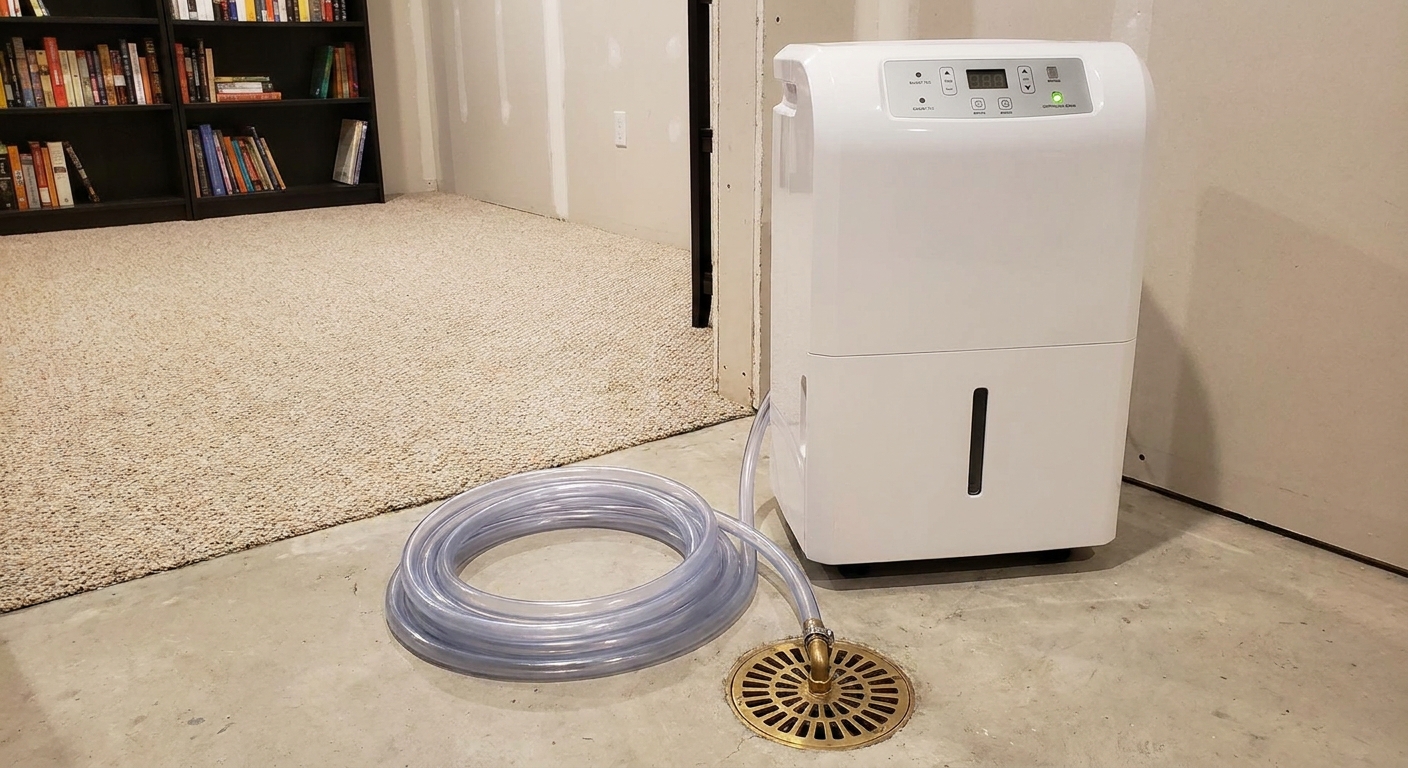
If humidity is part of your problem, run a dehumidifier and improve air circulation too. Coatings help, but they do not replace basic humidity control.
Step 2: Prep is the whole job
Most failures I see are not “bad products.” They are adhesion failures caused by dust, salts, or old paint.
Clear the wall
Remove shelving, old paneling, nails, adhesive residue, and anything loose. Protect outlets, windows, and the floor.
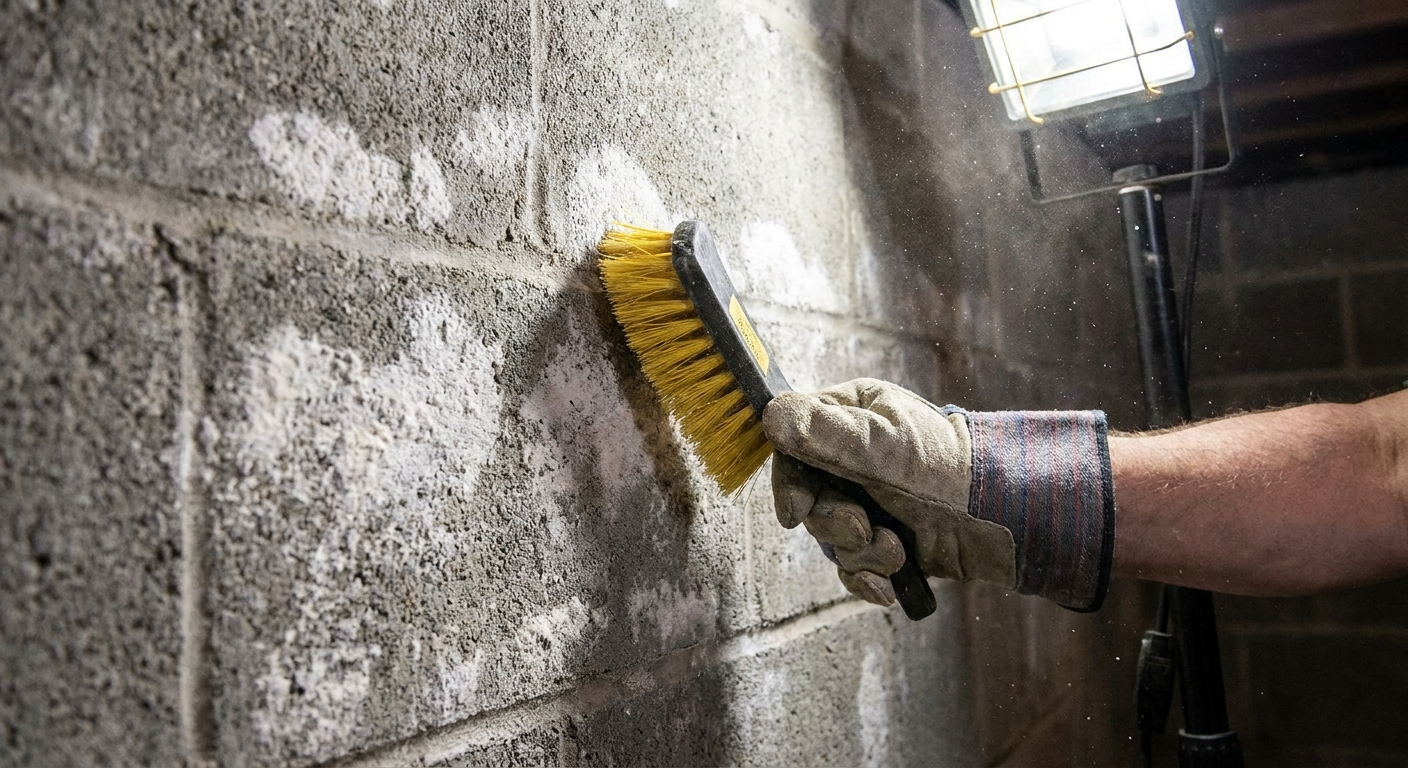
Remove efflorescence and loose material
Efflorescence is mineral salt. Sealant over it and you are basically painting over chalk.
- Brush the wall aggressively with a stiff brush.
- Vacuum the dust.
- If the deposits are stubborn, use a masonry-safe cleaner per label directions and rinse if required.
I generally avoid acids (including muriatic acid) for interior prep unless your coating system explicitly calls for it and you understand the rinse or neutralization steps. Acids can create their own problems if residue is left behind.
Do not skip the vacuum step. A dusty wall can look clean and still fail.
Deal with old paint
If the wall is already painted, do a simple adhesion check: score a small grid with a utility knife, press painter’s tape hard, then rip it off. If paint comes off easily, your new coating is only as strong as the old paint. In that case, stripping or aggressive mechanical removal is usually the right move.
Fix cracks and holes before coating
This is where you earn your dry basement.
- Small active weeping points or holes: Hydraulic cement is a common fix here, but it is not magic. It is best for spot repairs, not long cracks, moving cracks, or a wall that is under serious hydrostatic pressure.
- Non-moving hairline cracks: Use a compatible masonry crack filler if the waterproofing system allows it.
- Gaps at penetrations (pipes, conduit): Seal them properly with the recommended material for that opening.
If your basement walls are part of a finishing plan that includes studs, this is also the stage where I think about moisture-safe assemblies. My framing approach is covered in Framing & Construction.
Step 3: Get the surface condition right
Masonry waterproofers have strict rules about whether the wall should be dry, damp, or saturated. The confusing part is that different products want different conditions.
- Some coatings prefer a dry wall so they can bond properly.
- Some cementitious coatings prefer a pre-dampened wall so the masonry does not suck moisture out of the mix too fast.
Follow the label. If you apply to the wrong surface condition, you can get pinholes, poor curing, or peeling.
Temperature and airflow matter
Basements are cool and still. If the label calls for a minimum temperature, take it seriously. I also like to set up a fan for gentle airflow, but I avoid blasting air directly at a wet coating since it can cause uneven drying.
Quick safety reality check
If you find heavy mold, you have bigger issues than a coating. Clean and remediate properly before you seal anything in. Also, if your basement has unknown old coatings or very old paint, take precautions when sanding or grinding: control dust, ventilate, and use the right respiratory protection for the job.
Step 4: Apply the sealant correctly
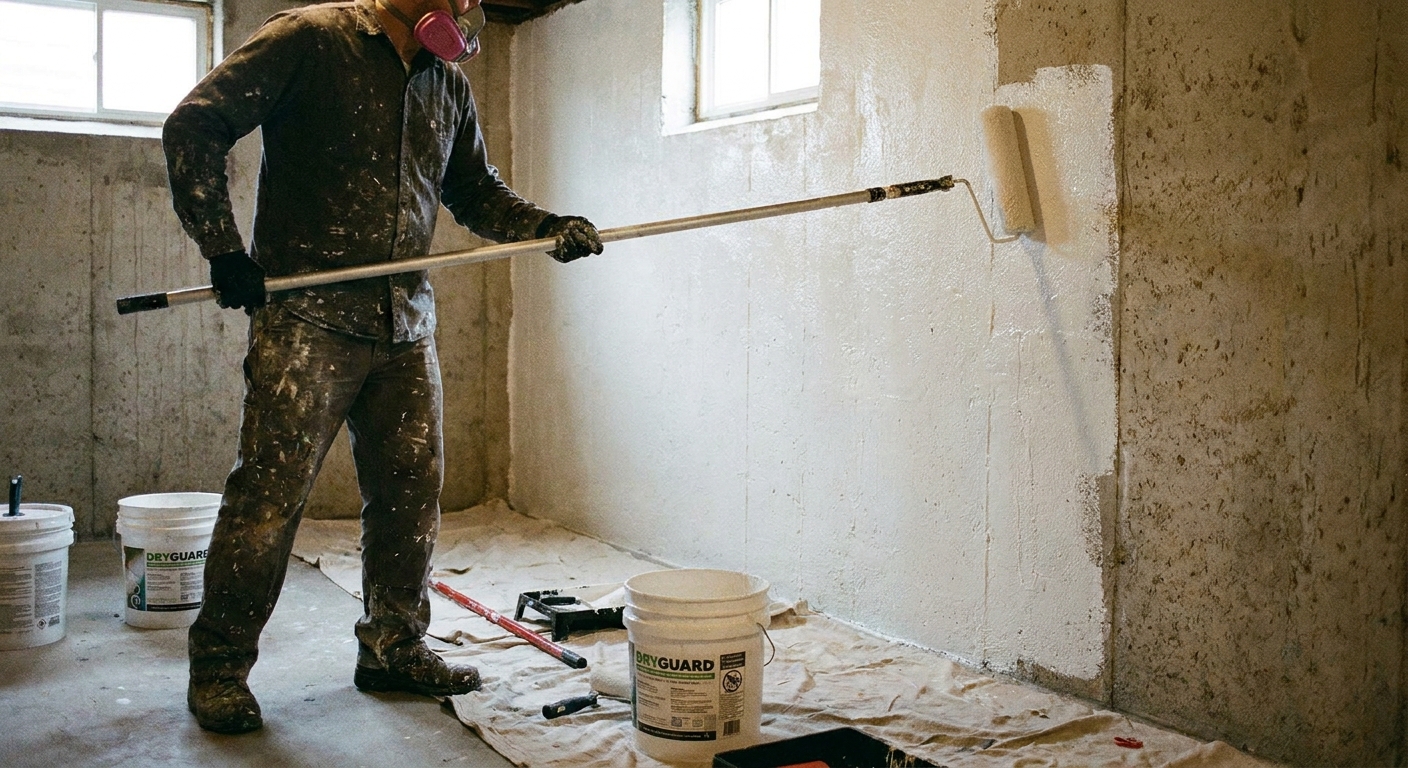
This is the part most people rush. Thick masonry coatings are meant to be applied heavy enough to fill pores, not rolled on like normal wall paint.
Cut in corners and joints first
Use a masonry brush to work product into:
- Inside corners
- Mortar joints on block
- The rim of any patched area
- Around penetrations
On block walls, I like a “scrub coat” approach even when not required: push the product into the surface with the brush, then roll while it is still wet.
Roll the field area in small sections
- Use a thick nap roller and load it well.
- Roll slowly, pressing product into pores instead of stretching it thin.
- Work top to bottom so drips get rolled out.
- Back-roll in perpendicular passes to even the thickness.
Coverage is lower than normal paint
One heads-up: these coatings do not cover like regular interior paint. Rough concrete and especially block can drink product. Buy based on the label’s coverage numbers, and do not be surprised if block takes significantly more.
Two coats usually means two real coats
If your product calls for two coats, do not “cheat” by doing one heavy coat unless the label explicitly allows it. Two properly cured coats build thickness and reduce pinholes.
Respect recoat windows
Some products want the second coat while the first is still slightly tacky. Others require full cure. If you miss the recoat window, you can end up with layers that do not bond well.
Wall to floor joint
The cove joint, where the wall meets the slab, is a common trouble spot. Water pressure and tiny slab movement often show up here first.
Many masonry coating systems recommend or require a reinforced detail here, like:
- Filling voids and honeycombing with hydraulic cement
- Forming a smooth cove shape at the joint
- Brushing extra coating into the joint and a few inches up the wall
Follow the label, but give this area extra attention. When I see peeling, it is often along that joint because it was dusty, uneven, or coated too thin.
Cure time and when to finish
Masonry sealants can feel dry to the touch long before they are fully cured. If you frame too soon and trap moisture behind a wall, you can create a musty smell factory.
- Wait at least the manufacturer’s stated cure time before covering the wall.
- Keep a dehumidifier running to control basement humidity.
- Watch for new dark spots after storms. If they show up, you may need to address drainage or add another line of defense.
One practical finishing note: some coatings can affect how well certain construction adhesives or foam products bond. If you are planning to glue anything to the wall, check compatibility first, and build your wall assembly in a moisture-smart way.
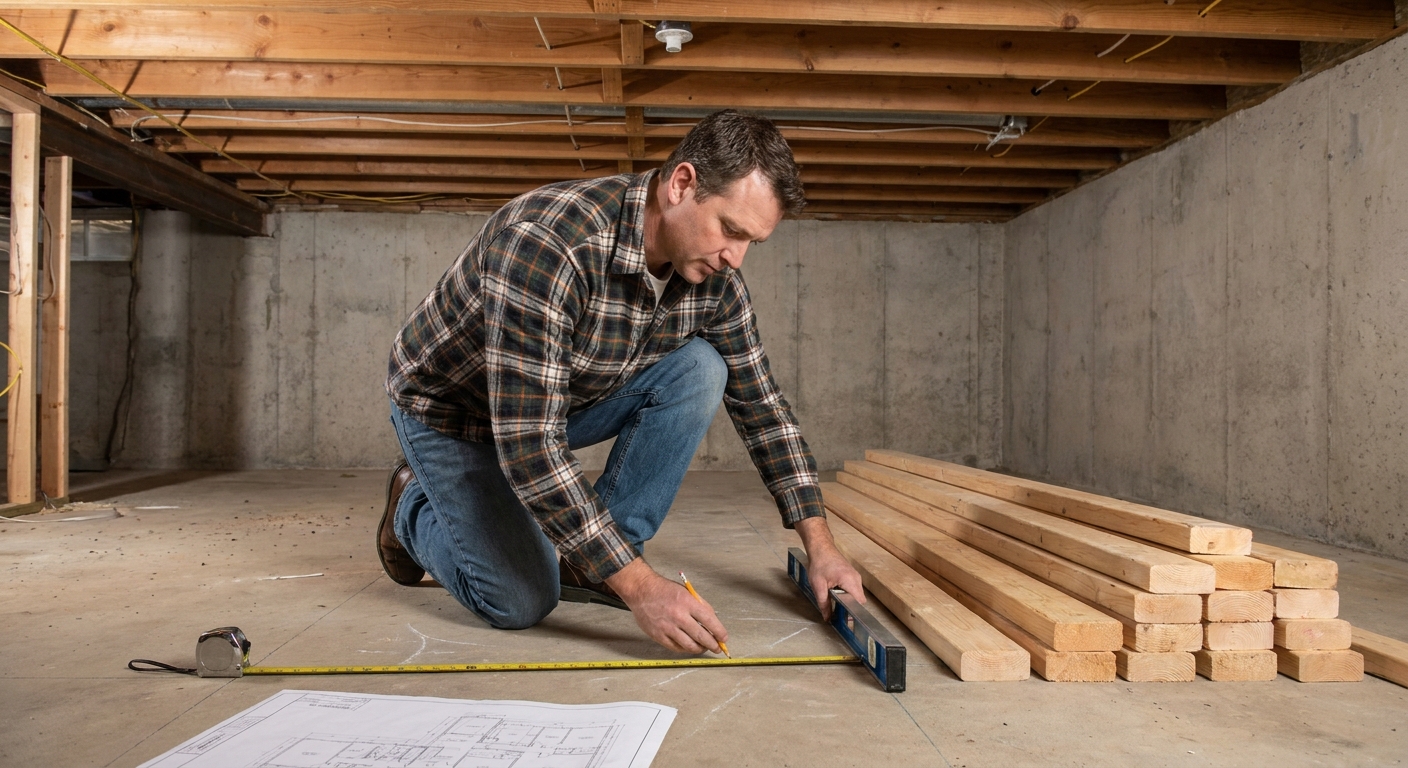
If you are building a full plan, start with the big picture: moisture control, then layout and budget, then framing, then finishes. The planning side lives in Planning & Budgeting.
Common mistakes
Painting over dust
Concrete dust is sneaky. Vacuuming after brushing is not optional.
Sealing over efflorescence
If salts are still on the wall, the coating is bonding to salts, not masonry.
Using it to “fix” a real leak
If water is coming in with force, the coating is fighting pressure from behind. That is when blistering and peeling happen.
Skipping crack repair
Coatings bridge tiny pores, not moving cracks.
Finishing too fast
Covering walls before cure, or framing without a moisture-smart plan, is how you end up tearing out brand-new work.
FAQ
Can I apply masonry waterproofer over painted basement walls?
Only if the existing paint is well-bonded and the product label allows it. In practice, I treat unknown old paint as a liability. Test adhesion first. If it fails, remove the old paint or you risk the new coating peeling off with it.
Will a masonry sealant stop musty smells?
It can help by reducing moisture migration through porous block or concrete, but musty smells usually involve humidity, organic materials, or hidden mold. Pair wall sealing with dehumidification, good airflow, and removing anything that stays damp.
Is waterproof paint enough before finishing a basement?
Sometimes, for minor seepage. But I still plan for moisture-smart finishing: keep organic materials off the slab where possible, choose basement-friendly flooring, and avoid trapping moisture behind finishes. For flooring that tolerates basements better, see Flooring Options.
What if my walls are damp but I also see condensation?
That is common. Sealants address moisture through masonry. Condensation is about warm, humid air hitting a cool surface. In that case, a dehumidifier and air sealing can be just as important as the coating.
The bottom line
Interior masonry sealants are a solid DIY move when your basement walls are mostly dry but occasionally damp. The winning formula is boring and consistent: clean the wall, remove salts, repair cracks, apply the coating thick enough, and let it cure. Do that, and you are giving your future finished basement a much better shot at staying clean, dry, and comfortable for the long haul.