The first basement I finished taught me a lesson I still repeat to friends: order matters more than speed. I was so eager to make the space look “done” that I jumped ahead in a few spots, and I paid for it twice. I had to pull up flooring to fix a hidden moisture issue, cut open fresh drywall to add an outlet I forgot, and rework a soffit because I never mapped the ductwork properly.
This timeline is the clean, correct order of operations I wish I had followed from day one. It is written for the typical DIY basement finish: a dry, comfortable living space with framed walls, electrical, drywall, durable flooring, and finished trim.
Before you start: 3 choices that set your schedule
If you make these choices up front, the rest of the project flows. If you skip them, your timeline turns into a stop-and-go mess.
1) What rooms are you building?
- Open rec room is fastest. Fewer doors, fewer walls, fewer HVAC surprises.
- Bathroom or wet bar adds plumbing coordination, inspections, and drying time for concrete patches.
- Bedroom adds egress and stricter electrical and HVAC considerations in many areas.
2) What flooring system are you using?
Basements punish the wrong flooring choice. Your flooring affects when you can install baseboards, doors, and sometimes even framing details at the slab edge. If you haven’t picked flooring yet, start at Flooring Options so you are not designing blind.
3) Are you DIYing electrical and plumbing?
If you plan to hire out specific trades, book them early. The “right order” still applies, but subcontractor availability often becomes the longest lead time.
Phase 0: Planning, permits, and layout (3 days to 3 weeks)
This is not glamorous work, but it prevents rework better than anything else on this list.
Your checklist
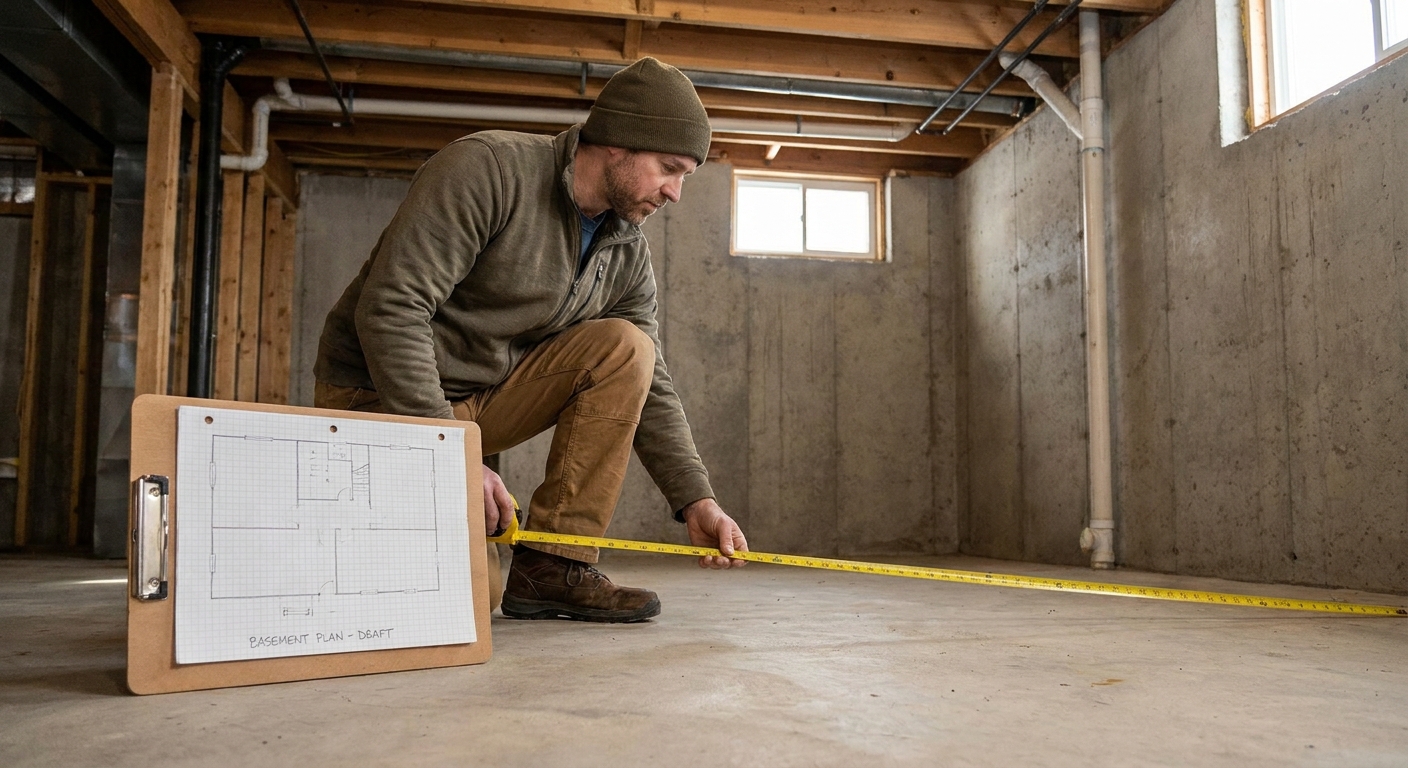
- Measure everything: ceiling height, soffit zones, posts, stairs, mechanical room footprint, window sizes.
- Sketch a scaled layout with wall locations, door swings, furniture zones, and TV walls.
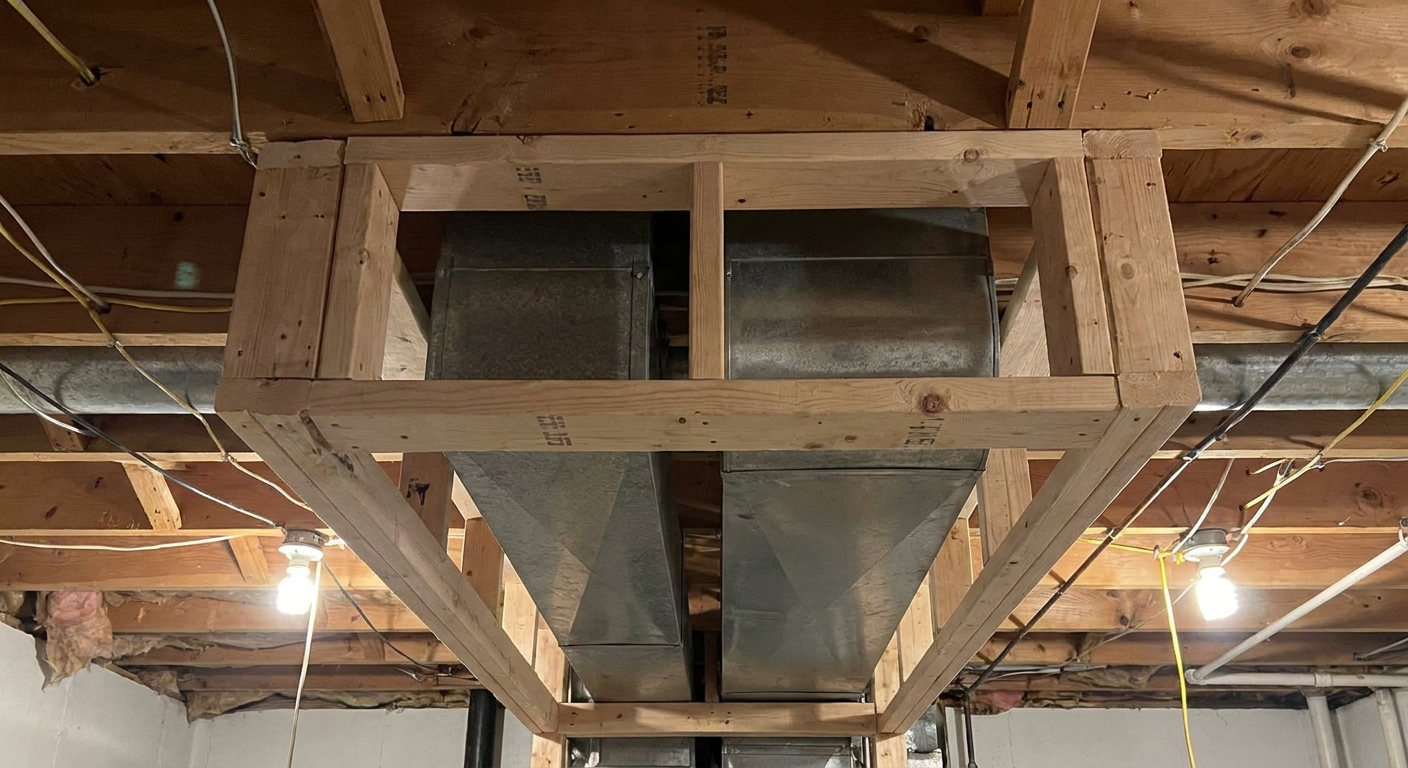
- Decide soffit strategy for ducts and beams. I like to mark duct runs on the floor with painter’s tape so I can “see” the ceiling problems early.
- Locate and plan for access panels at shutoff valves, cleanouts, junction boxes, and any equipment that needs service.
- Permits and inspections: call your local building department and confirm what inspections apply in your area (framing, electrical rough-in, insulation, final).
If budgeting is the part that slows you down, I broke out realistic cost drivers here: Basement Finishing Cost Breakdown Per Square Foot.
Phase 1: Moisture control and prep (1 day to several weeks)
Do not let anyone talk you into “finishing first, fixing later.” Basements only get comfortable when the moisture strategy is handled before walls close up.
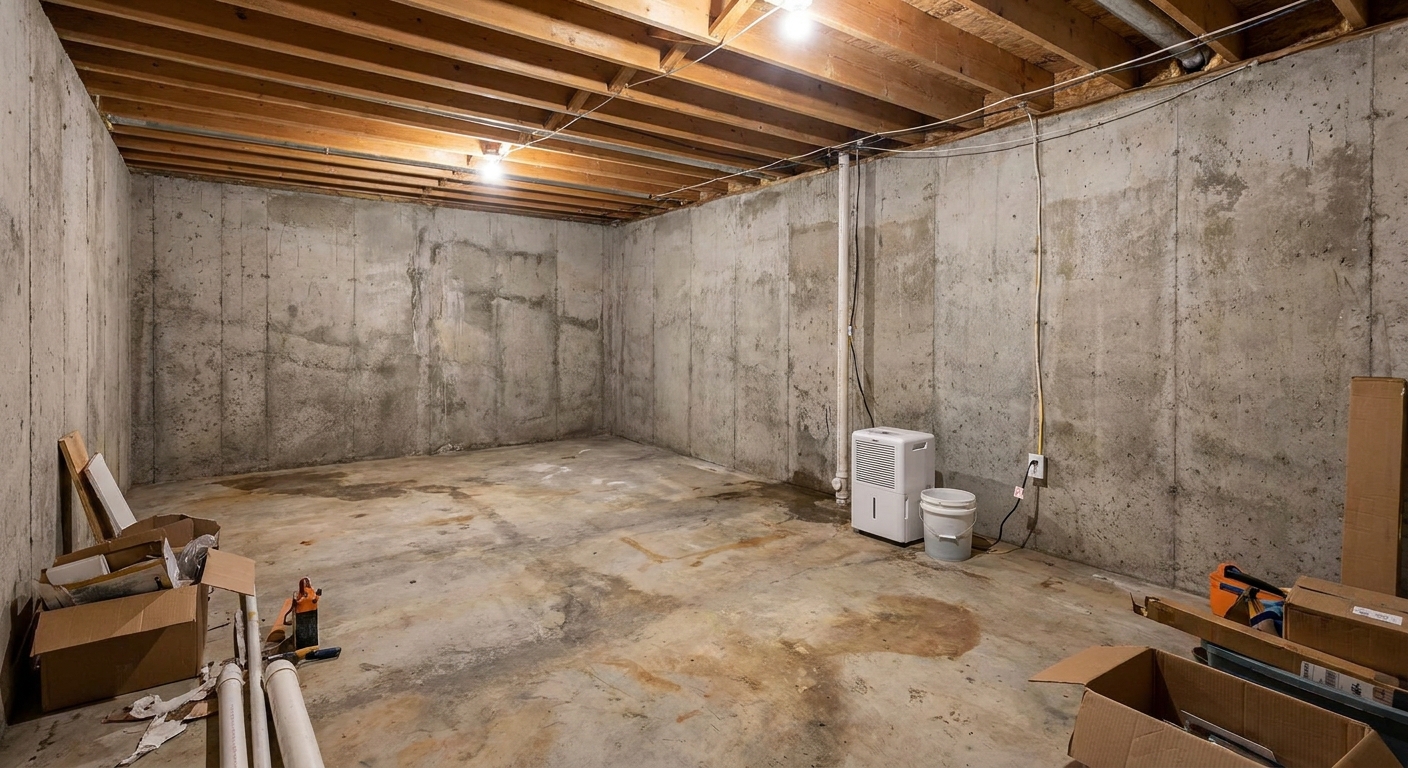
Start with the basics: look for water staining, efflorescence, musty smells, and any active seepage after rain. If you are unsure what you are seeing, head to Moisture Control and work through it step by step.
Correct order inside this phase
- Fix bulk water sources first: gutters, downspouts, grading, obvious cracks, sump issues.
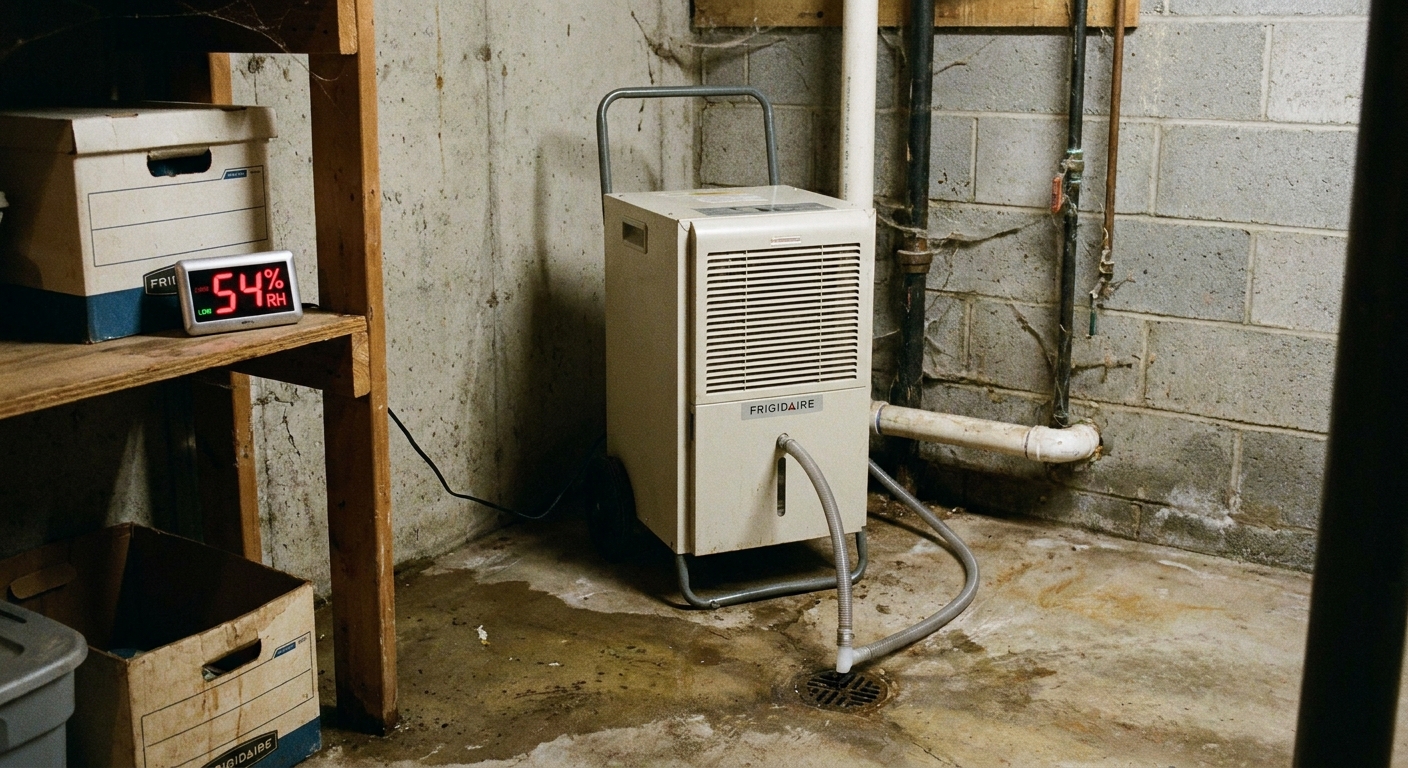
- Track humidity with numbers: use a simple hygrometer and watch basement relative humidity over at least a week (and ideally through a rainy spell). As a general comfort target, many basements feel best around 40% to 50% RH. Running a dehumidifier and seeing the bucket fill is a decent gut-check, but it is not a real diagnosis by itself.
- Clean and prep the slab: scrape old adhesive, vacuum thoroughly, patch big divots.
- Radon planning: if radon is a concern in your region, confirm it with a test before you close things in. If mitigation is needed, it is usually easier to plan early (common systems use sub-slab depressurization and sealed penetrations) than to retrofit after the basement is finished.
Phase 2: Demolition and rough cleanup (1 to 5 days)
If you are finishing an already part-finished basement, do the messy tear-out now, before you bring in new materials.
- Remove old paneling, drop ceiling, and any moldy carpet or pad.
- Pull nails and screws from joists and walls.
- Vacuum dust, then vacuum again. Drywall finishing hates a dusty basement.
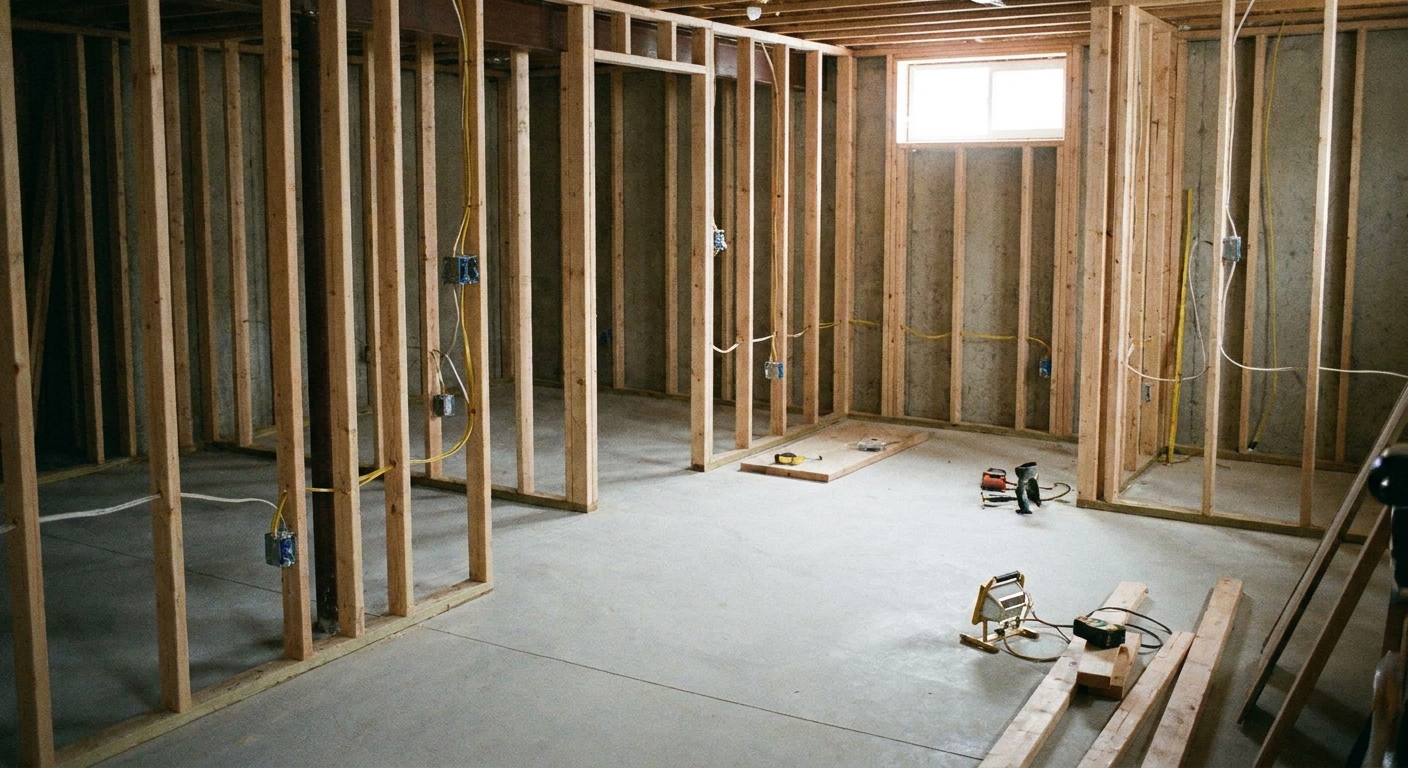
Phase 3: Frame walls and soffits (3 days to 2 weeks)
Framing creates the skeleton. Once it is up, everything else references it: electrical box locations, HVAC runs, drywall edges, and trim reveals.
If you want my full approach to framing around the typical basement headaches, start here: Framing & Construction.
Do this before you build a single wall
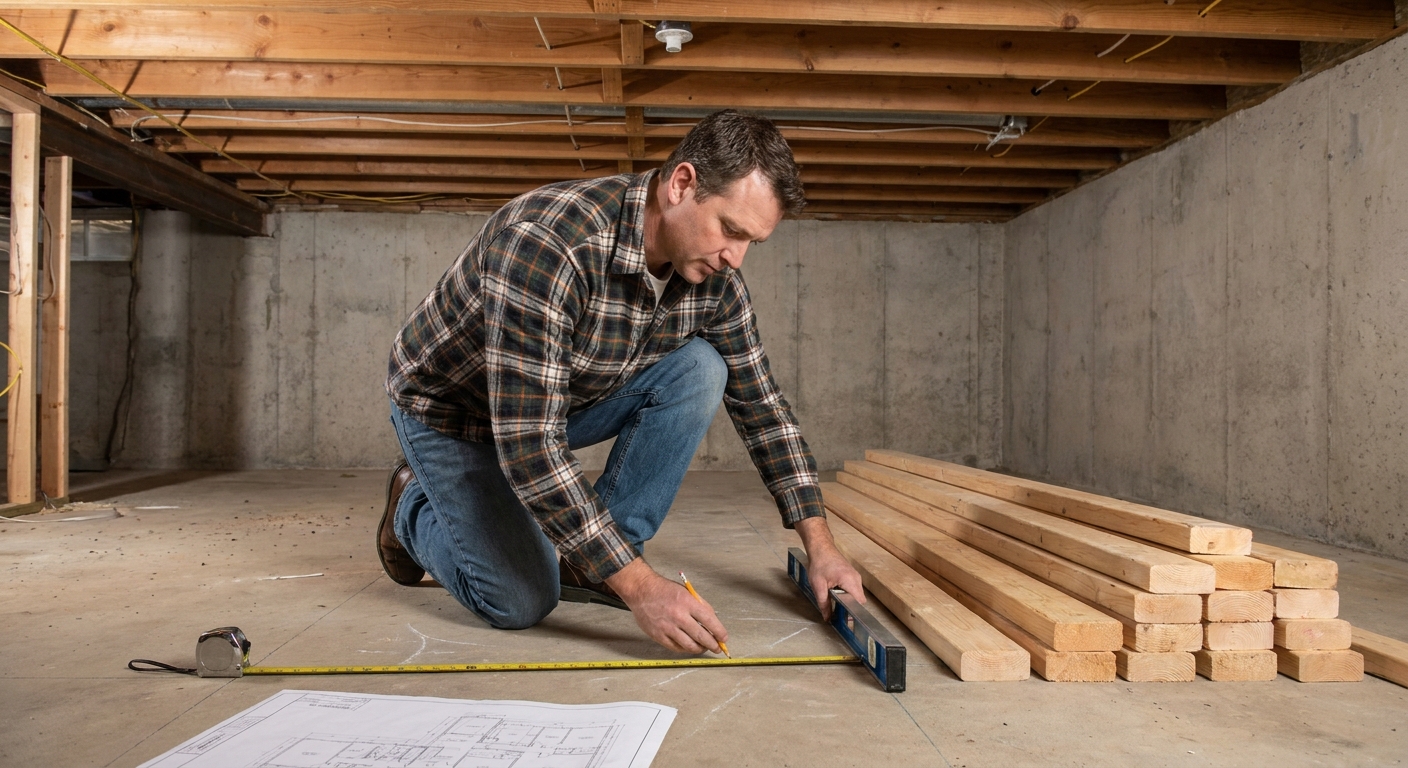
- Snap chalk lines for all walls on the slab.
- Mark ceiling obstructions on the floor with tape: ducts, beams, low plumbing, electrical panels.
- Confirm door heights and soffit drops so you do not end up with awkward openings.
- Plan finished floor height: if you are adding a subfloor or underlayment, account for the added thickness now so doors, stairs, and transitions do not surprise you later.
Framing order that prevents rework
- Frame the perimeter walls (with your moisture strategy in mind).
- Frame interior partitions next, especially any that will carry doors.
- Fireblocking and draftstopping: before you forget, walk your framing and handle required fireblocking at soffits, chases, and concealed wall and ceiling cavities. Local code rules vary, but this is one of the most common DIY misses and it is much easier before insulation and drywall.
- Frame soffits after walls so you can tie framing cleanly into the top plates.
- Block for future mounting: TVs, handrails, shelves, vanities, grab bars. Add backing now while it is open.
Phase 4: Rough-in mechanicals (1 to 3 weeks)
This is the guts of the project: electrical, plumbing, HVAC, low-voltage, and any special features like speakers or a projector. The rule is simple: plan for nearly everything that lives inside the walls to happen before insulation and drywall.
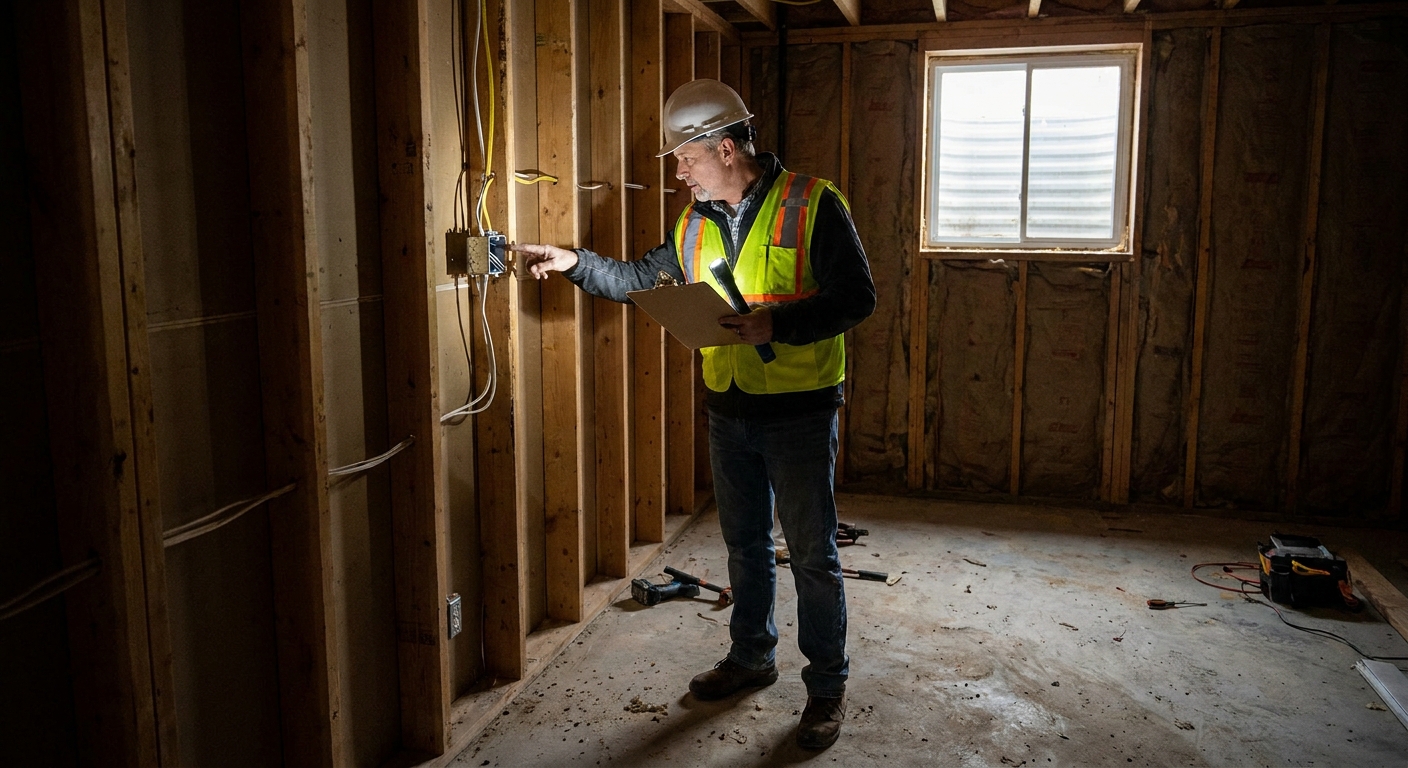
4A) Electrical rough-in
- Run cables, set outlet and switch box heights, and plan lighting circuits.
- Think through furniture placement. In basements, outlets end up behind couches a lot if you do not plan.
- Do not forget smoke and carbon monoxide requirements that may apply in your area.
4B) Low-voltage and “future you” wiring
Even if you are not building a full home theater, this is the cheapest time to run conduit or extra lines for:
- Ethernet to a desk area or TV wall
- Speaker wire for a soundbar or surround
- Doorbell chime relocations, security sensors, Wi-Fi access points
You can fish wires later in some cases, but it is slower, messier, and sometimes impossible once insulation and drywall are in.
4C) Plumbing rough-in (if applicable)
Bathrooms and bars can stretch your schedule because concrete work and inspections take time. If you are cutting slab, plan for dust control and allow cure time on patches before you build finished flooring layers over them.
4D) HVAC adjustments
Basements tend to run cooler and more humid. If you need added supply or a return path, now is the time. A finished basement that never feels right is usually an airflow plan that was an afterthought.
Rough-in inspections
If permits apply, this is where you schedule rough inspections before anything gets covered. Passing rough inspection is a major milestone because it locks in your wall cavities.
Phase 5: Insulation and air sealing (1 to 4 days)
Insulation is not just about temperature. In basements, it is also about comfort and moisture behavior. Take your time sealing penetrations and rim joist areas where air leaks love to hide.
- Air seal first: gaps at sill plate, rim joist penetrations, and around windows.
- Insulate second: choose an approach that matches your foundation type and moisture conditions.
- Get the vapor strategy right: many basements do better with rigid foam against foundation walls (to control condensation risk) and no interior polyethylene sheet, but this varies by climate and assembly. If you are unsure, start with Moisture Control before you staple up plastic that you will regret later.
- Sound control: if you want quieter rooms, this is the moment to add sound batts in interior walls and ceiling zones.
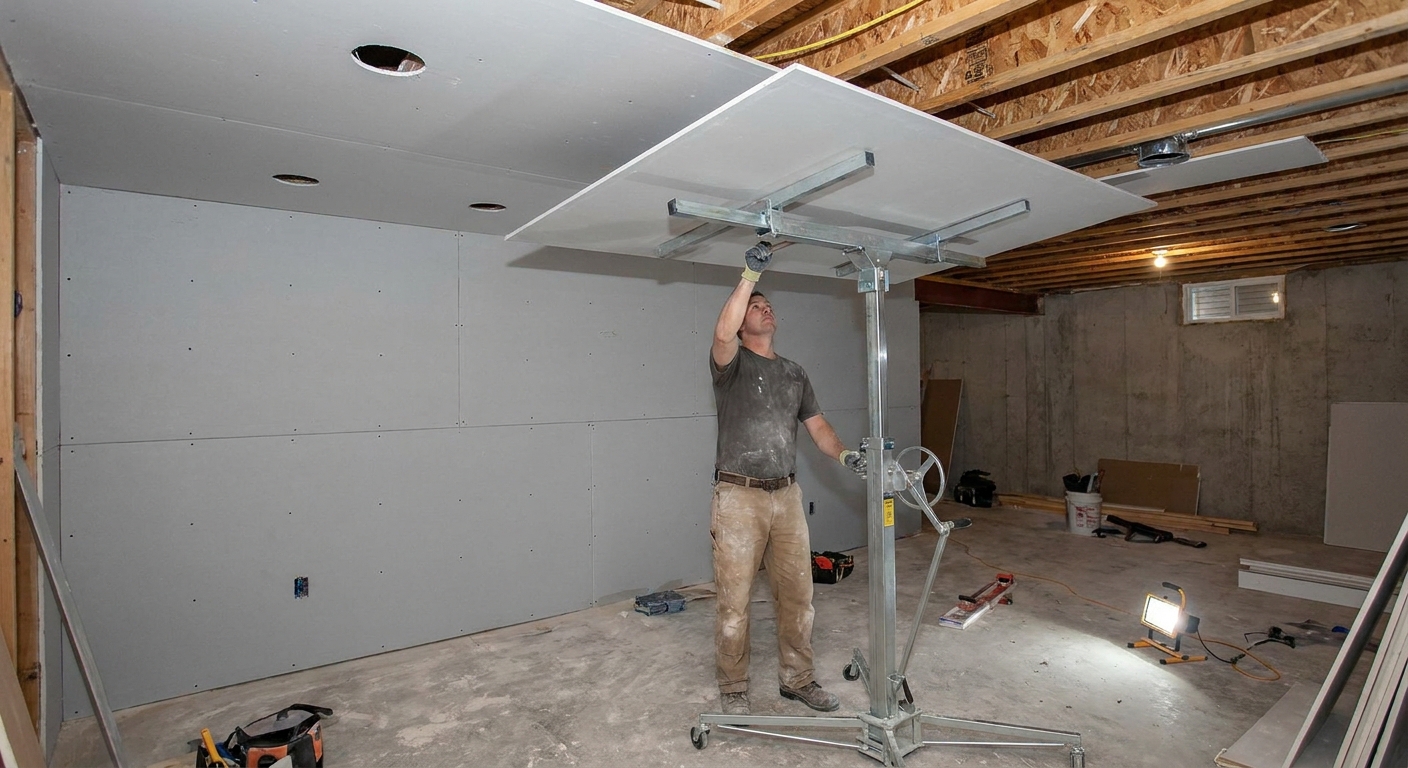
Phase 6: Hang drywall (2 to 7 days)
Drywall goes faster when you staged materials and cleared the floor. Basements are tight spaces, so plan your sheets so you are not wrestling full panels around corners for no reason.
Drywall order that reduces headaches
- Ceiling first (if you are drywalling it)
- Then walls
- Then soffits and odd returns
If you are doing a suspended ceiling instead, you still do wall drywall before the ceiling grid, but you need to coordinate top edges and any perimeter trim.
Phase 7: Tape, mud, sand, repeat (1 to 3 weeks)
This phase is why I tell people basement finishing is more patience than power tools. Drying time dictates the schedule, especially in humid basements. Run a dehumidifier and keep air moving.
- Apply tape and first coat
- Second coat and feathering
- Third coat as needed
- Final sand and dust cleanup
Pro tip from my early mistakes: protect mechanical equipment and returns from drywall dust. That fine powder gets everywhere and it is not kind to HVAC.
Phase 8: Prime and paint (2 to 5 days)
Paint before flooring whenever you can. Spills happen. Roller splatter is real. Painting over bare concrete is stressful, but it is less stressful than painting over brand-new floors.
Typical order
- Prime fresh drywall
- Paint ceilings
- Paint walls
Save touch-ups for the very end. You will scuff walls installing trim, doors, and fixtures.
Phase 9: Flooring (1 to 5 days)
This is where basements can go sideways if you pick the wrong time or the wrong product. The goal is to install flooring after the messiest work is done, but before trim so you can get clean baseboard lines.
General rule
- Hard flooring (LVP, tile, engineered products designed for basements) typically goes in before baseboards and door casing.
- Carpet is usually installed last, after painting and after most trim is in. In many cases, baseboards and casing go in first, then tack strip and carpet go down. That sequencing keeps carpet cleaner and avoids crushing it during trim work.
Common basement flooring timing mistakes
- Installing flooring before you are done sanding drywall
- Skipping acclimation time for floating floors
- Forgetting slab flatness checks, which leads to bounce and separation later
If you are still deciding, my deeper breakdown is here: Flooring Options.
Phase 10: Trim, doors, and built-ins (3 days to 2 weeks)
Trim work is where the basement starts to feel like the rest of the house. It is also where small alignment errors become obvious, so work slowly.
Suggested order
- Interior doors and jambs (if not prehung already)
- Casing around doors and windows
- Baseboards (after hard flooring, or before carpet)
- Closet shelving and built-ins
If you are painting trim, many DIYers find it easier to pre-paint baseboards and casing, then do minimal touch-up after installation.
Phase 11: Finish electrical and fixtures (1 to 3 days)
Now you install the visible parts: outlets, switches, cover plates, light fixtures, bath fan grilles, thermostats, and any final devices. If inspections apply, this is also when finals typically happen.
Lighting is one of the biggest “feel” upgrades in a basement. If you want to think through fixture placement, color temperature, and layers of light, I keep all of that in Lighting & Finishes.
Phase 12: Punch list and final cleanup (1 to 3 days)
This is the adult part of DIY finishing. Walk the space with a notebook and a critical eye.
- Caulk gaps at trim and casing
- Touch up paint
- Adjust doors that rub
- Install floor transitions
- Deep clean dust from ledges, returns, and mechanical room
- Set up your dehumidifier plan for the season
A realistic schedule for DIY work
Every project is different, but here is a common range for a straightforward DIY finish without a bathroom. Think roughly 400 to 800 square feet, average ceiling complexity, and a normal inspection cadence.
- Planning and moisture work: 1 to 3 weeks
- Framing and rough-ins: 2 to 4 weeks
- Insulation and drywall hang: 1 to 2 weeks
- Mud and sand: 1 to 3 weeks
- Paint, flooring, trim, finishes: 2 to 4 weeks
If you are working nights and weekends, that often lands in the 6 to 12 week range for a clean project. Bigger square footage, bathrooms, inspections that only happen on certain days, and slow drywall finishing can push that longer fast.
Never do these out of order
- Never close walls before you are confident about moisture control.
- Never cover walls before rough-ins are complete, checked, and ready for inspection if permits apply.
- Never install hard flooring before the dust-heavy work is finished.
- Never skip access planning. Hidden shutoffs and junctions always come back to haunt you.
FAQ: timing questions I get all the time
Do I frame before or after I put down basement subfloor?
It depends on the system and your moisture plan. Many floating subfloor systems go down before interior walls if the manufacturer requires a continuous field. Other approaches frame first, then fit flooring up to the plates. Decide your flooring strategy early so you are not forced into a redo.
Should I paint before installing flooring?
Yes, in most cases. Prime and paint while the floor is still bare. Then install hard flooring. Then install baseboards and casing. Carpet is the exception since it is usually installed last.
When do I install a drop ceiling?
After wall drywall is finished and painted, and after any overhead rough-ins are signed off. The grid and tiles are one of the last big items so they do not get wrecked during messy work.
What phase takes the longest?
For most DIYers it is drywall finishing. Not because it is technically hard, but because it demands drying time and patience. A dehumidifier and steady airflow can shave days off your mud schedule in a basement.
If you want to go deeper
- Planning & Budgeting for layout and cost control
- Moisture Control before you build anything permanent
- Framing & Construction for walls, soffits, and problem spots
- Lighting & Finishes to make the space feel bright and finished
If you hit a snag and want to sanity-check your order of operations, you can reach me through Contact.