The first basement I finished was a damp, musty cave under a fixer-upper. I was so focused on killing the smell and squeezing in a family room that I treated permits like a paperwork problem for other people. Then I started calling around for a future refi and learned something fast: unpermitted work has a way of showing up at the worst possible time. One lender asked for the permit history on the “new living space” and suddenly my weekend project felt a lot less invisible.
This article is what I wish I had on day one. I am going to walk you through when permits are typically required for basement finishing, the code items that trip DIYers up (especially egress), and a straightforward way to apply and schedule inspections without stalling your project.
Do you need a permit to finish a basement?
In most places, yes, if your basement project involves anything beyond cosmetic finishes. Painting, swapping flooring, or updating trim is often permit-free. Once you start changing how the space functions, adding rooms, altering walls, or touching electrical, plumbing, HVAC, or structural components, permits are commonly required.
Because rules vary by city and county, I like to think in terms of permit triggers. If you hit any of these, assume you need permits until your local building department confirms otherwise.
Cosmetic vs permit-triggering work
- Often cosmetic: paint, new baseboards, floating floors, replacing a vanity without moving plumbing, swapping light fixtures on existing wiring (rules vary).
- Often triggers permits: adding a bedroom, building new walls, adding recessed lights and new circuits, installing a bath fan duct to the exterior, adding a bathroom or wet bar, cutting a new window or door opening in a foundation wall.
Common permit triggers
- Adding or removing walls, especially if you are changing the layout or adding rooms.
- Electrical work like new circuits, outlets, lighting, a subpanel, or moving service equipment.
- Plumbing work like a bathroom, wet bar, laundry, or adding drains and vents.
- HVAC changes like adding supply and return ducts, changing combustion air, moving equipment, or adding a new appliance.
- Adding a bedroom or any sleeping room, which almost always triggers egress and smoke and carbon monoxide requirements.
- Structural changes such as cutting a new opening in a foundation wall, altering beams, posts, or joists, or changing stairs.
- Insulation and moisture control assemblies in jurisdictions that require energy code compliance checks.
If you are still in the early planning stage, it helps to map your project scope first, then confirm permits second. I keep my early decisions centered around safety and long-term durability, especially moisture management. If you want a solid starting point, browse the planning basics in Planning & Budgeting and moisture fundamentals in Moisture Control.
Why permits matter (even for DIY work)
I get it. Permit fees and inspection scheduling can feel like friction. But permits are not just bureaucracy. They do a few practical things for homeowners:
- They reduce safety risks by requiring minimum standards for wiring, fire protection, and emergency exits.
- They create a paper trail that can support resale, refinances, and some insurance claims.
- They force you to plan details early, which usually saves money compared to ripping out finished work later.
The hard truth: if you finish a basement without permits and something goes wrong, you can end up paying twice. Once to fix the issue and once to undo and redo work so it can be inspected.
The big code topics inspectors focus on
Every jurisdiction has its own checklist, but basement inspections tend to cluster around the same themes. If you design with these in mind, your permit process goes much smoother.
Egress: the number one tripwire
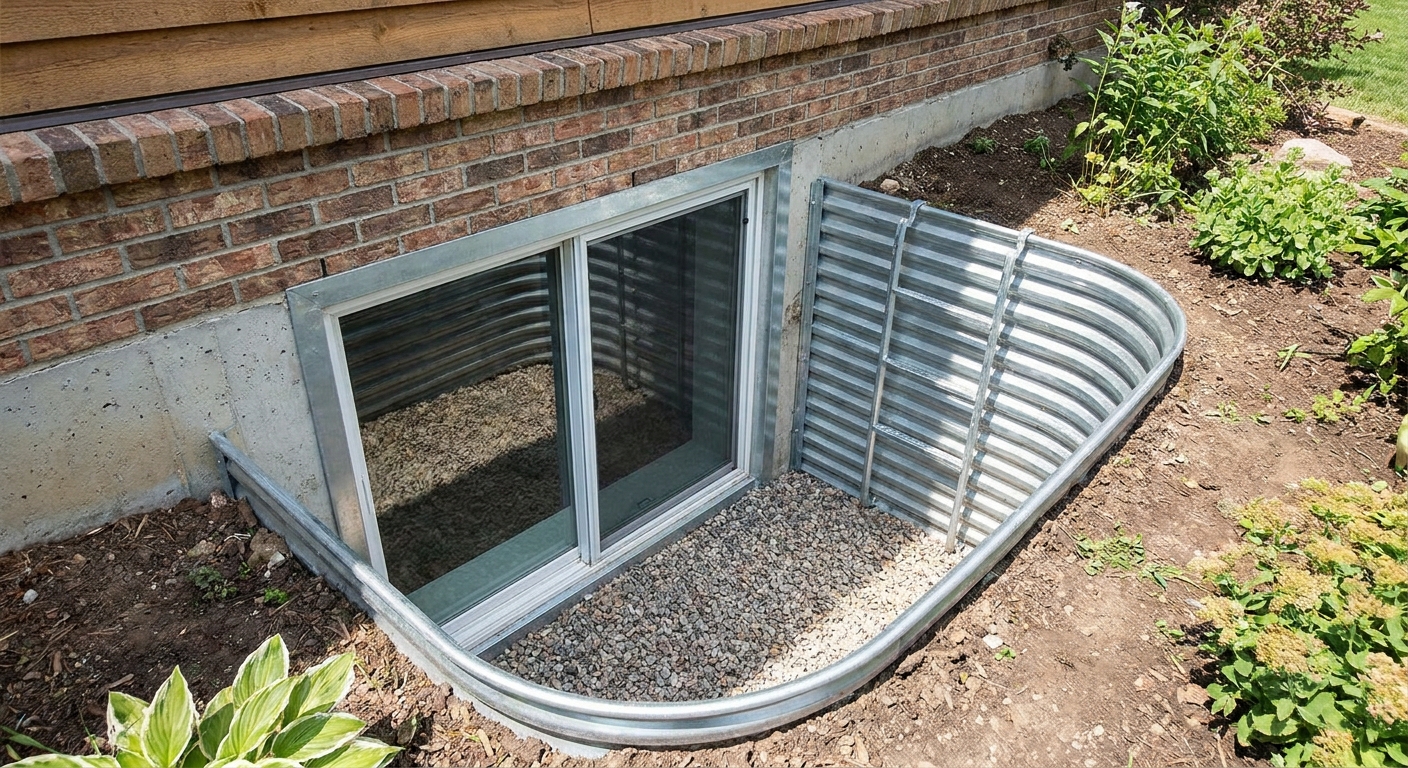
If your finished basement includes a bedroom or sleeping area, you almost certainly need a legal emergency escape and rescue opening, commonly an egress window or an exterior door that meets requirements. Some jurisdictions also require an emergency escape and rescue opening for basements with habitable space even if there is no bedroom. This is driven by the locally adopted building code and any local amendments, so confirm it early.
Because egress requirements get technical fast, here is what inspectors usually care about:
- Clear opening size: The usable opening has minimum dimensions. This is not the rough opening and not the glass size. It is the open space you can actually climb through.
- Sill height: There is a maximum height from the floor to the bottom of the opening, so a child or adult can reach it in an emergency.
- Window well (if below grade): Minimum well size and clearance, and in many cases a ladder or steps if the well is deep.
- Operation: It must open without special knowledge, tools, or keys.
If you are thinking about cutting a new window into a foundation wall, treat that as a structural project. Depending on your foundation type, opening size, and loads, your department may accept prescriptive details or may require engineering.
One more “gotcha” I have seen: you can add egress and still fail for other bedroom rules, like minimum ceiling height, required heat, or the way the door and escape path are laid out. Those details vary, but it is worth asking about them when you ask about egress.
Fire safety
Basements concentrate a lot of risk in a small footprint: furnaces, water heaters, electrical panels, and storage. Inspectors often look for the following:
- Smoke alarms and carbon monoxide alarms in required locations, sometimes interconnected depending on local rules and the age of the home.
- Fire separation where an attached garage is adjacent to the dwelling, including protected walls and ceilings between the garage and living areas (even if the basement does not have a direct door into the garage).
- Mechanical room protections, including required access, clearances around equipment, and combustion air provisions for fuel-burning appliances.
- Required materials where your local code calls for them, such as specific drywall thicknesses in certain locations.
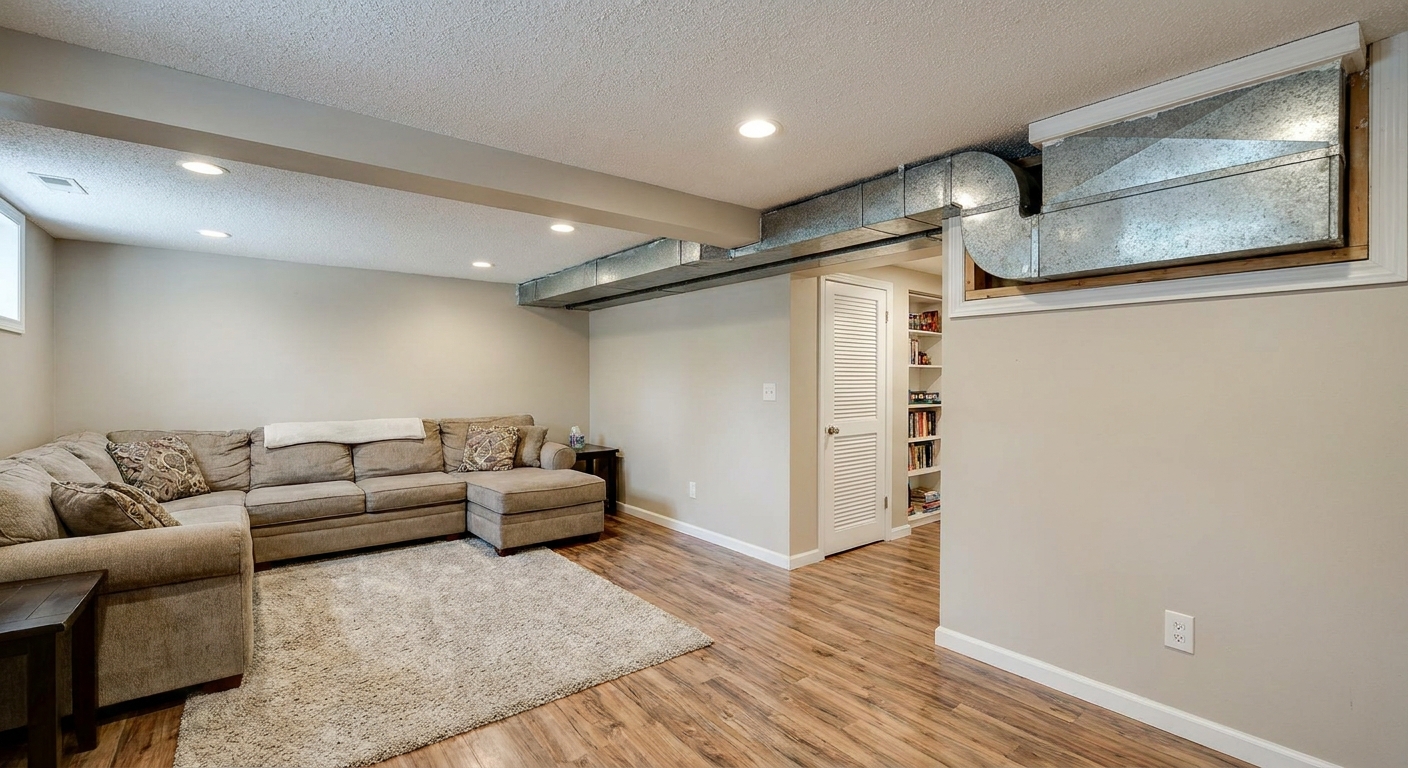
This is one reason I avoid burying mechanical systems behind permanent walls without planning access panels and service clearances. It is also why I like to frame basements intentionally, not just wherever a stud happens to fit. If you are working through layout constraints like ducts and beams, start in Framing & Construction.
Electrical
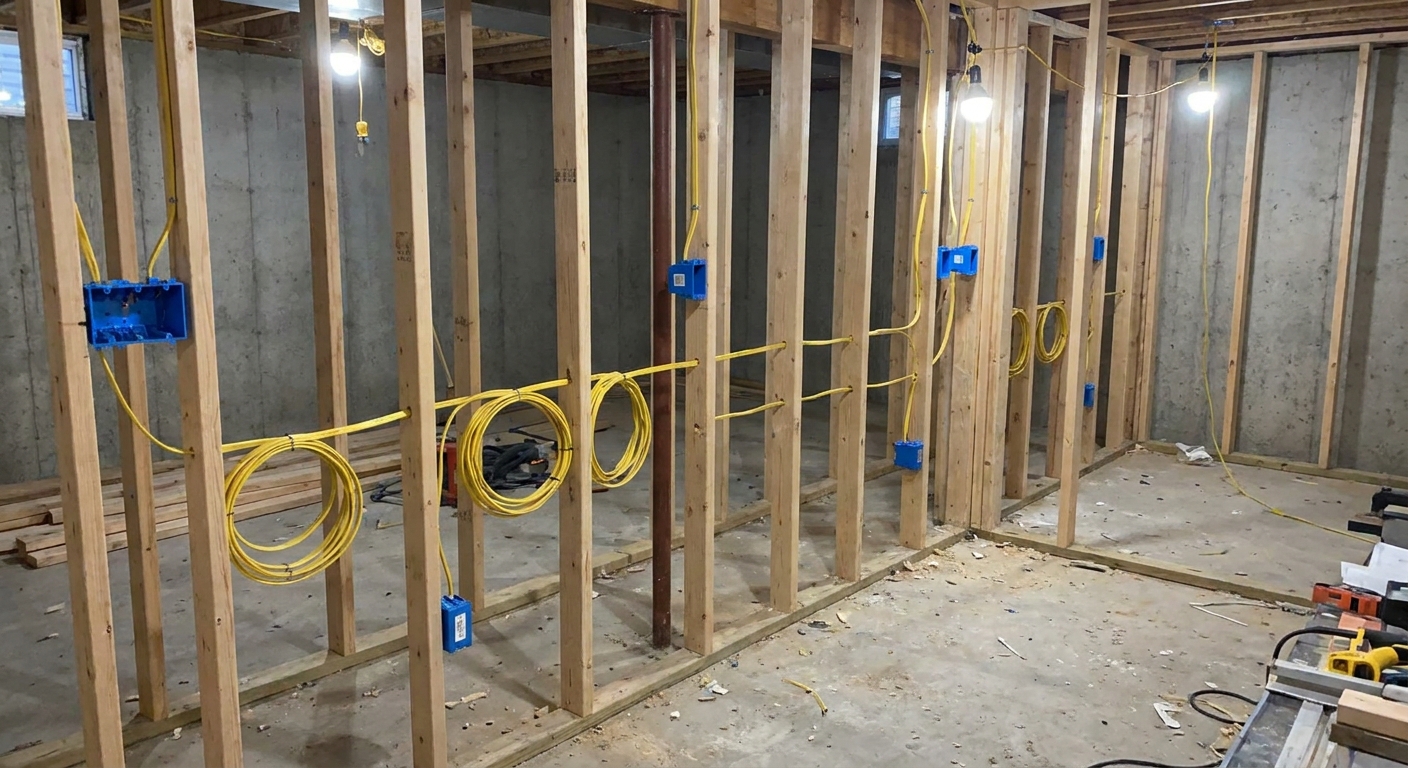
Electrical inspections can feel picky, but most failed rough-ins are avoidable. Inspectors focus on safety and consistency: correct wire sizes, protected cable runs, proper box fill, and required outlets and lighting.
Typical electrical expectations
- Adequate receptacle coverage so you are not relying on extension cords.
- GFCI and AFCI protection where required by your local adoption of electrical code.
- Dedicated circuits for bathrooms and certain fixed equipment. Some loads are required to be on dedicated circuits, and others are simply a best practice. Sump pumps often fall into the “strongly recommended” category unless your local rules say otherwise.
- Proper support and protection for cables, including nail plates where wiring passes through framing near edges.
- Correct bonding and grounding, especially if you add a subpanel.
If your plan includes a home theater, office, gym, or kitchenette, I recommend sketching your outlet and lighting plan before you apply. It helps you avoid last-minute circuit changes after drywall is up. For lighting ideas that still play nice with code and headroom, see Lighting & Finishes.
Plumbing
Adding a basement bathroom is one of the biggest value boosts you can do, and also one of the easiest ways to trigger extra permits and inspections.
Plumbing inspections often revolve around:
- Drain and venting layout that prevents siphoning and sewer gas.
- Backwater valve requirements in some municipalities.
- Ejector pump and basin requirements if fixtures are below the main sewer line.
- Cleanouts and access.
- Tests or inspections before covering pipes.
If you are unsure whether your project needs an ejector, or you have a concrete slab that would require breaking, it is worth having a plumber consult early. Even if you DIY parts of the build, professional input on the drain plan can prevent expensive rework.
Insulation and moisture
Energy codes and building codes increasingly overlap with moisture control in basements. Inspectors may look for insulation levels, vapor control strategy, and proper air sealing depending on your climate zone and local rules.
Here is the basement reality I learned the hard way: even if you pass inspection, a poor moisture strategy can still ruin a finished space. A permit does not equal a dry basement.
If you want to build a basement that stays comfortable year-round, start your design with moisture control decisions before you pick finishes. I go deeper on that in Moisture Control.
How to apply for permits
Most permit offices are happier than you think to help homeowners. The secret is to walk in with a clear, legible plan and a scope that does not keep changing mid-application.
Step 1: Check with the building department
Ask what permits apply to your scope. Many areas break this into separate permits such as building, electrical, plumbing, and mechanical. Some bundle them. Also ask whether you need contractor licenses for certain trades, even if you are doing the work yourself.
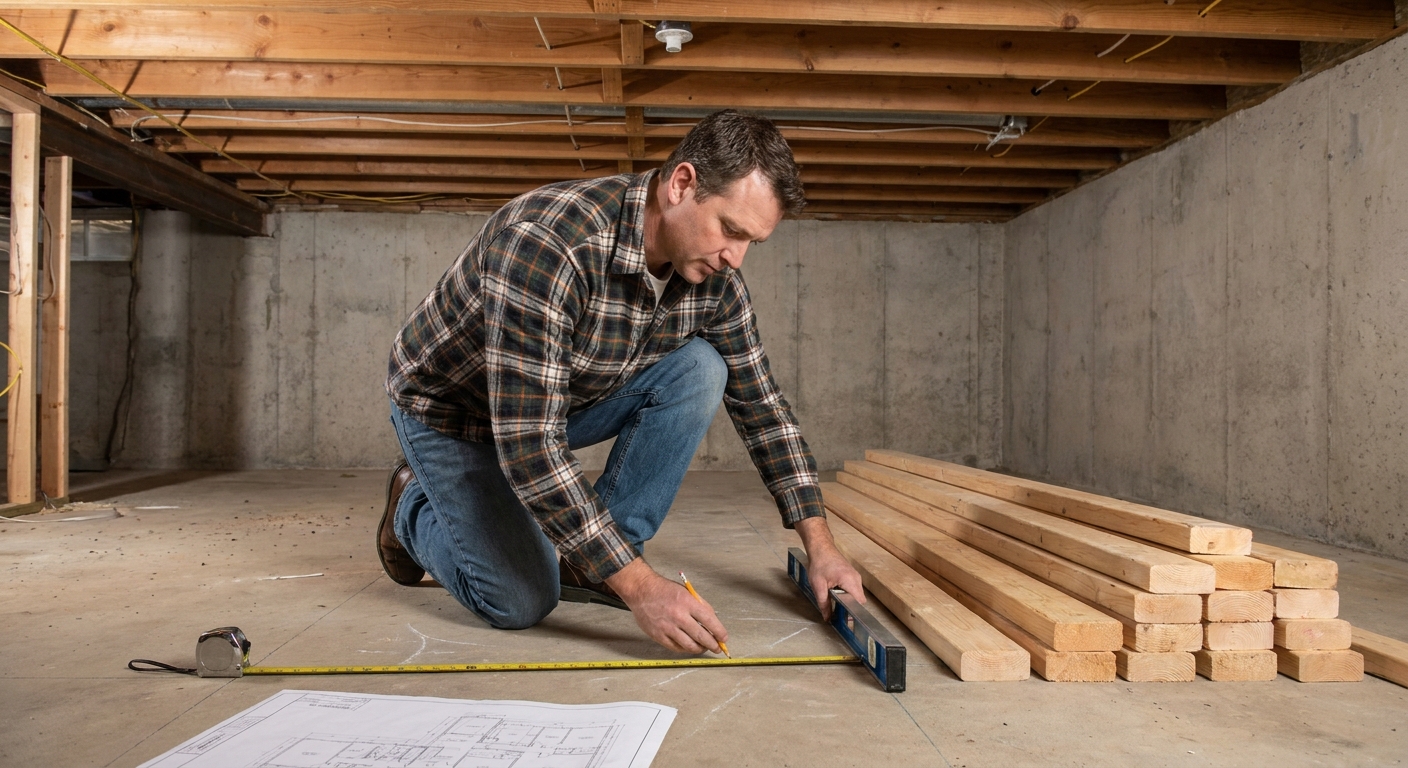
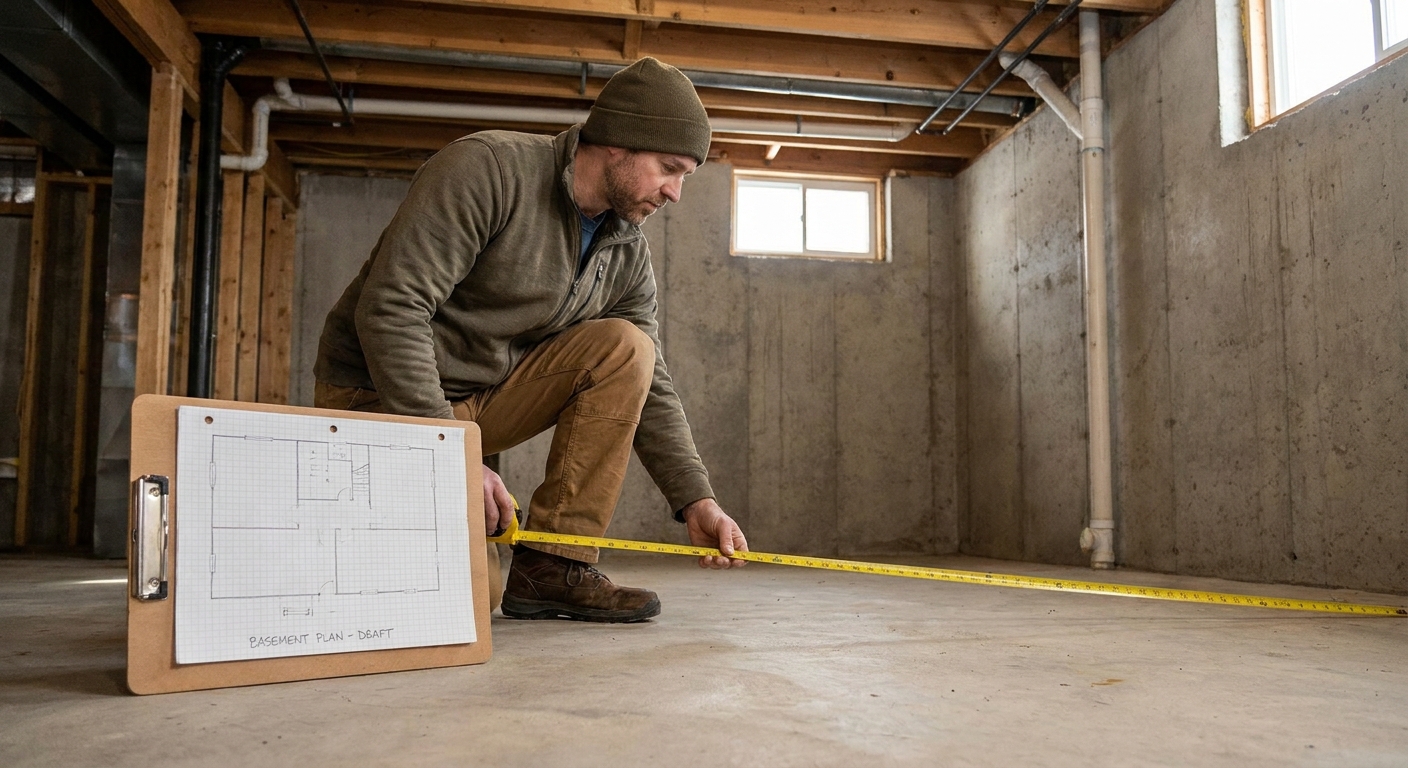
Step 2: Prepare a simple plan set
Your drawings do not need to be fancy, but they do need to be readable. A typical submission often includes:
- Floor plan showing room layout, dimensions, doors, and windows.
- Room use for each area, especially any bedroom or sleeping area.
- Egress details if adding a bedroom or changing a window or door opening.
- Electrical plan showing outlets, lights, switches, smoke and carbon monoxide alarms, and panel location.
- Plumbing plan showing fixture locations, and notes about pumps or tie-ins if applicable.
- Framing details if you are altering structure, building around beams, or modifying stairs.
When I say “simple,” I mean something like: a one-page sketch with a clear outline of walls, door swings, window locations, and room dimensions written in. It should match what you actually plan to build.
If you are reworking the layout and want help thinking through room sizes and budget tradeoffs, the broader approach is in Planning & Budgeting.
Step 3: Submit and respond to corrections
Plan reviewers may kick back a short list of corrections. This is normal. The fastest way through is to answer in the same format they requested and keep revisions obvious. If you do not understand a comment, call and ask. Most reviewers would rather explain once than review the same unclear revision twice.
Step 4: Keep approved plans on site
Inspectors often want to see the permit posted and the approved plans available. Even if you are working nights and weekends, keep that paperwork where it can be found.
Inspections: typical sequence
Exact order varies, but this is a common flow. The main idea is that inspectors want to see work before you hide it behind insulation and drywall.
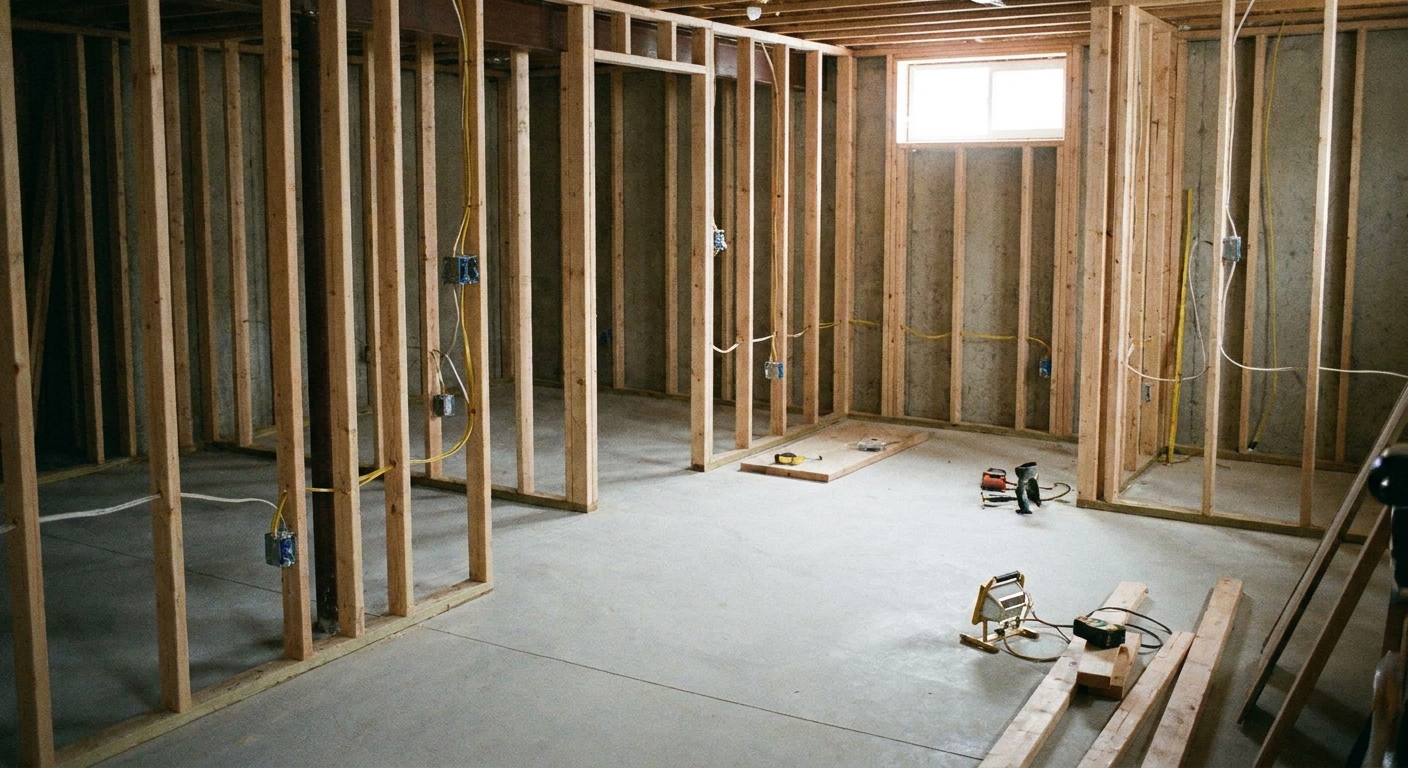
- Framing rough-in: Stud walls, soffits, blocking, fire stopping, and basic layout.
- Rough electrical: Boxes, wiring, and panel work before insulation.
- Rough plumbing: Drain, vent, water lines, and tests as required.
- Rough mechanical: Ductwork, bath fans, combustion air, and equipment clearances.
- Insulation: R-values, vapor control approach, and air sealing where required.
- Drywall and fire protection: In some places, there is a separate inspection at this stage.
- Final inspection: Devices, trims, handrails, doors, alarms, and overall habitability.
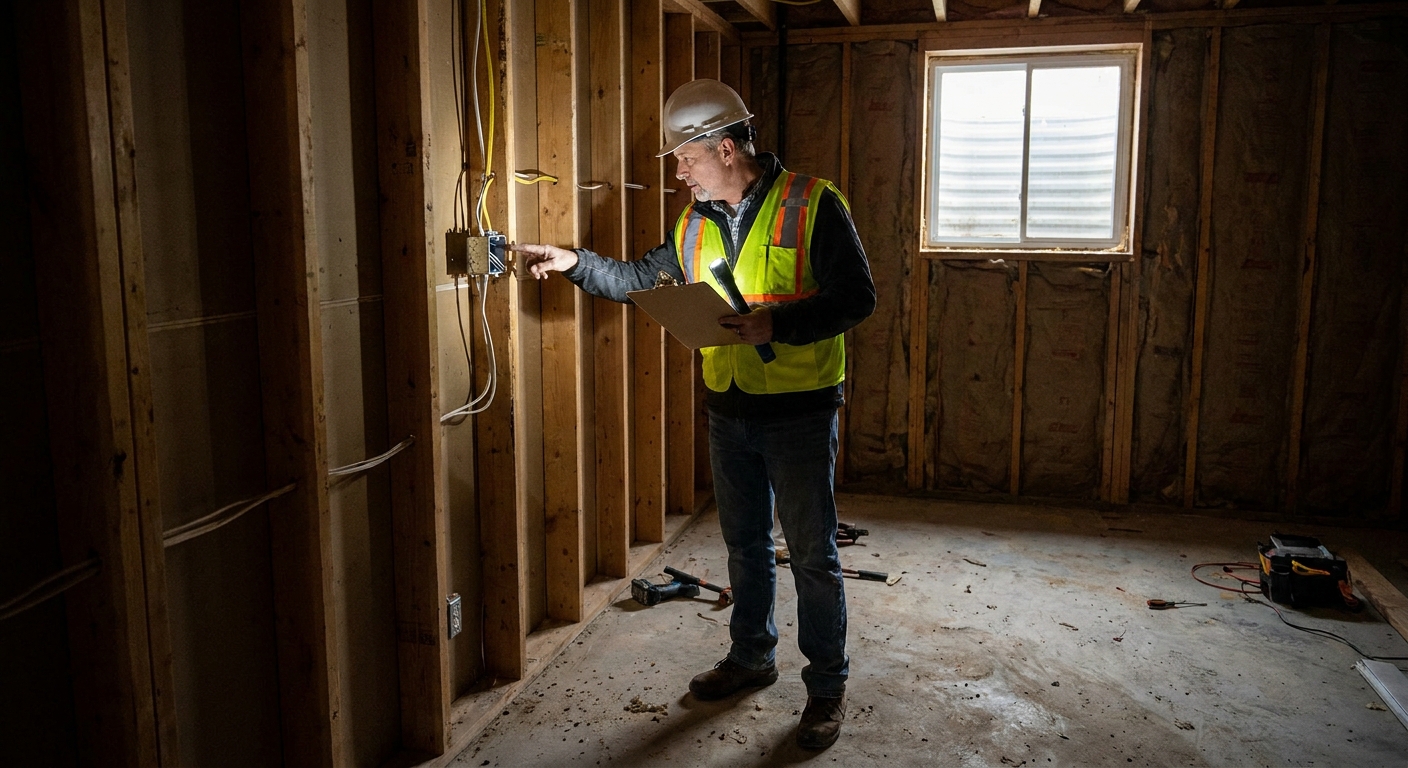
My best DIY tip here is simple: do not schedule an inspection until you can pass it. Walk the job like an inspector would, with a bright light, and compare it to your approved plans.
Documents you may be asked for
Most inspectors do not want a binder full of paperwork, but I have been asked more than once for proof of what I installed. It helps to keep a small folder (paper or digital) with:
- Egress window specs showing clear opening size (and window well specs if applicable).
- Insulation labels or product info showing R-value.
- Bath fan information such as airflow rating and duct size (and confirmation it vents outdoors, not into a soffit or attic).
- Smoke and CO alarm packaging showing type and power source if there is a question.
Zoning and HOA notes
Building permits are not the whole universe. If you are adding a separate entrance, creating an accessory dwelling unit setup, or making exterior changes like a new window well, zoning rules or an HOA may also apply. Your building department can usually point you in the right direction if you ask, and it is better to learn it early than after you have framed everything.
Already finished without permits?
This comes up more than people admit, especially in older homes. You have a few paths, and which one makes sense depends on your local rules and how the space was built:
- As-built permitting: Some jurisdictions allow you to apply for permits after the fact, but they may require sections of drywall to be opened so work can be verified.
- Permit for new scope only: If you are modifying a previously finished space, you might permit only the new work, though inspectors can still require unsafe conditions be corrected.
- Legalize during a remodel: If you are gutting and redoing the basement, it is often the cleanest time to bring everything up to current standards.
If you are unsure how strict your jurisdiction is, ask directly and describe the space honestly. In my experience, it is easier to deal with this upfront than when you are trying to sell.
How long do permits take and what do they cost?
Timelines and costs vary wildly. A small finish with no structural changes might move quickly. A bedroom addition with new egress and a bathroom can take longer due to plan review, multiple trade permits, and coordination.
Instead of trying to guess a universal number, I budget for three things:
- Plan review time: Build slack into your schedule for corrections.
- Inspection scheduling: Some areas book a few days out, some a few weeks.
- Scope creep: The fastest way to blow your schedule is to change the plan after submission.
If you are building a realistic basement budget, include permit fees, potential drawing costs, and a contingency fund. I cover the budgeting mindset in Planning & Budgeting.
Pre-permit checklist
- Confirm whether your project creates a bedroom or sleeping area and what that means for egress.
- Ask whether your jurisdiction requires an emergency escape opening for basements with habitable space, even without a bedroom.
- Decide early if you are adding plumbing, since that can drive layout and concrete work.
- Sketch your electrical and lighting plan so outlets and switches are not an afterthought.
- Plan mechanical room access and clearances before you frame walls.
- Choose a moisture control strategy that fits your climate and foundation type.
- Keep your drawings simple, consistent, and matched to your actual scope.
- Do not cover work until it has been inspected.
FAQ
Can I pull my own basement permits as a homeowner?
Often yes, but it depends on local rules. Some places allow homeowners to pull building and electrical permits for their primary residence, while others require licensed contractors for certain trades. Your building department can tell you what is allowed.
Do I need a permit to add a bedroom in the basement?
Nearly always. Bedrooms trigger egress requirements and usually smoke and carbon monoxide alarm requirements. Depending on your local code, you may also need to meet minimum ceiling height and heating requirements.
What happens if I fail an inspection?
You correct the items listed by the inspector and schedule a re-inspection. Failing is not the end of the world, but it can get expensive if the fix requires removing finished surfaces. That is why I like to do a slow, honest pre-inspection walk-through before calling it in.
Does finishing a basement increase taxes?
It can. Some areas reassess when finished square footage is added, and improvements can be discovered with or without permits depending on local practices. The upside is you are creating legal, marketable living space that is easier to defend when you sell.