The first basement I ever finished was a lesson in optimism. I had my spreadsheet, my materials list, and a big number circled at the bottom that I felt pretty proud of. Then the real-world stuff started happening: the furnace room needed changes, the slab wasn’t as flat as my eyes told me, and the inspector cared a whole lot about things I had never heard of.
If you are planning a basement remodel, the goal is not to fear every surprise. It is to see the common ones coming and budget for them before they derail your timeline. Here are seven hidden costs I see homeowners overlook again and again, plus how to spot each one early.
1) HVAC and ductwork fixes
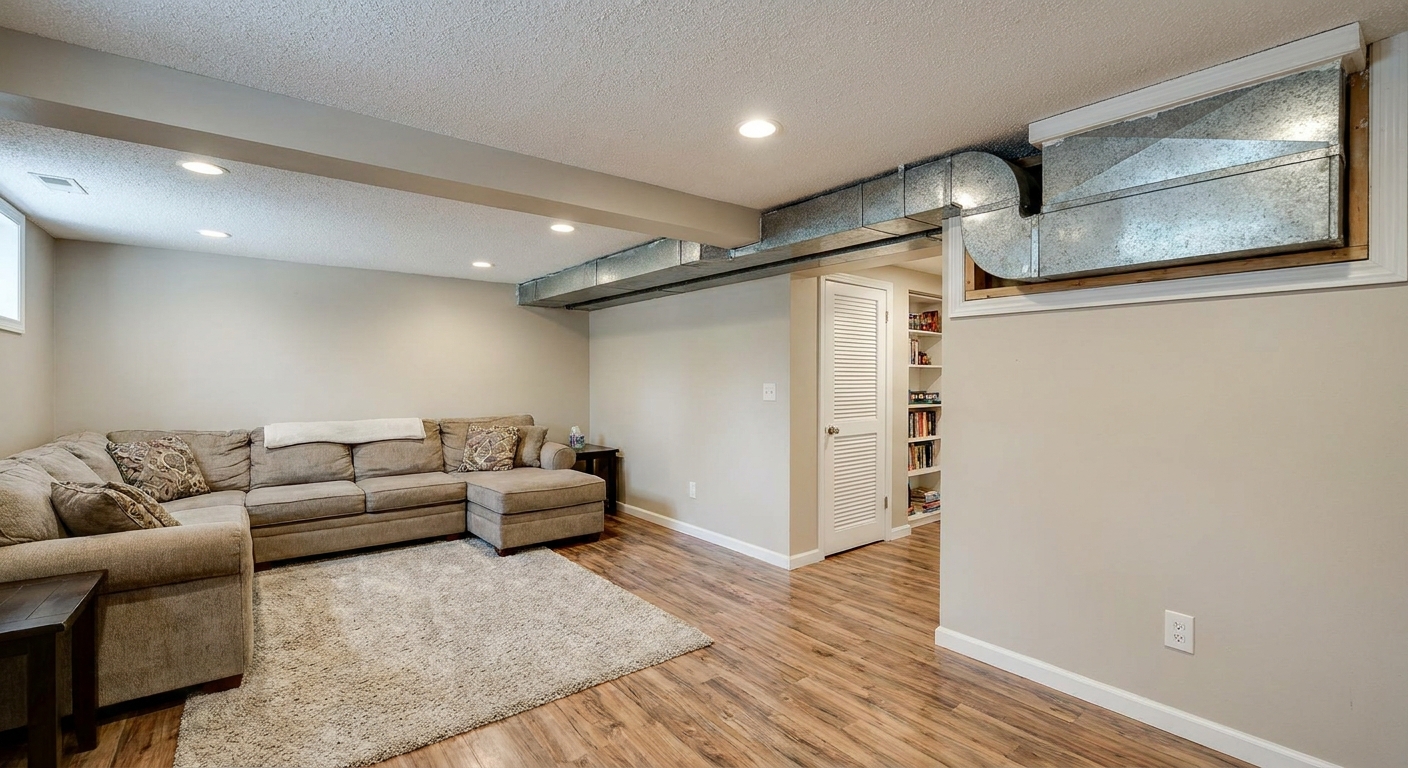
This one is the classic budget buster because it rarely shows up in “cost per square foot” planning. A basement that goes from storage to living space can change your heating and cooling needs, especially if you are adding insulation, doors, and finished rooms. It can also expose airflow problems that were tolerable before you added walls.
Where the money goes
- Adding supply runs and returns so rooms are not stuffy or freezing.
- Balancing the system so your upstairs does not overheat while the basement is comfortable.
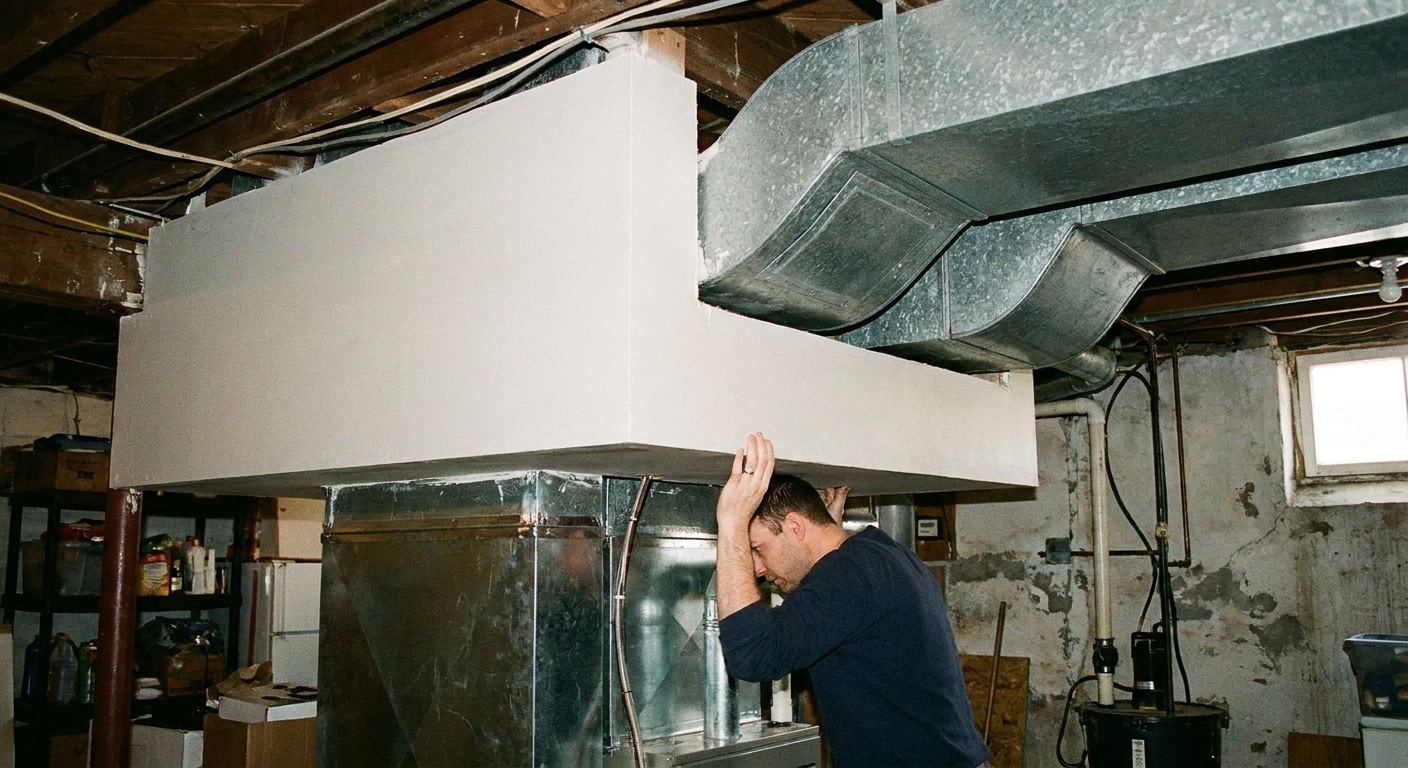
- Relocating or boxing around low ductwork which can force soffits, framing changes, and extra drywall.
- Combustion air and clearances near furnaces or water heaters, especially if you were planning tight mechanical room walls.
How to catch it early: Before you finalize your layout, stand under the main trunk lines and mark their lowest points. Then decide where soffits are acceptable and where they would ruin the feel of the room. If you have not already, sketch your layout around mechanical realities, not the other way around. If you are on the fence about system capacity, a quick HVAC contractor look or a Manual J style load calc can save you from guessing.
If you are still in the planning stage, I walk through layout and budgeting tradeoffs in Planning & Budgeting.
2) Slab leveling and repairs
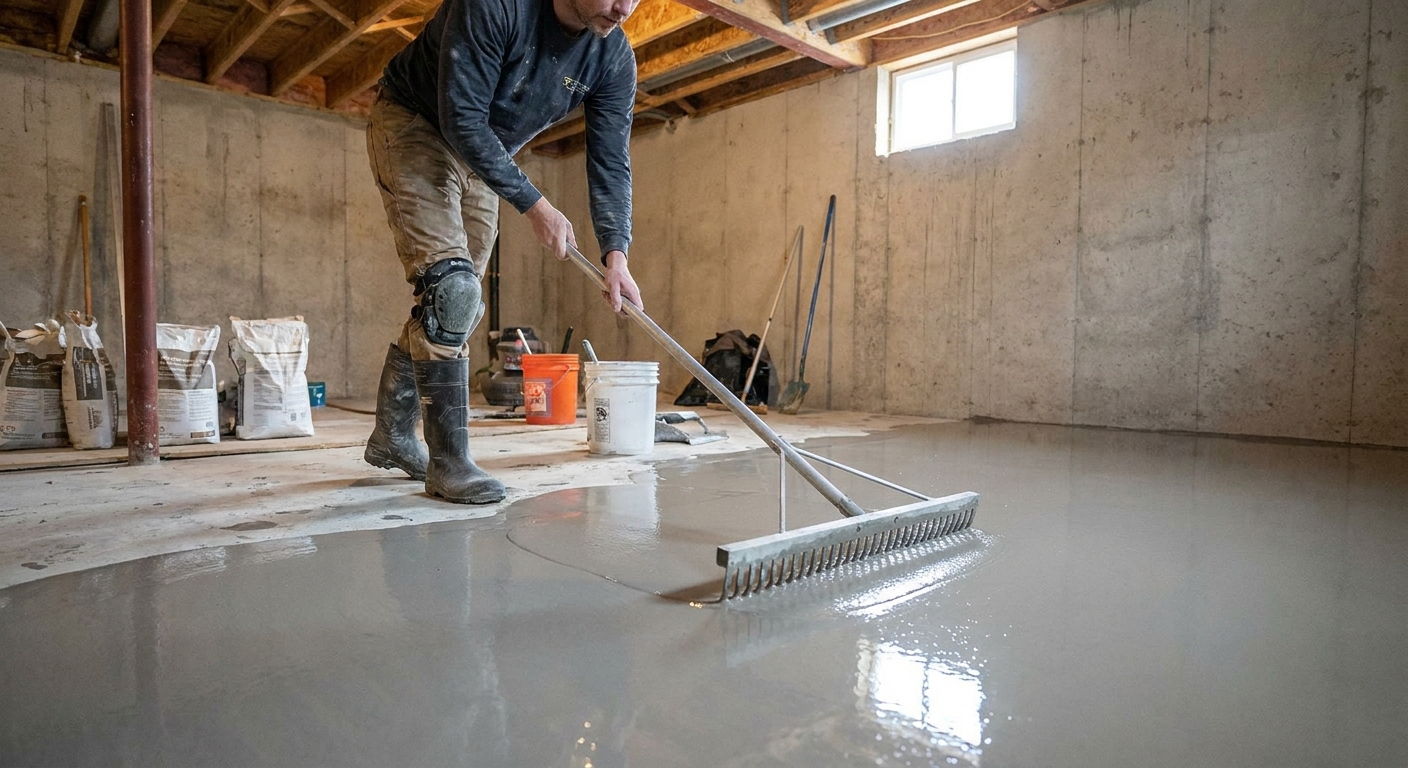
Most basement slabs are “good enough” for storage and laundry. They are not always good enough for vinyl plank, tile, or a perfectly quiet floating floor. A minor slope toward a drain or a few heaved cracks can turn into a big material and labor line item.
Common surprises
- Self-leveling underlayment to flatten dips and birdbaths (low spots).
- Grinding high spots near control joints or old patch areas.
- Crack isolation if you are installing tile or want extra insurance against movement telegraphing through the finish floor.
- Moisture-related floor prep if you discover dampness during prep work.
How to catch it early: Buy or borrow a long straightedge and check the slab in multiple directions, especially where you plan to install finished flooring. Do this before you buy your floor, because some products tolerate unevenness better than others. My overview of basement-friendly choices is here: Flooring Options.
3) Moisture control you did not budget for
I am obsessed with basement moisture for a reason: it is the sneakiest way to waste money. You can build beautiful walls and install expensive finishes, then lose it all to odor, mold growth, or warped materials if water management is an afterthought.
Hidden moisture costs that appear mid-project
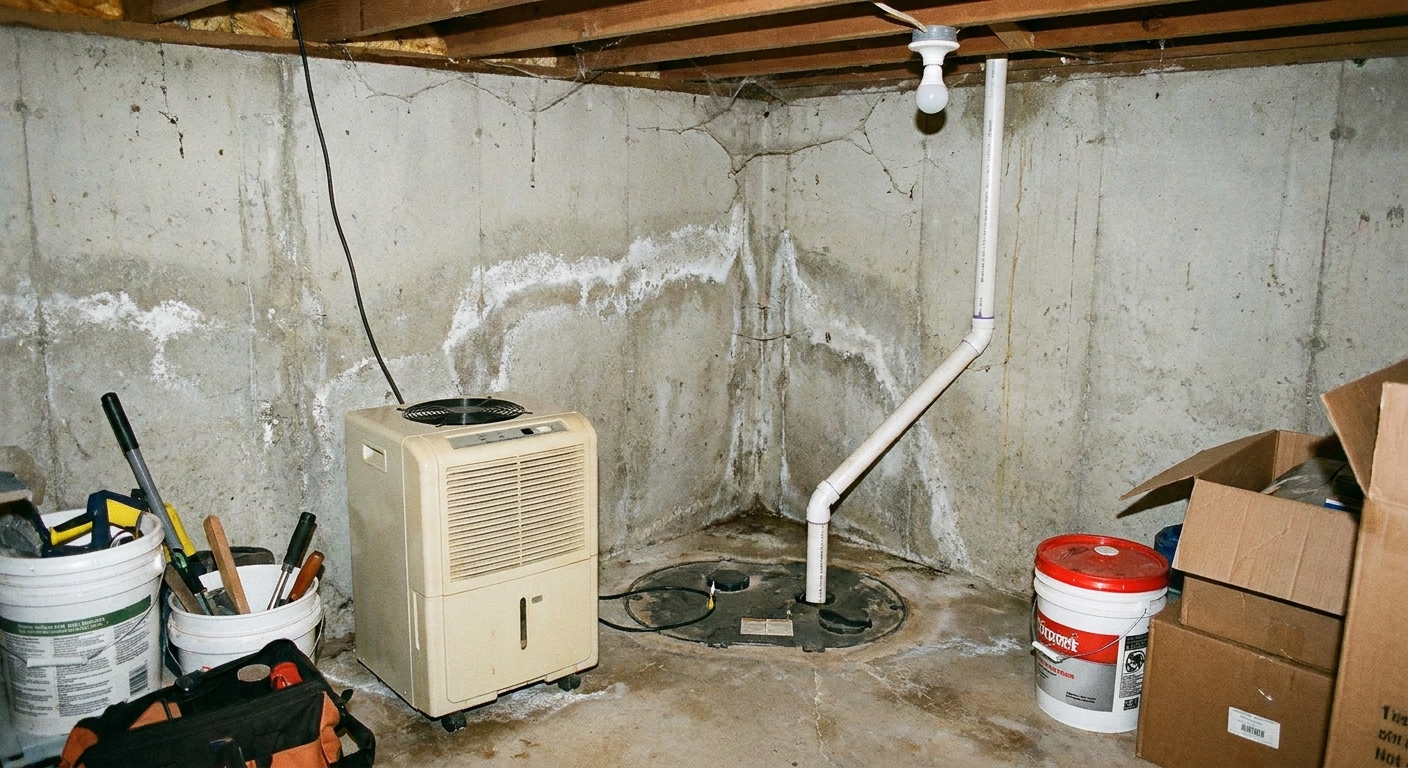
- Dehumidifier capacity upgrades when the “little one” you already own cannot keep up.
- Sump pump fixes or backup additions after you realize how much is at risk.
- Efflorescence cleanup and concrete repairs when you remove old paneling or carpet and see what is happening on the walls.
- Coatings or mitigation changes if your original plan would trap moisture, and you need a more breathable approach or a different assembly.
- Insulation rethinks when you learn the hard way that the wrong assembly can trap moisture.
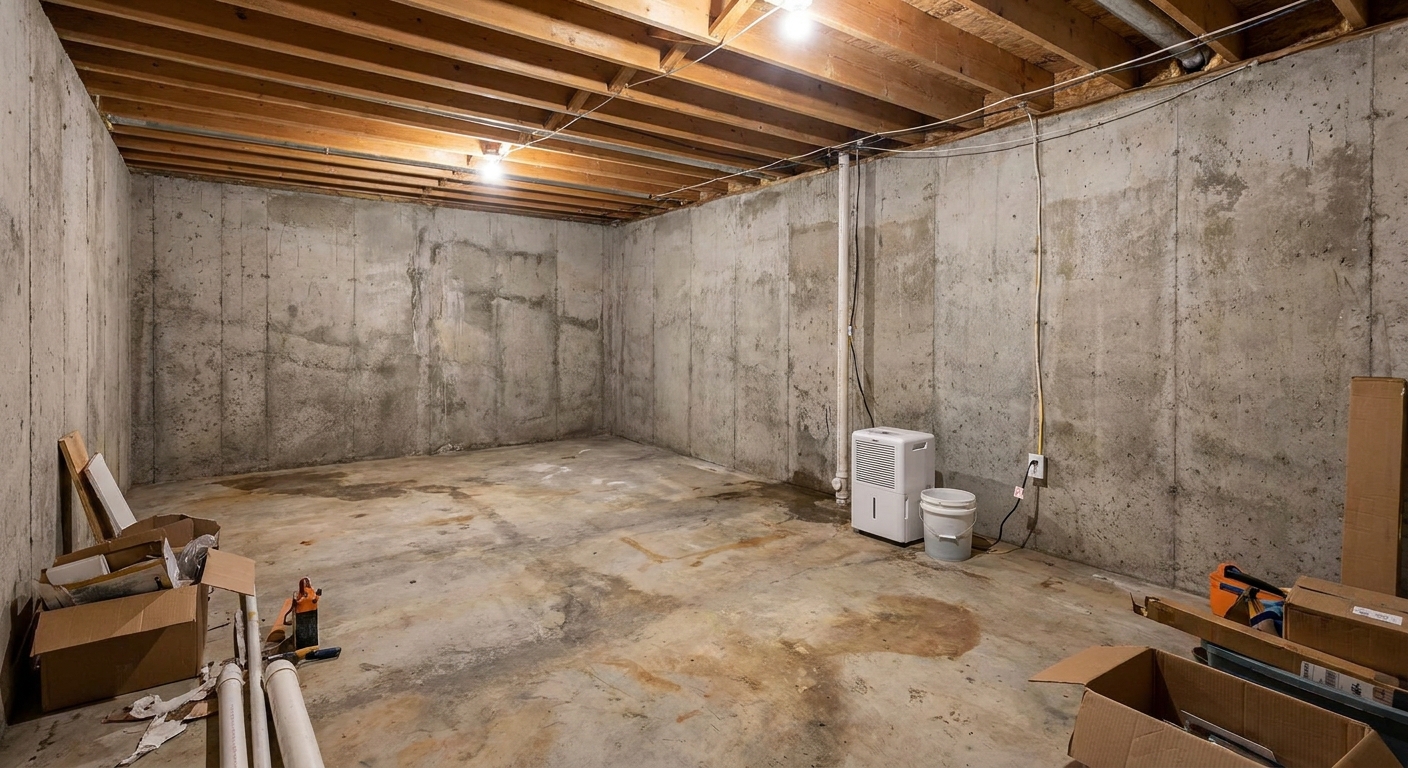
How to catch it early: Do a moisture reality check before you frame anything. Look for white powder on walls, peeling paint, rust at the bottom of metal posts, or a musty smell after rain. If you want a step-by-step way to vet the space, start with Pre-Finishing Basement Checklist and then dig into Moisture Control.
4) Electrical and lighting creep
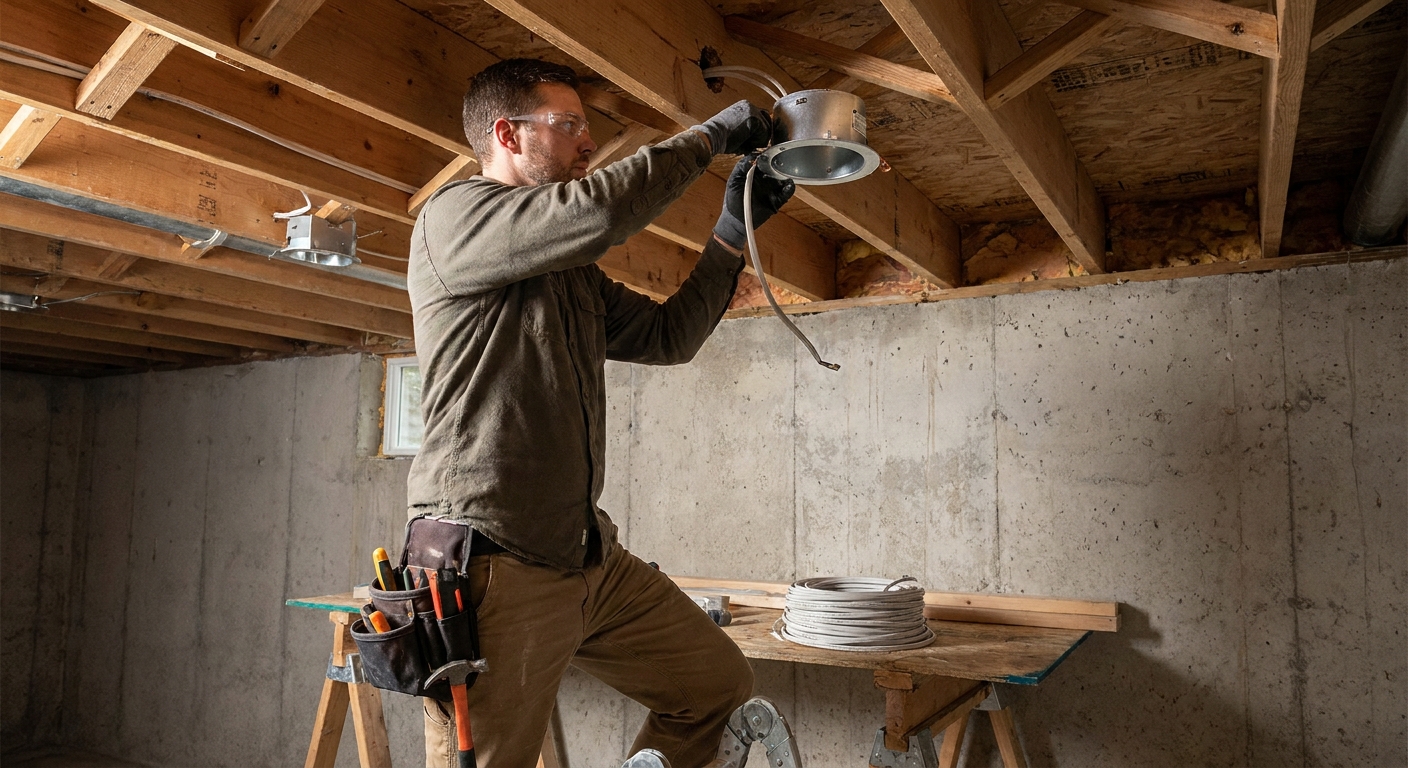
Basements are outlet-hungry. Between a TV or projector, networking gear, a mini fridge, gaming consoles, treadmill, or a home office setup, you can outgrow your original electrical plan fast. Lighting is similar. Once you add walls and paint everything a nice clean color, the old single-bulb pull chain does not cut it.
Budget creep areas
- New circuits for a bathroom, bar area, office, or workout zone.
- Panel capacity if your existing panel is full or undersized for new loads.
- Smoke and CO requirements that are often triggered when you add habitable space or bedrooms, depending on local rules.
- Recessed lighting counts that double once you see a dark corner after drywall.
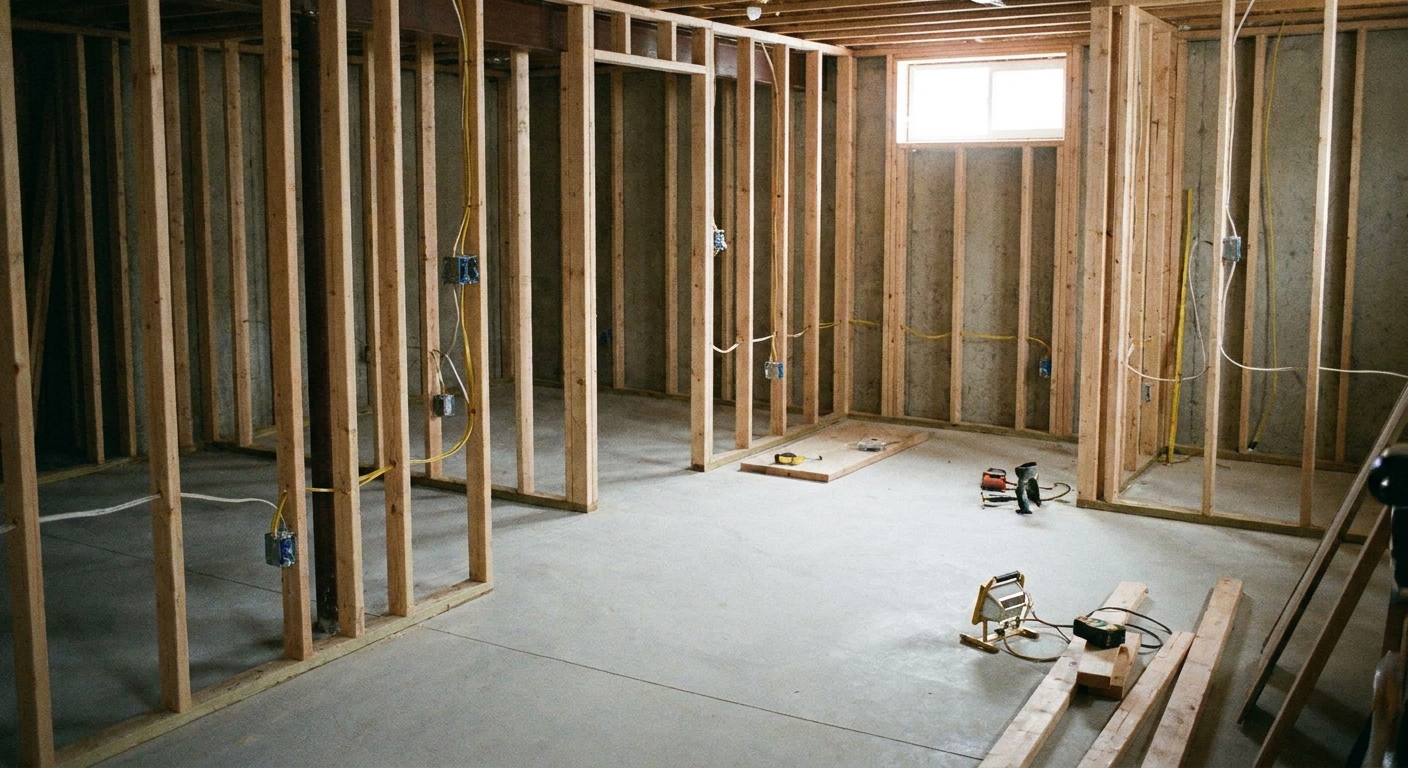
How to catch it early: Walk through your future basement like you are already living there. Where will you charge a vacuum? Where will a lamp go? Where does the Wi-Fi need help? Plan outlets and lighting before framing closes everything in. For a practical overview of basement lighting choices and finish planning, see Lighting & Finishes.
5) Code items you find late
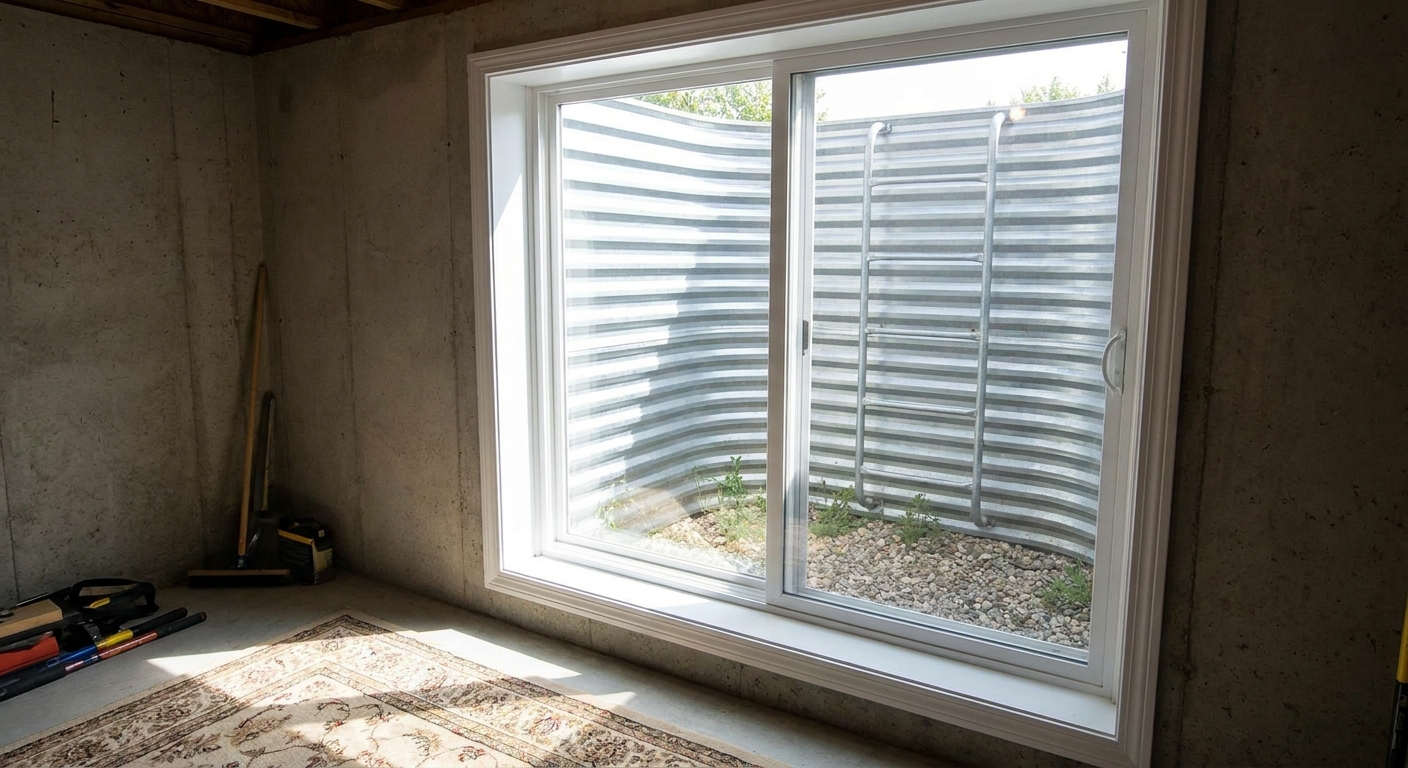
Even if you are handy, code details can be surprisingly expensive when they show up late. The big one is egress, especially if you are adding a bedroom. Then there are smaller items that add up: handrails, stair geometry fixes, fire blocking, and separation requirements around mechanical spaces.
Common code-related expenses
- Egress window or door work, including cutting, well installation, and drainage.
- Fire blocking and draft stopping materials and labor, especially in soffits and framing cavities.
- Stair and guardrail upgrades that may be required depending on what you change and what your inspector enforces.
- Mechanical room requirements that change how you frame and door the space.
How to catch it early: Decide now if you are creating sleeping space. If yes, treat egress as a core budget item, not a “maybe.” Then take ten minutes to read through the permit process for your area so you know what is likely to be inspected. This guide will help you get oriented: Basement Finishing Permits: What You Need and How to Get Them.
6) Plumbing and bathroom surprises
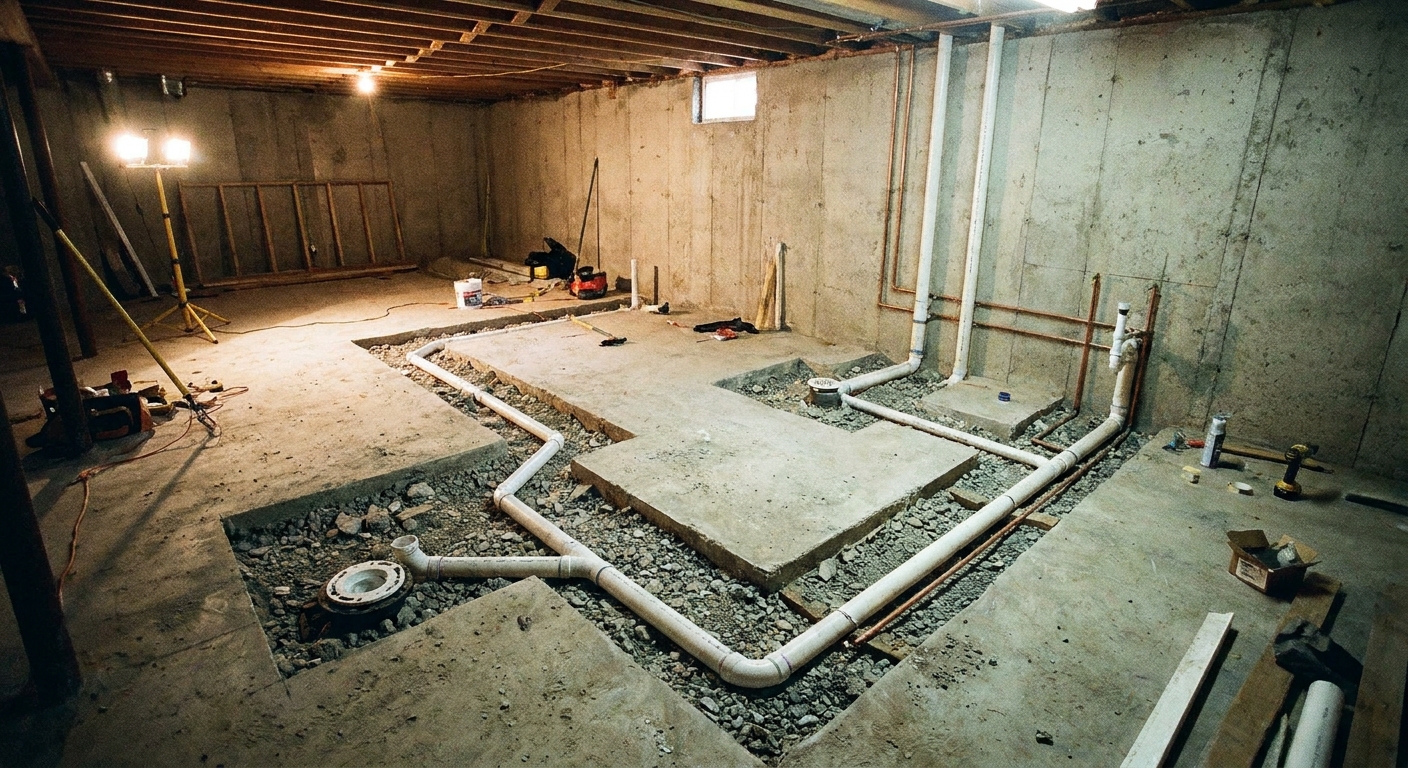
A basement bathroom is one of the best value-adds you can build, and it is also where tiny choices become real dollars. Where you place the toilet, whether you can tie into an existing stack, how far you are from the main drain, and whether the slab needs to be cut all matter.
Where costs sneak in
- Breaking and patching concrete to run new drain lines.
- Ejector pump systems when gravity drainage is not possible.
- Venting constraints that force reroutes or creative framing.
- Water heater capacity if your family size already pushes the limits.
How to catch it early: Before you commit to a bathroom location, map your existing plumbing. Find the main stack, locate cleanouts, and identify where the building drain leaves the house. If you are not sure what you are looking at, it is often worth paying a plumber for an hour of planning. That one hour can prevent you from jackhammering the wrong section of slab.
7) Permits, inspections, and rework
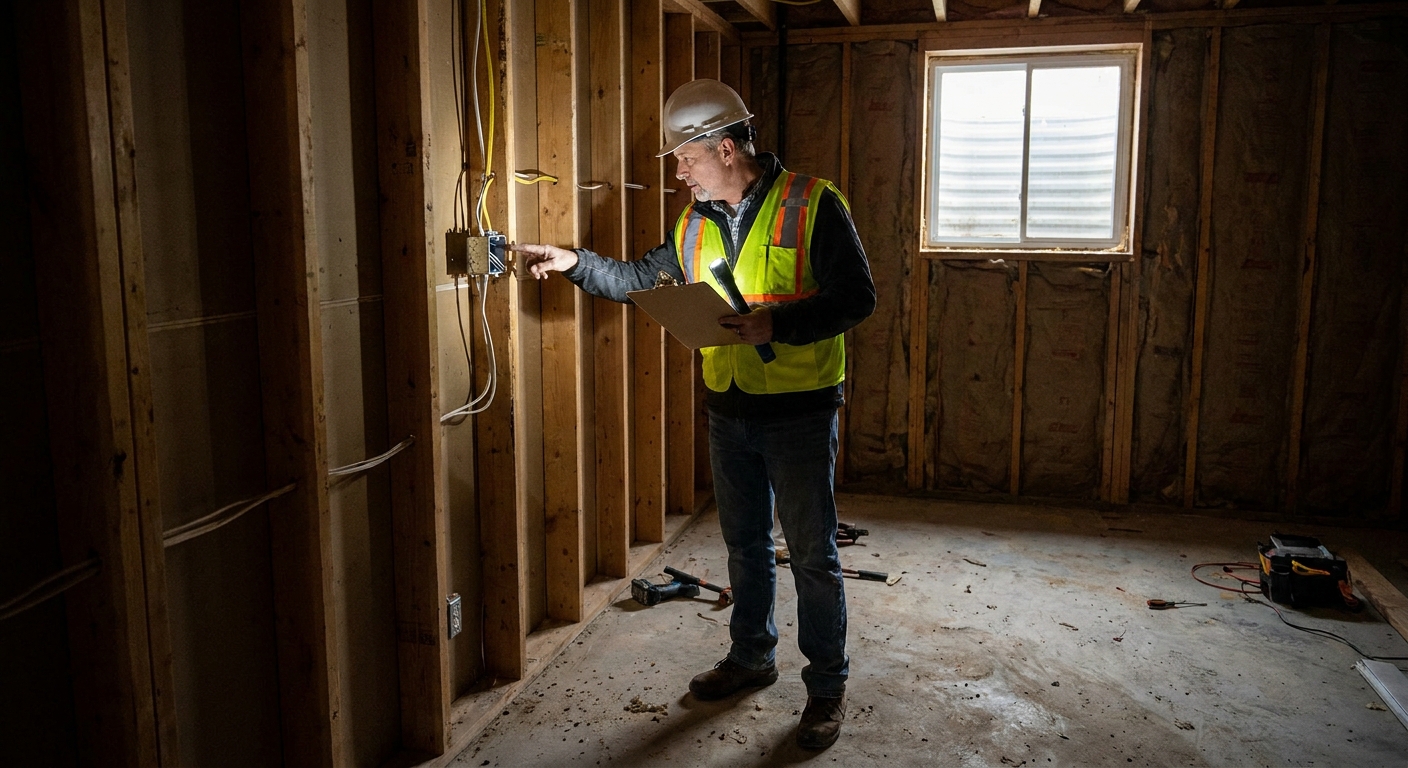
Permits are not just fees. They also shape your schedule and your sequencing. The hidden cost is usually not the permit itself. It is the redo when you framed a wall, insulated it, or closed a ceiling before an inspection step or before you confirmed a clearance requirement.
What to budget beyond the permit fee
- Inspection-driven changes like adding nail plates, fire blocking, or access panels.
- Time delays that extend tool rentals or force material storage in the way.
- Finish rework when you have to open drywall to correct wiring, plumbing, or mechanical details.
How to catch it early: Build an inspection sequence into your plan and confirm it with your building department. A typical flow is framing and rough-ins (sometimes separate, sometimes combined), then insulation, then drywall. The order varies, but the principle is the same. Do not cover work that someone will need to see. My best advice is to treat inspections like part of the build, not an interruption to it.
A simple way to protect your budget
If you only take one practical move from this list, do this: set aside a real contingency fund. For DIY basement finishing, I like 10 to 20 percent as a rule of thumb, depending on how old the home is and how unknown the moisture and slab conditions are. Older homes and wet basements deserve the higher end.
One caveat from the real world: major water problems, structural repairs, or environmental remediation in older homes can blow past that range. If you suspect those issues, budget and plan for them up front instead of hoping they stay hidden.
Also, make your budget categories match real problems, not just materials. Instead of “flooring,” break it into “flooring + prep.” Instead of “electrical,” break it into “electrical + panel or circuit additions.” That one change makes the hidden costs visible while you can still make smart design choices.
If you want a baseline to compare your plan against, start with Basement Finishing Cost Breakdown Per Square Foot, then plug in the hidden-cost line items above based on what your basement is actually telling you.
Quick FAQ
What is the most common surprise cost?
In my experience it is a tie between moisture control (dehumidification, drainage fixes, correcting a wall assembly that traps moisture) and HVAC changes (adding returns, balancing, dealing with duct height). Both can be invisible until you start opening things up and planning a real layout.
How much extra should I budget?
For most homeowners, 10 to 20 percent is a healthy range as a personal rule of thumb. If your basement has a history of dampness, known cracks, or an older mechanical setup, I would rather see you closer to 20 percent. Truly significant water or structural issues can exceed that, so take early warning signs seriously.
Can I save money by skipping permits?
Skipping permits can cost more later if you have to redo work, run into insurance issues, or fix problems when selling. Even if you do not love paperwork, it is usually cheaper than doing the same work twice. If you are unsure what applies to your project, start here: Basement Finishing Permits: What You Need and How to Get Them.