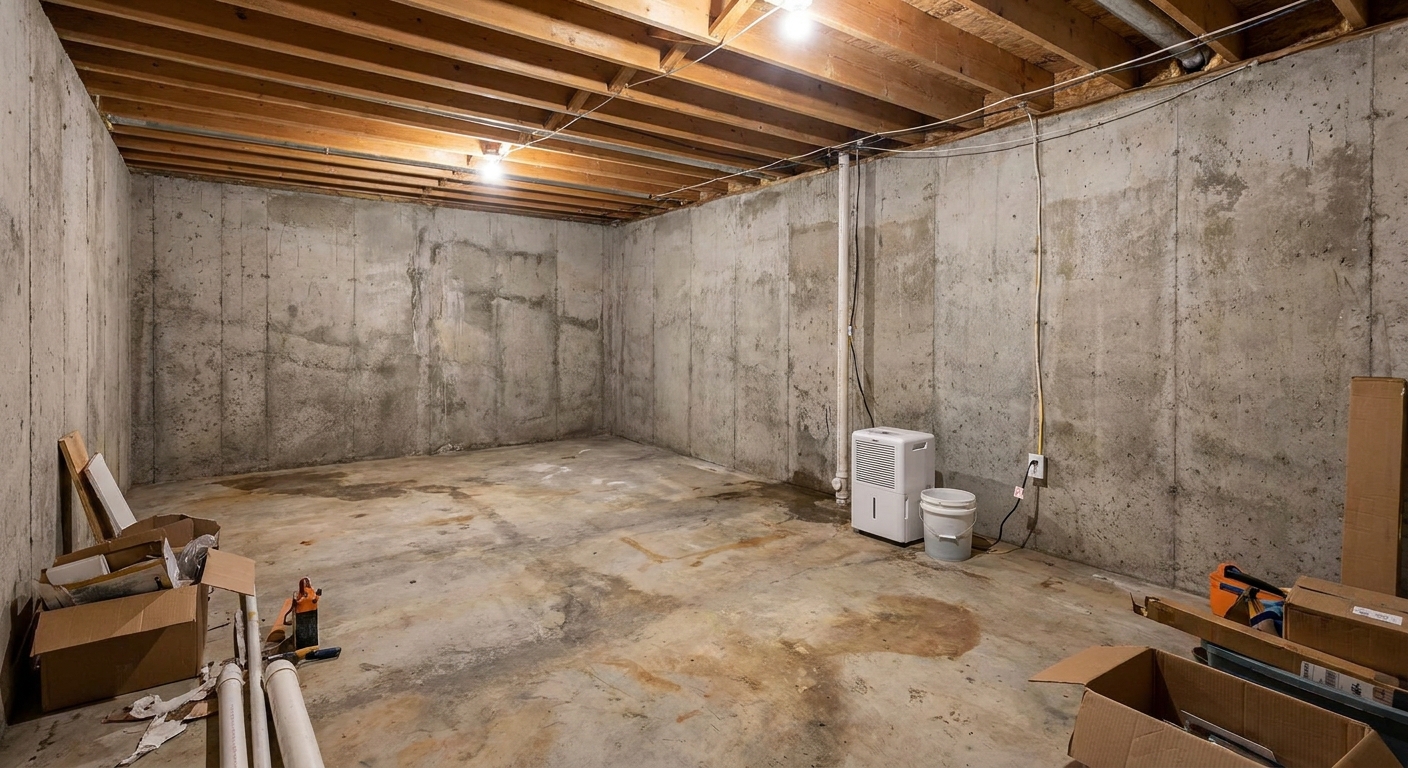
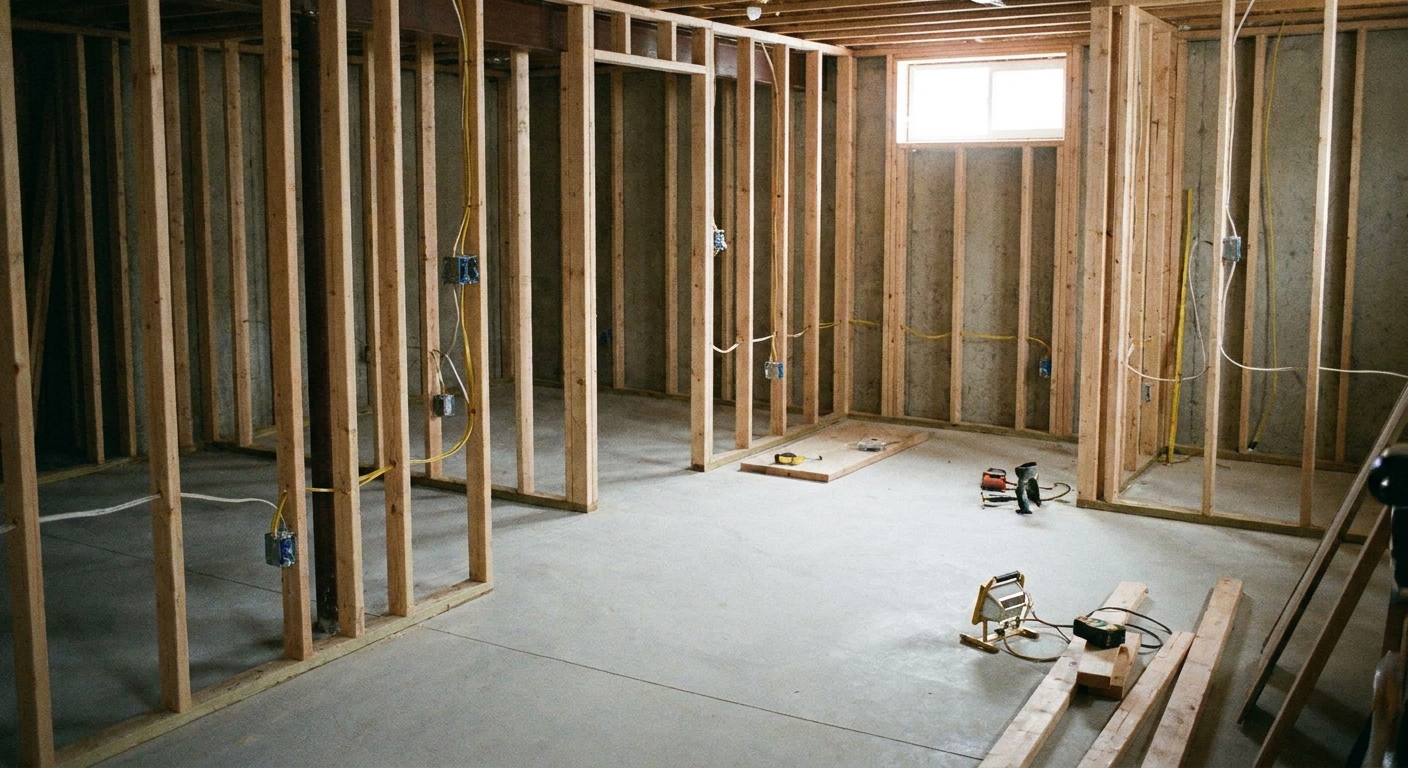
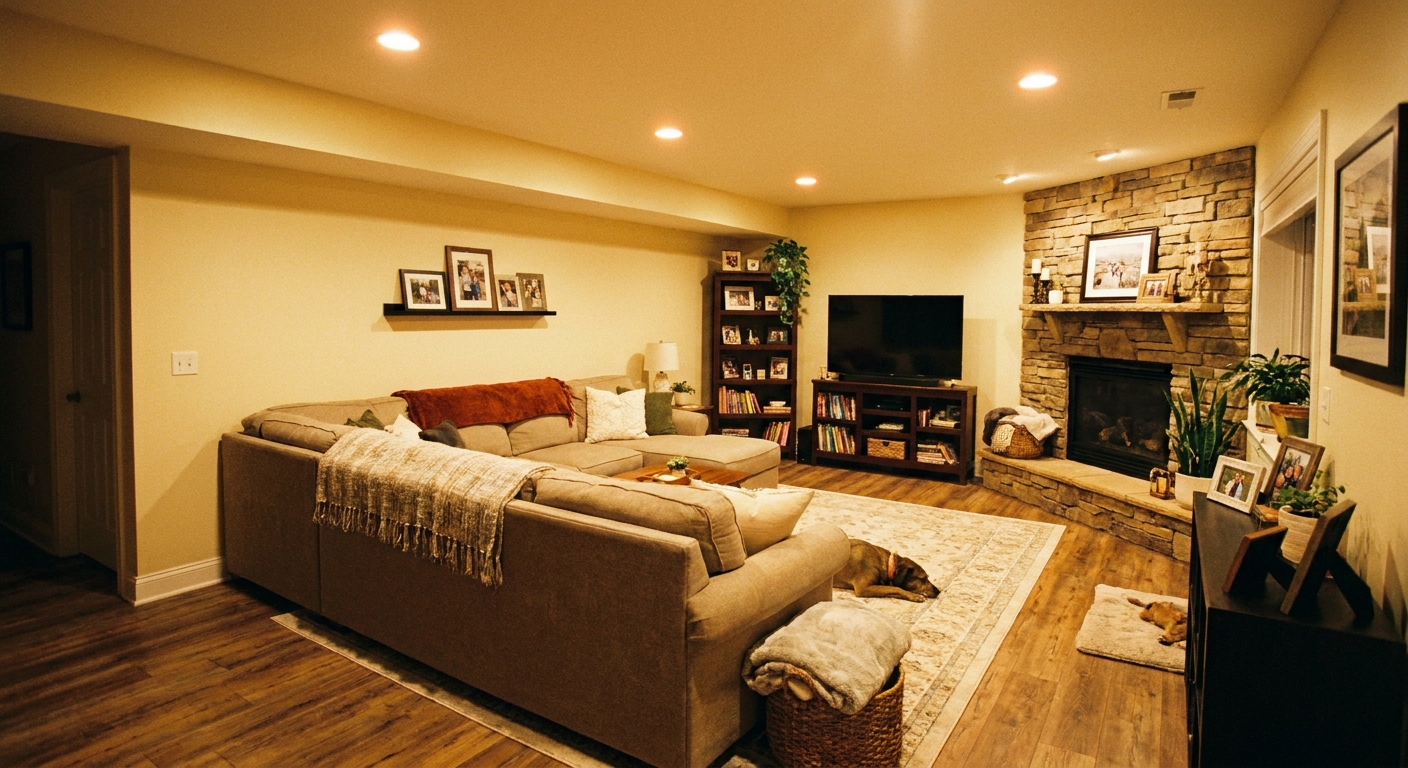
The first basement I finished had that classic “looks great, smells… not great” problem. New drywall, fresh paint, nice flooring, and then a week of summer rain turned the whole space into a slightly sticky, faintly musty reminder that basements play by different rules.
A good dehumidifier is one of those unglamorous purchases that protects everything you do care about: trim, flooring, furniture, electronics, and even your lungs. The trick is buying the right size and choosing the right system so you are not emptying a bucket twice a day or listening to an undersized unit run nonstop.
Start with a target humidity range
For most finished basements, I use 45% to 50% relative humidity as a good starting target. It is comfortable, it discourages mold growth, and it helps wood and flooring materials stay stable. Depending on your climate and season, landing a bit higher or lower can still be totally fine.
- Above the mid-50s: musty odors get easier to trigger, dust mites thrive, and condensation can start showing up on cold surfaces. If you are consistently around 60% or higher, the risk of mold problems goes up.
- 40% to 50%: the sweet spot for comfort and materials in most finished basements.
- Below 35%: often unnecessary in a basement and can feel overly dry in winter.
If you do nothing else, put a simple hygrometer in the basement and learn what your “normal” humidity looks like in different seasons. That one $10 to $20 reading will keep you from guessing.
How dehumidifiers are sized
Most units are rated by how many pints of water they can remove from the air in a day. The catch is that modern ratings are based on standardized test conditions that may not match a real basement. Cooler basements remove moisture less efficiently, and basements with constant infiltration like leaky rim joists, unsealed slab edges, or frequently opened exterior doors create a larger ongoing load.
So I use pint capacity as a starting point, then adjust based on the space conditions below. In practice, a modestly oversized unit often performs better because it can maintain humidity without running 24/7. The tradeoff is that extreme oversizing can lead to short-cycling, so you want bigger, not ridiculous.
Pick a pint capacity
If you want a quick, homeowner-friendly way to get close, do this in order. Think of these as rules of thumb, then sanity-check them against the manufacturer coverage chart and the unit’s operating temperature range.
Step 1: Estimate the square footage you actually condition
Use the finished area plus any connected spaces that share air (open stairwells, adjacent storage rooms with louvered doors, utility rooms that are not sealed off). Dehumidifiers do not respect your floor plan if air can move freely. A closed bedroom door can turn that room into a damp pocket even when the hallway feels fine.
Step 2: Choose a baseline pint range by size
- Up to 800 sq ft: 30 to 50 pints/day
- 800 to 1,200 sq ft: 50 to 60 pints/day (this is the common “workhorse” size range)
- 1,200 to 2,000 sq ft: 60 to 70 pints/day, or a basement-rated ductable unit
- Over 2,000 sq ft or multi-room layouts: consider a ducted, basement-specific dehumidifier system
Step 3: Add capacity for real-world basement conditions
Move up one size category if you have any of these:
- Seasonal dampness (humidity spikes in summer or during long rains)
- Cool basement temps (often below 68 F)
- “Basement smell” history or prior mold cleanup
- Uninsulated rim joists or lots of air leakage
- Frequent showers in a basement bathroom, or a kitchenette or laundry that runs often
Step 4: If you are between sizes, go bigger and plan the drain
The biggest complaint I hear is not “my dehumidifier is too powerful.” It is “why am I always emptying this thing?” If you oversize slightly and set up continuous drainage correctly, it becomes background equipment instead of a daily chore.
System options
You have three realistic routes. Which one is best depends on layout, noise tolerance, and whether you are finishing one room or building a whole lower level.
Option 1: Standalone portable dehumidifier
Best for: most DIY basement finishes, smaller to mid-size basements, budgets that prioritize value.
Pros:
- Lowest upfront cost
- Simple setup, easy replacement
- No ductwork required
Cons:
- Noise in the room (fan plus compressor)
- Air treatment is localized, so closed doors can create damp pockets
- Needs a smart drain plan to avoid bucket duty
If your basement is chopped into multiple rooms, you can still do portable, but pay attention to airflow. Sometimes one unit in a central hallway plus undercut doors or transfer grilles works better than parking it in a far corner room.
Option 2: Basement-rated ducted dehumidifier
Best for: larger finished basements, multi-room layouts, homeowners who want quieter operation and more even humidity control.
These are the “whole-basement” style units designed to be ducted so you can pull humid air from problem zones and distribute dry air more evenly.
Pros:
- More consistent moisture removal at typical basement temperatures
- Can be ducted to distribute dry air and pull return air from problem zones
- Often supports fresh air intake and better filtration options
Cons:
- Higher upfront cost
- More planning required for duct runs and condensate drainage
- More installation work than plug-and-play
Option 3: HVAC-integrated approach
Best for: whole-home moisture control, finished basements that are part of a full HVAC redesign, or situations where you need dehumidification even when the AC is not running.
Important distinction: standard air conditioners remove moisture only when they run. In shoulder seasons, your basement can be humid even if the home does not need cooling. A dedicated dehumidifier tied into ductwork is a different animal than “just use the AC.”
Pros:
- Even humidity control across multiple rooms
- Quieter in living areas (equipment can be in a mechanical room)
- Can be part of a clean, built-in solution for finished spaces
Cons:
- Design and install complexity
- Needs correct duct sizing and return paths
- Often best handled by a pro if you are not comfortable with HVAC work
If you are still in the planning stages, it helps to map this decision into your remodel sequence. I break that out in Basement Remodel Timeline: Correct Order of Operations so you can decide on drainage, electrical, and mechanical needs before walls close up.
Continuous drainage
In a finished basement, I treat continuous drainage as non-negotiable. Buckets overflow, people forget, and you do not want a surprise puddle soaking new flooring.
Best drainage options (ranked)
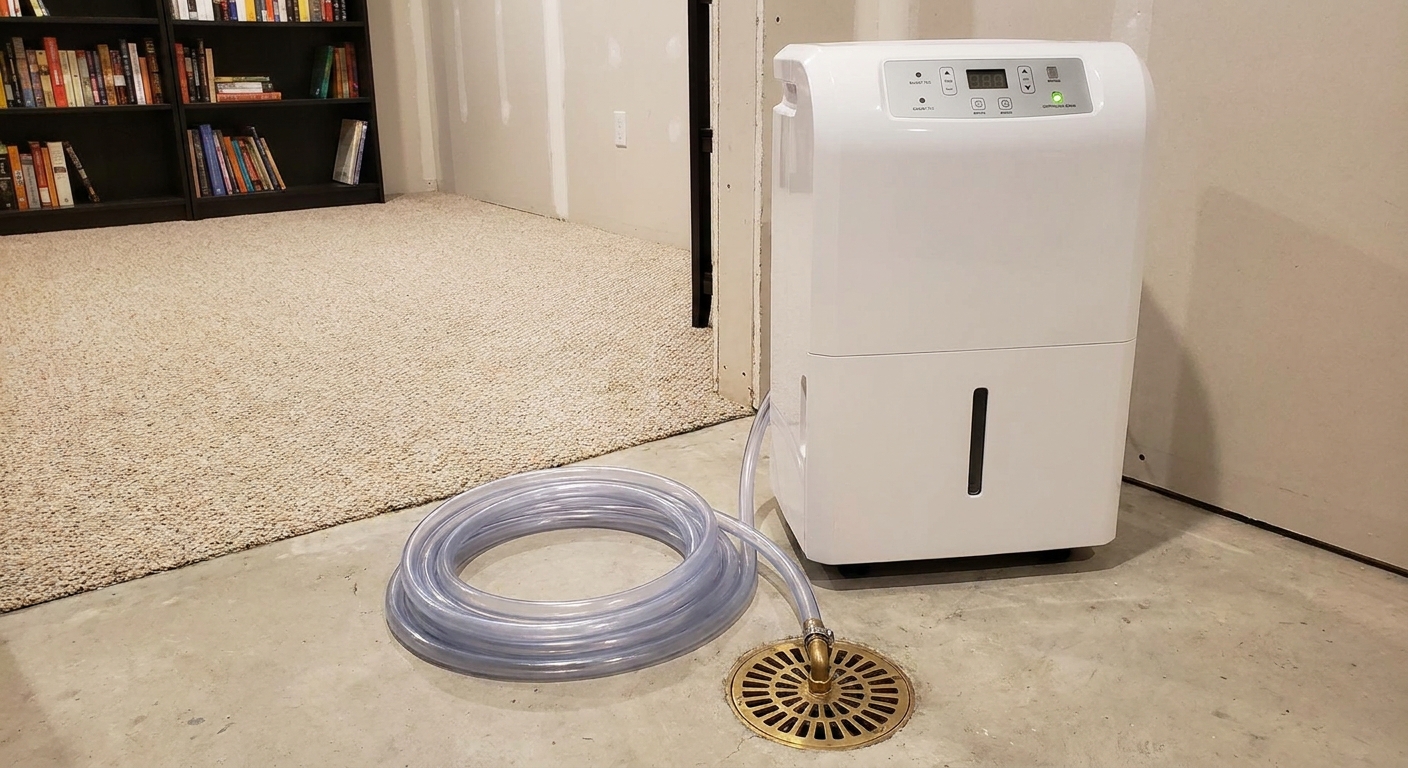
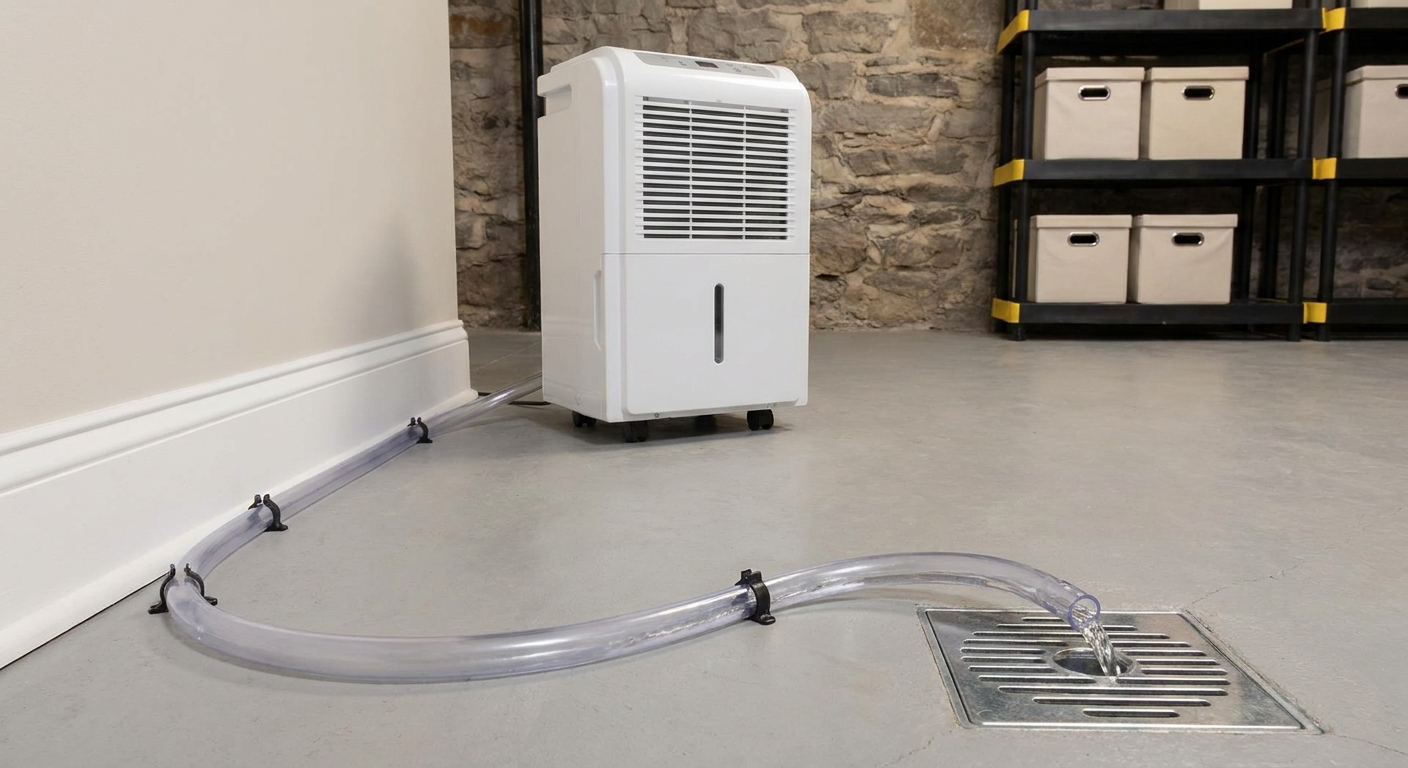
- Gravity drain to a floor drain: simplest and most reliable if you have a properly functioning floor drain and you can place the dehumidifier higher than the drain inlet.
- Condensate pump to a sink or standpipe: great when you do not have a floor drain nearby. Pumps add a failure point, but they are common and work well if installed neatly and maintained.
- Gravity drain to a sump basin: workable if your sump is sealed and you route the hose cleanly. Avoid creating openings that let humid air or odors travel.
Drain hose tips that prevent headaches
- Use a short, smooth run with a steady downward slope for gravity drains. Kinks or sags create water traps and backflow.
- Secure the hose at the drain so it cannot pop out. A simple clamp or tie is cheap insurance.
- Use an air gap when you can if you are draining into a sink or standpipe. It helps prevent backflow and keeps odors from finding their way back through the hose.
- Plan for cleaning. Algae and biofilm can build up in hoses over time. Once or twice a year, flush the line with warm water and a mild cleaner the manufacturer allows.
- Keep the unit accessible. You will still need to clean filters and occasionally check the coil.
What about draining into a bathroom shower or sink?
It can work if the run is short and secure, but I prefer not to rely on a hose draped across a finished room. If that hose gets kicked loose, you are back to the puddle problem. If you go this route, consider a condensate pump and route the discharge line tight to the wall or ceiling in a clean, protected path.
Electrical and placement
Give it a proper outlet
Dehumidifiers draw real power. Avoid light-duty extension cords, and do not share a questionable basement circuit with high-load items if you can help it. If you are already pulling permits for your basement finish, this is the time to plan a dedicated receptacle in the mechanical area. If you are unsure what your local inspector expects, see Basement Finishing Permits: What You Need and How to Get Them.
Place it where air can circulate
- Keep clearance around the intake and exhaust so it can breathe.
- A central area often works better than a tucked-away corner.
- If you have a mechanical room, that is a great place for noise control, but make sure the room has a return path for air.
Account for noise
If your basement includes a home theater, guest bedroom, or office, a loud portable unit can get old fast. In those cases, a ducted unit in the utility space or a quieter, better-built portable unit can be worth the extra money.
Basement temperature matters
Many basements sit in the mid-60s. Standard consumer dehumidifiers can lose efficiency as temperatures drop, and some will frost up more easily. If your basement is cool for long stretches, look for a unit that is designed to perform well at lower temperatures and check the manufacturer’s stated operating range. Basement-rated ducted units often handle cooler conditions better than typical big-box portable models.
This is also a good moment to step back and make sure you are not asking a dehumidifier to solve a bulk water problem. If you have seepage, damp walls, or recurring puddles, start with moisture sources and air leaks first. My broader approach is on Moisture Control, because the best dehumidifier in the world cannot outwork active water intrusion.
Maintenance and operating cost
Dehumidifiers are low drama when you keep up with the basics:
- Filter: check monthly at first. If you have pets or a dusty basement, you may clean it more often.
- Coil and intake grille: take a look a couple times a year and vacuum dust buildup so airflow stays strong.
- Drain line and pump: inspect seasonally for slime, kinks, and loose connections. Test the pump if you have one.
For operating cost, efficiency varies a lot by model and basement conditions. I like units that publish clear efficiency numbers, and if you are comparing similar sizes, energy-efficient models can be worth it if you plan to run the unit most of the year.
How to tell if you bought the wrong size
Signs the unit is too small
- It runs almost constantly and still cannot hold below the mid-50s
- Humidity climbs quickly after showers or rainy days
- Musty odor returns even though the unit is “on”
Signs the unit is bigger than you need
- It short-cycles frequently (on and off repeatedly) and overshoots to very low humidity
- The room feels overly dry for long periods
Most of the time, “too big” is solved by raising the setpoint a few percent. “Too small” usually means upgrading, sealing air leaks, or changing systems.
When to stop and call a pro
If you cannot get humidity under control after sizing up, setting up continuous drainage, and sealing obvious air leaks, it is time to zoom out. I would get help if you have:
- Visible mold growth or recurring musty odors that return quickly
- Persistent wall dampness, seepage, or puddles
- Suspected foundation drainage issues, sump problems, or plumbing leaks
A dehumidifier is great at managing moisture in the air. It is not a fix for water getting in.
A simple buying checklist
- Capacity: choose based on square footage plus real-world dampness factors (and treat coverage charts as your final check).
- Drainage: confirm continuous drain setup before you bring it home.
- Low-temp capability: important in cooler basements, so check the stated operating range.
- Filter access: you will actually clean it if it is easy.
- Controls: clear humidistat settings, and ideally auto-restart after power loss.
- Noise: especially for guest suites and media rooms.
If you are still budgeting the whole project and deciding where to spend for long-term durability, I also laid out my priorities in Where to Splurge and Where to Save on a Basement Renovation. Moisture control is firmly in the splurge column.
FAQ
Do I need one dehumidifier per room?
Not usually. One properly sized unit can handle many basements if air can move freely. If you have several closed rooms, consider a central location, undercut doors, transfer grilles, or a ducted system that can serve multiple zones.
Should I run a dehumidifier in winter?
Sometimes. Many basements get drier in winter, but not all. Monitor humidity and run it as needed. If your unit struggles at low temperatures, you may run it less often, or you may need a model designed for cooler operation.
Is it better to air seal and insulate instead of buying a bigger unit?
Yes, when you can. Air sealing rim joists and addressing moisture entry points reduces the load permanently. A dehumidifier is still helpful, but it should not be your only line of defense.
Can a dehumidifier replace a bathroom exhaust fan?
No. A basement bathroom still needs proper exhaust to the exterior. The dehumidifier helps manage overall humidity, but it is not a spot ventilation solution.