The first basement I finished had one feature I did not plan for: a duct trunk that ran right through the spot where my future hallway wanted to be. The contractor quote to redo it was stomach-turning, so I did what a lot of DIYers do. I built a soffit, hoped for the best, and immediately learned a painful truth. Utilities don’t just take space; they take layout options. If you plan plumbing and HVAC early, you can keep most of your ceiling height and still end up with a basement that feels intentional instead of “boxed-in wherever the pipes went.”
This article is the playbook I wish I had before I framed my first wall: where to route ductwork, how to think about drains for a basement bath, and how to box in mechanicals without sacrificing the entire ceiling.
Quick reality check: local codes vary, and anything that involves joist drilling/notching, moving major duct trunks, or adding new plumbing vents is worth double-checking with your inspector or a licensed pro before you commit.
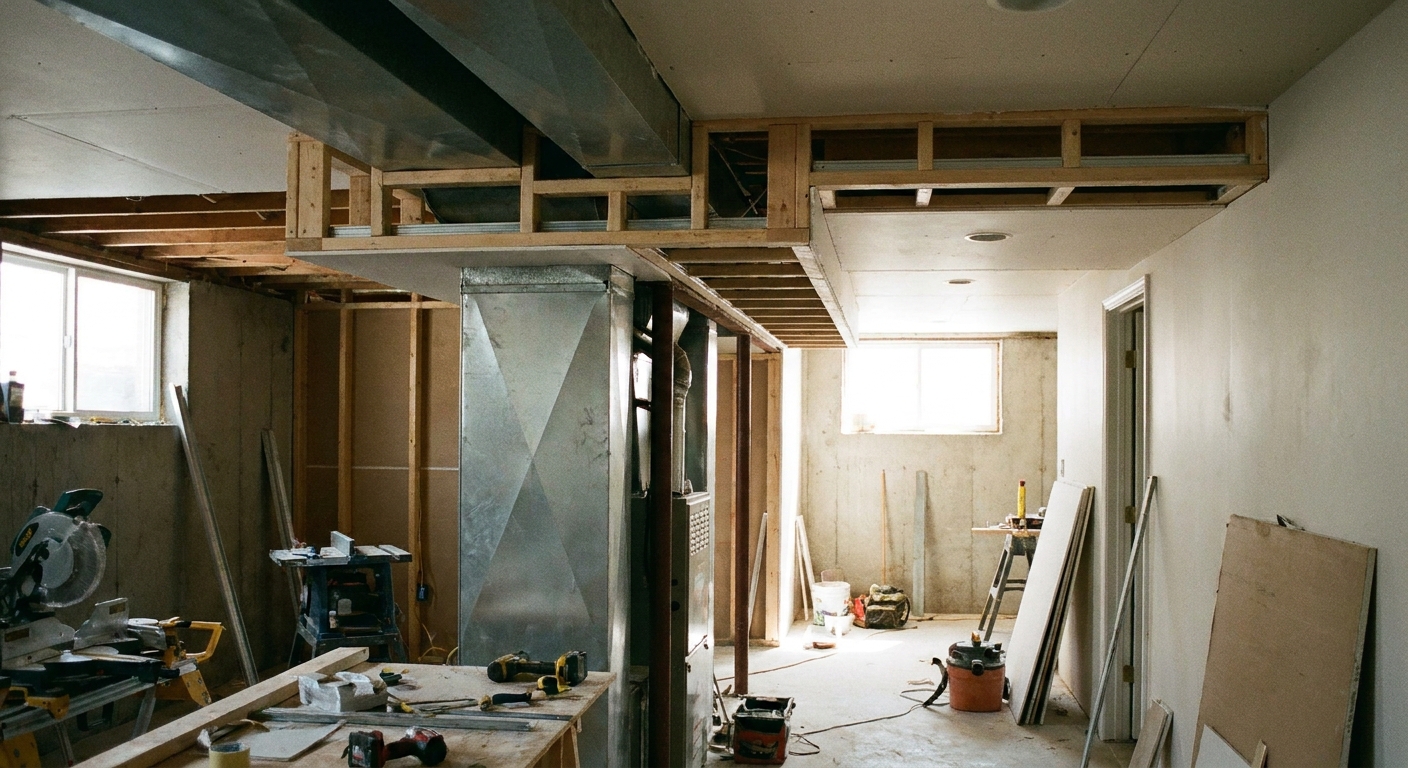
Start with a headroom map
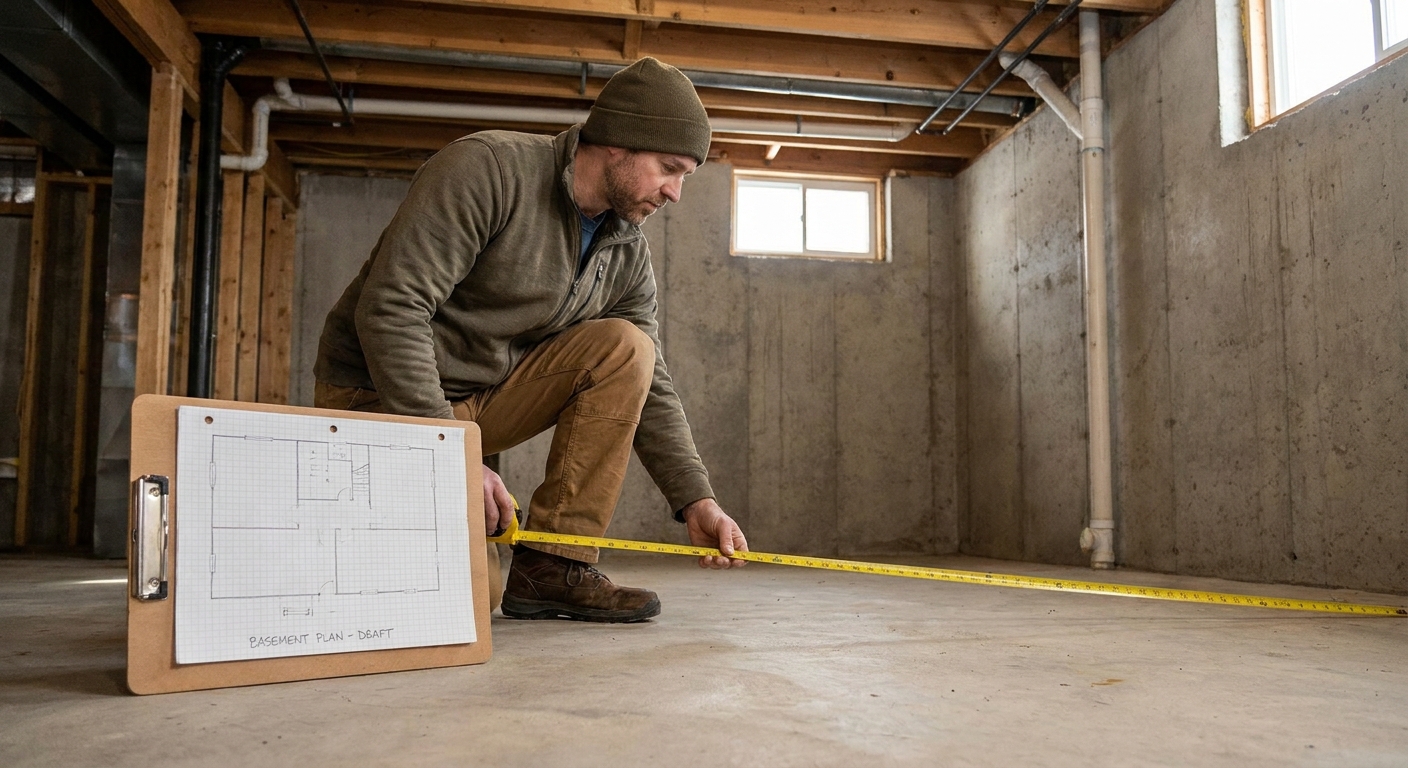
Before you finalize a basement layout, you want a quick “headroom map” of everything hanging from the joists. That includes duct trunks, beam pockets, plumbing stacks, gas lines, electrical runs, and low-hanging surprises like cleanouts or old ceiling-mounted junction boxes.
How to do it (my DIY-friendly method)
- Measure finished height goals: Decide what you are trying to protect. In a lot of basements, the difference between 6 ft 8 in and 7 ft 2 in changes how the space feels. Also, check your local code minimums for habitable areas because 6 ft 8 in is a common baseline in some jurisdictions, but not all.
- Find the lowest obstruction: Measure from slab to the bottom of every major item. Write the lowest numbers directly on painter’s tape stuck to the duct or pipe.
- Mark “low zones” on the floor: Use a laser or plumb bob to transfer the edges of trunks and pipes down to the slab with tape lines.
- Identify the “tall lanes”: You are looking for the cleanest, highest routes for primary living areas and main walk paths.
Once you know where the basement is naturally tall and naturally low, the layout gets easier. Put rooms that need headroom where you have it, and push the unavoidable soffits into places that make architectural sense.
If you have not laid out your space yet, pair this with How to Design a Basement Floor Plan so your utility routes and room placement work together.
HVAC strategy
In many basements, HVAC headroom is lost to one of two things: a big trunk line that crosses the middle of the space, or a messy network of drops that could have been grouped tighter. Your goal is not “hide every duct.” It is “put ductwork where it costs the least headroom.”
1) Decide early: soffit, redesign, or relocate
You typically have three realistic choices:
- Build a soffit: Fastest and most common. Best when the trunk is close to a wall or can be aligned with a hallway, bar area, or room perimeter.
- Redesign duct routing: Can gain serious height, but often requires an HVAC pro and permits. Worth considering if a trunk splits the center of your main room.
- Relocate registers and reduce drops: Sometimes you can keep the trunk but change where supplies drop, which can simplify framing and shrink soffits.
If you are already in planning mode, this is also the moment to think about permit requirements in your area. HVAC changes often trigger inspections, and in some places even register moves can fall under a mechanical permit. See Basement Finishing Permits: What You Need and How to Get Them.
2) Route trunks like highways
I treat trunk lines like highways and branch ducts like local roads. Highways belong at the perimeter whenever possible.
- Best place: Along the foundation wall or tucked tight to a beam line.
- Second best: Along a planned hallway where a soffit reads like a natural ceiling transition.
- Worst place: Across the middle of the largest open room, especially perpendicular to your main sightlines.
3) Do not forget return air
Basement HVAC planning is not just supplies. Return air is where comfort problems show up later. If you build rooms and close doors, you may need a return in the space or a code-allowed transfer path (for example, a jump duct, transfer grille, or a properly sized door undercut) so the system can actually move air.
One important caution: do not pull return air from a furnace or water-heater room if you have combustion appliances, and do not depressurize that room by accident. When in doubt, ask your HVAC tech or inspector how they want return air handled in your basement.
4) Use intentional soffits
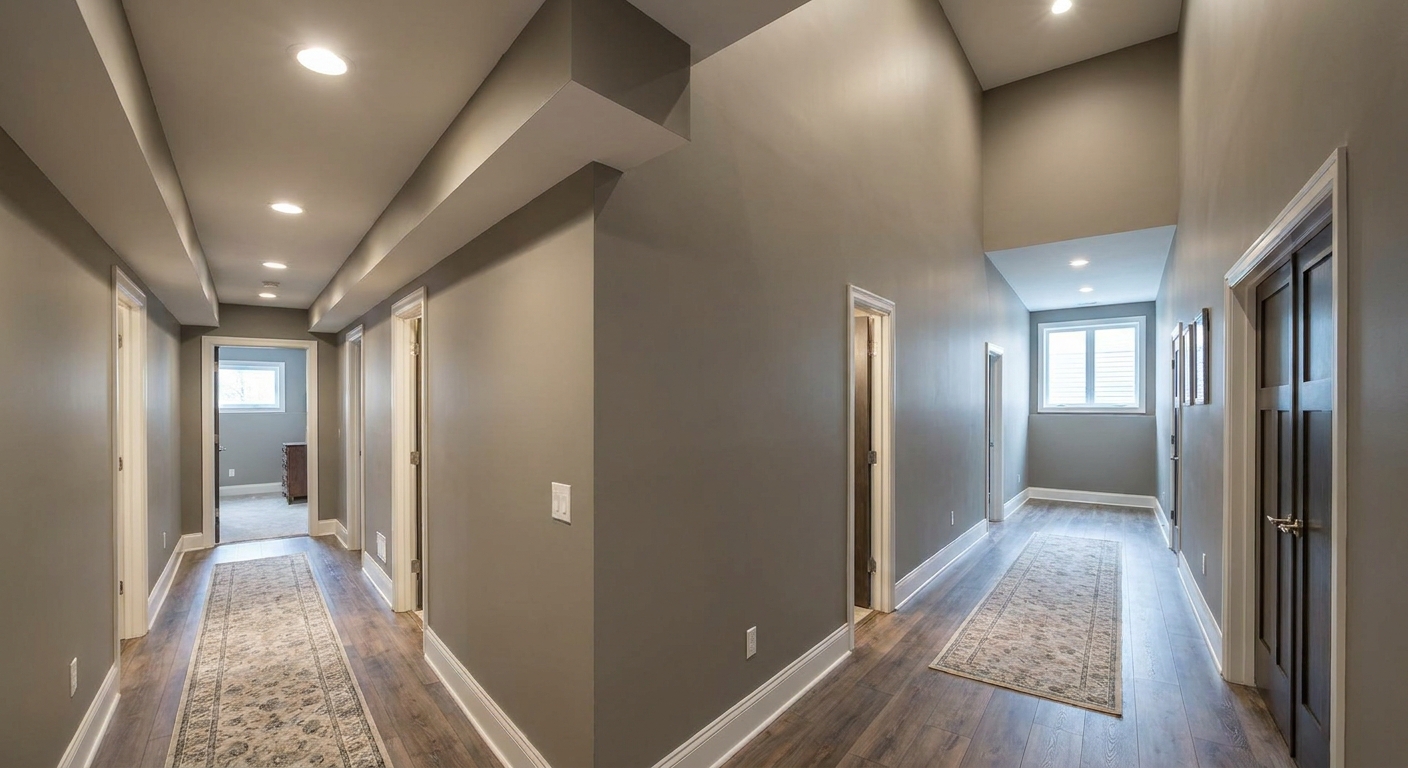
A soffit feels low when it is narrow, oddly placed, or changes height three times in one room. If you need one, design it like part of the room.
- Align with boundaries: Run soffits along room edges, hallway lines, or over kitchenettes and bars.
- Keep a consistent width: Even if the duct varies, you can sometimes hold a constant soffit width and use extra space for wiring or low-voltage.
- Step only when you must: One step-down looks planned. Multiple jogs look like a mistake.
Basement bathrooms
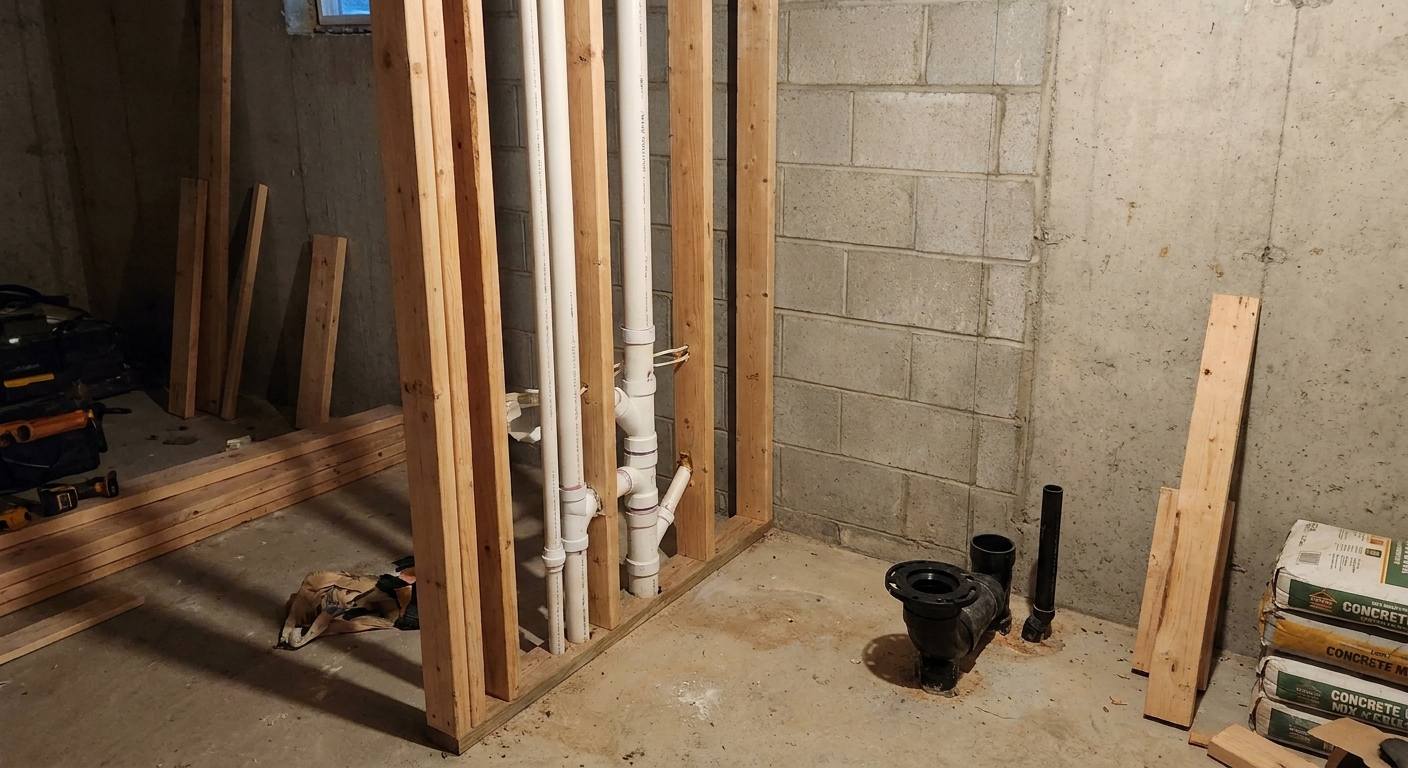
Basement plumbing is where DIYers lose the most time and money, mostly because drains are not negotiable. Supply lines are usually more flexible than drains, but they still have rules around support, protection from freezing, and routing.
Can you get gravity drainage?
For a standard basement bath, you want gravity to do the work. That means the new toilet and shower drains must be able to reach the main building drain with proper slope without forcing you to raise the entire floor or hang bulky drain piping below the joists.
In plain terms, the best case is when:
- The house has a main stack you can tie into nearby.
- The building drain is accessible and not too high.
- You can run new horizontal drain lines with the right slope without exceeding joist boring/notching limits or creating a ceiling-killing drop. (This is very joist-dependent, so confirm before you assume it will fit.)
If gravity will not work
Sometimes the math does not math. If you cannot get gravity drainage to the building drain, the usual Plan B is an upflush system or a sewage ejector pump that lifts waste to a higher drain line. That is a legit solution, but it changes your design priorities. Now you are planning for a pump location, a vent route, and future service access.
Where to locate a bath
If headroom is your priority, the “best” bathroom location is usually not the most convenient on the floor plan. It is the one that makes drains and vents easiest.
- Closest to the main stack: Shorter runs mean fewer conflicts with beams and fewer places to drop pipes under joists.
- Near existing wet walls: If the floor above has a bathroom or laundry near that corner, odds are good you can share the chase.
- On the side of the basement with the easiest slab access: Cutting concrete is doable, but you want it targeted, not across the entire basement.
Rough-in details that drive the layout
Three things typically control your plan:
- Toilet line size and routing: Toilets need a larger drain than sinks, and the fittings are not small. The route to the stack is often the limiting factor.
- Shower trap location: The trap needs to be correctly located and installed during rough-in for the pan you choose. If a cleanout or other service access is required in your area, plan it now so you are not cutting drywall later.
- Venting: Vent paths can steal wall space and create soffits if you do not reserve a chase.
My best advice: even if you do the work yourself, have a plumber review your bathroom drain and vent plan before you cut the slab or drill joists. One corrected fitting on paper beats a jackhammer redo.
Routing plumbing cleanly
Plumbing headroom problems usually come from one of these: the main stack is in the wrong spot for your new rooms, a new bathroom group needs venting across joists, or a pipe is forced to drop below the framing because it cannot fit through it.
1) Group fixtures
This sounds obvious, but it is the easiest win. Put the vanity, shower, and toilet as close together as your layout allows. Every extra foot increases the chance you will have to drop below joists or create a new soffit.
2) Build one wet chase
A wet chase is a dedicated wall or boxed column where you allow pipes and vents to run. The benefit is psychological as much as practical. You stop trying to hide pipes everywhere and start hiding them in one place.
- Good chase locations: A utility room wall, behind a bathroom, inside a closet, or along the stair wall.
- What to include: Drain stacks, vents, and water lines. (Occasionally HVAC lines live here too, but keep service clearances in mind.)
Smart soffits
Soffits are not a failure. Random soffits are. When I walk into a finished basement that feels tall, it is usually because the soffits were planned like part of the architecture, not patched in after the fact.
Design rules that protect headroom
- Make soffits continuous: If a duct trunk runs 14 feet, a 14-foot soffit often looks cleaner than three separate boxes.
- Keep them out of the center of rooms: Push them toward walls or boundaries.
- Use soffits to define zones: Over a bar, along a hallway, around a TV wall, or as a perimeter detail that makes the open area feel intentional.
Construction basics I do not skip
- Access panels where needed: Plan for access to things like plumbing cleanouts, shutoff valves, backwater valves (if you have one), HVAC dampers, and any serviceable equipment you are boxing around.
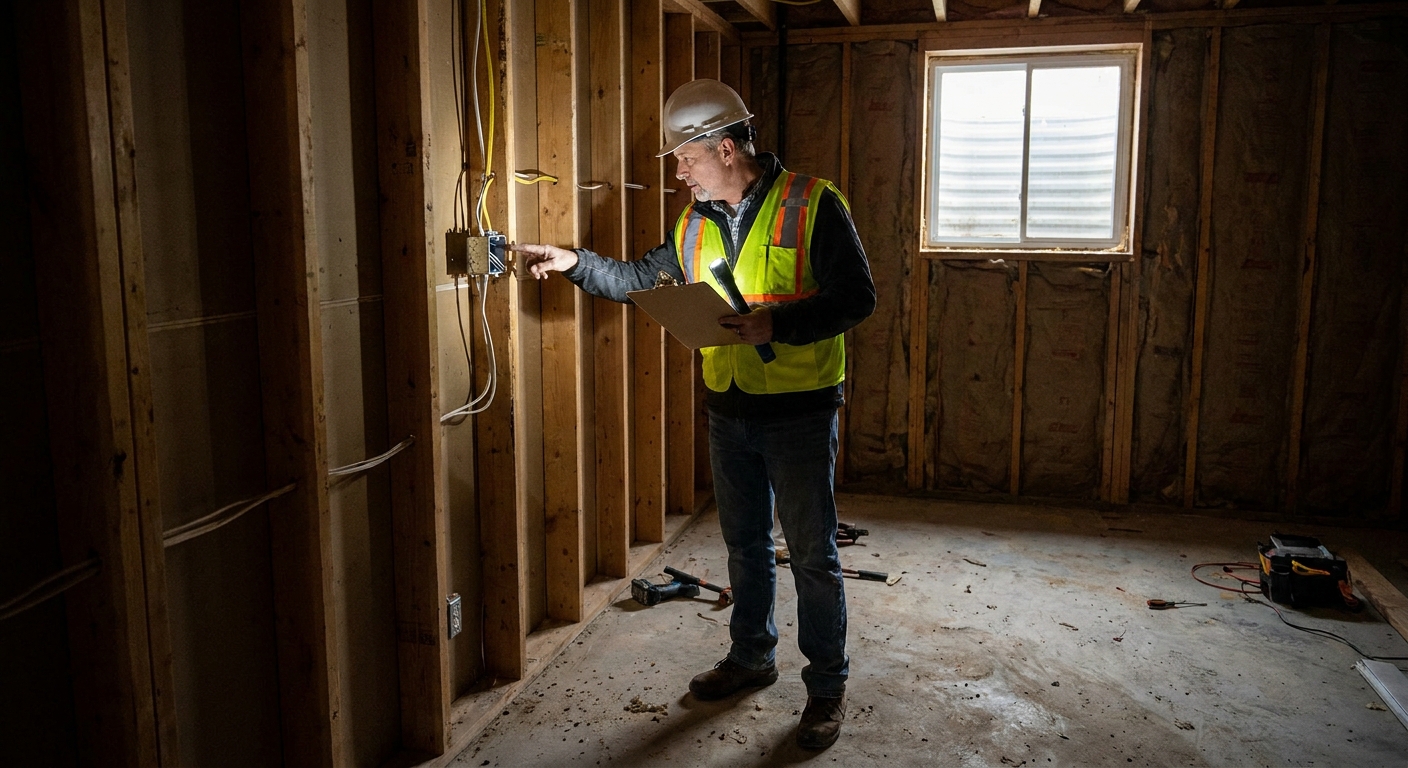
- Do not bury junction boxes: Electrical boxes must remain accessible. If you have wiring in the soffit, keep it code-compliant.
- Leave clearance for condensation control: Cold water lines and AC ducts can sweat. Give yourself room to insulate.
If you are framing soffits or working around beams and low obstructions, the framing approach matters. I cover the nuts and bolts in Framing & Construction.
Full drop ceiling?
It is tempting to say, “Forget it, I will just drop the entire ceiling.” Sometimes that is the right call, especially if you need broad access to valves, cleanouts, or you have a dense web of wiring and ducting. But it is also the fastest way to make a basement feel like a cave.
I consider it when
- The existing ceiling is already low and soffits would make it feel choppy.
- I need access to multiple shutoffs, cleanouts, or future service points.
- The duct and pipe network is spread everywhere with no clean tall lanes.
I avoid it when
- I can keep the main living area tall and only soffit the perimeter.
- The basement will be a primary hangout space, not just storage.
- Lighting goals depend on ceiling height and spacing.
Lighting is where low ceilings hurt twice. You lose headroom and your fixture options shrink. If you are thinking ahead, browse Lighting & Finishes to coordinate soffit placement with recessed lights and room vibe.
Do not create moisture issues
I am obsessive about this because I learned it the hard way. Tight soffits and packed chases can hide condensation and small leaks until they become big ones. If a cold pipe is sweating above a brand-new ceiling, you will not notice until the stain shows up.
Simple prevention steps
- Insulate cold water lines that run through finished areas.
- Seal duct joints with mastic or foil tape rated for ducts, then insulate ducts where condensation is a risk. (Cloth duct tape is not the move.)
- Keep mechanical areas ventilated and do not trap humid air in dead cavities.
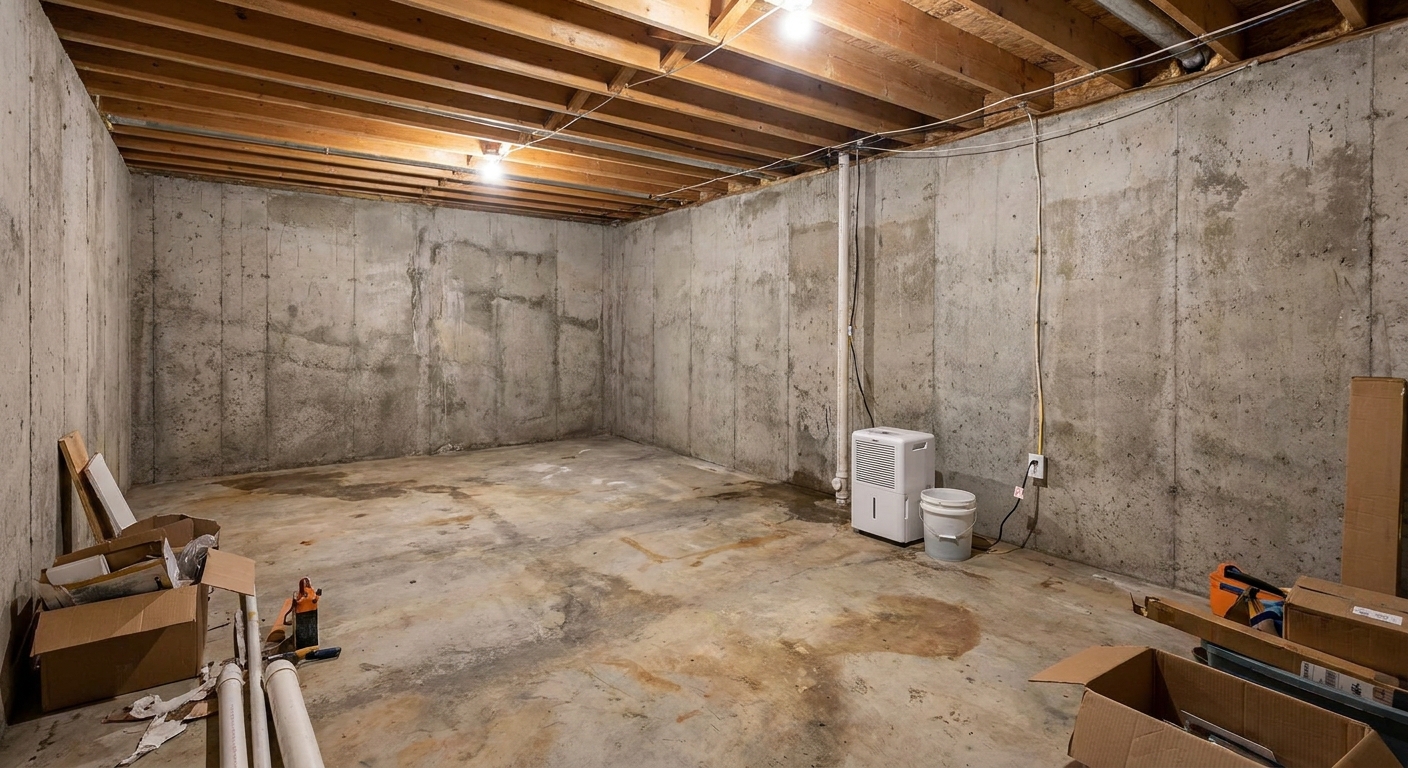
- Plan a path for dehumidification if your basement is seasonally damp.
If your basement has a history of dampness, address that before you build pretty boxes around everything. Start with Moisture Control and work forward.
Order of operations
Here is the order that keeps most DIY basements out of trouble:
- Moisture plan first: water management, dehumidification, and any insulation decisions.
- Headroom map: measure and mark all low obstructions on the slab.
- Rough layout: place main living area where ceilings are naturally highest.
- Bathroom and mechanical placement: locate around stacks, drains, vent routes, and service access.
- Decide on soffit routes: design them as continuous, intentional shapes.
- Confirm permits and inspections: especially for plumbing and HVAC changes.
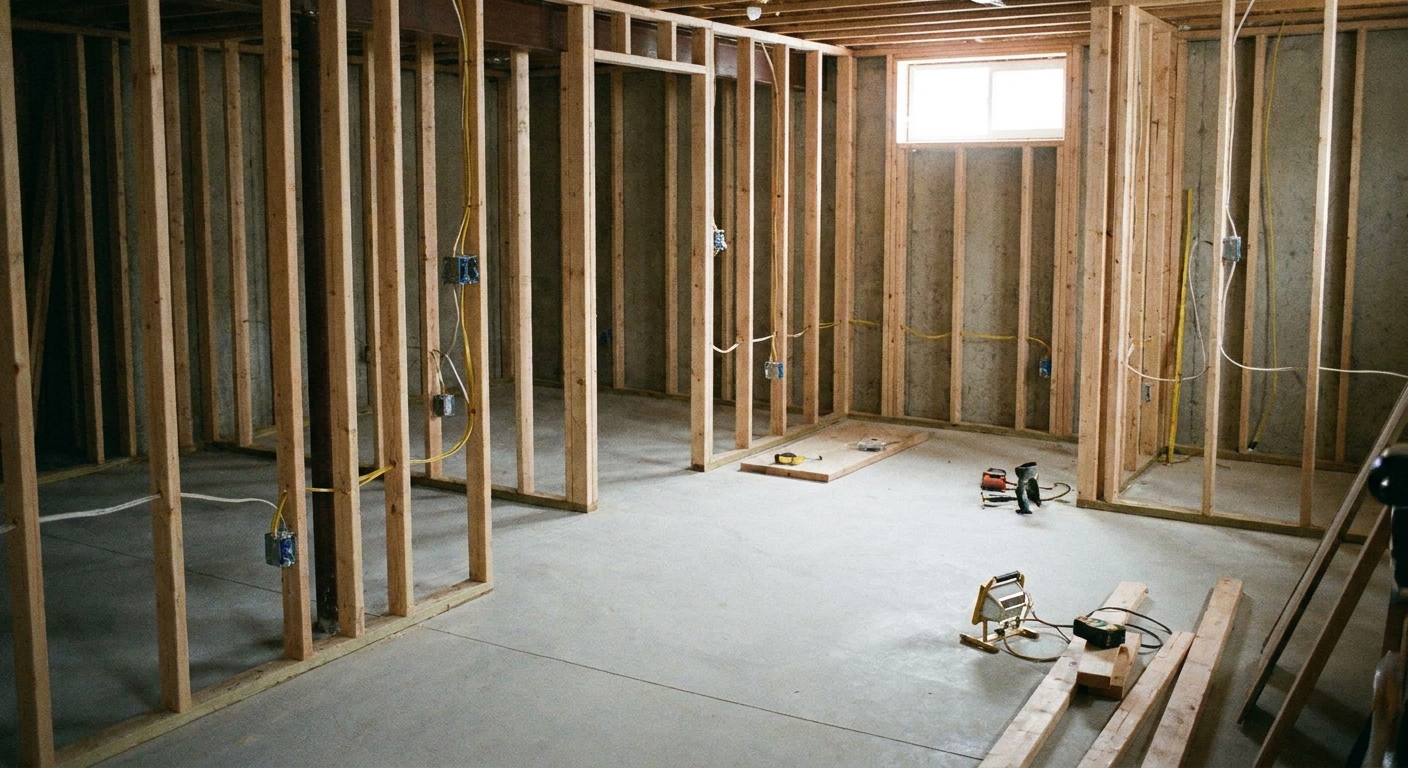
- Frame last: frame walls and soffits only after utility paths are locked.
For a broader step-by-step on prep work, use Pre-Finishing Basement Checklist alongside this planning process.
Quick FAQ
Can I run plumbing in the joist bays to avoid soffits?
Sometimes, but it depends on pipe size, required slope for drains, and joist drilling rules. Supply lines are often easier to tuck into cavities than drain lines. When in doubt, ask a plumber or engineer before drilling or notching structural members.
Is it better to move ductwork or build a soffit?
If the trunk is ruining the main room and you have decent flexibility at the plenum, rerouting can be worth it. If the trunk is near a wall or can align with a hallway, a soffit is usually the most cost-effective choice.
Where should I put a basement bathroom to make plumbing easiest?
Near the main stack and as close as possible to where you can tie into the building drain. Convenience on the floor plan matters, but drainage reality matters more.
What if my basement bath is below the main drain?
Then gravity may not be possible. An upflush toilet system or a sewage ejector pump is the common workaround, but it adds equipment, venting, and service-access requirements that should be part of your layout from day one.
My rule of thumb
If you want a basement that feels tall, plan utilities like you plan furniture. Give them a home. Reserve a lane for ducts, reserve a chase for plumbing, and then design the rooms around those decisions. You will still have a soffit or two, but they will look like they belong there, and you will keep the headroom where people actually live.
If you want to zoom out and sanity-check costs as you make these decisions, I break it down here: Basement Finishing Cost Breakdown Per Square Foot.