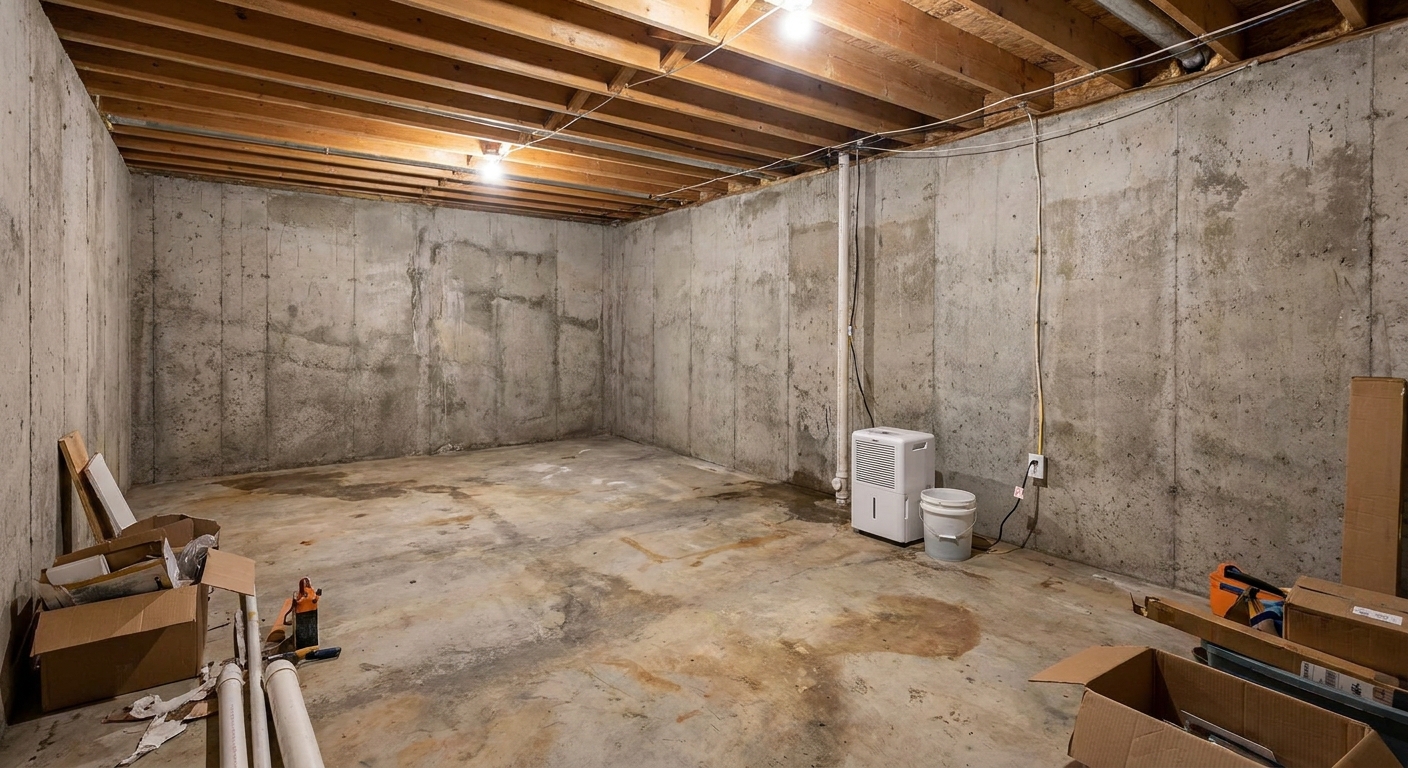
The first basement I ever finished was basically a concrete cave with one tiny window and a forest of pipes. I thought the “floor plan” part would be easy. Just draw some rooms, right? What I learned the hard way is that basements do not forgive wishful thinking. Your layout has to respect moisture risk, egress rules, low ductwork, the main drain stack, and where the light actually reaches. Get the plan right and the build feels smooth. Get it wrong and you spend the whole project boxing around mistakes.
This is the step-by-step approach I use now to design a basement floor plan that feels like a natural extension of the main floor, functions day to day, and stays buildable for a DIYer.
Start with the non-negotiables
Before you draw a single wall, list what the basement must do. I keep this short and blunt. It becomes your tie breaker later when you are deciding between, say, a bigger theater or a proper guest suite.
Define your zones
- Bedrooms: sleeping, closet, safe exit, quiet.
- Bathrooms: plumbing access, venting, headroom, easy to reach from hangout spaces.
- Entertainment: TV or projector wall, seating, sound control, snack bar, game table, storage.
- Utility and storage: mechanical room, sump area, electrical panel clearance, seasonal storage.
Pick the primary use
Most basements can do several things, but one use usually drives the layout. Examples:
- Guest suite first, entertainment second.
- Family hangout first, home gym second.
- Rental unit first, storage second.
Write it down. You will thank yourself when you start making compromises.
If you are planning a rental or ADU style setup, confirm local requirements early. The rules can be very different than a basic “finished basement.”
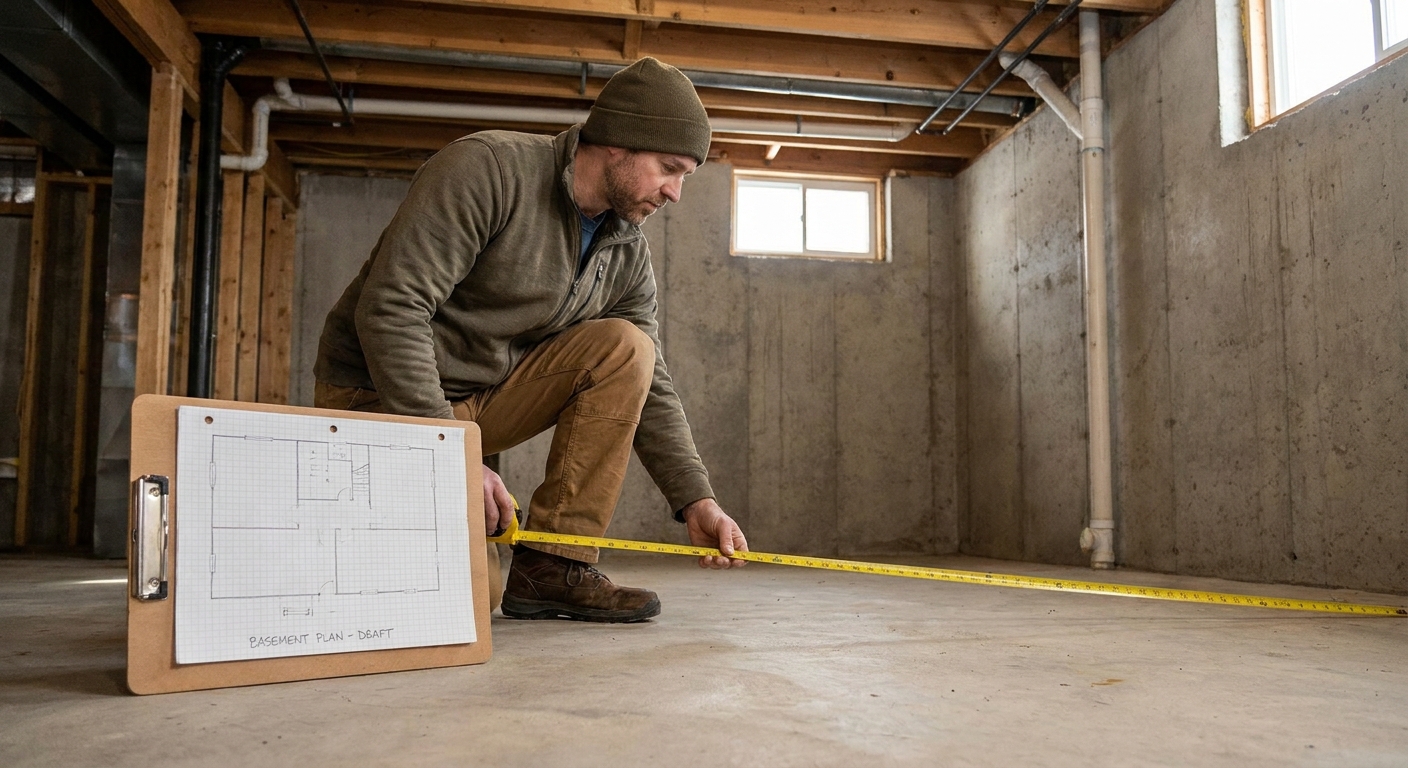
Measure and map the basement
If you only do one thing carefully, do this. A floor plan that is off by even a couple inches can easily cascade into weird door swings, tight hallways, and soffits that land in the worst place.
Tools I like for layout
- 25 ft or 30 ft tape measure
- Laser measure (optional but speeds things up)
- Graph paper or painter’s tape for marking on the slab
- Notebook, pencil, and a straightedge
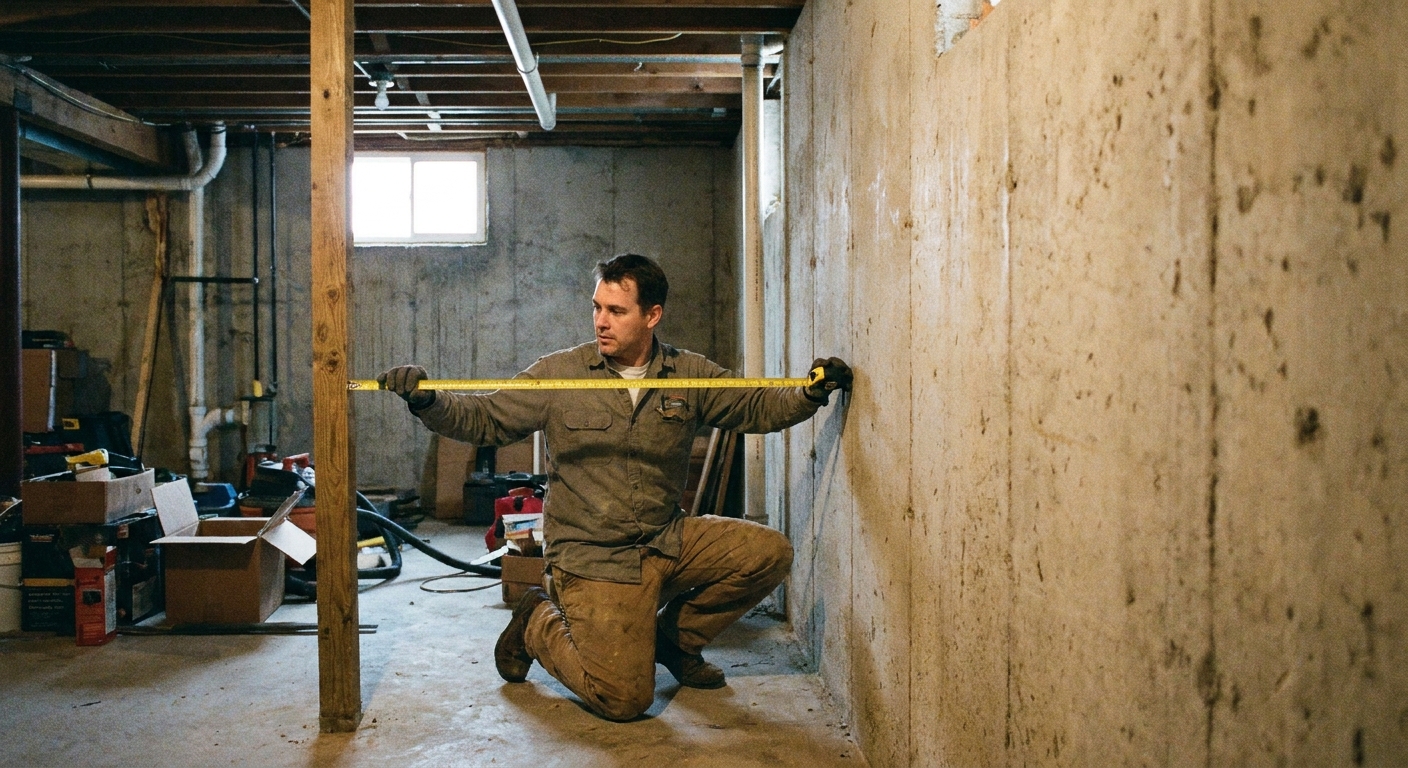
What to measure
- Overall footprint: length and width, plus any jogs or bump-outs.
- Ceiling heights: measure to joists, then measure to the bottom of beams, ducts, and pipes.
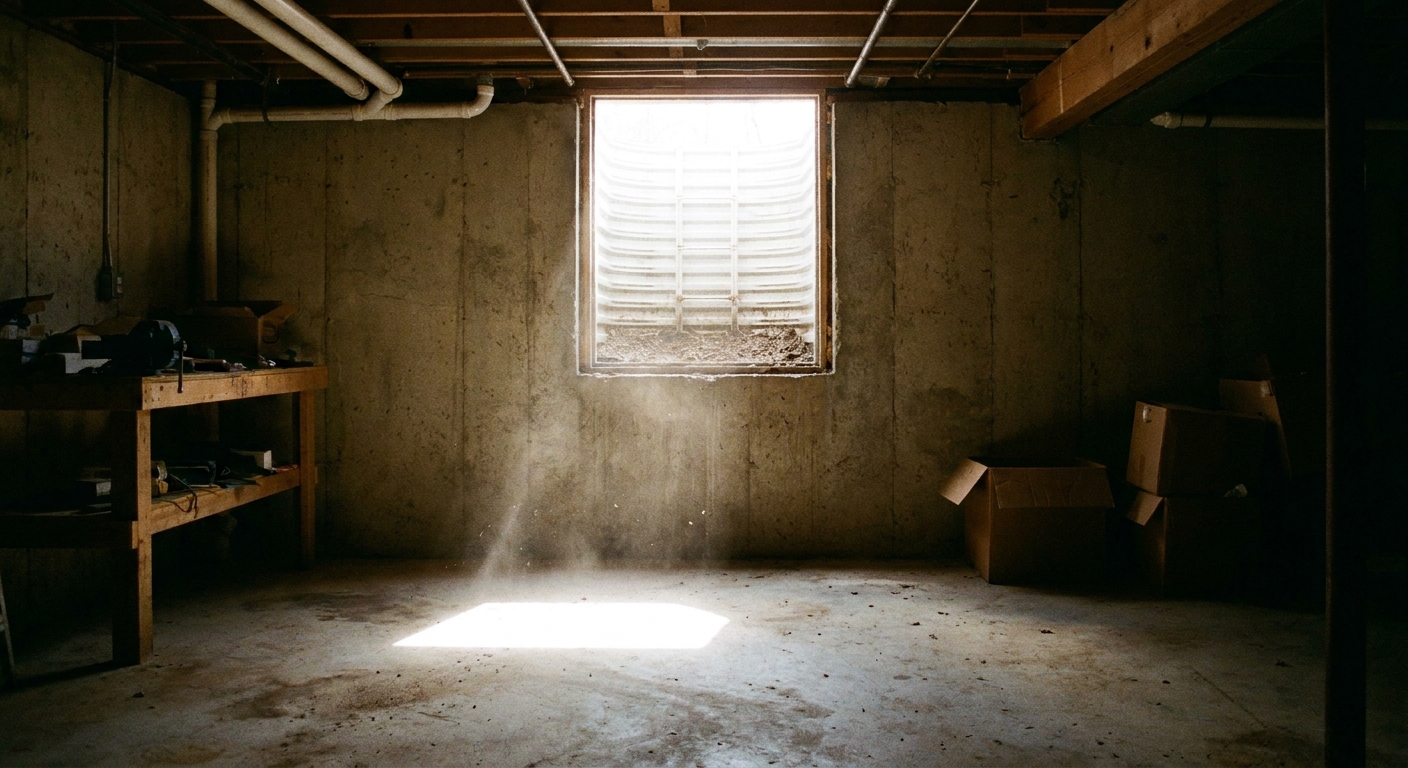
- Windows: width, height, sill height from slab, and where the window well sits.
- Stairs: where you land, where headroom is tight, and where the stair enclosure can reasonably go.
- Posts and beams: location matters more than you think for sight lines and furniture placement.
Then draw an “as-built” sketch. It does not have to be pretty. It does have to be accurate.
Map utilities and obstacles
Basement layouts are mostly about negotiating utilities. I recommend tracing these items onto your sketch using bold lines or a different color so you cannot “accidentally” ignore them later.
Utilities that shape the plan
- Building drain and main stack: bathrooms are easiest when they can tie in nearby.
- Water service and shutoff: needs access, not buried behind a closet.
- HVAC equipment: furnace, air handler, boiler, duct trunks, returns.
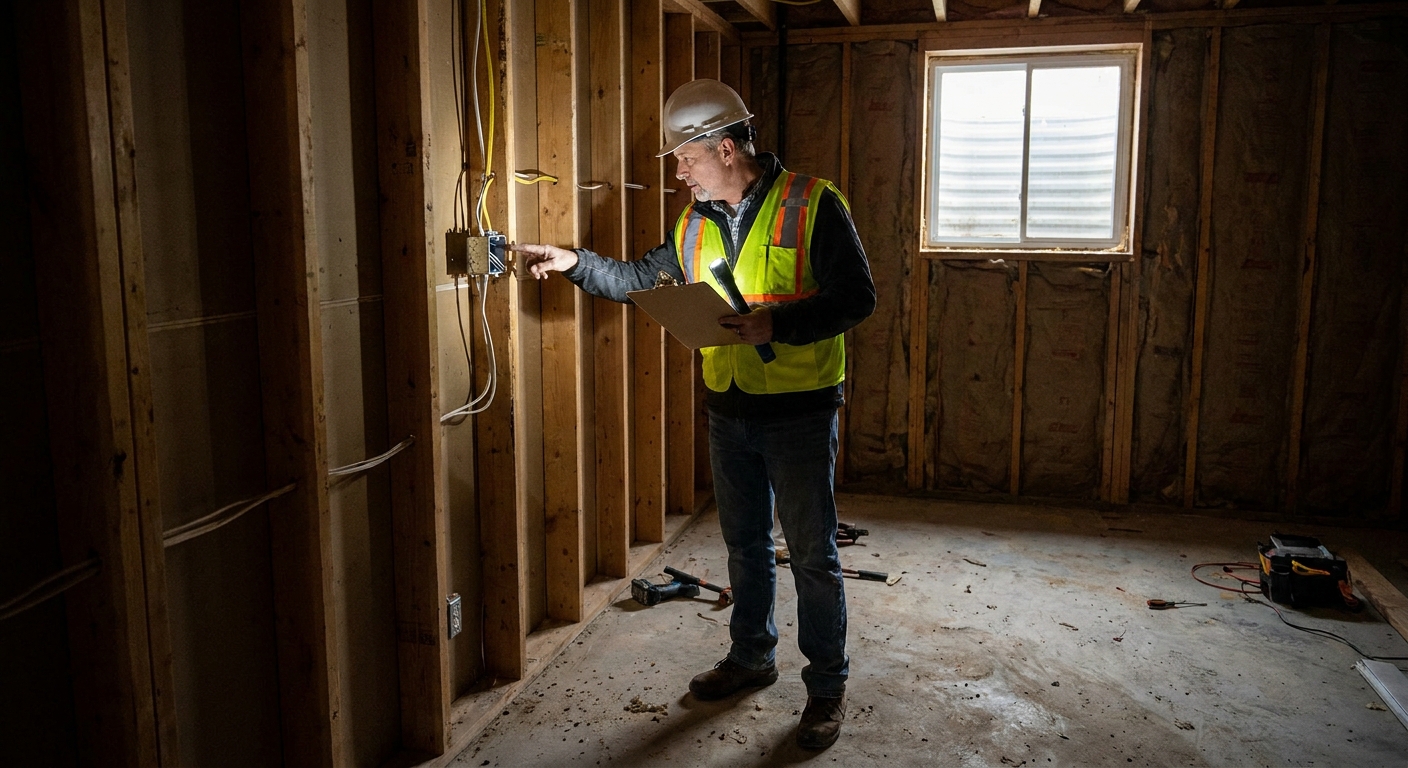
- Electrical panel: requires clear working space and a clear approach. Do not locate it in a clothes closet or bathroom.
- Sump pump and perimeter drain access: keep serviceable.
- Cleanouts: do not box yourself out of them.
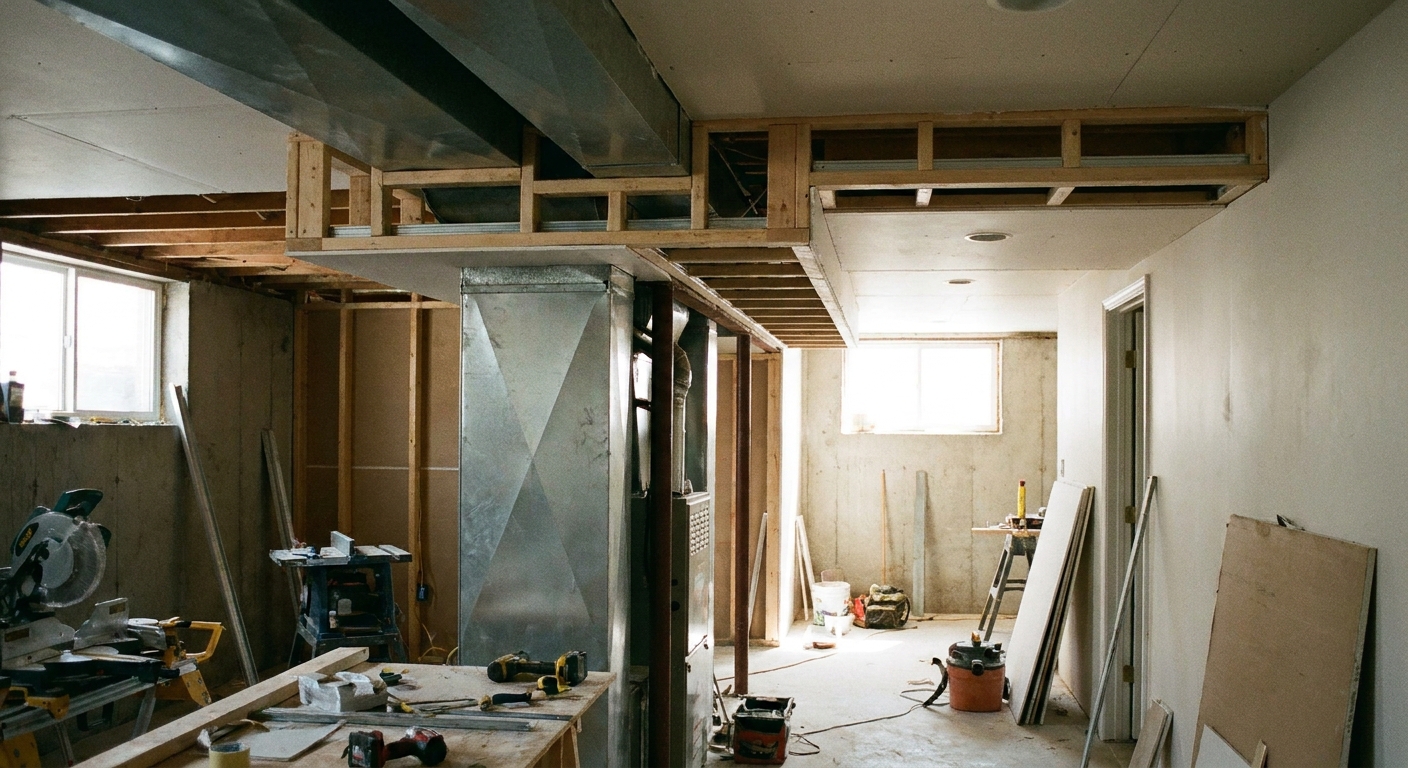
For anything overhead like ductwork, note the lowest point and how far it runs. Low ducts are usually what determines where hallways and storage go, because people can tolerate a lower ceiling there.
Bathrooms are not just about the stack, either. Start by locating the drain and where you can realistically vent. Then place fixtures to minimize concrete work and awkward routing.
If you are still wrestling with dampness or water seepage, stop and address that before spending serious time perfecting a layout. Room zoning is easier when you are not trying to hide a moisture problem behind drywall. Finish Below has a full section on that here: Moisture Control.
Use the natural light well
Most basements have a few bright-ish areas near windows and the rest is light you have to create. I treat window areas like premium waterfront property.
Where natural light should go
- Bedrooms: for comfort and because code requirements can come into play.
- Everyday hangout space: a family room feels less basement-like if it borrows daylight.
- Home office or homework nook: if that is on your wish list.
Where natural light is less critical
- Bathrooms
- Closets
- Storage rooms
- Mechanical room
- Dedicated theater area (often better dark)
When you start zoning, place your light-hungry rooms first and let storage and utility fill in the darker pockets.
Draw circulation first
A basement can have great rooms and still feel wrong if the circulation is clunky. My rule is simple: draw the paths before the walls.
Key paths to sketch
- Stairs to main hangout: this should be obvious and welcoming, not a maze.
- Stairs to bathroom: especially important for guests and kids.
- Stairs to bedroom: should feel private, not like you walk through the TV area to go to bed.
- Route to mechanical room: accessible without moving a sofa or walking through a bedroom.
Hallways and doors
Local code varies, but as a DIY planner, I aim for comfortable, buildable dimensions:
- Hallways: plan around 36 inches minimum where possible, wider feels better.
- Doors: 30 to 32 inches for typical interior doors, or wider where needed, and think ahead about moving furniture downstairs.
- Door swings: sketch them now so you do not discover a collision later.
One important caveat: depending on your jurisdiction and the scope of the project (especially rentals, ADUs, or accessibility requirements), you may need wider clearances, different door sizes, or specific rules for egress paths. Check before you lock in walls.
Zone the rooms
Now the fun part. With obstacles and circulation mapped, you can start placing room bubbles and turning them into walls.
Zone 1: Bedrooms
Bedrooms are the most rule-sensitive rooms in a basement. Even if you are not pulling permits, you still want a safe, sensible sleeping space.
- Put bedrooms near windows when you can. It helps them feel legitimate and makes furniture placement easier.
- Keep them quiet. I like to buffer bedrooms from entertainment with a bathroom, closet, or hallway.
- Plan closets intentionally. Closet walls are great places to hide awkward jogs or support posts.
- Think about egress early. In many areas, a basement bedroom needs an egress window or door that meets specific opening and sill height rules. If there is a window well, it may also need required clearance and a ladder or steps. Requirements vary, so call your local building department before committing your plan.
Zone 2: Bathrooms
Bathrooms are easiest and cheapest when they land near existing plumbing. The farther you go, the more you pay in breaking concrete, pumps, or creative drain routing.
- Start at the drain, stack, and vent path. Place the toilet and shower side closest to where you can realistically tie in and vent.
- Stack wet walls together. Put vanity, toilet, and shower on shared plumbing runs when possible.
- Put the bathroom on the way. A bathroom that requires walking through a bedroom gets old fast.
- Reserve a chase. Even if you do not know every detail, leave a framing bay or soffit route for venting and drains.
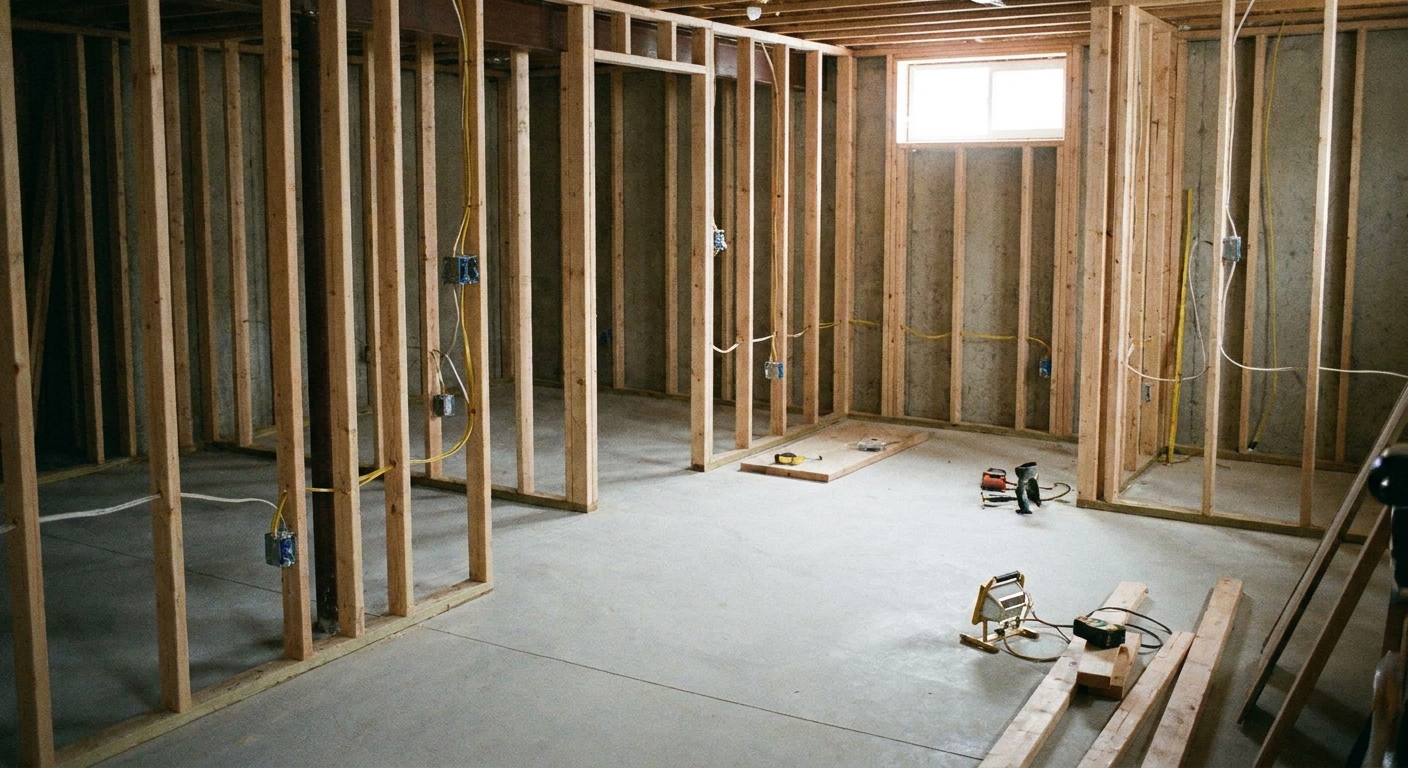
If your floor plan needs new walls, soffits, or work around beams and ducts, the framing choices matter. I keep my framing notes and build considerations in Framing & Construction.
Zone 3: Entertainment
Entertainment space is where basements shine, but it is also where bad planning shows up the fastest.
- Choose the TV wall first. Avoid placing the screen on a wall that will be chopped up by posts, half walls, or doors.
- Plan seating depth. Sketch the couch and chairs to scale. A room that fits on paper can still be too tight for legs, recliners, and traffic behind seating.
- Use low-ceiling areas strategically. Put the bar, a game nook, or storage under ducts. Keep the main viewing area where headroom is best.
- Control sound. If bedrooms are part of the plan, consider a buffer zone or at least avoid sharing a wall with the loudest area.
Zone 4: Utility and storage
Do not treat utility space like an afterthought. It is the part of the basement you will live with forever, even if you do not show it off.
- Keep service access. Filters, shutoffs, cleanouts, and panels should be reachable without gymnastics.
- Give storage real square footage. A few feet now can save you from turning the guest room into a cardboard box museum later.
- Consider a messy entry spot. If the basement stairs are near the back door or garage entry, a little landing area with hooks and bins is gold.
Handle ducts and beams
Low obstacles are where DIY basement plans go to die. Here is what has worked best for me.
Use soffits on purpose
- Run soffits along room edges. A perimeter soffit reads like architecture. A random box in the middle reads like a mistake.
- Align soffits with walls. When a duct crosses a room, see if you can move a wall line so the soffit becomes part of the hallway or a closet edge.
- Hide transitions. If ceiling height changes, do it where it makes sense, like over a bar, behind seating, or in a corridor.
Plan ceiling zones
I often plan for two ceiling heights: a higher main area and a slightly lower circulation or storage area. That keeps the hangout zone feeling open without forcing you to reroute every duct.
Before you commit, confirm minimum finished ceiling heights for habitable areas in your jurisdiction. You do not want to design a “living room” that fails a basic headroom requirement.
Plan lighting early
Lighting is not a last step in a basement. It is how you make zones feel intentional, especially where windows are limited.
- Place lights by activity. Seating needs softer light. Game tables need brighter, more direct light. Hallways need even coverage.
- Avoid the one switch, twelve can lights trap. Break lighting into zones and plan dimmers.
- Leave room for future changes. Access panels and smart switching are easier to plan now than retrofit later.
If you want a deeper dive on making a basement feel bright and finished, see Lighting & Finishes.
Sanity-check the plan
This is my favorite low-tech step, and it catches mistakes faster than staring at graph paper.
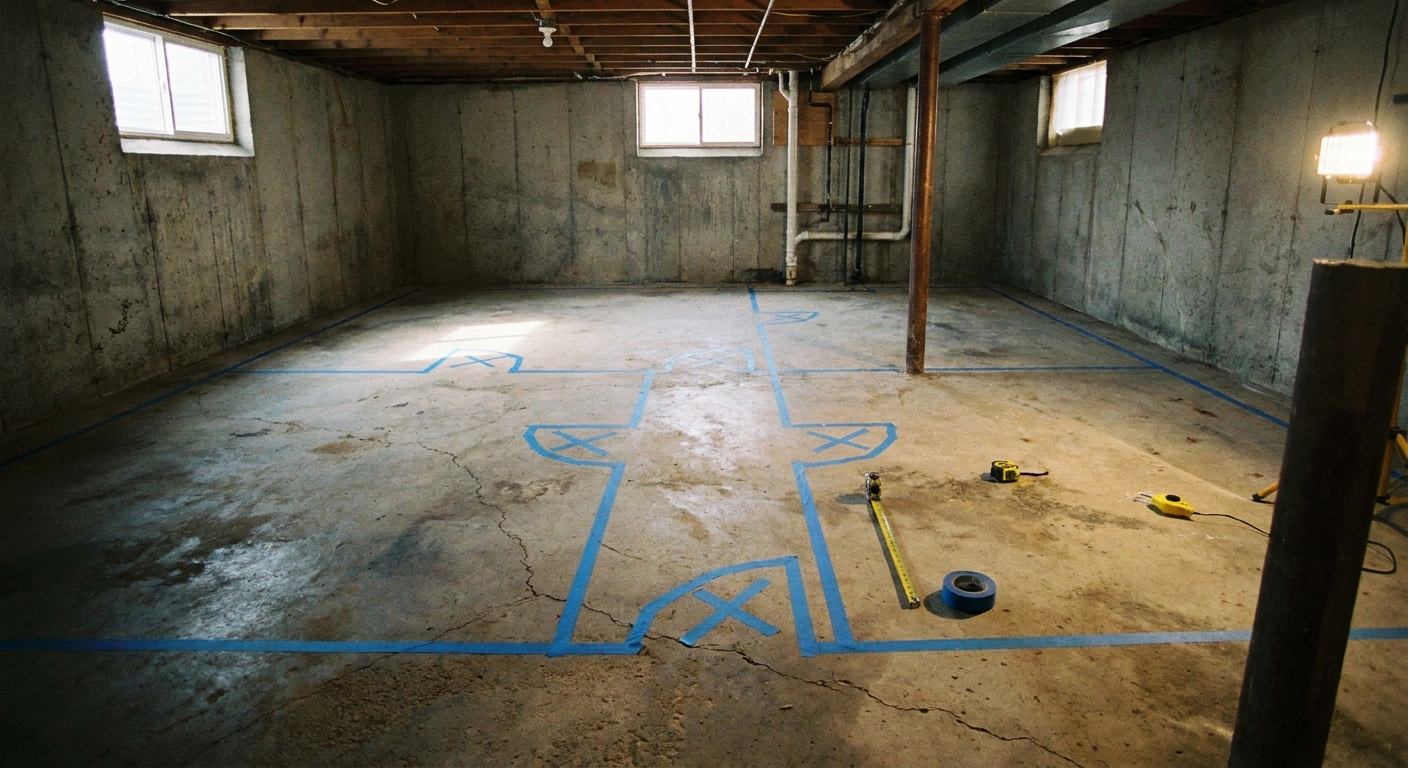
Tape the layout on the slab
- Tape your main walls, door openings, and hallway widths on the concrete.
- Stand in the taped rooms and walk the paths you mapped.
- Mark where soffits would drop by visualizing the lowest duct runs.
- Adjust before anything is framed.
Sketch furniture to scale
At a minimum, sketch:
- Bed and nightstands for bedrooms
- Toilet, vanity, shower footprint for bathrooms
- TV wall, couch, chairs, and walking clearance for entertainment
If you cannot fit the furniture you actually want, the room does not fit, even if the dimensions sound fine.
A zoning pattern that works
Every footprint is different, but here is a layout logic that repeats because it works:
- Entertainment zone closest to the bottom of the stairs for a welcoming arrival.
- Bathroom off a short hall between entertainment and bedroom zones.
- Bedroom zone pushed toward window areas and away from TV walls for quiet.
- Utility and storage in the darkest corners and under the worst duct runs, with a clear path for servicing equipment.
That general arrangement tends to feel natural and keeps the most complicated plumbing and mechanical constraints from breaking your nicest spaces.
Common mistakes
Putting a bedroom in the loudest spot
If the bedroom door opens right into the hangout space, it never feels private. Use a hallway, closet wall, or bathroom as a buffer.
Forgetting headroom at the stairs
Stair areas often have beams and ductwork nearby. Confirm you have comfortable clearance where people naturally stand and turn.
Overbuilding hallways
Too narrow feels cramped, but too wide steals square footage from the rooms you actually use. Aim for just enough width for two people to pass comfortably and for moving furniture, then give the saved space back to your main rooms.
Blocking mechanical access
Finishing around equipment is fine. Burying shutoffs, cleanouts, and panels is not. Plan the utility room like you will own the home for 20 more years.
Designing without moisture in mind
If the basement has any history of dampness, plan for sensible materials and details. Moisture strategy influences flooring, wall assemblies, and where you want storage. Start here: Moisture Control.
When to bring in help
I love DIY, but I also like sleeping at night. Consider a pro consult or at least a permit office call if:
- You are adding a bedroom and are unsure about local egress requirements
- You need to cut or move structural elements
- You are relocating major plumbing lines or adding a sewage ejector system
- You are not confident about electrical load or panel capacity
- You are converting the space into a rental or ADU and want it legal
Also, do not forget the unglamorous stuff that makes a finished basement actually livable: life safety alarms (smoke and CO where required) and a plan for supply and return air so new rooms heat and cool properly.
If you want to learn more about why I’m so picky about planning and foundational details, you can find me here: /author/nathan-wallace/.
Quick checklist
Your basement floor plan is ready if:
- You have an accurate as-built sketch with windows, posts, stairs, and ceiling height changes
- All utility obstacles are drawn and accounted for
- Natural light is allocated to the rooms that benefit most
- Traffic paths are simple and do not cut through private spaces
- Hallways and doors are sized with local code and project type in mind
- Bathroom location makes plumbing and venting sense, not just layout sense
- Furniture fits to scale in bedrooms and entertainment areas
- You have a realistic utility and storage plan with service access
- You have walked the layout on the slab with tape and made adjustments
Once you can check those boxes, framing starts to feel like building something real instead of guessing. And that is the whole goal. A basement that looks good is great. A basement that works is even better.