The first basement I ever framed, I “eyeballed” the lumber list. I ended up making three extra trips for studs, I bought the wrong drywall thickness for one area, and I still had a sad pile of leftovers at the end. Now I treat materials like a cut list for a woodworking project: measure, do the math, add a realistic waste factor, and order in one clean shot.
This guide walks you through the exact quantities to calculate for basement framing, drywall, and insulation, with formulas you can reuse room by room.
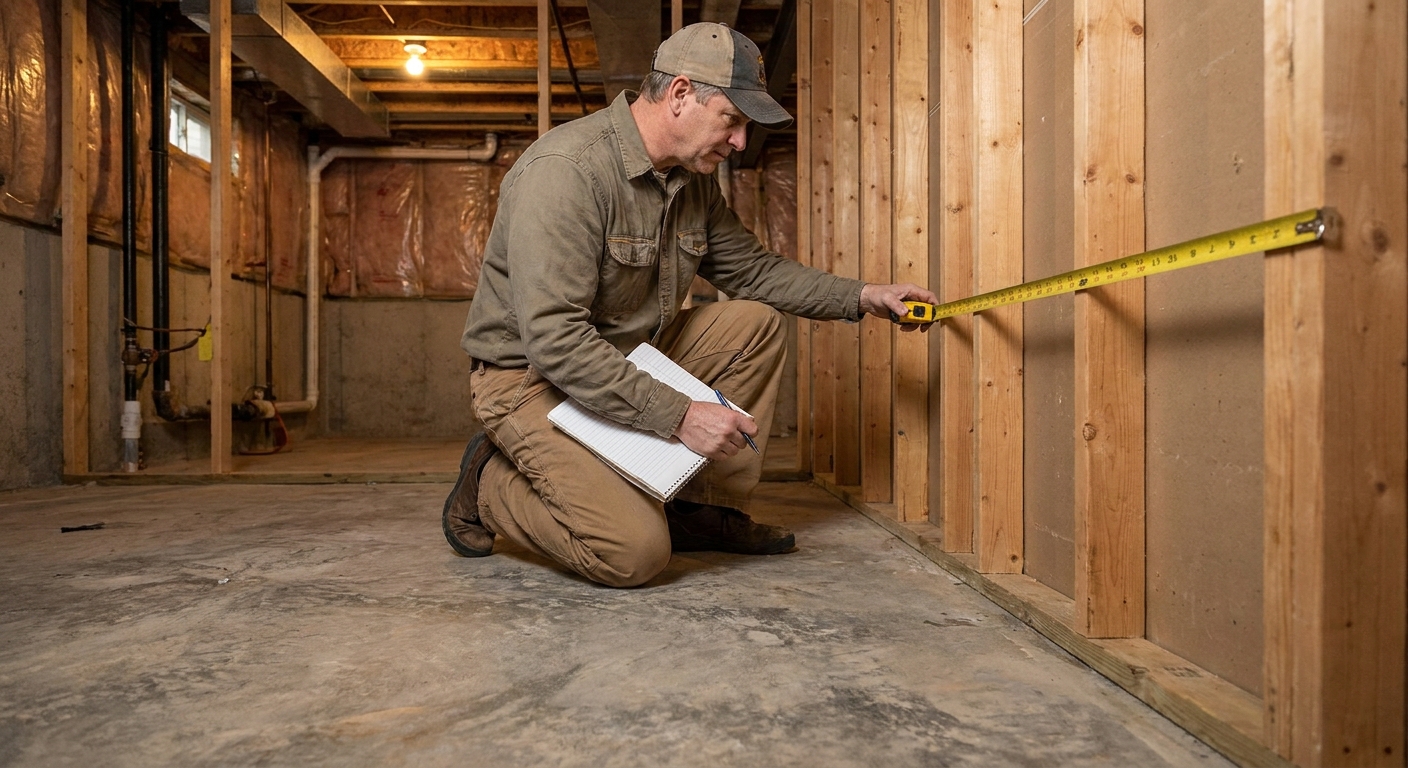
Before you calculate: measure the right way
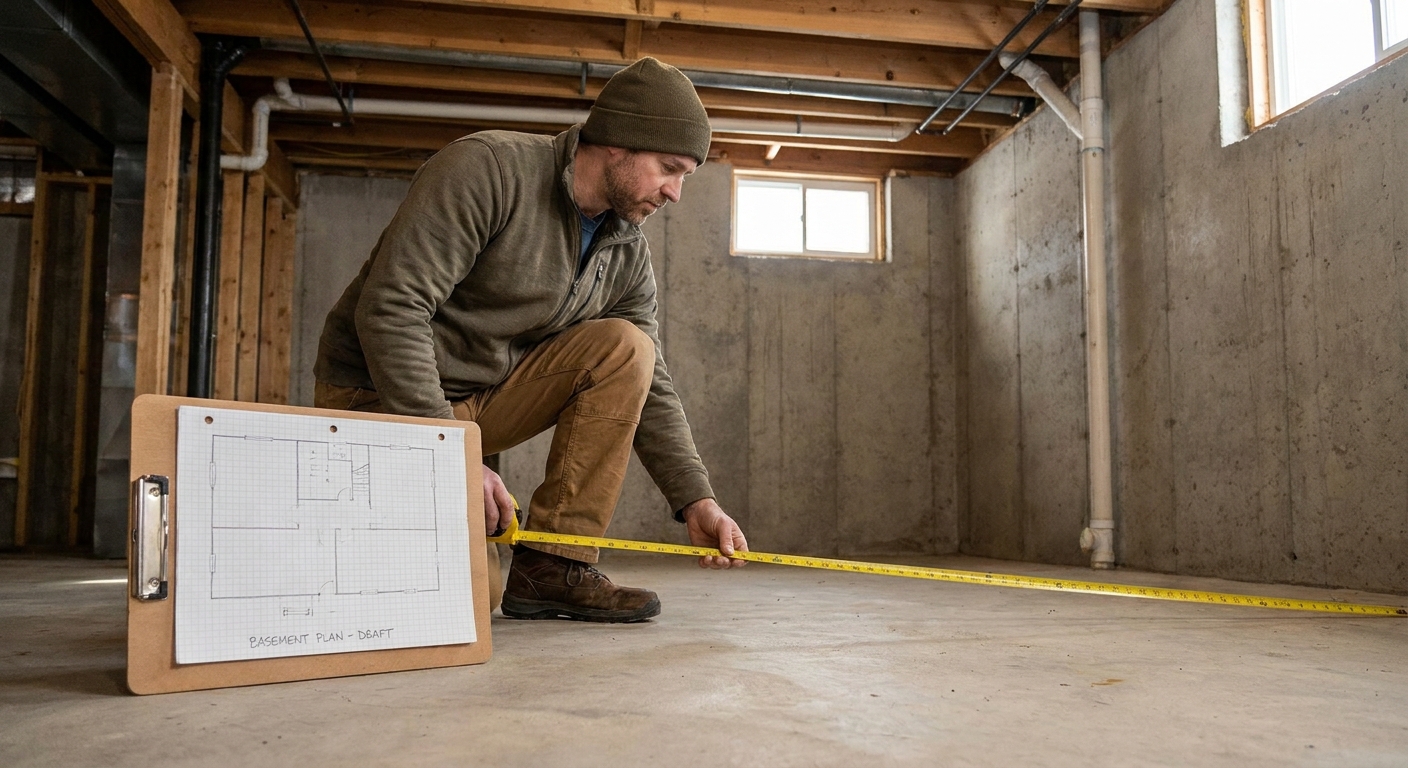
Good material takeoffs come from consistent measurements. Grab a tape measure, a laser measure if you have one, a notepad, and a simple sketch of your basement layout.
What to measure
- Perimeter walls: measure each wall length along the floor.
- Interior partition walls: measure each planned wall length along the floor.
- Ceiling height: measure slab to joists, then note any soffits or low duct runs where wall height changes.
- Openings: doors, egress windows, regular windows. For drywall and insulation, you will subtract these areas (with one exception I mention later).
- Oddities: bump-outs, columns, stairs, mechanical room walls, and anywhere you cannot build full height.
Finished areas only
Do your takeoff for the finished footprint, not the whole basement. Most basements have a mix of finished space plus storage or mechanical areas. Draw a hard line on your sketch so you do not accidentally buy materials for a room you are not finishing.
A basement-specific reality check
Basements almost never have perfectly straight walls. If your concrete wall bows in or out, base your framing and drywall on the longest reasonable plane you will build, not the shortest measurement you wish you had. This is one of those places where accuracy reduces frustration later.
If you are still deciding layout and wall locations, start with How to Design a Basement Floor Plan. Layout changes after you buy materials are where waste really multiplies.
Step 1: Calculate framing lumber (studs, plates, headers, blocking)
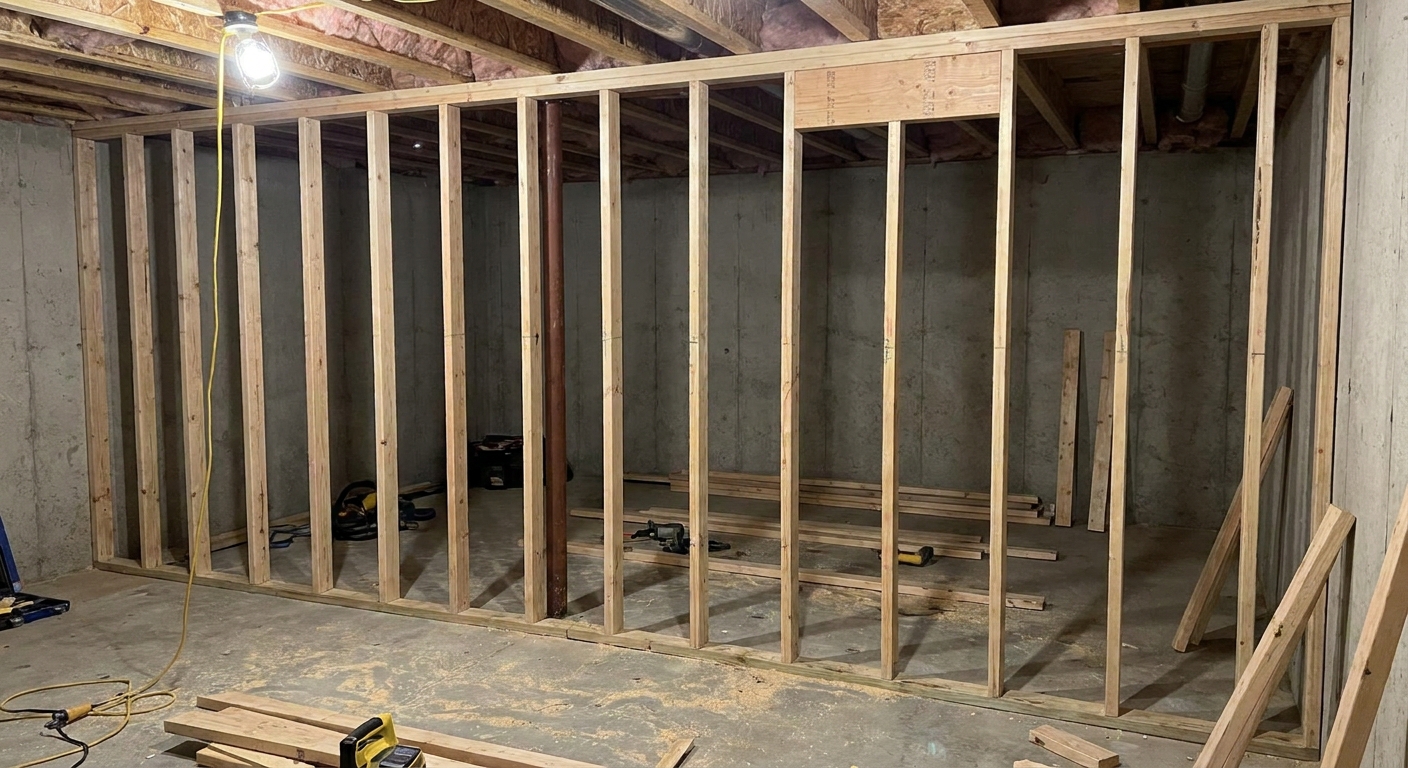
Most DIY basements use 2x4 walls at 16 inches on center. Some basements use 24 inches on center for non-load-bearing partitions. The math is the same, you just change the spacing.
Stud count formula (16 inches on center)
For each straight wall segment:
Studs = ceil(wall length in inches ÷ 16) + 1
That “ceil” part matters. It means you round up to the next whole stud space, then add one more stud for the far end.
Example: A 10 foot wall is 120 inches. 120 ÷ 16 = 7.5. Round up to 8. Then + 1 = 9 studs before you add extras for corners and openings.
Stud count formula (24 inches on center)
If you are framing non-load-bearing partitions at 24 inches on center:
Studs = ceil(wall length in inches ÷ 24) + 1
Do not assume 24 inches on center is automatically acceptable everywhere. Drywall thickness, wall height, and local expectations matter.
Add-ons for corners, intersections, and openings
Your base stud formula is only the start. You still need extra studs for the real world parts:
- Corners: plan 2 to 3 studs per corner depending on your corner style, plus backing as needed for drywall. Some methods use dedicated drywall clips or ladder blocking instead of a full stud pack.
- T-intersections: plan at least 1 extra stud for the intersecting wall tie-in, plus backing if needed.
- Door openings: a typical interior door gets 2 king studs and 2 trimmer (jack) studs.
- Windows and niches: add king and trimmer studs, plus cripple studs above or below as required by your rough opening height.
Stud length
Typical 8 foot walls use 92 5/8 inch studs with a standard top and bottom plate. Many basements are shorter or taller. Measure your intended wall height and verify what stud length actually works with your plate thickness and any capillary break you are using at the bottom.
If you want the correct build sequence before you commit to quantities, see Basement Remodel Timeline: Correct Order of Operations.
Plates: bottom plate and top plate
For each wall segment:
- Bottom plate linear feet = wall length (feet)
- Top plate linear feet = wall length (feet) times the number of top plates (usually 1 or 2)
Basements often use a single top plate on non-load-bearing partitions, but plenty of crews still use double plates for laps and alignment. Some jurisdictions or inspectors may expect specific detailing. Plan off what you will actually build and what you can get approved.
Convert linear feet to boards: Most plates are cut from 8, 10, 12, 14, or 16 foot 2x lumber. Add up your total plate linear feet, then divide by your chosen stock length and round up.
Door and window framing (skip the bad header math)
This is where rules of thumb can get you in trouble. For most interior basement partitions (usually non-load-bearing), you are often framing a door opening for stiffness and drywall backing, not for supporting floor loads.
Here is the safe way to think about it:
- If you build a header: in typical framing, the header is cut to fit between king studs. In many cases that ends up roughly equal to the rough opening width, but it depends on your exact layout and whether you are using trimmers, how you stack the header, and what you are using above the opening.
- If you do not need a built-up header: for non-load-bearing interior doors, many people use a single flat 2x member above the opening with cripple studs above it, or they frame a simple box for drywall backing. What is “acceptable” varies by design and inspection standards.
Bottom line: do not auto-add inches to every header. Lay out one opening the way you plan to build it, measure the actual cut length you need, then multiply by the number of doors and windows.
Blocking, fire blocking, and backing
This is where most first timers underbuy. In a basement, you usually add blocking for:
- Drywall edges that do not land on a stud
- Future grab bars, towel bars, TV mounts
- Cabinets, vanities, shelving
- Fire blocking requirements (varies by location)
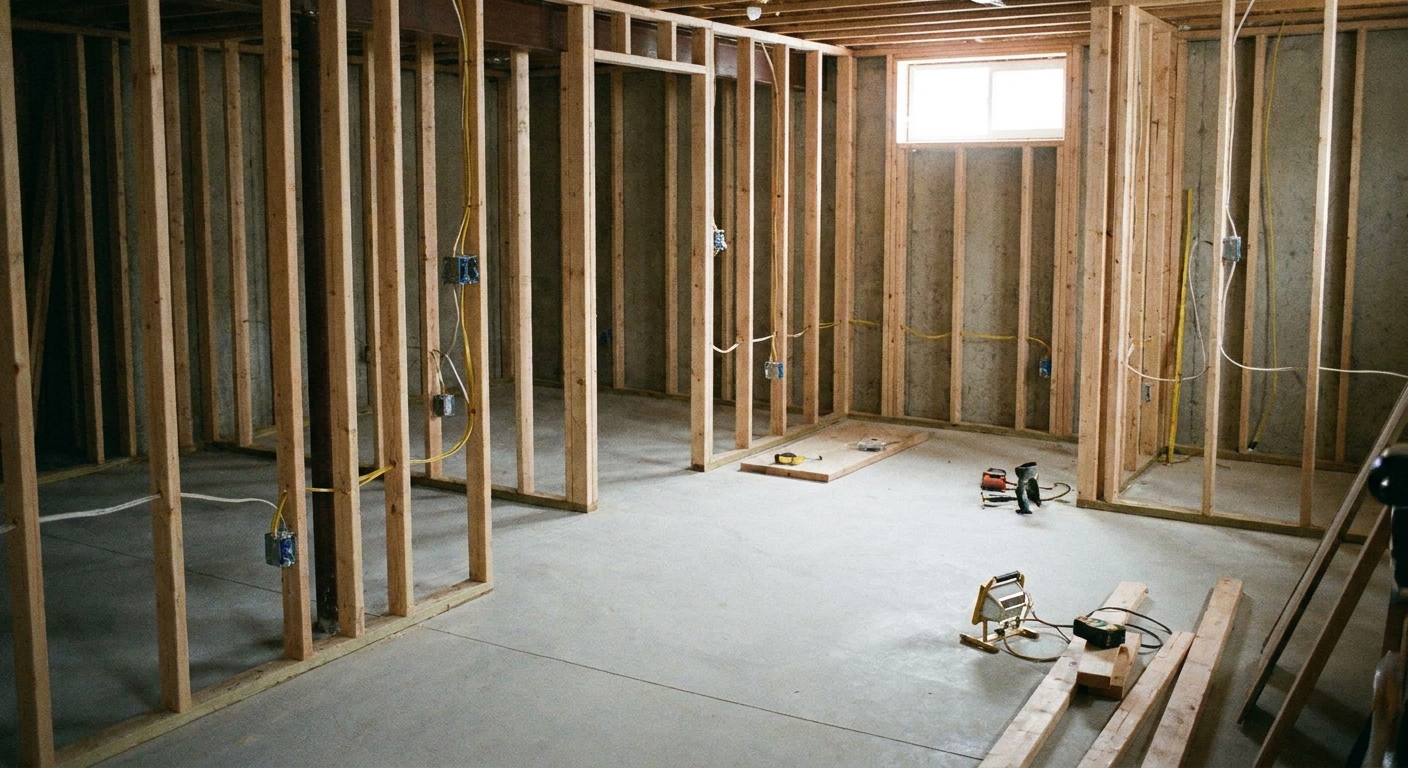
My rule: add 10 to 15 percent extra studs and one extra bundle of plate stock for a medium basement, especially if you are building soffits or lots of partitions.
For more on wall build details, check Framing & Construction.
Step 2: Calculate drywall sheets (walls, ceilings, and waste)
Drywall is where accurate math saves real money because a few wrong sheets turns into delivery fees, wasted time, and joints in annoying places.
Choose your sheet size first
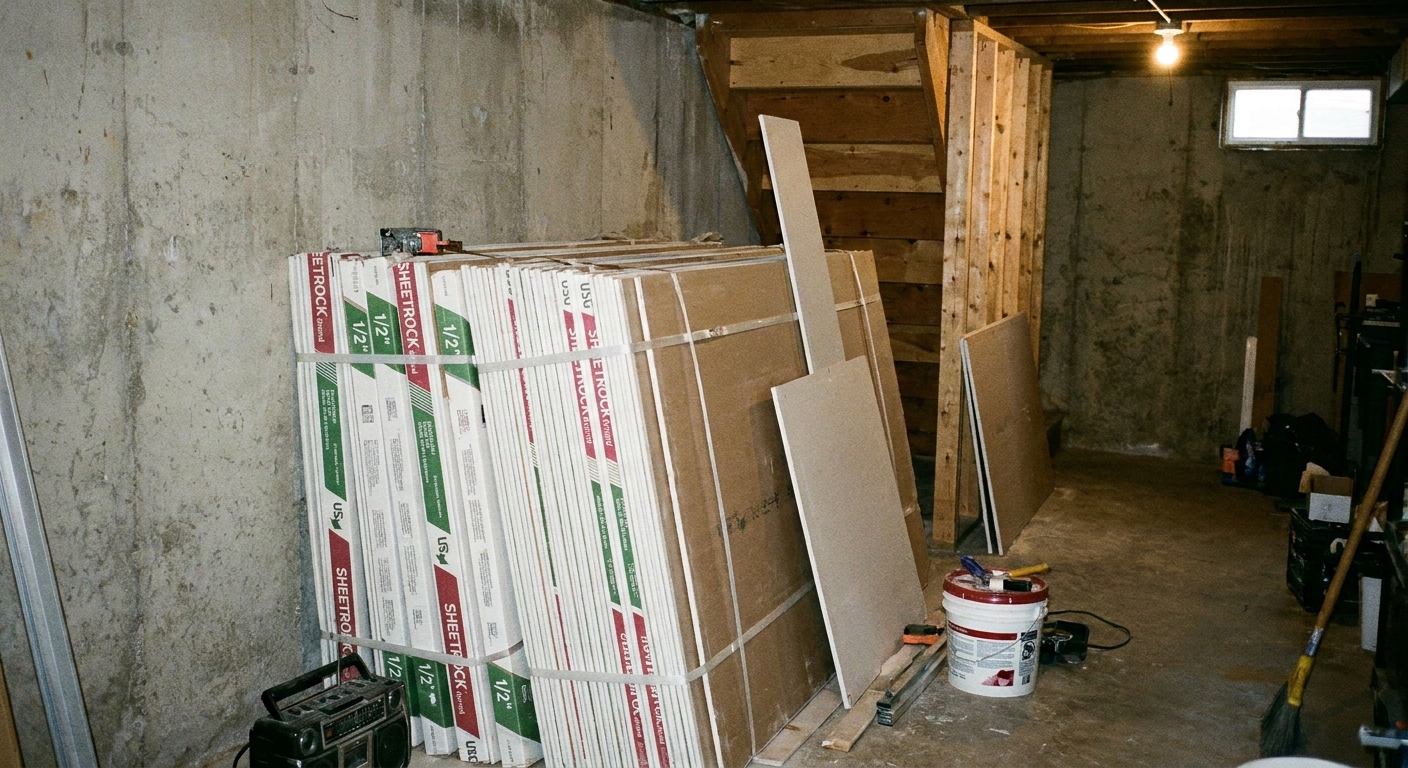
- 4x8: easiest to carry downstairs, more seams.
- 4x10 or 4x12: fewer seams, harder to maneuver.
If your stair access is tight, 4x8 is sometimes the only sane option.
Calculate wall drywall area
For each wall:
Wall area (sq ft) = wall length (ft) × wall height (ft)
Add up all wall areas, then subtract openings:
Opening area = width × height for each door and window.
Total net wall area = total wall area minus total opening area.
Small ordering tip: I always subtract big windows and any oversized openings. For doors, you can go either way. If you want a conservative order (especially as a first timer), it is not crazy to ignore door openings since offcuts, jamb returns, and inevitable waste often eat the “savings” anyway.
Calculate ceiling drywall area
Ceiling area (sq ft) = basement floor area of the finished space. If you are drywalling soffits too, calculate those surfaces separately and add them in.
Convert square feet to number of sheets
Each sheet covers:
- 4x8 = 32 sq ft
- 4x10 = 40 sq ft
- 4x12 = 48 sq ft
Sheets needed = (net wall area + ceiling area) ÷ sheet coverage, rounded up.
Quick example (so you can sanity-check your math)
Say your basement has:
- Net wall area: 900 sq ft (after subtracting windows, and either subtracting or not subtracting doors depending on how conservative you want to be)
- Ceiling area: 500 sq ft
Total drywall area = 900 + 500 = 1,400 sq ft.
If you use 4x8 sheets: 1,400 ÷ 32 = 43.75, round up to 44 sheets.
Add 10 percent waste for a simple layout: 44 × 1.10 = 48.4, round up to 49 sheets.
Add a waste factor that matches your basement
Drywall waste depends on how chopped up your layout is.
- Simple rectangle rooms, few doors: add 8 to 10 percent.
- Many partitions, closets, soffits, lots of openings: add 12 to 15 percent.
- Lots of small weird walls (under stairs, multiple jogs): 15 percent is not crazy.
I would rather return 2 clean sheets than run short mid-hang and end up patching with tiny scraps because the store is closed.
Drywall thickness basics (do not guess)
- Walls: commonly 1/2 inch.
- Ceilings: 5/8 inch is stiffer and very common for sag resistance and sound, and sometimes for fire ratings. In some cases 1/2 inch can be acceptable on ceilings at 16 inches on center with proper installation, but 5/8 inch is the safer default in basements.
- Bathrooms: moisture resistant drywall is common on walls and ceilings outside direct wet areas. Inside shower and tub surrounds, use an approved tile backer (commonly cement board or a manufacturer-approved system), not standard paper-faced drywall.
If your basement plan includes a bathroom or bedroom, also read Basement Finishing Permits: What You Need and How to Get Them. Inspection requirements can affect drywall type, fire ratings, and where you need access panels.
Step 3: Calculate insulation quantities
Insulation math is mostly square footage, but basements add one big twist: you might be insulating walls, rim joists, and ceilings differently depending on your moisture strategy, climate zone, and what local code expects.
If you have not nailed down your moisture plan yet, start at Moisture Control. A dry basement is the foundation of every other decision.
Wall insulation (batts or rigid)
Use the same wall area math you did for drywall:
Net wall insulation area = total wall area minus openings.
Then decide what you are actually insulating:
- Exterior foundation walls only in many basements.
- Plus any framed walls against unconditioned spaces.
Batts are usually sold by package with coverage listed in square feet. Rigid foam boards are sold by sheet size. Either way, once you know your net square footage, you can convert directly to packages or sheets.
Rim joist insulation
Rim joists are a high-leakage area and worth doing carefully.
Measure the length of each rim joist run and the height of the rim joist cavity:
Rim joist area = perimeter length × rim joist height
Mini example: If you have 120 linear feet of rim joist and the cavity is 14.5 inches tall (1.21 feet), area is 120 × 1.21 = 145 sq ft. That is before waste.
Rigid foam cut-and-cobble or spray foam are common approaches. Even if you are using rigid foam, I still add 10 percent because those cuts create offcuts fast.
Ceiling insulation (sound or thermal)
If you are insulating the basement ceiling for sound control (very common under living rooms or bedrooms):
Ceiling insulation area = finished ceiling area (sq ft)
If you are insulating between joists, remember that obstructions eat material and time:
- Bridging, pipes, ducts, electrical
- Dropping soffits
- Areas you are leaving open for access
Those do not always change the number of batts by much, but they can affect how many you damage or cut up. Add 10 percent if the ceiling is busy.
Do not forget the small stuff (it adds up)
When people blow budgets on framing and drywall, it is often not the studs and sheets. It is the piles of “little” materials that get bought in three separate trips.
Fasteners and supplies for framing
- Concrete fasteners (or powder actuated pins) for bottom plates. Quantity depends on spacing, but a safe planning number is one fastener every 16 to 32 inches plus extras for ends. Follow fastener manufacturer requirements and local code, and plan fasteners near ends where required.
- Construction adhesive if you use it for bottom plates or blocking.
- Shims for wavy floors and plumbing walls.
- Treated lumber if you are using pressure treated bottom plates where required.
Drywall screws, joint compound, tape, corner bead
- Drywall screws: plan separate counts for 1/2 inch and 5/8 inch installations if you use both.
- Joint compound: you need more than you think if you are finishing to a smooth look. Texture hides a lot, but basements often end up under bright lighting, so I lean toward buying enough for a proper finish.
- Tape: paper or mesh. Buy an extra roll if you are new.
- Corner bead: count every outside corner, including soffits and stair walls.
Vapor and air sealing materials (plan early)
Different basement assemblies call for different approaches. The key is consistency: if you are sealing rim joists and foaming gaps, buy enough foam, caulk, and tape to finish the job without rationing it.
A simple worksheet you can copy into your notes
Here is the bare-bones list I build for each basement project. It keeps me from missing a category.
- Walls: list each wall length and height, then compute area.
- Openings: list each door and window width and height, then compute area.
- Studs: compute studs per wall at your spacing (16 or 24 inches on center), then add corners, intersections, and openings.
- Plates: total wall linear feet for bottom plates and top plates.
- Drywall: net wall area + ceiling area, then convert to sheets and add waste.
- Insulation: exterior wall net area, rim joist area, and ceiling area as needed.
- Extras: blocking allowance, corner bead count, screw count, compound, tape, and concrete fasteners.
If you want more help sanity-checking your budget once quantities are known, pair this with Basement Finishing Cost Breakdown Per Square Foot and Planning & Budgeting.
Common quantity mistakes (and how to avoid them)
Forgetting soffits and stair walls
Soffits create extra drywall surfaces and extra corners. Stair walls often have odd angles and extra seams. Measure them like mini rooms and add them to your totals.
Not accounting for intersections
Every T-intersection and corner needs more lumber than a straight run. Your base “studs per wall” formula is only the starting point.
Buying drywall based on floor square footage
Floor area is only the ceiling. Walls are usually the bigger number. Always compute wall area from length and height.
Using a one-size-fits-all waste factor
A wide-open basement with two rooms has very different waste than a layout with five closets, a bathroom, and a zig-zag hallway. Adjust your waste to the complexity you are actually building.
When ordering extra is smart
I am not a fan of waste, but I am an even smaller fan of stopping a project midstream because you ran short.
- Lumber: add 10 to 15 percent on studs if you are new, your walls are irregular, or you are building soffits.
- Drywall: add 8 to 15 percent depending on layout complexity.
- Insulation: add 5 to 10 percent for batts, and 10 percent for rigid foam cuts.
If your goal is the lowest risk and cleanest execution, order with a little breathing room. If your goal is the tightest budget, plan more time for returns and second trips.
And if you are on the fence about tackling it yourself versus hiring help for part of the job, DIY vs Hiring a Contractor for Basement Finishing can help you decide where your time and money are best spent.