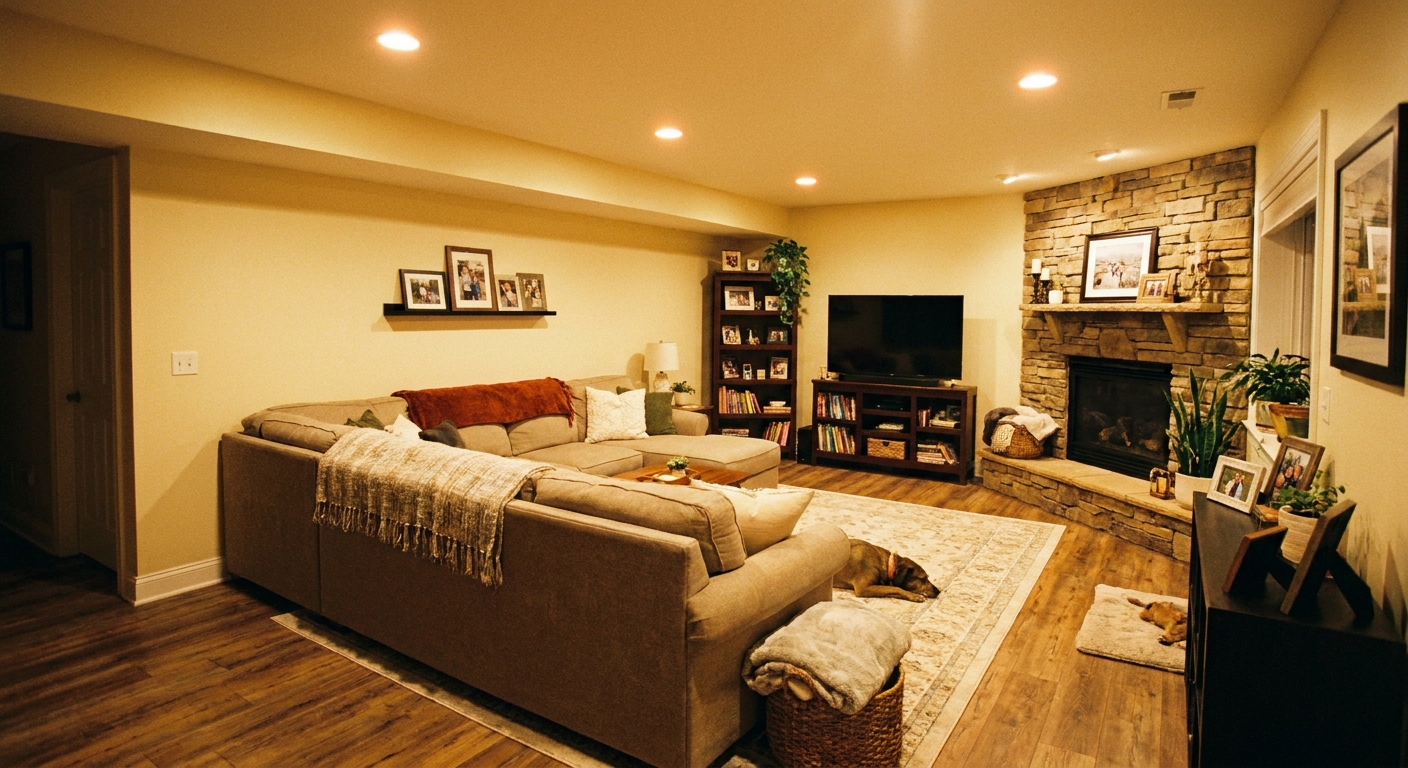
The first time I priced out finishing my own basement, the contractor number felt like a dare. My “dark, musty cellar” era was in full swing, and every quote bundled everything together like it was all-or-nothing. What I learned over the next decade is this: you do not have to be an all-DIY hero to save real money. You just need to be strategic about which tasks you tackle and which ones you pay a pro to do.
This is a practical comparison of DIY vs. hiring a contractor, focused on three things that actually matter in the real world: dollars saved, time spent, and risk if it goes wrong.
The real math
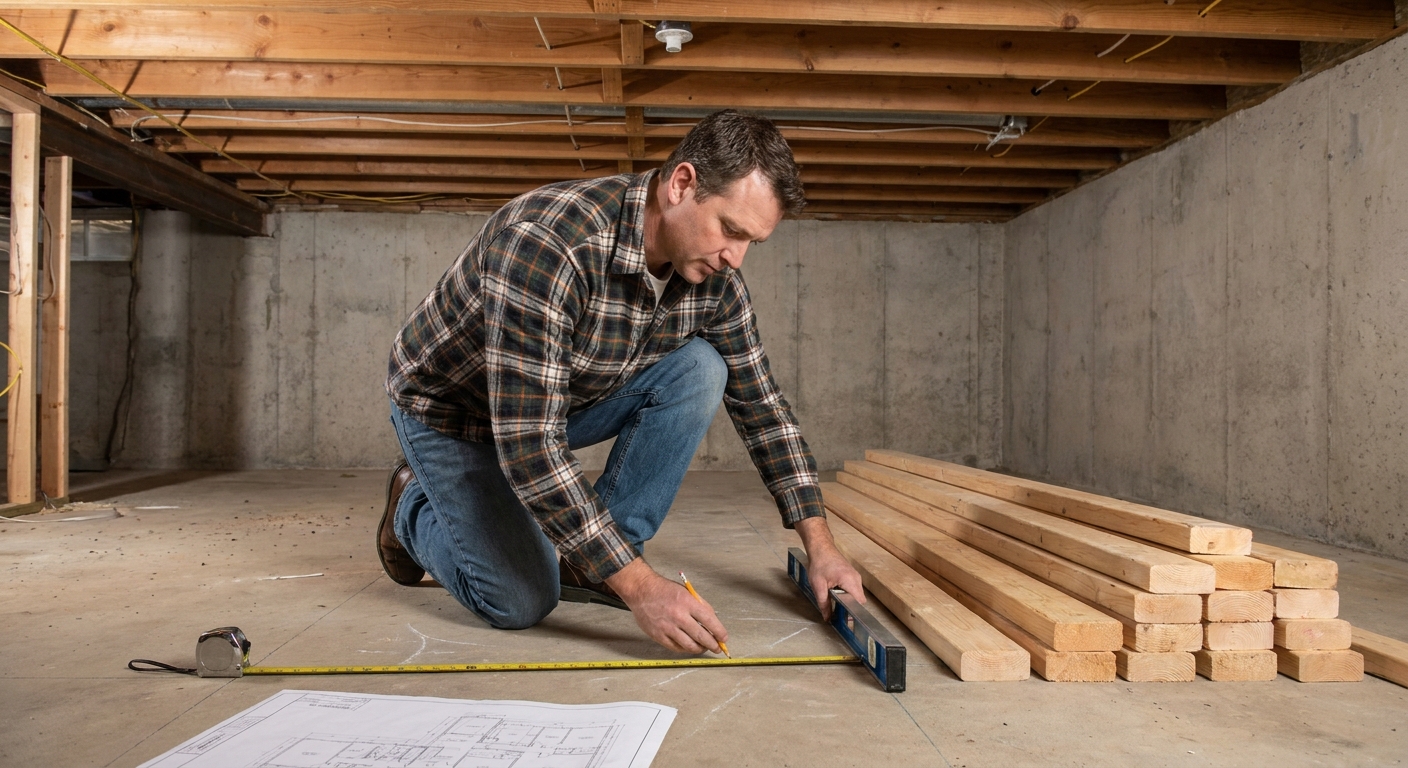
Before you decide what to DIY, it helps to know where the money goes. In most basement finishes, labor is a huge part of the invoice, and the highest-priced trades are often the ones where mistakes can create safety issues, inspection failures, or expensive tear-outs later.
If you want a baseline for budgeting and typical line items, start with my detailed breakdown here: Basement finishing cost breakdown per square foot.
Typical cost buckets
- Moisture management and prep (drainage, sealing air leaks, dehumidification)
- Framing and insulation (walls, soffits, fireblocking)
- Electrical (new circuits, lighting, outlets)
- Plumbing and HVAC changes (bathroom rough-ins, vents, returns)
- Drywall and finishing (hang, mud, sanding, paint)
- Flooring (underlayment, install, transitions)
- Trim and doors (baseboard, casing, interior doors)
The “best” DIY tasks are usually the ones that are labor-heavy, low-permit complexity, and forgiving if your first attempt is not perfect.
My rule of thumb
Here is the simplest decision filter I have found:
- DIY when the task is physically time-consuming, has a clear learning path, and errors are cosmetic or correctable.
- Hire out when the task involves safety, code compliance, insurance risk, or hidden failure modes that show up months later.
That does not mean you cannot DIY electrical or plumbing in some places. It means those are the areas where “saving money” can turn into “paying twice” faster than anywhere else, and local rules can change what is legal for a homeowner to do.
Best DIY tasks
1) Demo, cleanup, and prep
Why it saves money: Contractors charge for labor, and demo is messy labor. If you can clear out old paneling, carpet, ceilings, and junk, you can save a surprising amount.
Skill level: Low, but be cautious around old wiring, asbestos-containing materials, and anything that looks like water damage.
Time reality: Plan on this taking longer than you think because you will stop to inspect, sweep, haul, and repeat.
2) Moisture detective work and basic mitigation
Basements punish shortcuts. The cheapest basement finish is the one you do not have to tear out.
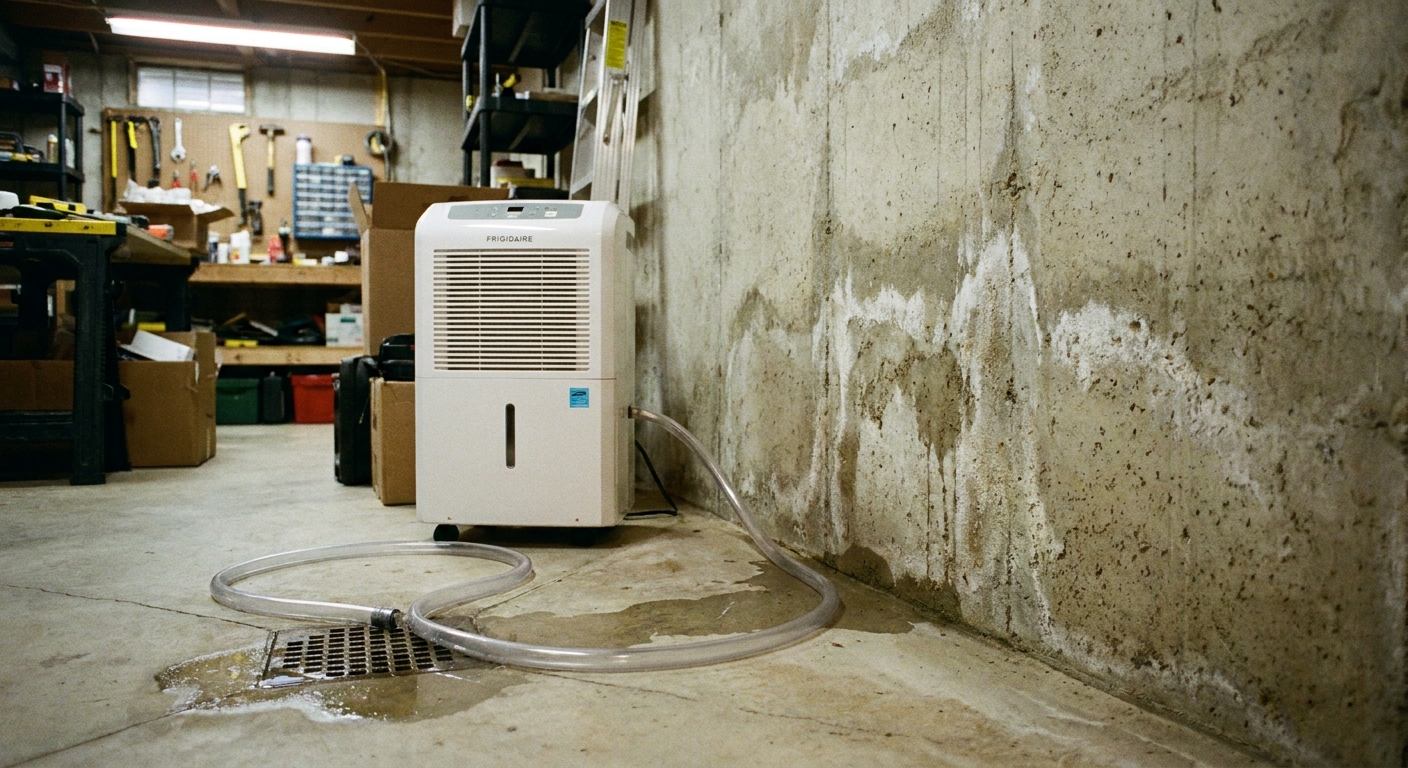
Good DIY scope: downspout extensions, grading tweaks, sealing obvious air leaks, running a dehumidifier, addressing condensation sources, and choosing basement-safe materials.
A quick clarification: interior “waterproofing” coatings and paints are rarely a real fix for active bulk water intrusion. If water is coming through the wall or slab, the first-line solution is usually drainage and water control outside, or a professionally designed interior drainage system.
When to hire: active seepage, repeated flooding, foundation cracks that change over time, or any scenario where you cannot confidently identify the water source.
My moisture-first approach is here: Moisture Control.
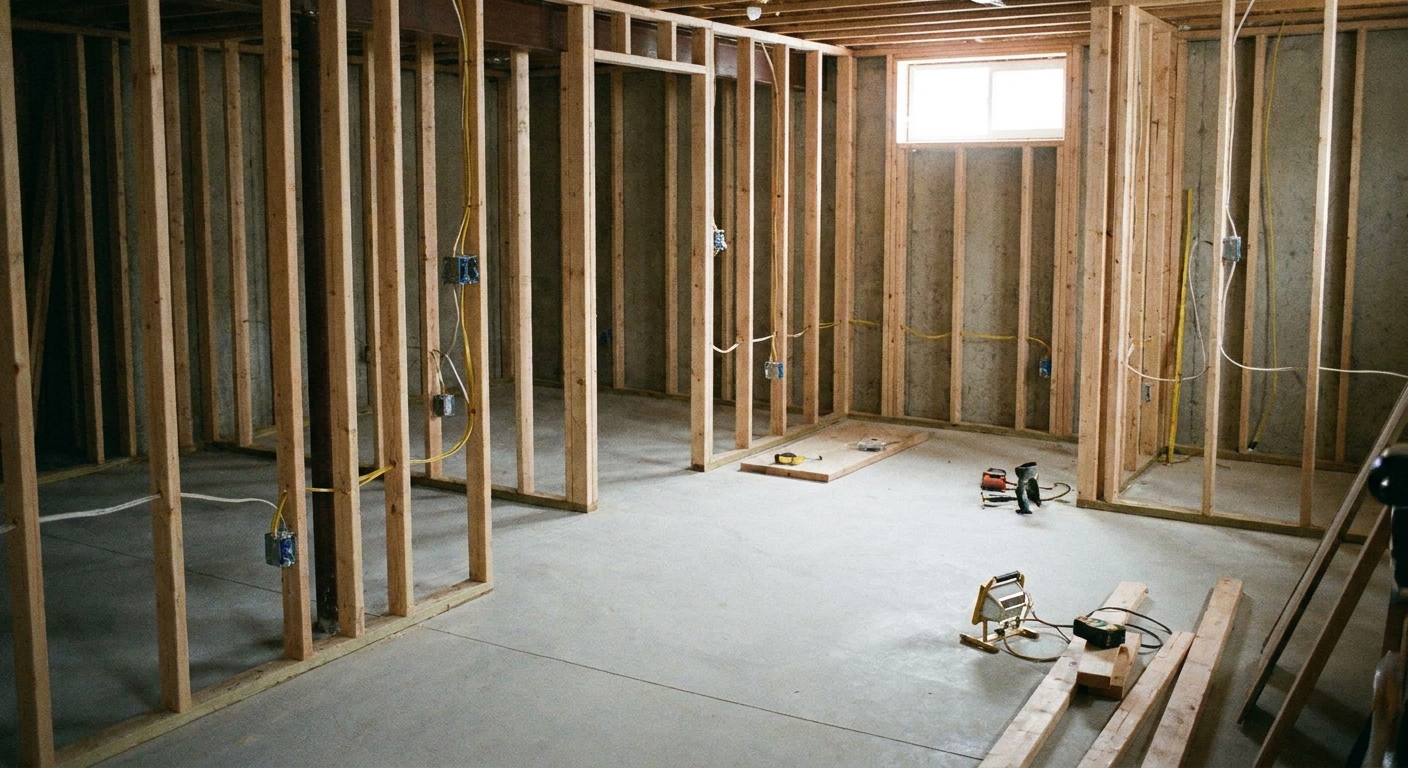
3) Framing walls and soffits
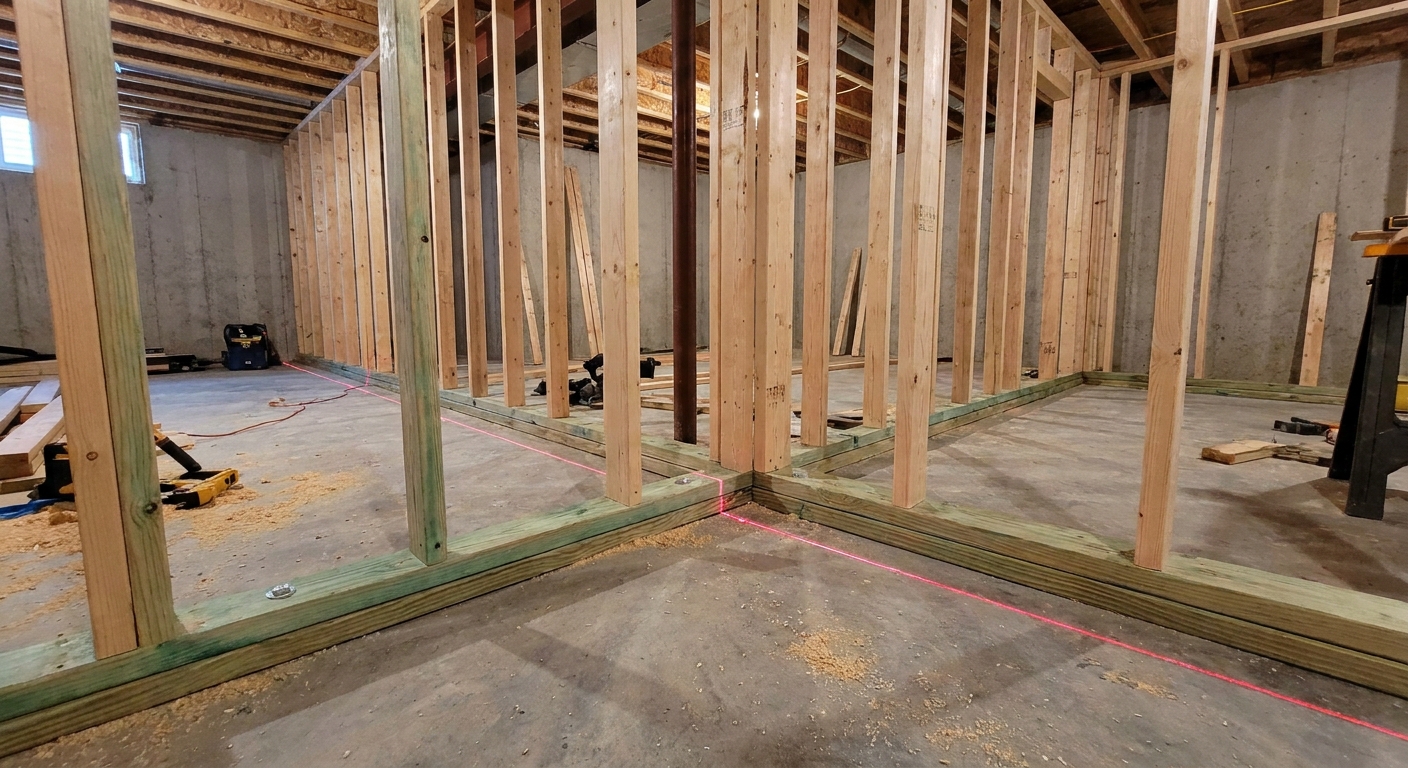
Why it saves money: Framing is labor-heavy and repetitive. If you can measure, cut square, and stay patient, DIY framing can be one of the biggest savings.
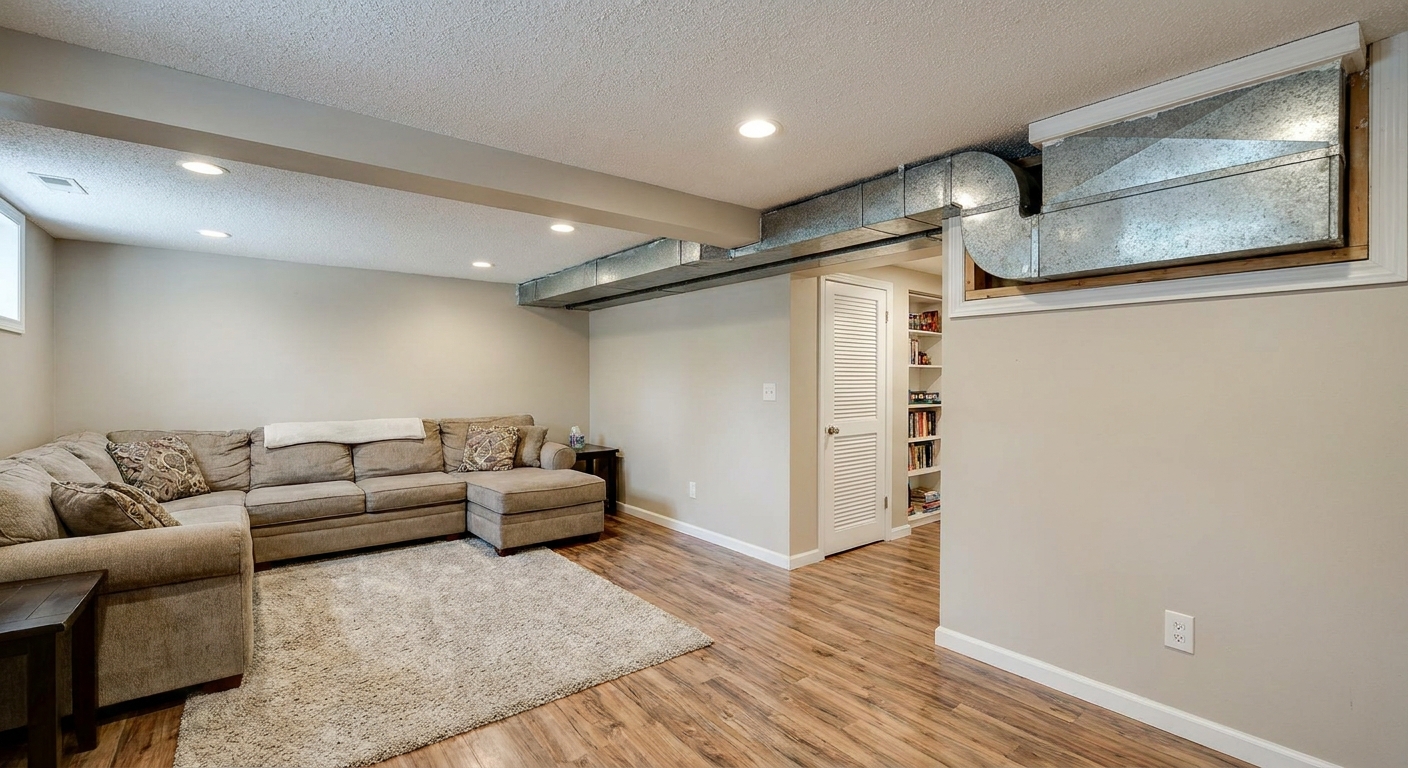
What makes basements tricky: wavy slabs, low ductwork, beams, weird posts, and uneven walls that force you to plan for straight finishes.
Basement-specific detail that matters: keep wood from wicking moisture off concrete. That usually means a capillary break (like sill gasket or foam) under bottom plates, and pressure-treated lumber where required by code.
Risk level: Moderate. Mistakes can cascade into drywall headaches and door problems, but they are usually fixable if caught early.
For my step-by-step framing approach, head here: Framing & Construction.
4) Insulation and air sealing
Why it saves money: Insulation labor adds up, and careful DIY work often beats rushed pro work in the details.
Where DIY goes wrong: trapping moisture against the foundation, ignoring rim joists, and installing the wrong vapor strategy for the climate.
One sentence of reality: vapor retarder placement and foam requirements vary by climate zone and local code, so copy-pasting an insulation stackup from another region can create condensation problems.
My advice: design your insulation plan around moisture control first, comfort second, and cost third. A warm basement that smells musty is not a win.
5) Painting, trim, and finish carpentry
Why it saves money: Finish work is pure labor. Pros are fast, but you pay for that speed.
Skill level: Beginner to moderate. You can get great results with patience, decent tools, and an acceptance that caulk is basically a superpower.
Time reality: Trim seems like “a weekend” until you factor in filling, sanding, second coats, and touch-ups.
6) Flooring installation
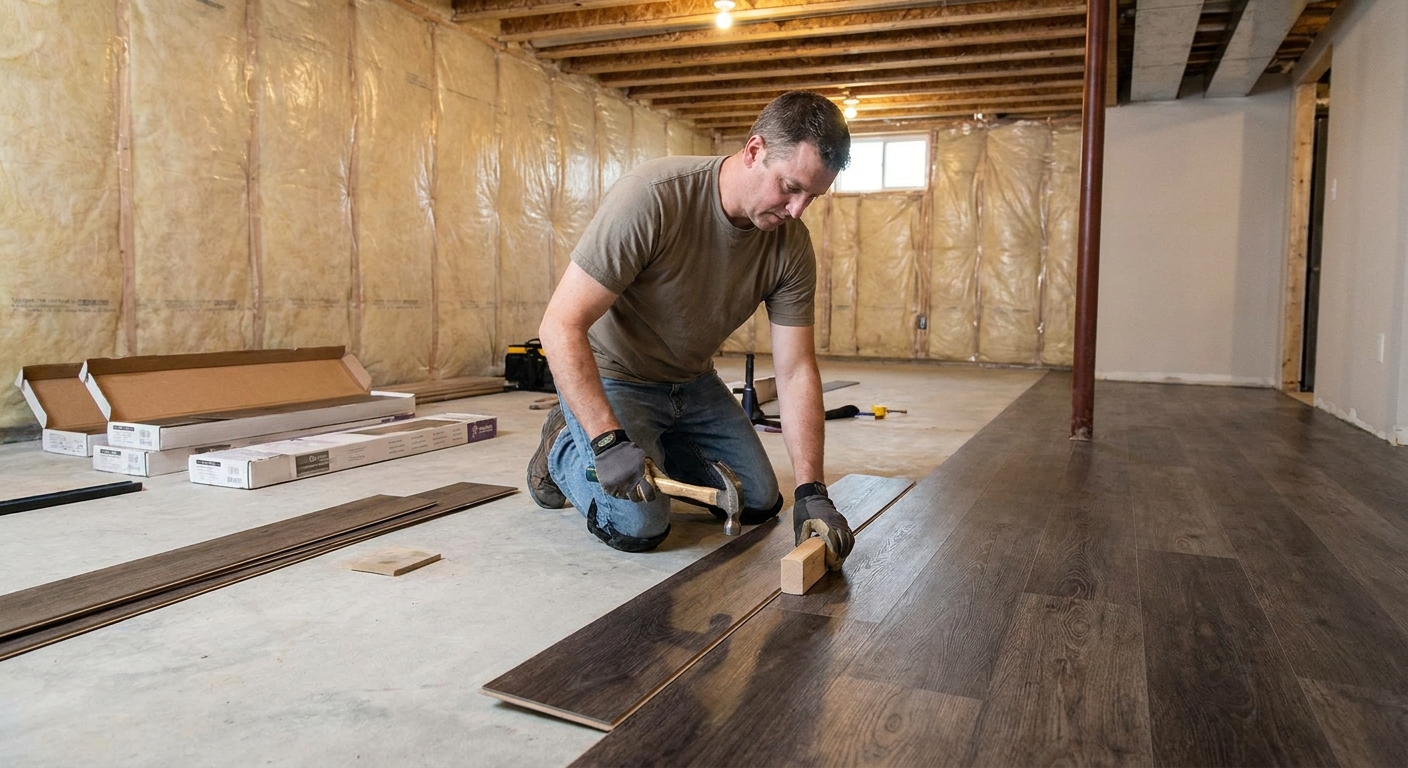
Why it saves money: Flooring labor can be expensive, and many basement-friendly floating floors are designed for DIY installation.
Big basement caveat: moisture and flatness. A floor can look great on day one and then start clicking, separating, or cupping if the subfloor conditions are ignored.
Material-by-material pros and cons are here: Flooring Options.
7) Optional DIY upgrades people love
Sound control: If you want a quieter basement and fewer footsteps overhead, this is a DIY-friendly place to spend effort. Ceiling insulation, sealing gaps, and thoughtful drywall choices can make a real difference, and the risk is low compared to plumbing or service electrical.
Maybe DIY
Drywall hanging and finishing
Savings potential: High.
Stress potential: Also high.
Hanging drywall is learnable. Finishing drywall is an art that punishes impatience, especially on ceilings and long seams under harsh basement lighting.
- DIY drywall makes sense if you have time, can tolerate mess, and will do multiple thin coats rather than trying to bury seams in one pass.
- Hiring it out makes sense if your basement has lots of ceilings, soffits, and weird angles, or if you want a predictable timeline.
Lighting will reveal every flaw, so think about your finish level and fixture placement together. More on that here: Lighting & Finishes.
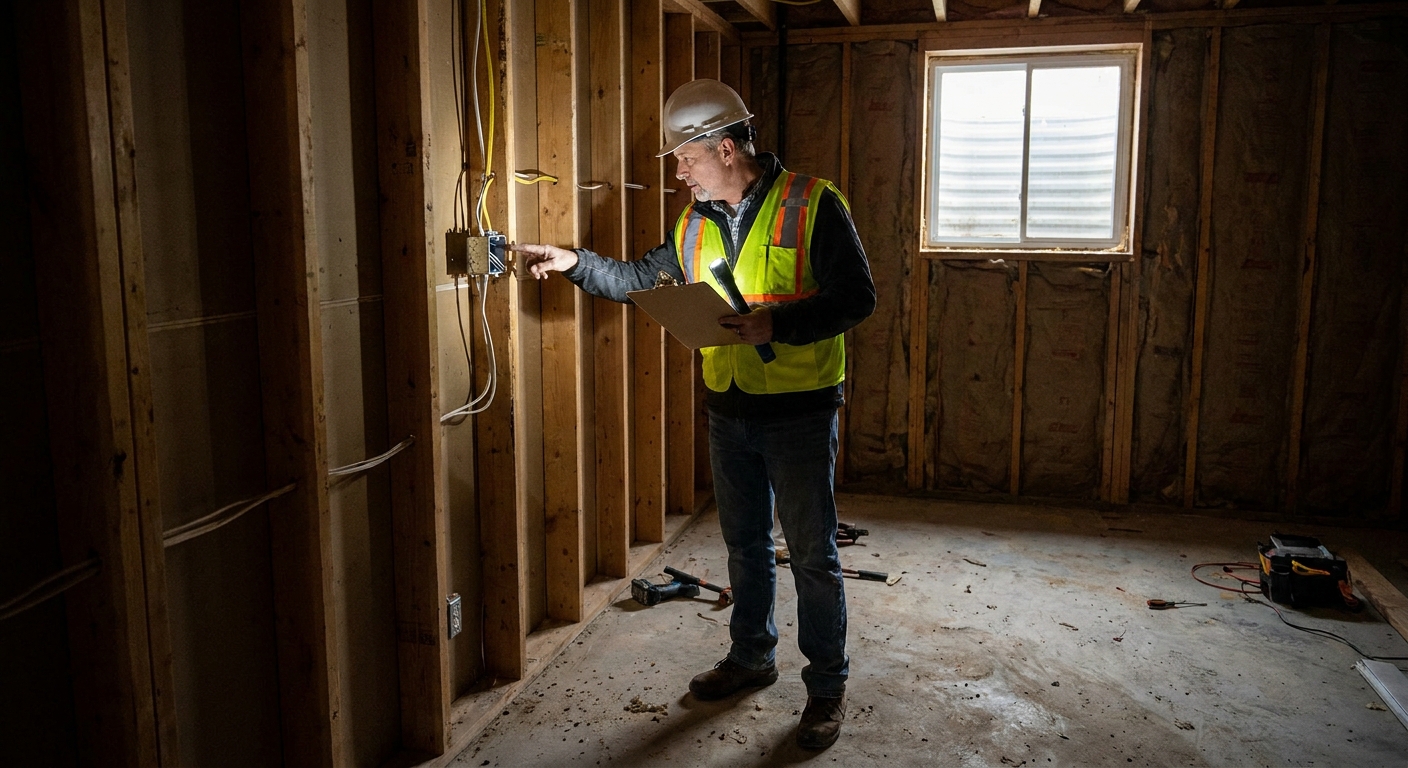
Basic electrical rough-in under a permit
My cautious take: If your local jurisdiction allows homeowner-permitted work and you are disciplined about code and inspections, DIY can save money. But electrical mistakes can be catastrophic, and bad work can haunt a home sale.
Hybrid approach that works well: DIY the layout planning, cable drilling, and box placement, then hire a licensed electrician to handle panel work, final connections, and load calculations.
Plumbing for a basement bathroom or wet bar
Savings potential: Moderate to high.
Risk level: High if drains are involved.
Supply lines are one thing. Drain and vent work is where “it seems fine” can turn into sewer smell, slow drains, or failed inspection.
Basement gotcha: depending on where your main sewer exits and the elevation of your fixtures, you may need an ejector pump or an upflush system. This is one of those details that is easy to miss until you open the floor and realize gravity is not on your side.
If you are adding a bathroom, many homeowners do best hiring rough plumbing, then DIYing the cosmetic install like faucets, trim, and accessories.
Hire these out
1) Structural changes and egress work
If you are cutting a foundation wall for an egress window, altering beams, or modifying load-bearing elements, this is pro territory for most homeowners.
Egress windows are also code-driven for clear opening size and well requirements, and they typically trigger permits and inspections. This is not a place to guess.
2) Anything that changes the main electrical service
Panel upgrades, service changes, major new circuits, and anything that makes you nervous when you read it twice are worth paying an electrician for.
3) Major water management and foundation repair
Exterior drainage, interior drain tile systems, sump work, and crack injection can be done well by specialists who do it every day. Some homeowners can DIY parts of this, but if water is actively entering your basement, it is not the time to experiment.
Basement rules people forget
Permits and inspection timing
Even when you DIY, you are still building a real renovation that often requires permits. In many places, you will need rough inspections for framing, electrical, plumbing, and HVAC before insulation and drywall, then a final inspection at the end. Plan the sequence up front so you do not end up tearing out finished work to show something you covered too early.
Fire safety requirements
Finishing a basement can trigger requirements for fireblocking, smoke alarms, and carbon monoxide alarms depending on your layout and local code. This is another reason a hybrid approach works: you can DIY the labor, but you should be confident you are meeting code before closing up walls and ceilings.
HVAC is more than adding a vent
Basements often need supply and return balancing, and mechanical rooms can have combustion air and clearance requirements. If you are touching ductwork, plan it carefully and consider a pro consult if your system already struggles with comfort upstairs.
Hidden DIY costs
Tool costs and the learning curve
A DIY basement often requires tools you do not own yet: laser level, miter saw, nailer, shop vac, rotary hammer, moisture meter, and so on. Tools can still be a good investment, but they are part of the budget.
Time has a dollar value
If your basement finish drags on for six months longer than planned, that matters. You might be paying to store furniture, living with dust, and delaying the functional space you wanted.
Rework hurts more than the original cost
The most expensive DIY mistakes are the ones that get covered up. A little moisture issue behind finished walls can turn into a full tear-out.
A solid hybrid plan
If you want the sweet spot, here is a common division of labor that I have seen work over and over:
- DIY: demo, cleanup, moisture prevention basics, layout marking, framing, insulation, paint, trim, flooring, doors and hardware
- Hire: any needed foundation or drainage repair, HVAC design changes, panel work and final electrical, complicated plumbing rough-in, drywall finishing if you want speed and consistency
You still get real savings because you are removing lots of labor hours from the contractor scope, but you are paying for expertise where it protects the whole build.
60-second decision guide
DIY is usually a good bet when
- A mistake is visible quickly and fixable without tearing out major work
- The task is repetitive and mostly about time and care
- You can pass inspections step-by-step, not all at the end
- You have evenings and weekends to keep momentum
Hiring is usually smarter when
- The work affects safety, structure, or fire risk
- A failure might not show up for months (water, wiring, venting)
- You need the project done by a specific date
- Your local permitting rules are complicated or strict for homeowners
FAQ
What part of basement finishing is most worth DIYing?
For most homeowners, the biggest savings come from demo, framing, insulation, painting, trim, and flooring. Those are labor-heavy and typically forgiving if you work carefully.
What part should I not DIY?
If you have active water intrusion, significant foundation issues, panel upgrades, egress cuts, or anything structural, those are the areas where hiring out is usually the cheapest option long-term.
Can I act as my own general contractor to save money?
Yes, and it can save a lot, but you are “paying” with project management: scheduling trades, coordinating inspections, ordering materials on time, and making a hundred small decisions. If you are organized and patient, it is doable.
How do I avoid paying twice?
Do the unglamorous planning first: moisture plan, layout plan, outlet and lighting plan, and a clear sequence that matches how inspections typically happen in your area. My planning approach lives here: Planning & Budgeting. If you get stuck, you can reach me through Contact.