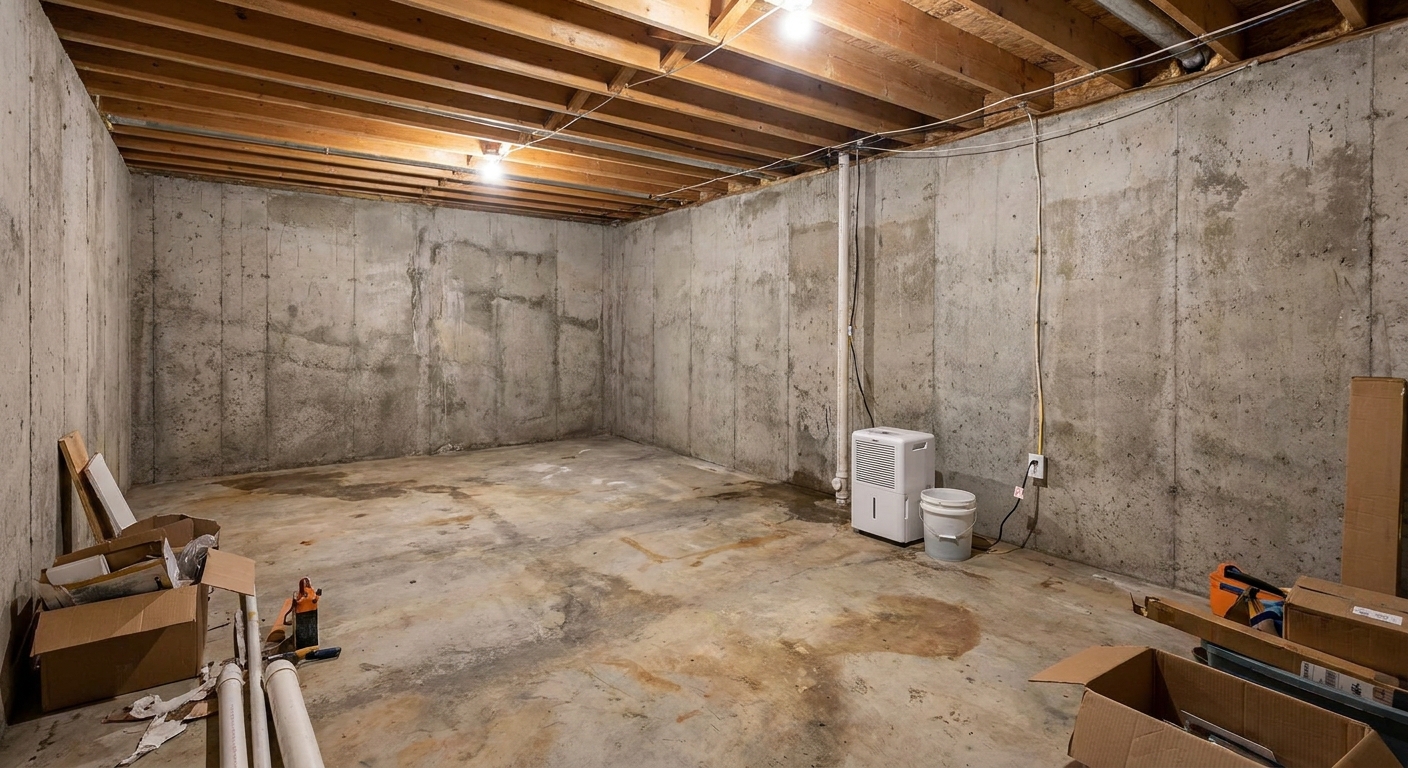
The first basement I ever finished looked dry on the day I walked through it with my realtor. Two weeks after moving in, a thunderstorm rolled through and I found a damp line snaking across the slab and a musty smell that would not quit. That was my introduction to a simple rule I still follow: before you hang insulation, frame walls, or pick flooring, you need a plan for water that assumes the worst day, not the best day.
For a lot of homes, that plan is an interior perimeter drain (often called an interior “French drain” in homeowner talk, even though pros may use that term differently) feeding a sump pump. This system does not make your foundation magically waterproof, and it will not stop your walls from ever getting damp, but it can reliably manage the water that shows up so it does not ruin your new drywall.
What an interior French drain actually does
When water pressure builds up outside your foundation wall, it looks for a way in. Sometimes it seeps through tiny cracks in the wall or where the wall meets the slab (the cove joint). An interior perimeter drain is designed to capture that water as soon as it arrives and route it to a sump basin, where a pump sends it back outside.
The basic parts
- Perimeter trench: A strip of concrete is cut out along the inside edge of the basement, usually near the slab edge and footing line. Exact width and location vary by foundation details and contractor system.
- Drain pipe: Typically a perforated pipe set in washed stone so water can enter freely and flow to the basin.
- Wall drainage gap or membrane: Many systems include a dimple mat or a small gap detail so wall seepage can drop into the trench instead of pushing into your finished wall.
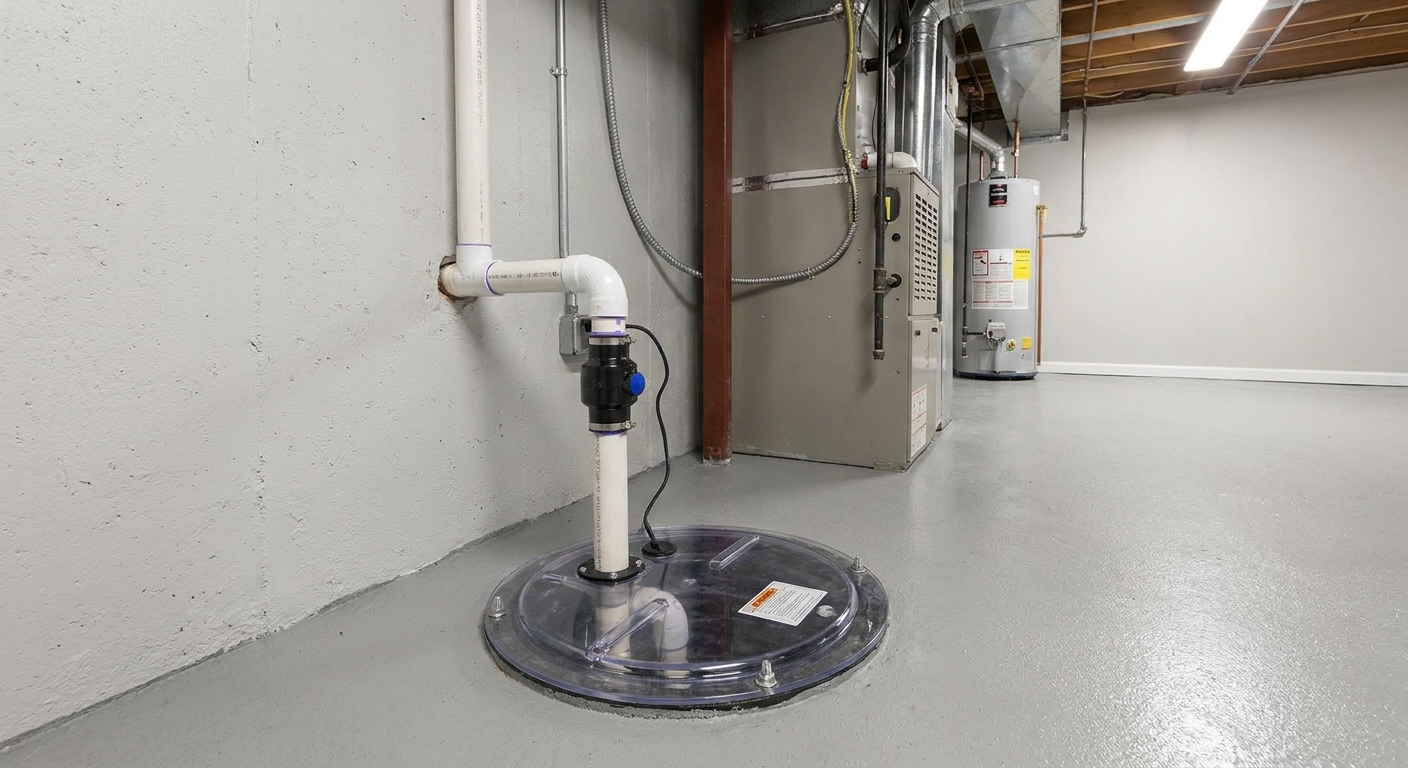
- Sump basin: A buried basin that collects the water.
- Sump pump and discharge: The pump lifts water up and out through a discharge line that terminates outside.
Think of it like this: the drain is the gutter around the inside of your basement floor. The sump basin is the downspout. The pump is the thing that makes the downspout go uphill and out to daylight.
Do you need one before finishing?
Not every basement needs an interior drain and sump pump. Plenty of basements stay dry with good grading, gutters, and a few crack repairs. But if you are about to cover the walls with insulation and drywall, you should be honest about your risk tolerance. A little moisture that feels like a minor annoyance in an unfinished basement can become a major, expensive tear-out later.
Strong signs you should plan for a drain and sump
- Water has ever pooled on the floor, even once.
- You see water staining, efflorescence (white mineral deposits), or peeling paint along the bottom of foundation walls.
- You have a high water table in your neighborhood (neighbors have sumps, your yard stays soggy, or you are near a lake or creek).
- Basement humidity is consistently high and you fight a musty smell despite running a dehumidifier.
- You are finishing bedrooms, carpeted spaces, or a home theater where moisture damage is especially painful.
Signs you might not need it
- The basement has stayed dry through multiple heavy rain seasons.
- No history of seepage, staining, or musty odor.
- Your downspouts already discharge far from the foundation and the grade slopes away.
If you are not sure, start with a moisture-first review. I walk through the same checklist every time before I frame anything. This pairs well with the larger moisture planning steps in Moisture Control and the sequencing in Basement Remodel Timeline: Correct Order of Operations.
Interior system vs exterior waterproofing
Homeowners often ask whether an interior drain is a “real fix” compared to excavating outside and waterproofing the foundation. Here is the practical difference.
Exterior waterproofing
- Goal: Stop water before it touches the foundation wall.
- Pros: Best at preventing wall wetting and hydrostatic pressure issues when done correctly.
- Cons: Major excavation, landscaping disruption, higher cost, obstacles like decks, sidewalks, and tight property lines.
Interior perimeter drain with sump
- Goal: Manage water after it enters at the cove joint or through the wall, then remove it quickly.
- Pros: Usually less disruptive, often more affordable, very effective for seepage at the wall-floor joint.
- Cons: Water still enters the basement envelope, so you are relying on the system long-term.
For basement finishing, I care most about repeatability, meaning a system you can count on, storm after storm. If your basement is a known water risk, an interior drain plus a properly designed sump setup is a repeatable solution that protects your investment, as long as you build the rest of the basement with moisture in mind.
What to install before you start framing
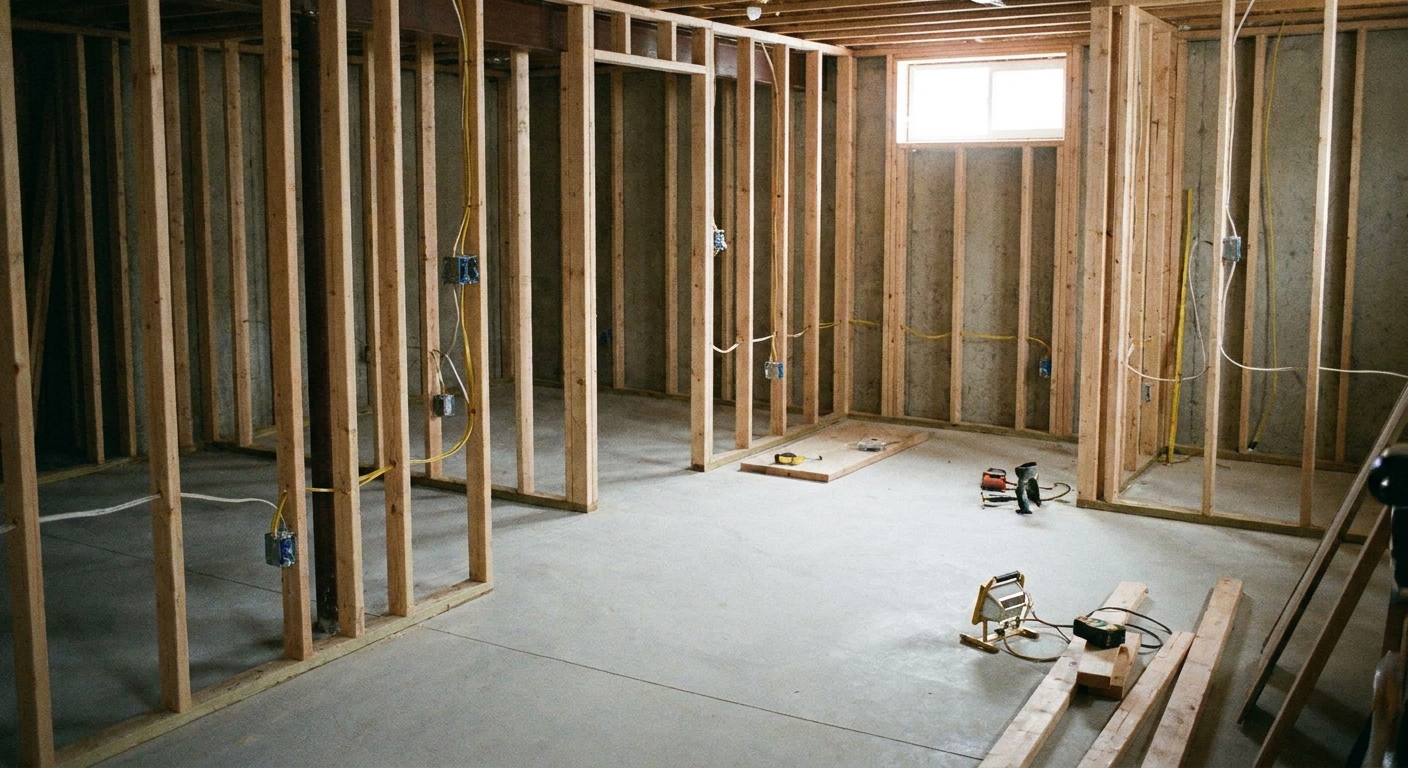
If you are going to do this work, do it before insulation, framing, flooring, and trim. Cutting concrete after the basement is finished is about as fun as it sounds.
1) Perimeter drain and basin
Get the trench, stone, pipe, and sump basin installed first. If you are hiring this out, ask how they handle wall seepage and whether they tie the system into a sealed basin.
2) A sump pump you can trust
A basic sump pump will move water, but “basic” is not what I want protecting new drywall at 2 a.m. during a power flicker. Consider:
- Primary pump: Sized appropriately for your basin and expected inflow. Cast iron pumps tend to run quieter and dissipate heat better than cheap plastic-bodied pumps.
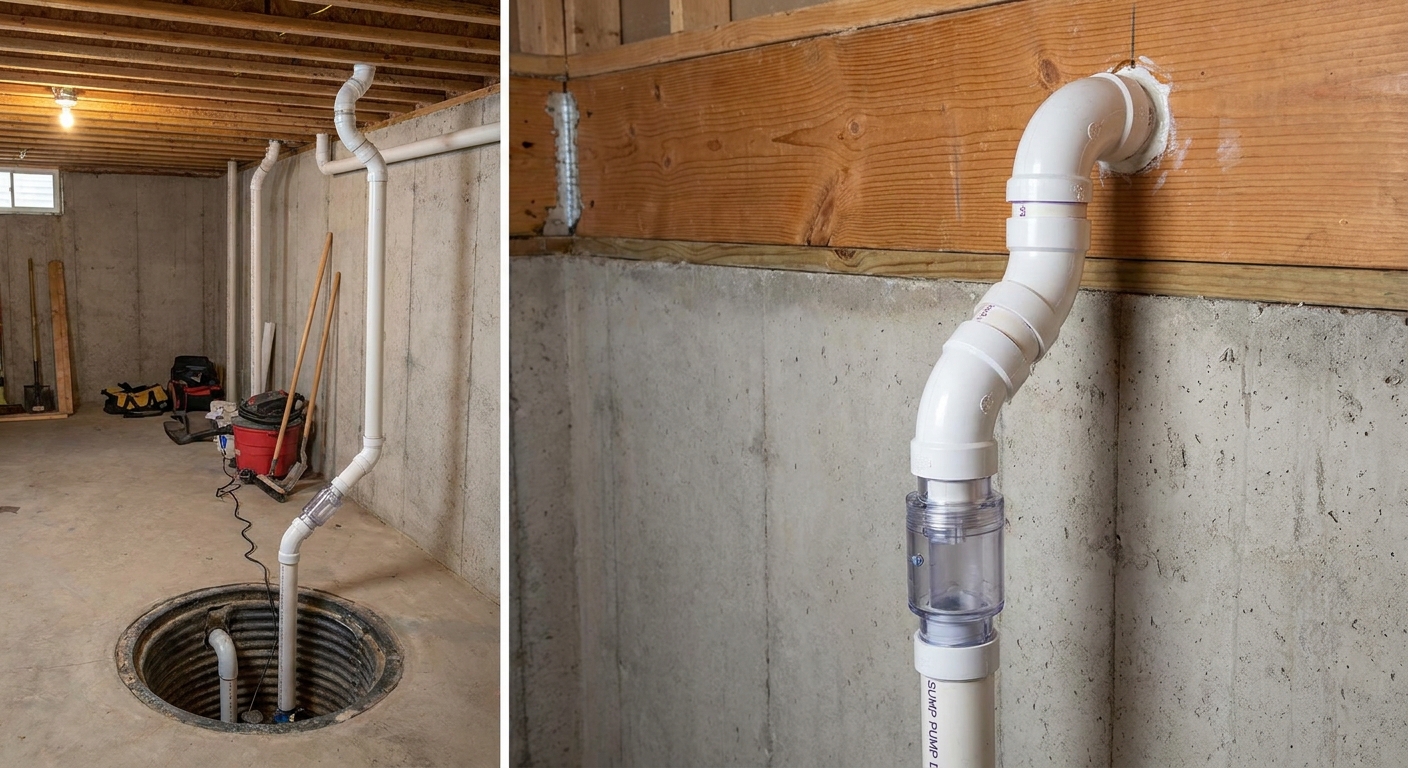
- Check valve: Prevents water in the discharge line from dumping back into the basin after every cycle.
- Sealed lid: Helps with radon control and reduces humidity, and it keeps the basin from becoming a smell source. It is not a replacement for radon testing or a proper mitigation system if your numbers are high, but it is a smart part of the overall approach.
3) A backup plan for power outages
Storms and outages love to travel together. A backup can be the difference between a wet floor and a full cleanup. Common approaches include battery backups and water-powered backups (where allowed and practical). Water-powered units rely on municipal water pressure, so they are usually a poor fit for well systems or low-pressure situations, and they can increase water use during a long event. Whatever you choose, test it and keep it maintained.
4) A discharge line that will not sabotage you
The discharge is where a lot of “good” sump installs fail in real life.
- Terminate away from the house: Dumping water right next to the foundation can send it back into the drain system in a loop.
- Plan for freezing: In cold climates, a poorly sloped discharge or long horizontal run can freeze and block flow.
- Do not tie into sanitary sewer: This is often prohibited. Some areas allow connection to a storm system, but local rules vary, so check local code before you route anything.
How this impacts your wall build
Once you accept that water might show up, you build your finished basement so a minor event stays minor.
Keep materials off the concrete and away from the cove joint
- Bottom plates: Use pressure-treated lumber where required by code and consider a sill gasket or capillary break. Avoid burying wood in a spot where it can wick moisture.
- Leave a small gap strategy: Many pros keep drywall slightly off the slab so minor dampness does not immediately soak the gypsum. Your local code and finish details matter here.
Choose insulation that tolerates basements
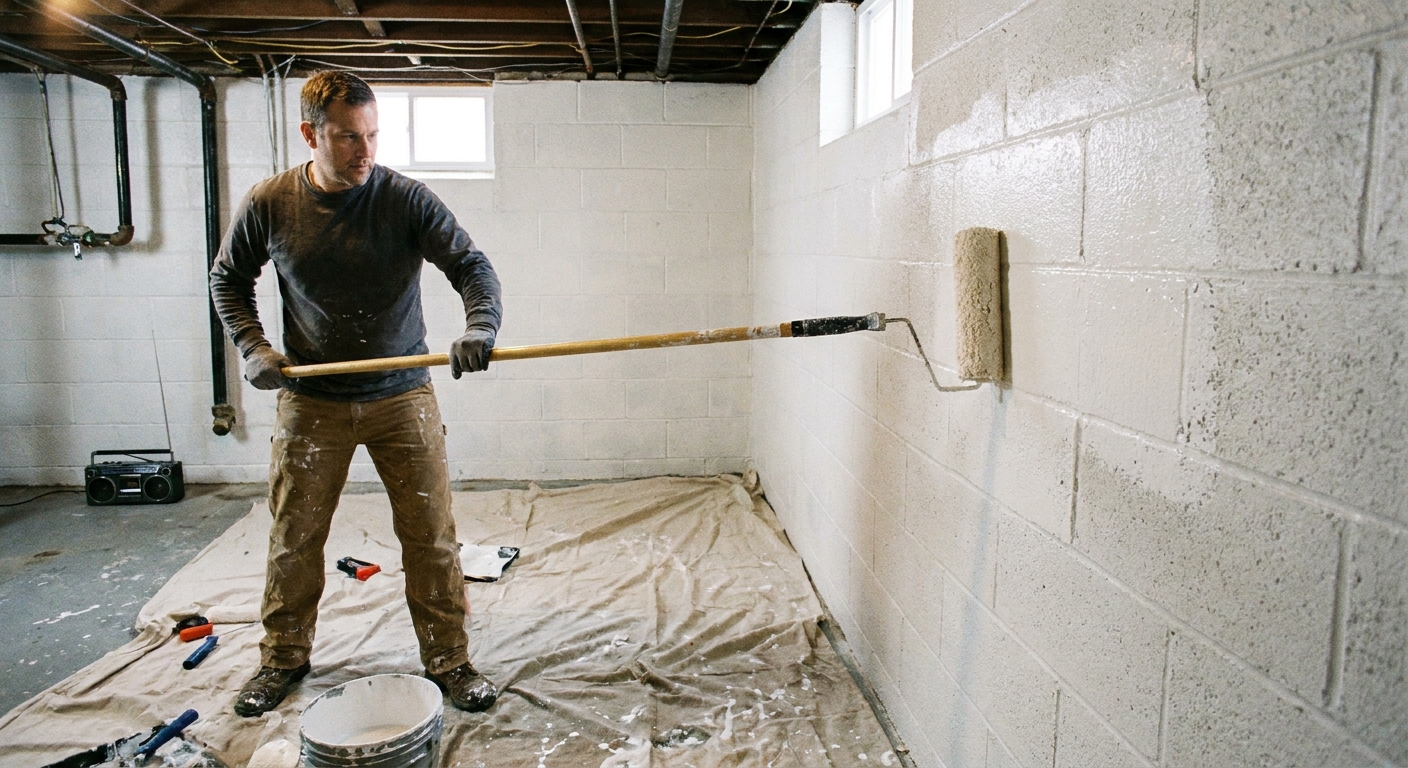
Basements are not like upstairs exterior walls. The wrong insulation strategy can trap moisture against the foundation. I cover the broader decision-making in Moisture Control, but the takeaway is simple: your wall assembly should handle occasional dampness without turning into a science experiment.
Plan your ceiling and mechanical routes early
Drain systems and sump plumbing can affect where you run framing, HVAC, and soffits. If you are already thinking about headroom, this guide on Basement Plumbing and HVAC Without Losing Ceiling Height helps you avoid boxing yourself in.
DIY or hire it out
I love DIY, but I am picky about where I spend my sweat equity. Cutting and patching a slab, setting pipe pitch, and sealing a basin are all doable for the right homeowner, but mistakes are expensive and messy.
Consider hiring a pro if
- You have active water entry or heavy seepage during storms.
- You need a full perimeter system and multiple corners, bump-outs, or thickened slab areas.
- You are unsure how to route the discharge legally and safely.
- You are finishing high-value spaces where failure would mean major demolition.
If you are weighing the decision, my general approach is: DIY the finishes, be cautious with systems that protect the finishes. This mindset lines up with DIY vs Hiring a Contractor for Basement Finishing.
Permits and code questions to sort out early
Rules vary by city and even by neighborhood, but these items regularly trigger permit and inspection conversations:
- Electrical outlet for the sump pump (GFCI requirements and dedicated circuit considerations).
- Discharge location and whether a storm connection is allowed.
- Radon implications and sealed lid expectations.
- Any new plumbing work around the basin area.
Before you start, it is worth reading Basement Finishing Permits: What You Need and How to Get Them so you do not end up opening walls later for an inspector.
My pre-framing checklist for drains and sump pumps
If you are standing in an empty basement with big plans, here is the quick gut-check I use before I build a single wall:
- All known cracks sealed and monitored.
- Gutters clean, downspouts extended away from the house, grading slopes away.
- Interior drain and sump installed if there is any history of seepage.
- Sealed sump lid installed and accessible for service.
- Primary pump tested with water in the basin.
- Backup plan in place and tested.
- Discharge line terminates away from the foundation and is protected from freezing.
- Water alarm or high-water notification plan in place, especially for fully finished spaces.
- Dehumidification plan ready for the finished space.
- Maintenance plan: check the basin occasionally, make sure the float moves freely, and assume the pump will need replacement someday.
For the bigger picture steps, start with Pre-Finishing Basement Checklist and Planning & Budgeting so moisture control is not an afterthought.
FAQ
Will an interior French drain make my basement “waterproof”?
No. It is a water management system. It collects and removes water that enters at the perimeter so it does not spread across your slab or into finished materials.
Can I finish a basement with a sump basin in the open?
You can, but I do not recommend it. An open basin can add humidity and odors, and it can complicate radon control. A sealed lid with proper penetrations is a much better long-term setup.
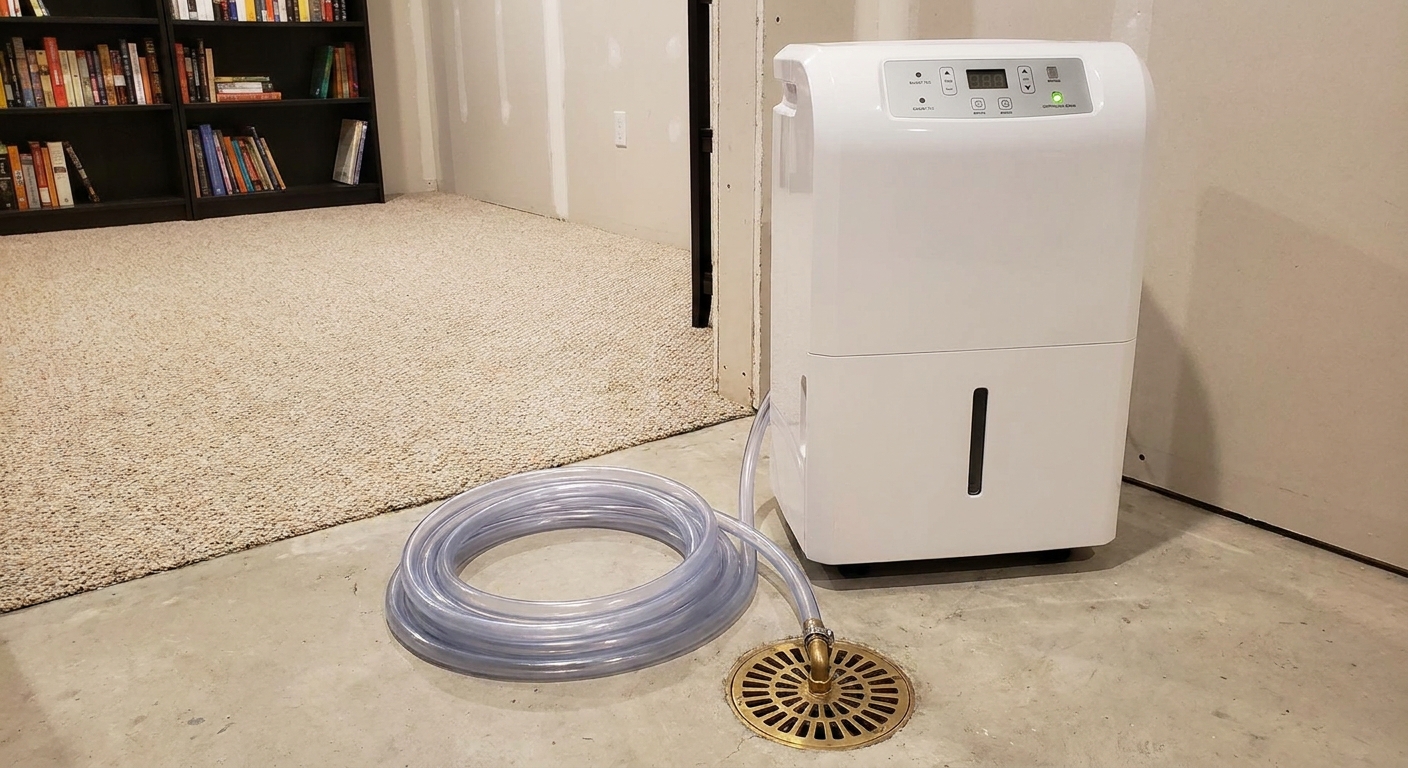
Do I still need a dehumidifier if I have a sump pump?
Usually, yes. A sump pump handles bulk water. Humidity comes from air leakage, concrete moisture, and seasonal conditions. In most basements, a dehumidifier is part of staying comfortable and protecting finishes.
What if I only get water in one corner?
That can still justify a system, but it might also be fixable with exterior drainage improvements and crack repair. If you are finishing the space, I would rather over-solve water now than under-solve it and pay twice.
Is a sump pump the same thing as a sewage ejector pump?
No. A sump pump moves groundwater collected in a sump basin. A sewage ejector pump moves wastewater from a basement bathroom up to the main sewer line. If you are adding a bathroom, you might end up with both systems, and they should not share the same basin.
Finish the basement after you finish the water plan
Basement finishing is one of the best ways to add real living space, but only if you treat moisture like a first-class problem. If your basement has a history of seepage, an interior perimeter drain and a reliable sump pump are not glamour upgrades. They are the foundation that lets everything else last.
If you want to map out your full project sequence, including when to frame, insulate, and choose flooring, head over to Basement Remodel Timeline: Correct Order of Operations.