The first basement I ever finished taught me an expensive lesson: the prettiest drywall and flooring in the world will not forgive a wet wall, a shifting crack, or a ceiling you keep bumping your head on. Before you buy a single sheet of foam board or a box of screws, do a real assessment of what you are starting with. This checklist is the “slow down and look” phase that saves you from tearing things back out later.
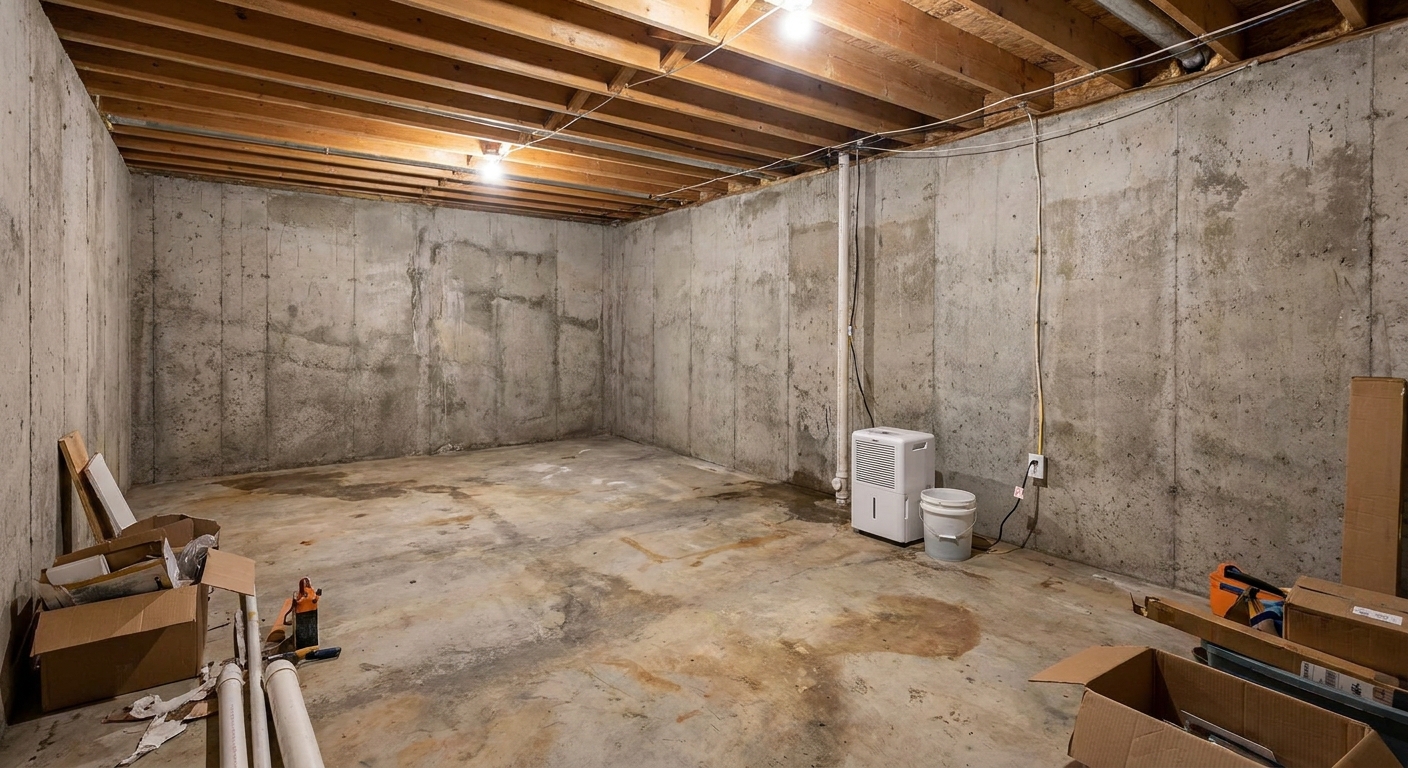
Tools and prep (keep it simple)
You do not need specialty gear to do a solid pre-check. The goal is to document conditions and find red flags early.
- Bright flashlight or headlamp for scanning walls and joists
- Phone camera for photos and quick videos
- Tape measure (25 ft is plenty)
- Chalk or painter’s tape to mark cracks and wet spots
- Notebook to record dates, measurements, and locations
- Level (2 to 4 ft) for quick floor and wall checks
- Hygrometer (inexpensive) to track humidity over time
- Plastic sheet and tape for a basic slab moisture check
Best time to inspect: If you can, do one walk-through during or right after a heavy rain. Basements behave differently when the ground is saturated.
Step 1: Start with the outside (where many problems begin)
If you only do one “not-fun” thing before finishing, make it this. A lot of basement water problems are not solved inside the basement. They are solved with gravity outdoors.
That said, not all moisture starts outside. Keep an eye out for interior sources too, like a slow plumbing leak, ductwork sweating in summer, or cold water lines dripping condensation.
Quick exterior checklist
- Gutters clean and attached: Overflowing gutters dump water right at the foundation.
- Downspouts discharge far away: You want the water released well away from the house, not at the footing.
- Soil slopes away from the foundation: Low spots next to the wall act like a bathtub.
- Window wells: Clear debris and confirm drainage is working if you have basement windows.
- Driveway and walkways: Look for cracks or settlement that funnels water toward the house.
If you are seeing chronic puddling along one wall outside, take that seriously. It often matches the wettest section inside.
Step 2: Moisture and water assessment (do not skip)
This is the big one. Moisture is the difference between a basement that feels like part of the house and one that smells like a cellar. I break it into three categories: bulk water, vapor, and humidity.
If you want a deeper dive after this checklist, see the moisture basics here: Moisture Control.
A. Look for bulk water evidence
Walk the perimeter slowly with a flashlight held low so shadows reveal texture.
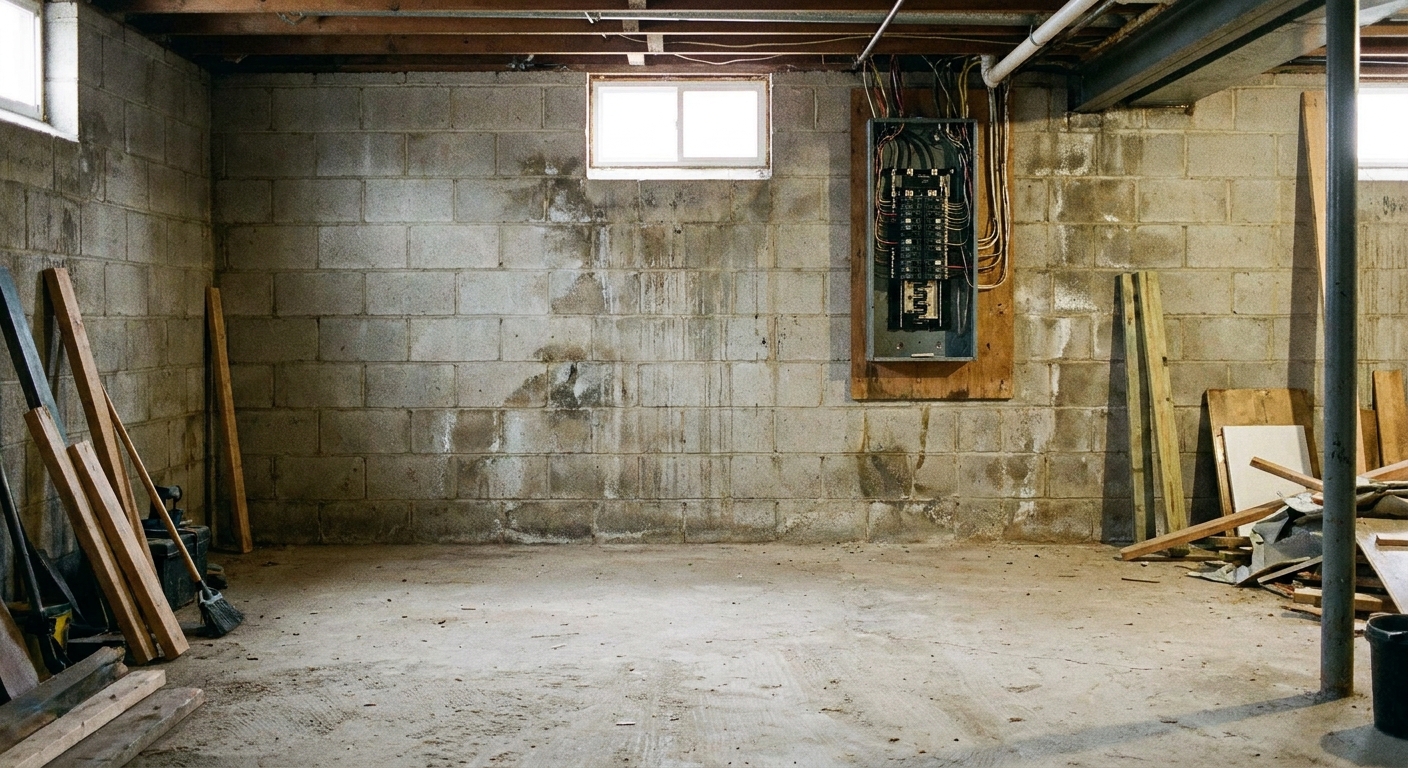
- Water lines or tide marks on concrete or block
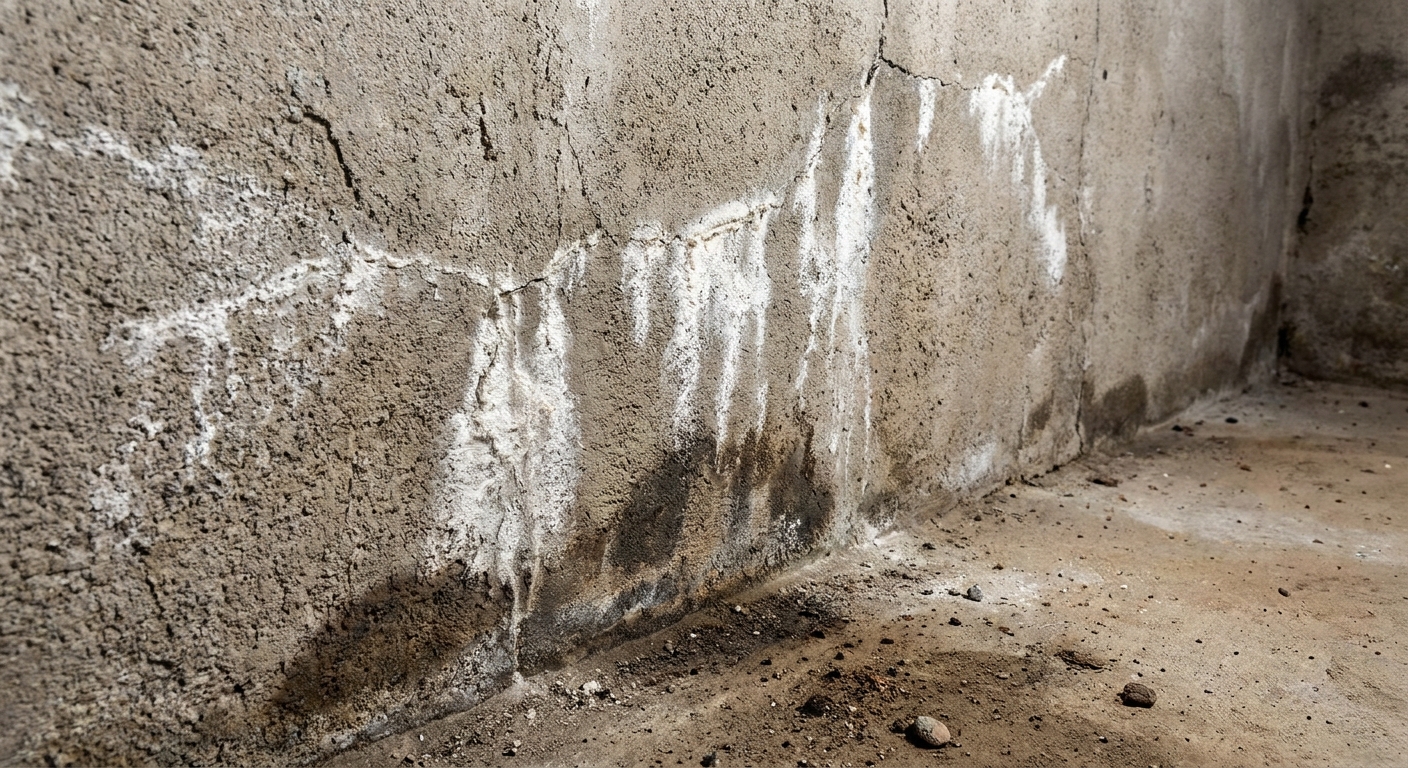
- Efflorescence (white, powdery mineral deposits) on walls or floor
- Rust on metal columns, nails, bottom of furnace legs, or shelving
- Rot at the bottom of wood stairs or framing touching concrete
- Active seepage at the cove joint (where wall meets slab)
- Sump pump: confirm it works and the discharge line actually carries water away
Quick triage: If you see efflorescence or tide marks, start your detective work with exterior drainage and grading first. Those clues usually mean water is moving through or against the foundation wall.
B. Check basement humidity and ventilation reality
Humidity is sneaky because you can have a “dry” slab but still have sticky summer air that feeds mold.
- Measure relative humidity: Many homeowners aim to keep basements around 30 to 50 percent relative humidity. If you are consistently over about 60 percent, that is a practical warning sign for mold risk and comfort.
- Sniff test: Musty odor usually means moisture plus organic material somewhere.
- Look at stored items: Cardboard boxes with wavy sides or mildew spots are clues.
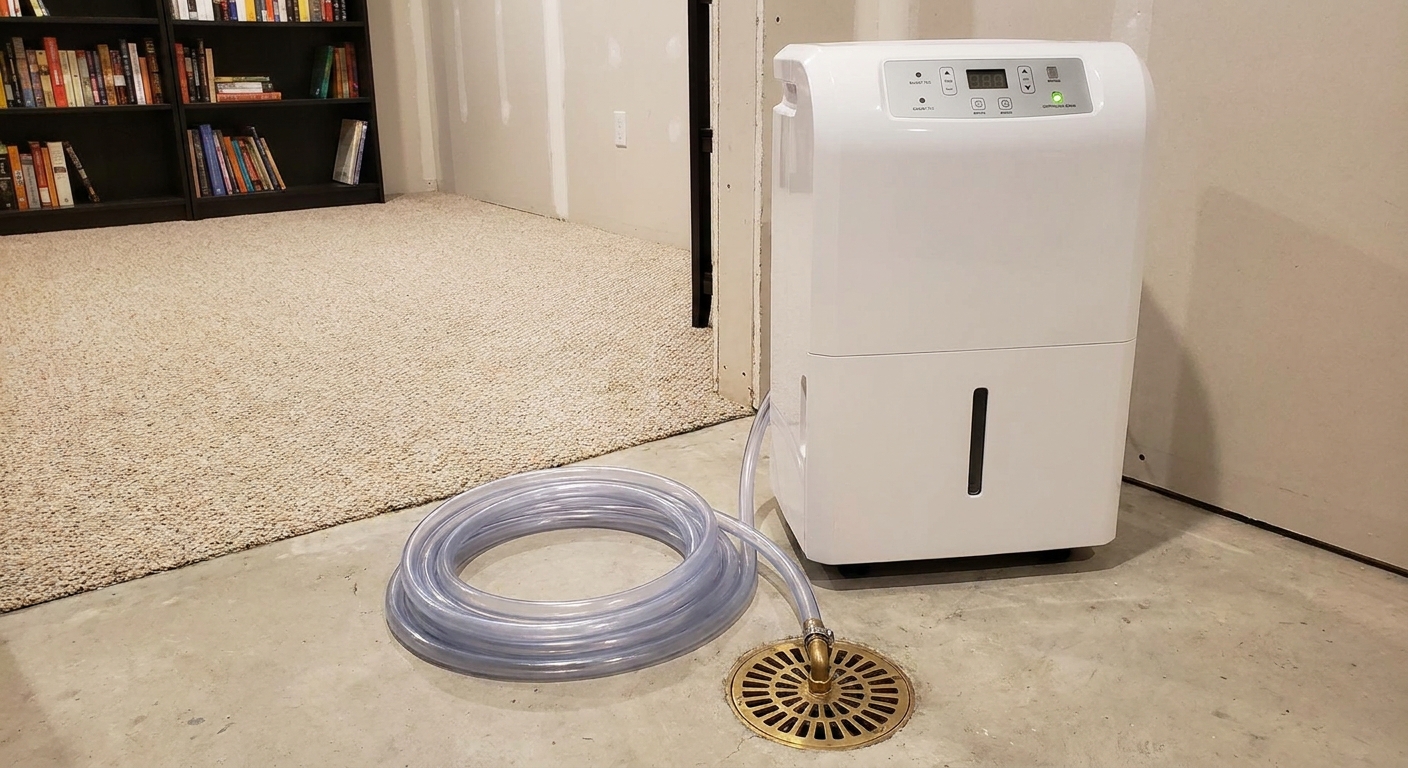
Quick triage: If humidity runs high, do not just hide it with paint. Run a properly sized dehumidifier, air seal obvious leaks (especially at the rim joist), and insulate cold surfaces that sweat, like uninsulated ducts and cold water lines.
C. Do a simple slab moisture spot-check
Here is a practical DIY check: tape a square of plastic tightly to the slab in a few locations, especially near exterior walls. Leave it for 24 to 48 hours. If you see condensation under the plastic or the concrete darkens noticeably, moisture is moving through the slab.
This is a screening test, not a pass or fail certification. Temperature swings and HVAC operation can change what you see, but it is still a good early warning that your flooring and underlayment choices matter.
D. Red flags that should pause your finishing plans
- Standing water at any point in the year
- Water coming through cracks or the cove joint during storms
- A sump that runs constantly or fails to keep up
- Mold growth on framing, insulation, or paper-faced materials
- Persistent musty odor even with a dehumidifier
My rule: If you cannot confidently explain where water is coming from and where it is going, do not start closing walls.
Step 3: Foundation and structural scan
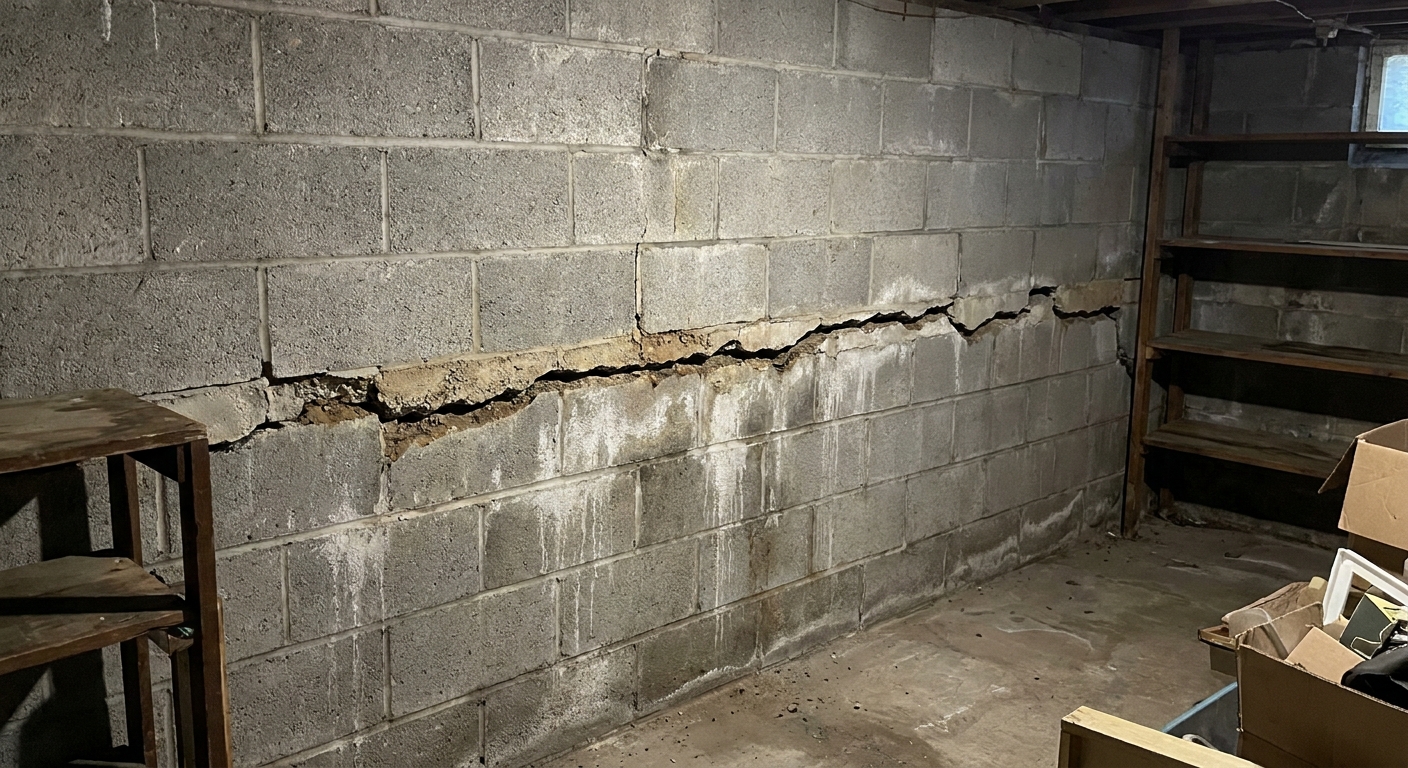
Not every crack is scary. Some are normal. What you are looking for is movement, displacement, and patterns that suggest ongoing pressure or settlement.
What to document
- Location (which wall, how far from a corner, height from slab)
- Direction (vertical, horizontal, stair-step)
- Width (use a tape measure or a crack gauge if you have one)
- Displacement (one side higher or pushed in compared to the other)
- Moisture (dry, damp, actively dripping)
Common crack types (plain-language guide)
- Hairline vertical cracks in poured concrete are common as concrete cures and homes settle. Still, mark and monitor them.
- Stair-step cracks in block or brick can be minor or meaningful. Pay attention to widening or displacement.
- Horizontal cracks in block walls are more concerning because they can indicate soil pressure pushing the wall inward.
- Wide cracks, shifting, or bowing are professional territory.
Other structural items to check
- Posts and beams: look for rot at the base of wood posts, rust at metal columns, or any shimming that looks like it has been moving.
- Joists and subfloor: staining, mold, or soft spots under bathrooms and kitchens above.
- Termite tubes or insect damage (region-dependent): especially on sill plates and rim joists.
When to call in a pro: If you see a horizontal crack, bowing wall, noticeable displacement, or a crack that is roughly 1/8 inch (3 mm) or wider and appears to be growing, it is worth getting a qualified opinion before you build anything in front of it. Progression and displacement matter more than any one number.
Step 4: Headroom and clearance (measure the basement you actually have)
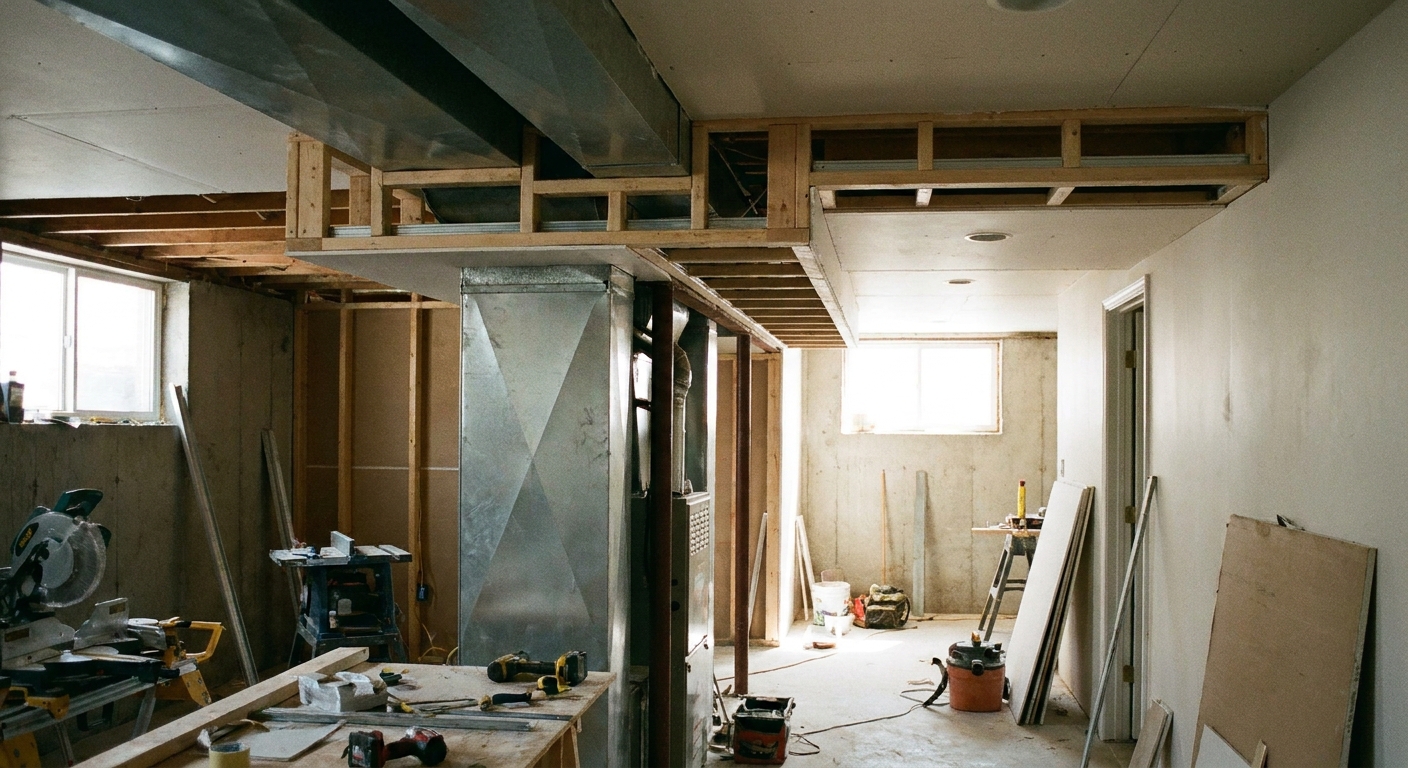
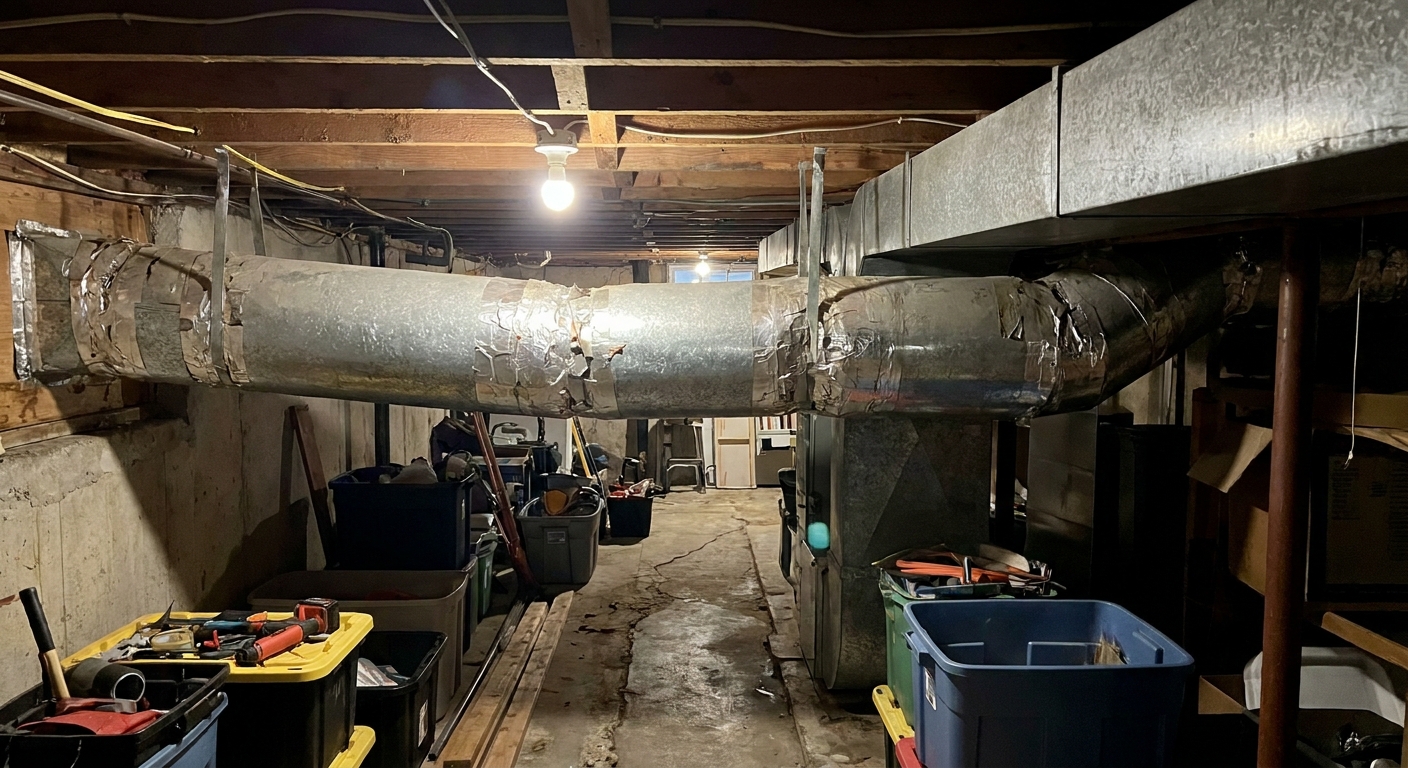
Headroom is the silent budget-killer. You can frame, wire, and drywall beautifully, then realize the duct trunk makes your main walkway feel like a cave. Measure first, design second.
How to measure headroom correctly
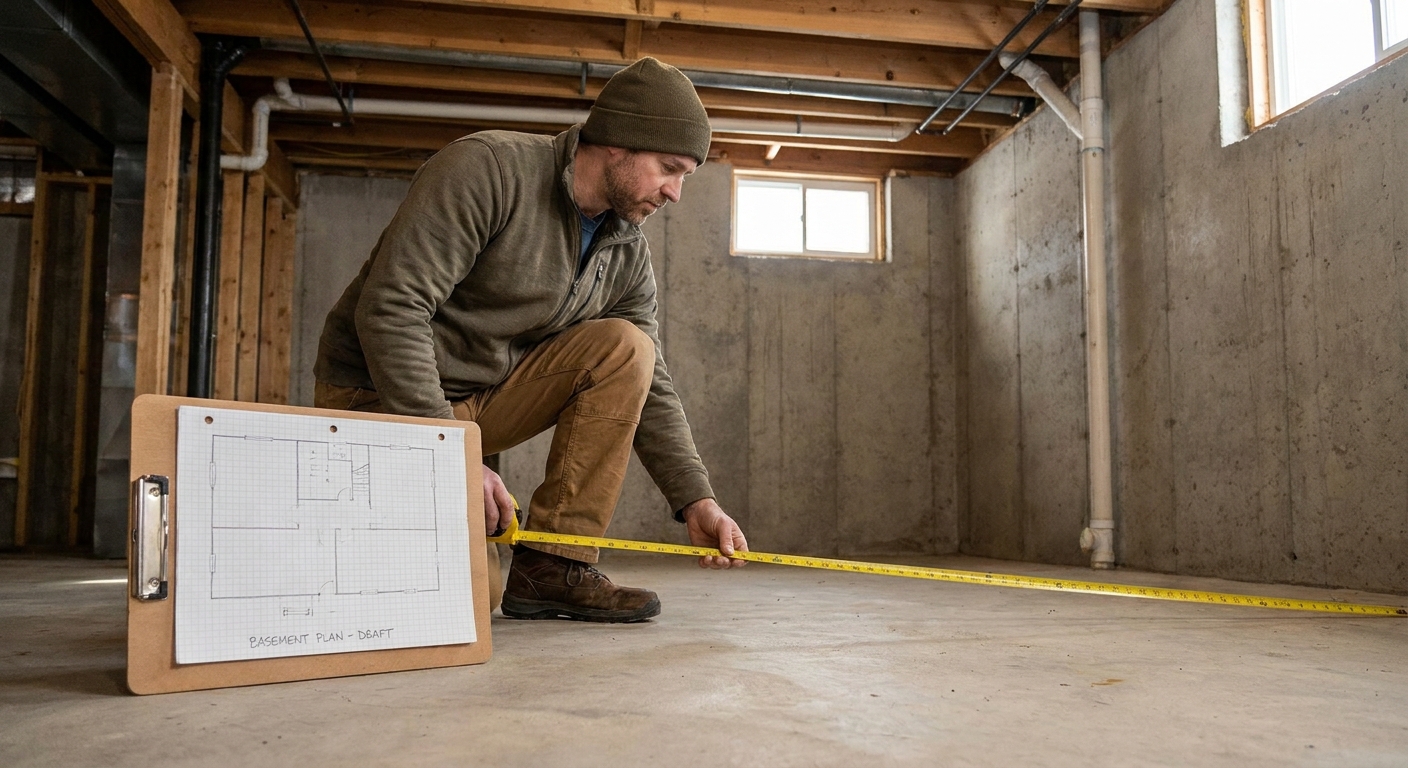
- Start at the slab: measure from the floor to the bottom of the joists in multiple spots.
- Find the lowest obstacles: ductwork, beams, steel girders, plumbing, and soffit zones.
- Measure planned floor build-up: any subfloor panels, insulation, underlayment, and finished flooring reduce height.
- Measure planned ceiling build-down: drywall on furring, drop ceiling grids, or soffits reduce height.
Map the low line
I like to walk the basement with painter’s tape and mark the lowest points right on the duct or beam. Then I sketch a simple floor plan with ceiling heights written in each zone. This is how you avoid placing a doorway, shower, or treadmill where it will never feel comfortable.
Headroom constraints affect framing choices and soffit planning. When you are ready for that stage, this section helps tie it together: Framing & Construction.
Step 5: Floor, slab, and drainage reality check
Your slab does not need to be perfect, but it needs to be understood. You are looking for slope, cracks, and any signs that water is being directed toward the wrong place.
What to look for
- Slope to a floor drain: if you have a drain, does the slab pitch toward it or away from it?
- Low spots: areas where water could pool (look for stains and mineral marks).
- Major heaving or settlement: sudden height changes can telegraph bigger issues.
- Previous patching: not bad, but worth noting and monitoring.
Plan your flooring with moisture in mind
If you have any history of dampness, plan for materials that tolerate it and an assembly that does not trap water. Flooring decisions are not just style. They are risk management. Explore basement-friendly options here: Flooring Options.
Step 6: Mechanical, electrical, and plumbing obstacles
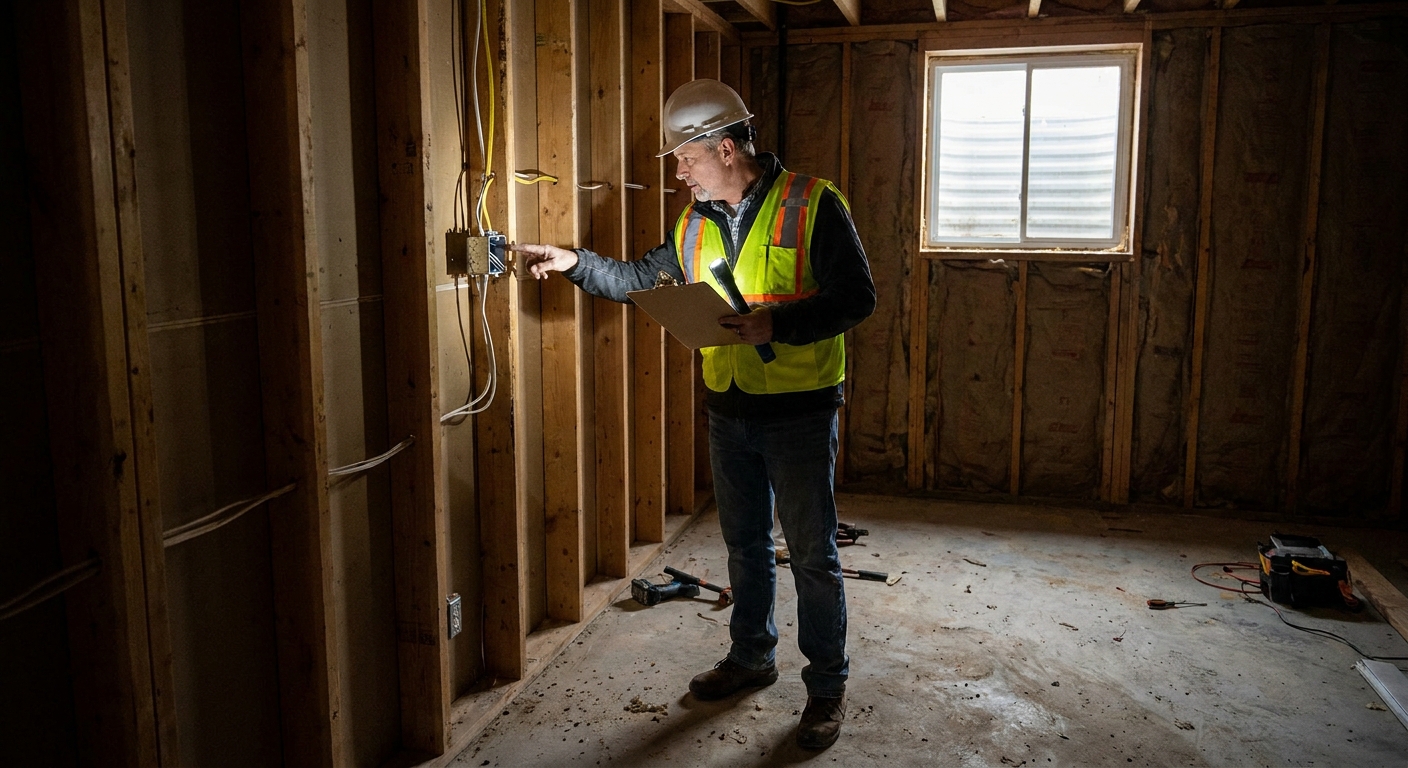
A raw basement is like an exposed engine bay. Take advantage of it. Once you close ceilings and walls, changes get expensive.
Mechanical items to inventory
- HVAC trunk lines and returns: where can you box out soffits, and where should you avoid low-clearance walkways?
- Plumbing cleanouts: do not bury these behind a finished wall with no access.
- Water shutoffs: main shutoff and any branch shutoffs should stay reachable.
- Electrical panel: plan clear access. Code requires working clearance, so do not frame walls, closets, or deep shelving in front of it.
- Radon system (if present): keep it accessible and do not disconnect piping without a plan.
Also look for old, abandoned wiring or plumbing that can be removed now, with permits or professional help as required.
Step 7: Egress and safety basics
Even if you are not adding a bedroom, it is smart to think about safe exits, smoke and CO alarms, and how people will move through the space. If you are adding sleeping space, egress becomes a serious design driver.
- Stair condition: solid treads, secure handrail, decent lighting
- Windows: size and placement matter if you plan a bedroom or guest suite. Egress requirements are code-driven and vary by jurisdiction, so confirm the rules before you design around an existing window.
- Appliance combustion air: older fuel-burning equipment may need adequate air supply and proper venting
One more pre-check: If radon is a known concern in your area, test before you finish. It is much easier to add or upgrade mitigation before walls and floors are closed in.
If you are still figuring out how to lay out the space around all these constraints, start here: Planning & Budgeting.
Step 8: Make a go or no-go decision before buying materials
Once you finish the inspection, sort your notes into three buckets. This is the part that keeps you from spending money to cover up problems.
Bucket 1: Must fix before finishing
- Active leaks or seepage
- Recurring humidity problems you cannot control
- Structural concerns that show movement or displacement
- Unsafe electrical or major mechanical issues
Bucket 2: Can work around with smart design
- Low ducts or beams that can be planned into soffits
- Minor slab cracks that can be repaired and monitored
- Uneven areas that can be handled with appropriate subfloor systems
Bucket 3: Nice upgrades (schedule later)
- Extra outlets, built-ins, and lighting layers
- Soundproofing
- Higher-end finishes
If you are on the fence: I would rather see you live with an unfinished basement a little longer than rush into finishes that hide a moisture problem. Basements reward patience.
My quick pre-finishing checklist (copy into your notes app)
- Walk exterior: gutters, downspouts, grading, window wells
- Check interior sources: plumbing drips, sweating ducts, cold pipes, rim joist air leaks
- Inspect interior walls and cove joint for stains, efflorescence, seepage
- Record humidity over several days (and after rain if possible). Aim for 30 to 50 percent RH, mitigate if consistently over about 60 percent
- Plastic sheet spot-check on slab in multiple locations (screening test only)
- Photograph and mark cracks, then measure width and note location
- Scan for bowing, displacement, rusted columns, joist staining
- Measure ceiling height in zones, note lowest obstructions
- Confirm sump operation and discharge routing (if you have one)
- Locate and keep access to cleanouts, shutoffs, and electrical panel
- Sanity-check egress and stair safety for your intended use, and confirm local code requirements if adding a bedroom
- Consider radon testing before closing walls and floors
Where to go next
Once your basement passes the “dry, stable, and tall enough” test, planning gets fun again. At that point you can start making confident decisions about layout, wall assemblies, and finishes without crossing your fingers.