When I bought my first fixer upper, the basement smelled like a wet cardboard box that had been left in the rain. I did what a lot of DIYers do when we are trying to be “smart” with money: I spent on the fun, visible stuff and cheaped out on the boring parts. Then I got to do it twice.
If you want a basement you can actually relax in, budgeting is less about hunting the lowest price and more about putting your dollars where they buy you permanent comfort: dryness, quiet, warmth, and finishes that hold up to real life.
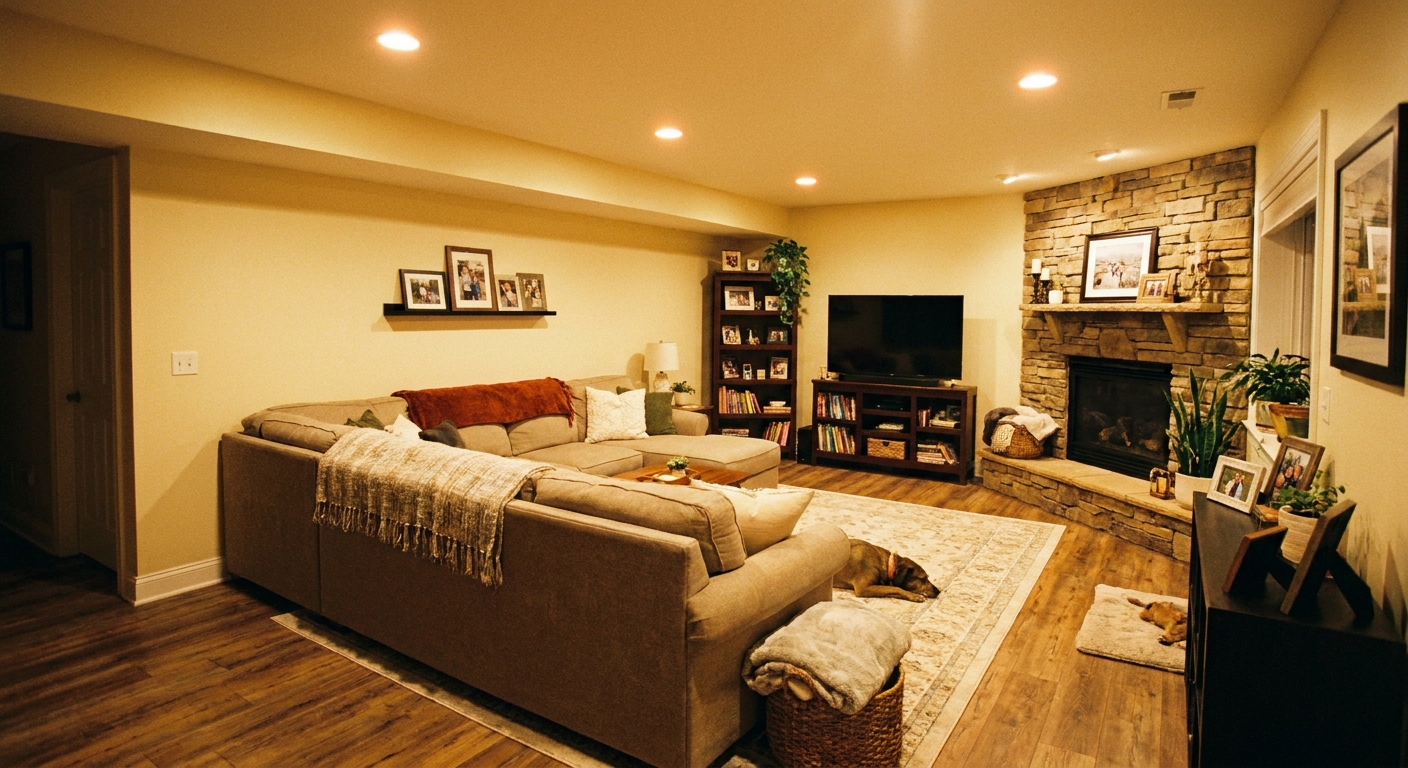
This is how I think about where to splurge and where to save when finishing a basement, especially if you are balancing DIY labor with a few hired trades.
Budget rule I use: spend on what is hard to redo
Before we get into line items, here is the simple filter that keeps me honest: splurge on anything you would have to demolish finished work to fix later.
- Behind the walls (moisture detailing, insulation strategy, wiring)
- Under the floor (subfloor moisture approach, slab prep)
- Systems you live with (ventilation, dehumidification, sound control)
Save on things you can upgrade later with minimal mess, like light fixtures, paint colors, or even cabinet fronts.
If you need help building a realistic plan and sequence, start with Planning & Budgeting. It is a lot easier to choose “save vs splurge” when you know your scope.
Where to splurge (money well spent)
1) Moisture control and water management
Basements are not forgiving. If moisture wins, it does not matter how gorgeous your flooring is.
You do not need the most expensive product on the shelf. You do need the right approach for your conditions, and you do not want to cut corners on the pieces that keep bulk water and humidity out.
- Fix the cause first: gutters, downspouts, grading, obvious exterior water issues.
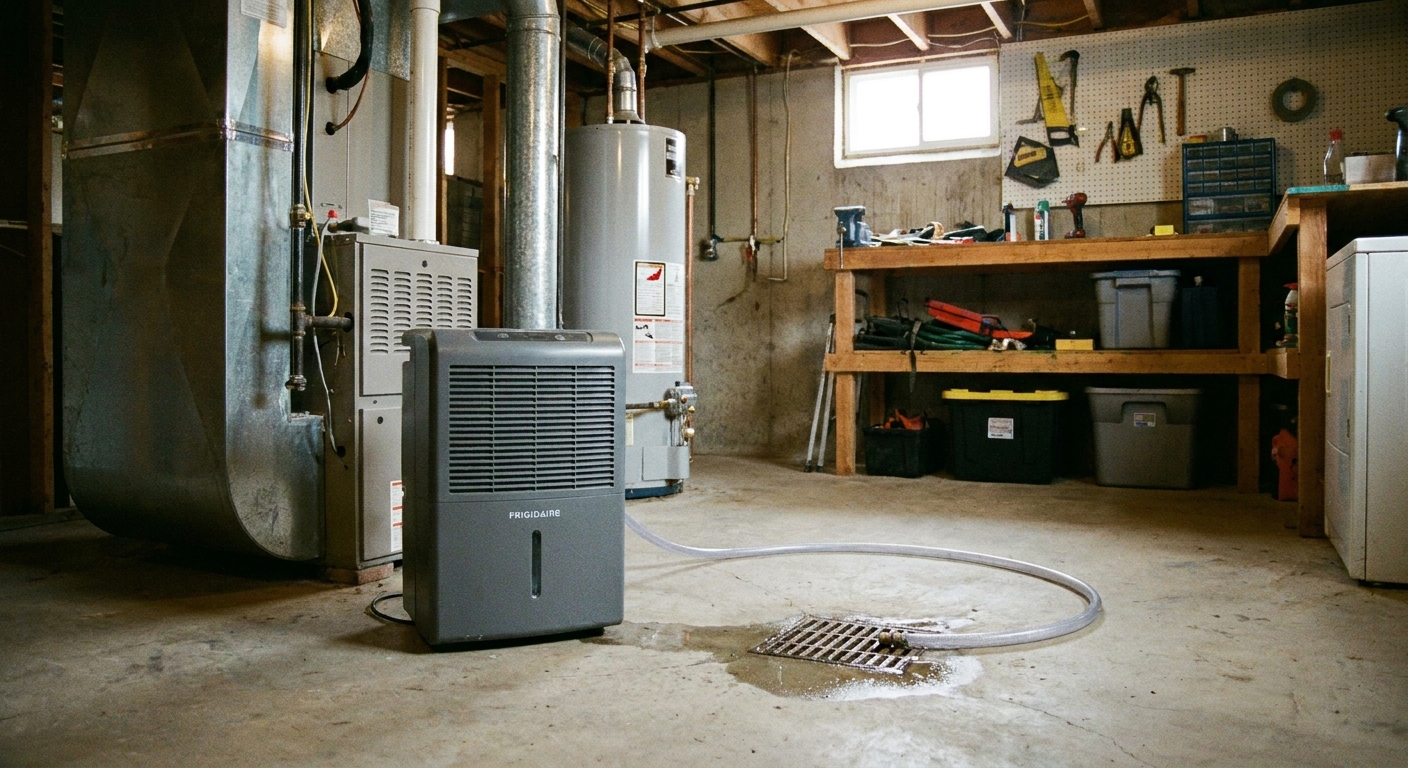
- Dehumidification you can rely on: a quality unit sized for the space, with a drain plan so you are not emptying buckets forever.
- Wall and slab strategy: materials and detailing that tolerate basement humidity without growing fuzzy surprises.
If you are unsure where to start, my moisture checklist lives on the Moisture Control hub.
2) Electrical planning, lighting layout, and enough circuits
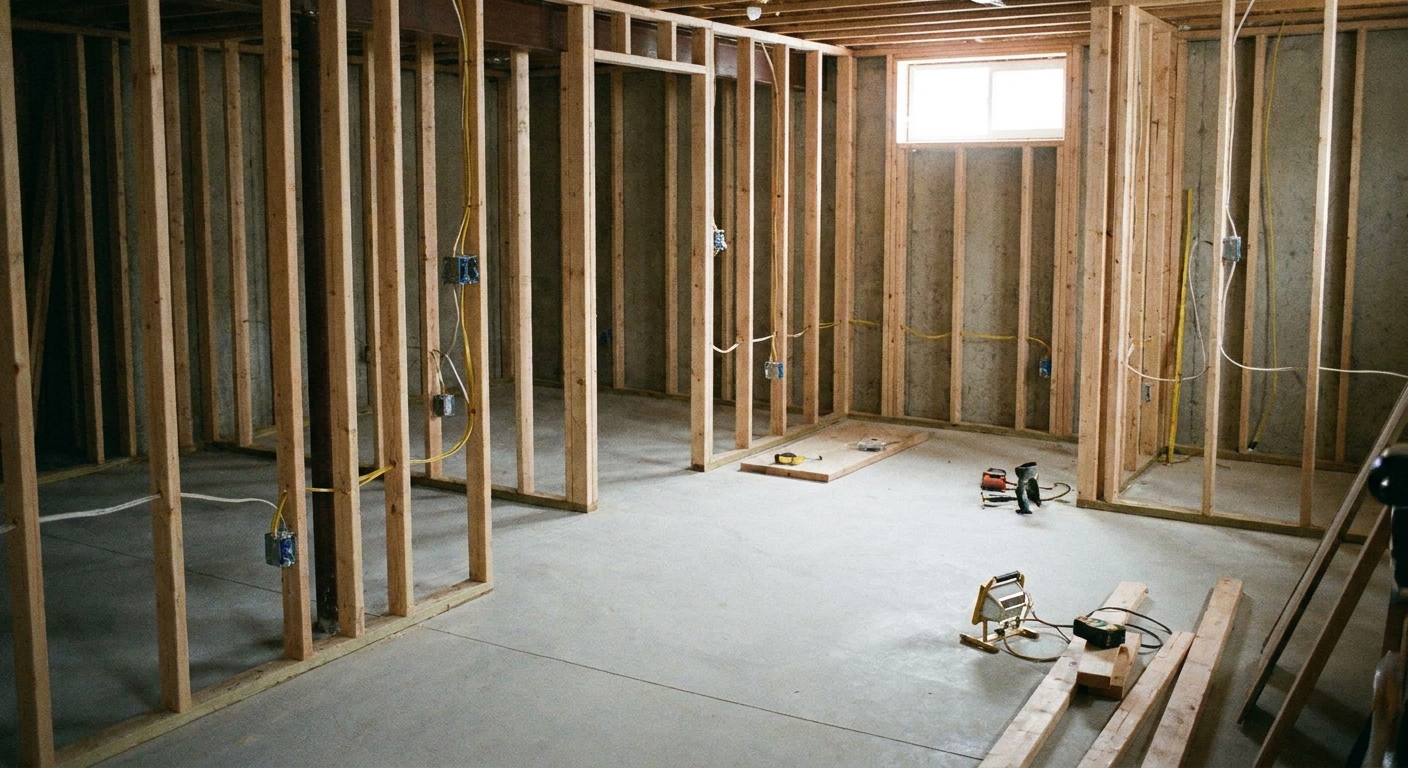
Lighting is one of the biggest “feels high-end” upgrades in a basement, and the cost is mostly in planning and labor. I like to spend here because changing it later usually means drywall patches and frustration.
- More light than you think: basements eat light.
- Lighting zones: separate switching for TV area, desk area, hallway, storage.
- Outlets where you will use them: behind a couch, at a future mini fridge spot, near a treadmill, at a cleaning closet.
Even if you DIY most of the project, this is one area where paying a licensed electrician for the critical parts can be money well spent, especially if permits or inspections are involved.
For the finish side of the conversation, including how to avoid the “cave lighting” look, see Lighting & Finishes.
3) Insulation and air sealing that matches your basement
This is not glamorous, but it is the difference between a cozy lower level and a chilly room you avoid. The “splurge” here is usually not the priciest insulation. It is doing the details carefully: sealing rim joists, addressing drafts, and choosing an assembly that will not trap moisture where you cannot see it.
Basement assemblies vary by climate zone and construction type, so treat any approach as a starting point and follow local code plus manufacturer guidance for the products you use.
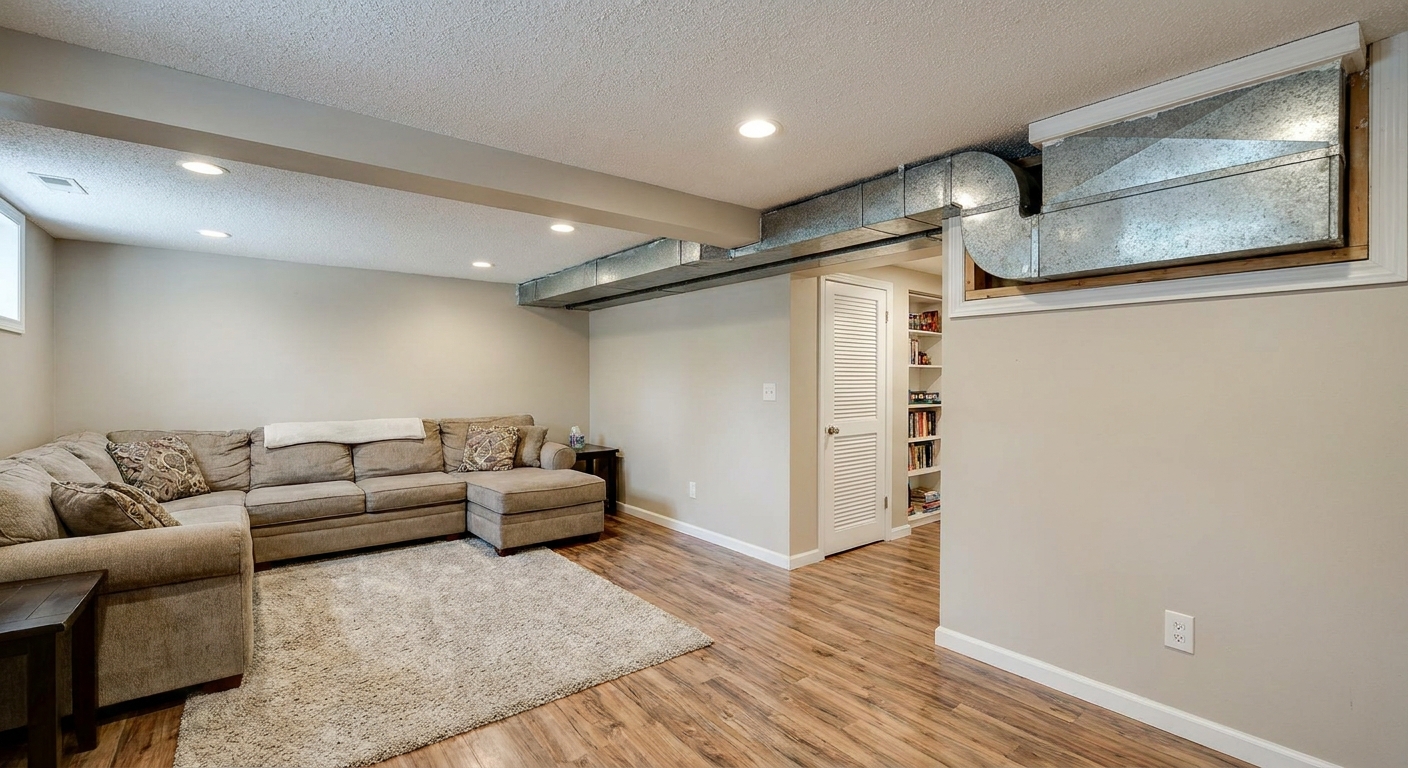
If you are framing walls, your insulation plan and your framing plan are married. I cover practical framing choices and constraints like ductwork and soffits on Framing & Construction.
4) Flooring that can handle basement reality
Basement floors take a unique beating: humidity swings, occasional minor water events, and the general “concrete is cold” problem.
When I splurge on flooring, I do it for water tolerance, comfort, and long term stability, not for a fancy species of wood that does not belong below grade.
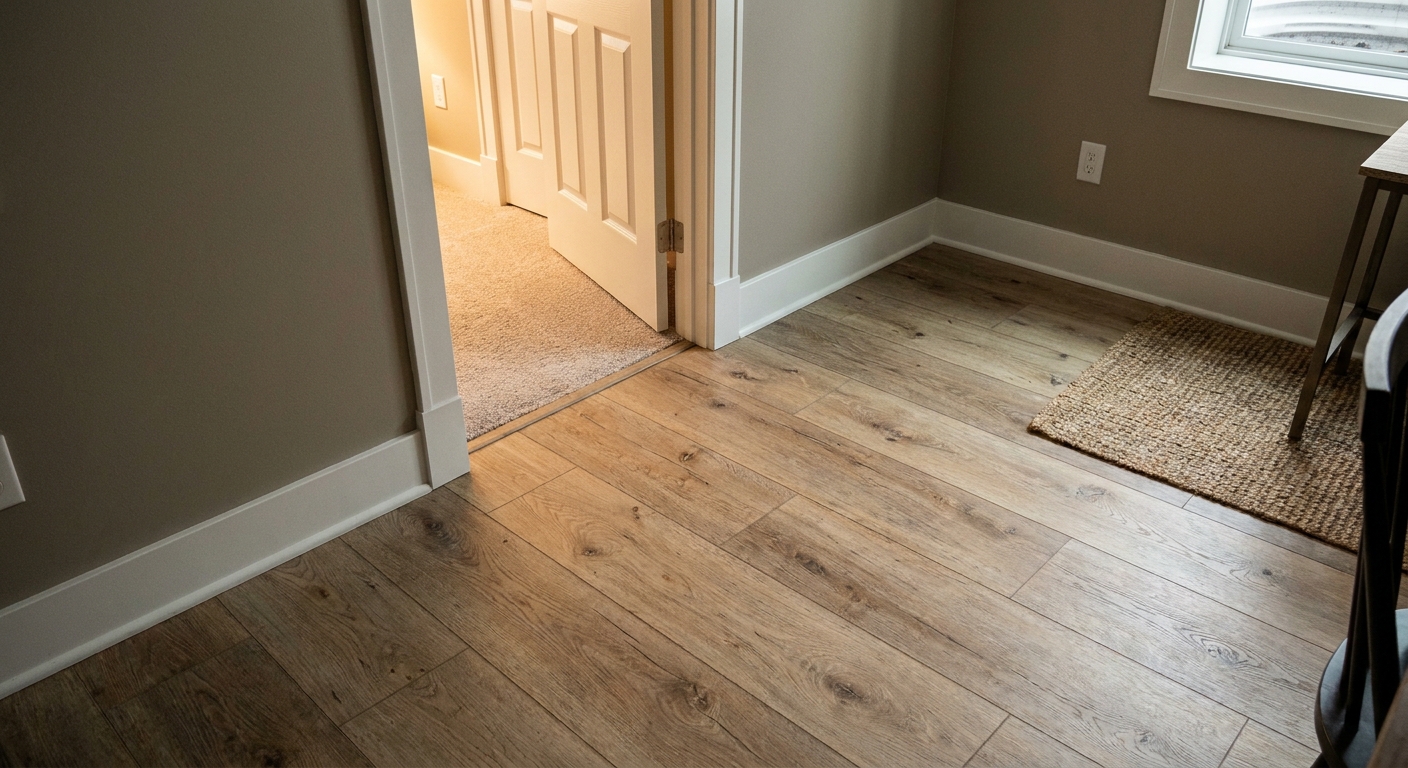
- Resilient options (like quality LVP) can be a smart spend if the locking system is solid and the core and edges resist swelling.
- Carpet can work in the right basement, but I treat it as a comfort upgrade and pick materials with basement moisture in mind.
- Underlayment and subfloor choices matter as much as the top layer.
For a deeper dive on what performs well downstairs, see Flooring Options.
5) Sound control in ceilings and shared walls
If your basement will be a TV room, guest space, or office, sound is comfort. I learned this the hard way after finishing a ceiling and realizing every upstairs footstep sounded like a drum solo.
Spending here can be as simple as choosing better insulation for sound and being thoughtful about gaps and penetrations. If you want true quiet, specialized assemblies cost more, but they can be worth it in a basement that will see daily use.
6) Plumbing for bathrooms or bars, done right
Adding a bathroom can be one of the biggest value adds in a basement, but it is also where “budget shortcuts” tend to leak, smell, or cause maintenance headaches.
Splurge on correct venting, quality valves, accessible shutoffs, and a layout that does not require heroics to service later. If you have to open finished walls to fix plumbing, nobody is having fun.
One quick reality check: venting, ejector pumps, and drainage details are code-driven in many areas and often require permits and a pro. Budget for that up front so you are not improvising in the middle of the job.
7) HVAC and conditioning (so it stays comfortable)
A finished basement that is technically “done” but always clammy or stuffy is a morale killer. Budget for how you will condition the space: supply and return air, dedicated dehumidification, and ventilation if your layout needs it.
I am a big fan of simple, dependable solutions you can live with every day, like a solid dehumidifier on a drain and a plan to move air, not just cool it.
8) Ceilings, soffits, and access
Ceilings are a sneaky budget lever. Low ductwork, beams, and plumbing runs can force soffits, reroutes, or hard choices about headroom. Once you close it all up, changes get expensive fast.
If you need access to valves or junctions, plan for access panels or an approach that does not turn every future fix into drywall surgery.
Where to save (without paying for it later)
1) Drywall finish level and wall texture choices
You can absolutely save here, especially if your basement is not meant to be a museum.
- Skip fancy textures that are hard to patch invisibly later.
- Choose a forgiving paint sheen that hides minor wall waves and scuffs better than dead flat.
- Do your own prep: sanding, vacuuming, caulking, and cleanup are where sweat equity really pays off.
2) Trim and doors (within reason)
This is one of my favorite “save now, upgrade later” categories.
- Simple baseboards look clean when the cuts are tight and the caulk line is neat.
- Hollow core doors are cheaper and fine for closets and storage rooms.
- Standard profiles are easier to match if you add a room later.
If you want a high end look, spend your time, not your money: consistent reveals, careful coping, and good hardware placement make basic trim look intentional.
3) Light fixtures (but not the layout)
I like to spend on the electrical rough in and the lighting plan, then save on fixtures themselves. A basic recessed light or simple flush mount can look great, and fixtures are one of the easiest upgrades in a few years.
What I do not cheap out on is putting lights in the wrong places or leaving rooms underlit. Fixing layout later costs more than buying slightly nicer fixtures today.
4) Paint and decor
Paint is the classic budget flex point. You can save by:
- Using one wall color through most of the basement for fewer partial cans and touch up headaches
- Painting ceilings and soffits a consistent color to visually simplify low headroom areas
- Spending more time on prep so the finish looks expensive even if the paint is mid-range
5) Open shelving and storage
Built ins can get pricey fast. In many basements, simple open shelving in storage rooms and closets is a better value. Put the money into making storage usable: bright lighting, deep shelves that are anchored well, and labeled bins that keep the space from turning into a junk cave.
6) “Statement” items you can add later
Fireplace surrounds, bar backsplashes, specialty accent walls, and fancy theater finishes are all easy places to pause and revisit when the budget recovers. Get the basement dry, bright, and comfortable first. You will enjoy it sooner, and you will make better style decisions once you are living in the space.
Code and permit costs
I am not here to scare anyone, but I am here to keep you from getting blindsided. Some basement line items are not optional because code, safety, and resale are all part of the deal.
- Permits and inspections: often needed for electrical, plumbing, and structural changes.
- Egress: if you are creating a legal bedroom, budget for the required window or door and the associated work.
- Smoke and CO alarms: placement and interconnection rules vary, but you should plan for them early.
- Fireblocking and draftstopping: not expensive materials, but it can add labor if you forgot it in the plan.
- Wet areas: bathrooms and bars can trigger specific venting, drain, and electrical requirements.
My favorite splurge: a boring contingency fund
If you want the most practical splurge of all, set aside a contingency. Basements are full of surprises: hidden pipes, uneven slabs, sketchy old wiring, or a wall that is not as straight as it looked from across the room.
In my experience, as a starting point, I typically plan:
- 10 percent for a straightforward cosmetic finish in a dry basement
- 15 to 20 percent if you are moving plumbing, adding a bathroom, or opening walls that have unknowns
That cushion keeps you from making panic decisions, like choosing the cheapest flooring because you just found out the drain line is in the way.
If you want a realistic sense of how costs stack up, including typical line items, see Basement Finishing Cost Breakdown Per Square Foot.
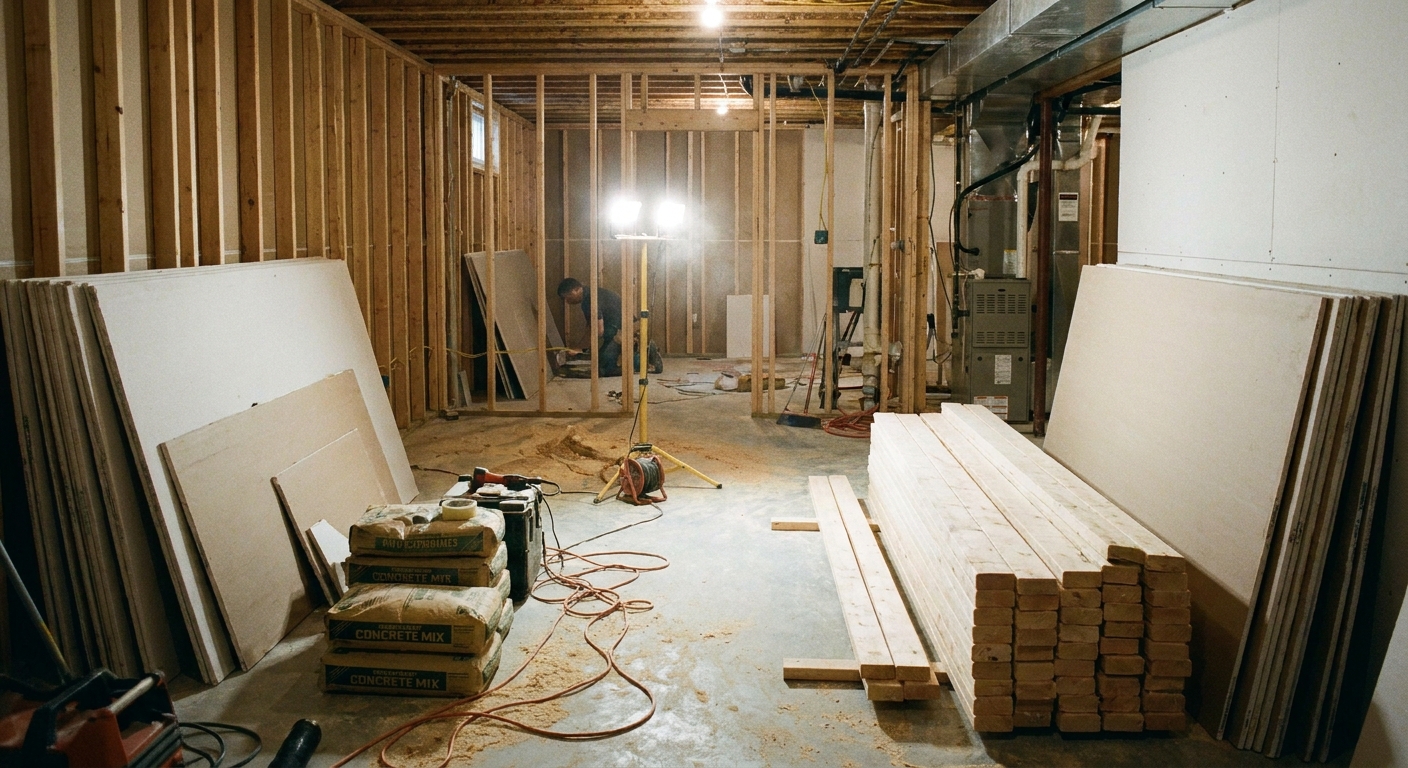
Quick decisions: common basement scenarios
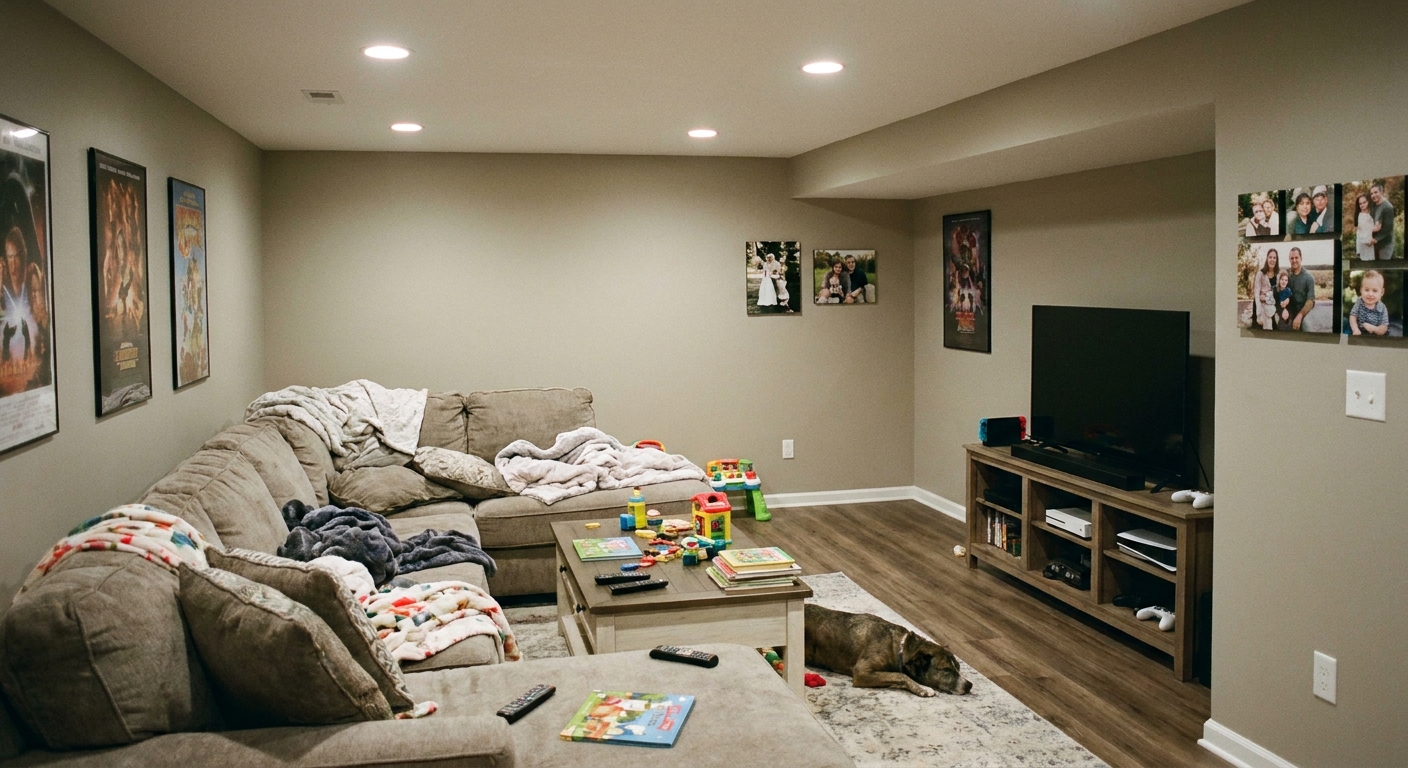
You want a cozy family room on a tight budget
- Splurge: dehumidification plan, lighting layout, comfortable flooring underfoot
- Save: basic trim, simple fixtures, fewer built ins, painted drywall instead of specialty wall treatments
You are adding a guest suite
- Splurge: sound control, egress planning where required, bathroom plumbing quality, warmer lighting and enough outlets
- Save: mid-range vanity and mirror now, upgrade later; keep closet systems simple
You are building a home gym
- Splurge: moisture control, ventilation, durable flooring appropriate for equipment
- Save: fancy wall finishes, built in cabinetry, decorative lighting
Mistakes I see DIYers make with “saving money”
- They ignore moisture signals because paint and flooring feel more urgent.
- They under-light the space and try to fix it with brighter bulbs later. Layout beats lumen hacks.
- They buy basement-inappropriate materials like products that hate humidity or minor water events.
- They skip access panels and bury shutoffs or junctions behind finished walls.
- They forget future flexibility, like leaving no way to add a mini split, a sink, or an extra circuit later.
- They finish before they test: if radon is common where you live, test and deal with it before you seal everything up.
A simple checklist before you buy anything
- Confirm the basement is dry enough to finish. If it is not, fix that first.
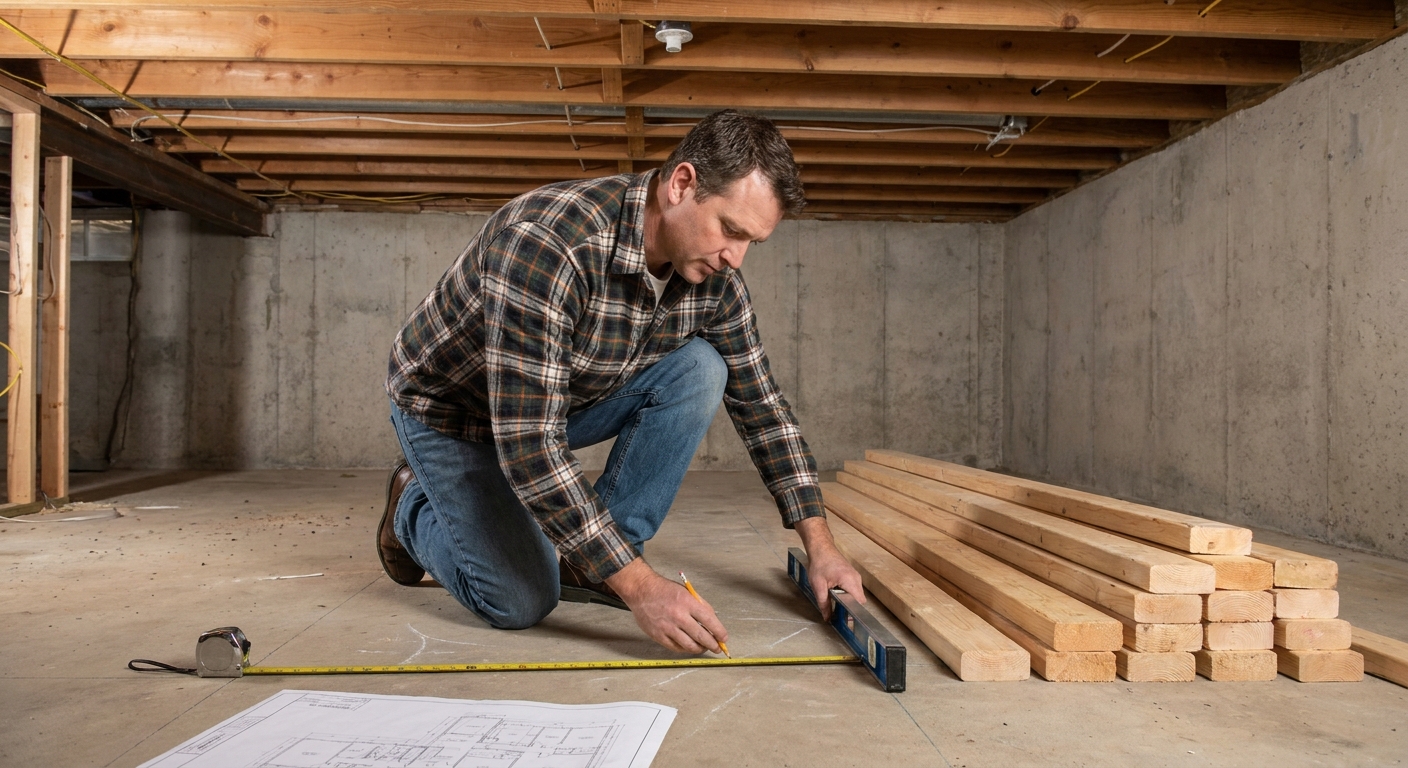
- Lock the layout. Walls, doors, and furniture zones drive everything else.
- Decide what must be permanent. Rough ins and assemblies behind finishes get your best dollars.
- Pick your “save” categories on purpose. Saving is fine when it is strategic, not reactive.
- Keep a contingency. Basements love surprises.
If you get stuck deciding where your dollars should go, send me a note through Contact. A few details about your moisture situation, ceiling height, and goals usually makes the “splurge vs save” picture pretty clear.