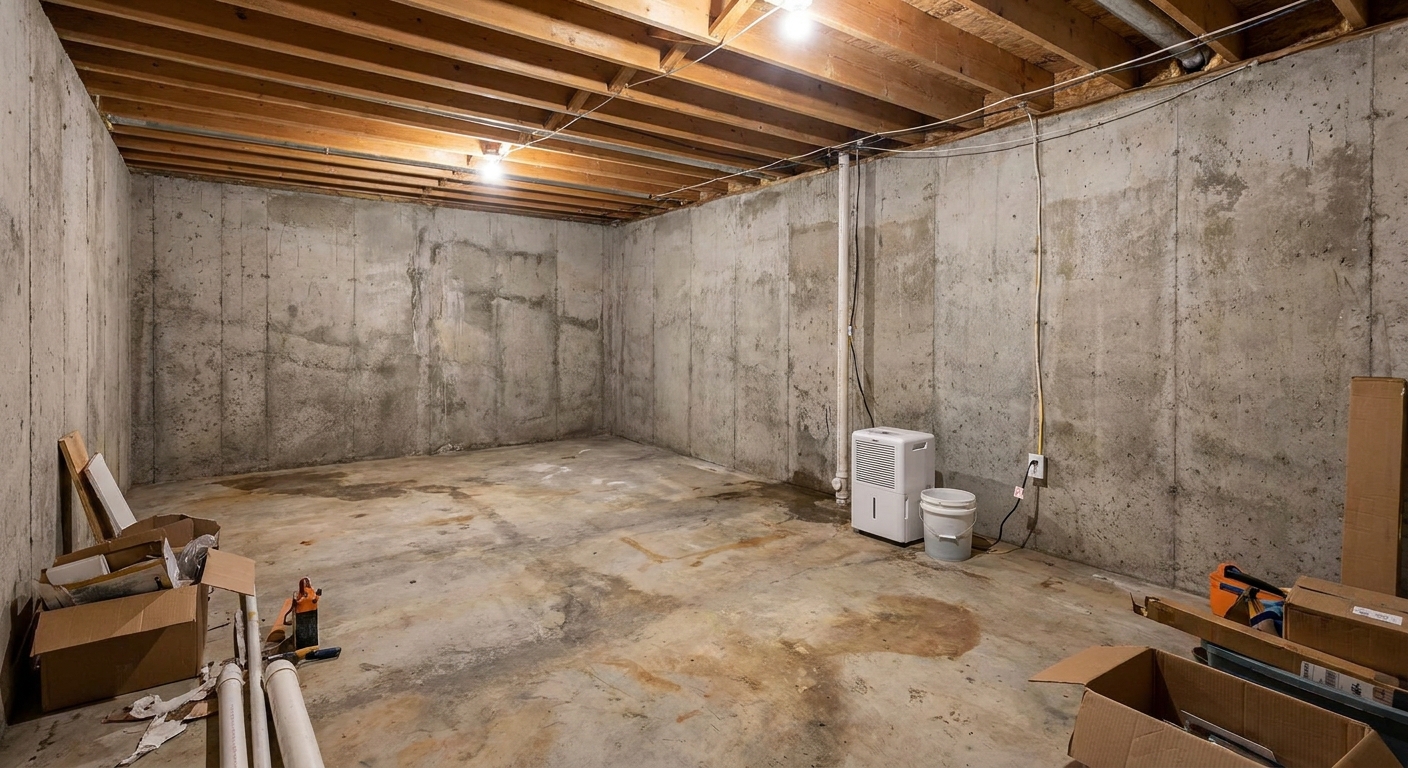
The first basement I ever tried to “warm up” was a classic rookie mistake. I stapled up fiberglass batts, threw plastic over it, and called it good. By the next heating season, the foundation wall behind that insulation smelled like a wet cardboard box. The lesson was simple and expensive: in a basement, moisture prevention starts with controlling bulk water and stopping warm interior air from reaching a cold concrete wall.
That is why, when we are talking about basement walls, I keep coming back to two proven options: rigid foam board and closed-cell spray foam. Both can work brilliantly. Both can also be installed in ways that accidentally trap moisture or leave hidden air leaks.
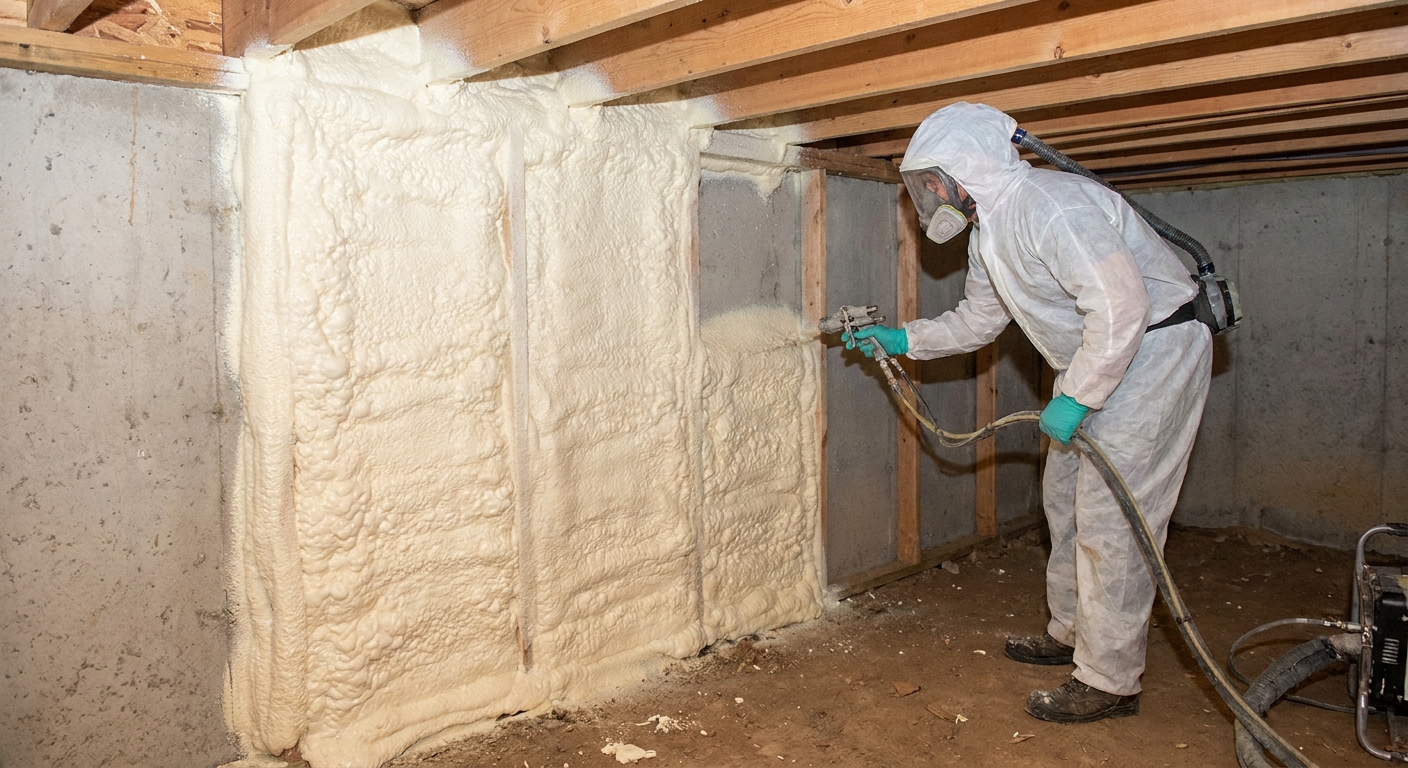
The moisture problem you are solving
Concrete and block walls are cold for a big chunk of the year. Inside your house, the air is warmer and carries moisture. When that warm, moisture-laden air touches a cold foundation wall, the water vapor can condense into liquid water. That condensation can lead to musty smells, mold on paper-faced materials, and rotted framing over time.
Your goal is an air-sealed, moisture-tolerant layer against the concrete so interior air cannot freely reach that cold surface.
- Air leakage is often the main driver of moisture trouble in finished basements. A little gap at the top of the wall can move a surprising amount of humid air.
- Vapor diffusion is slower. It matters, but it is usually not the first reason basements get wet behind insulation.
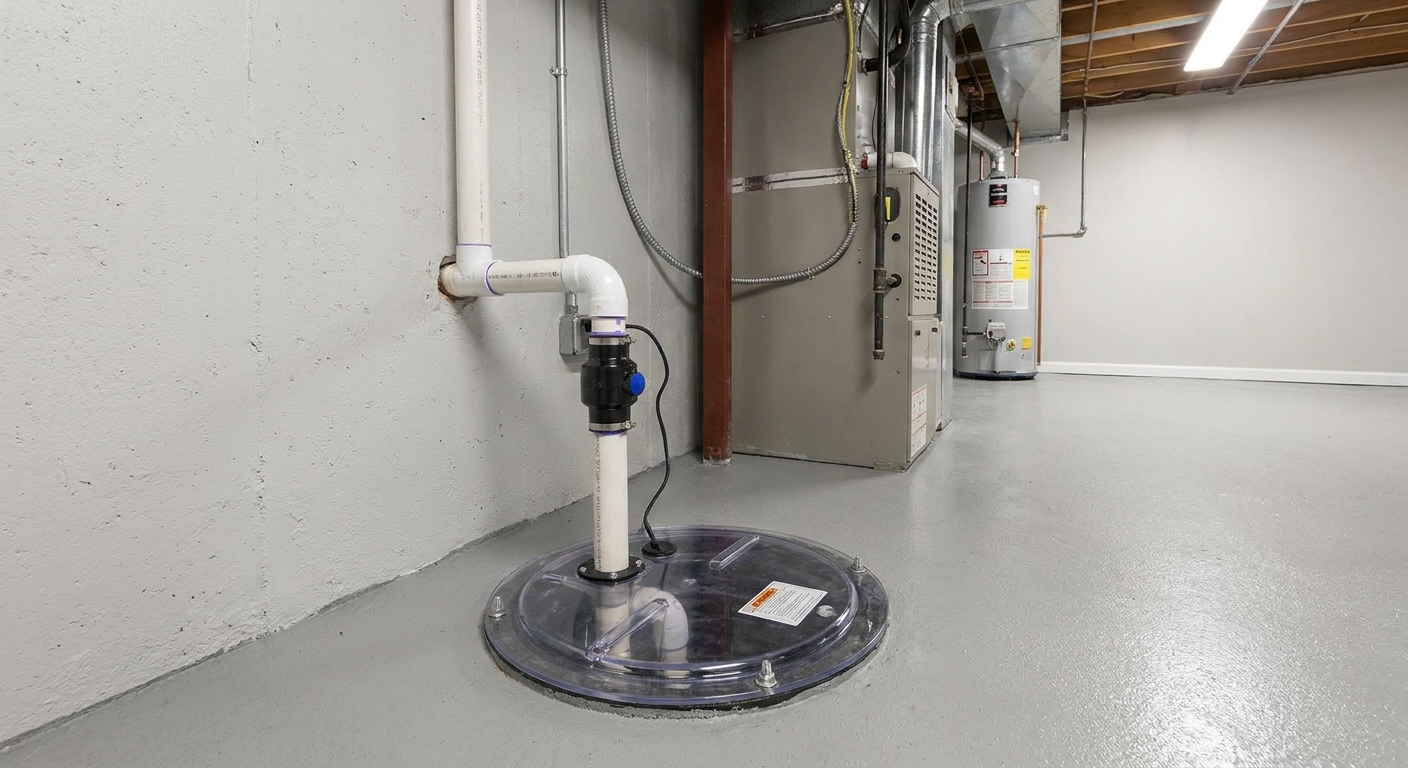
- Bulk water still matters a lot. If you have seepage through the wall or water coming up from the slab, that has to be solved first.
If you want a broader basement moisture game plan beyond insulation, start with our moisture control hub before you buy anything.
Foam options that work in basements
This article is focused on foam insulation choices that can handle basement conditions and help prevent condensation by keeping interior air off the masonry:
- Rigid foam board (commonly XPS, EPS, or polyiso, depending on location and spec)
- Closed-cell spray foam (a two-part foam applied in place that cures into a dense, air-sealing layer)
A quick nuance that matters: “foam board” is not one product. XPS is typically more vapor-resistant. EPS is usually more vapor-open (it can still work, but it behaves differently). Polyiso varies by facer, and foil-faced polyiso can be very vapor-tight. That does not make one “right” and the others “wrong”, but it does affect how your wall dries and how forgiving the assembly is.
Open-cell spray foam and fiberglass can play roles in some assemblies, but they are not my first choice directly against a basement wall when moisture prevention is the priority.
Rigid foam board on basement walls
Rigid foam is my go-to recommendation for a lot of DIYers because it is predictable, relatively clean, and it gives you a repeatable way to build a continuous thermal break between concrete and your finished wall.
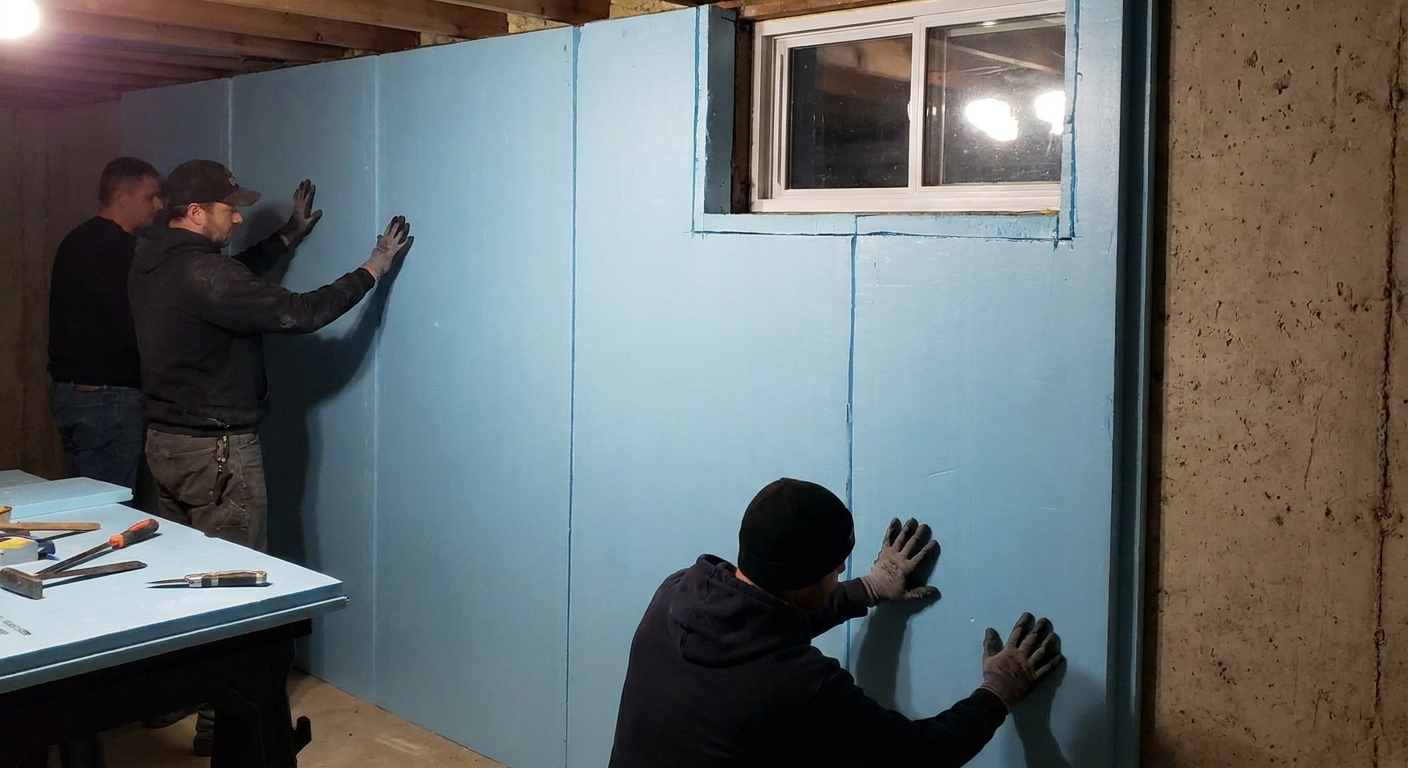
Why rigid foam helps with condensation
- Warms the interior side of the assembly so moisture is less likely to hit a dew point on the cold concrete.
- Can be an air barrier if you make it one. The board itself is not magic. The seams and edges are where basements usually fail.
- Tolerates incidental moisture better than fluffy insulation when it is installed directly against masonry.
Polyiso note (because it comes up a lot)
Polyiso can work on basement walls, especially with the right facer and detailing. Just know that some polyiso products can deliver less R-value in colder conditions, and local practice varies by climate and soil temperatures. If you are in a colder region or your inspector has strong preferences, it is worth confirming the approach early, especially if you are sizing thickness to meet an R-value target.
The big downside: seams are make-or-break
If you take nothing else from this comparison, take this: rigid foam performs like a moisture-control product only when it is sealed like one.
That means:
- Tape the seams with a manufacturer-approved tape.
- Seal the perimeter at the slab and at the rim area with canned spray foam or sealant.
- Detail the interruptions around windows, pipes, and ledges where air likes to sneak behind the board.
DIY-friendly installation order (my usual approach)
- Fix bulk water first. No insulation solves active leaks. If you have seepage, address drainage, cracks, and humidity before finishing.
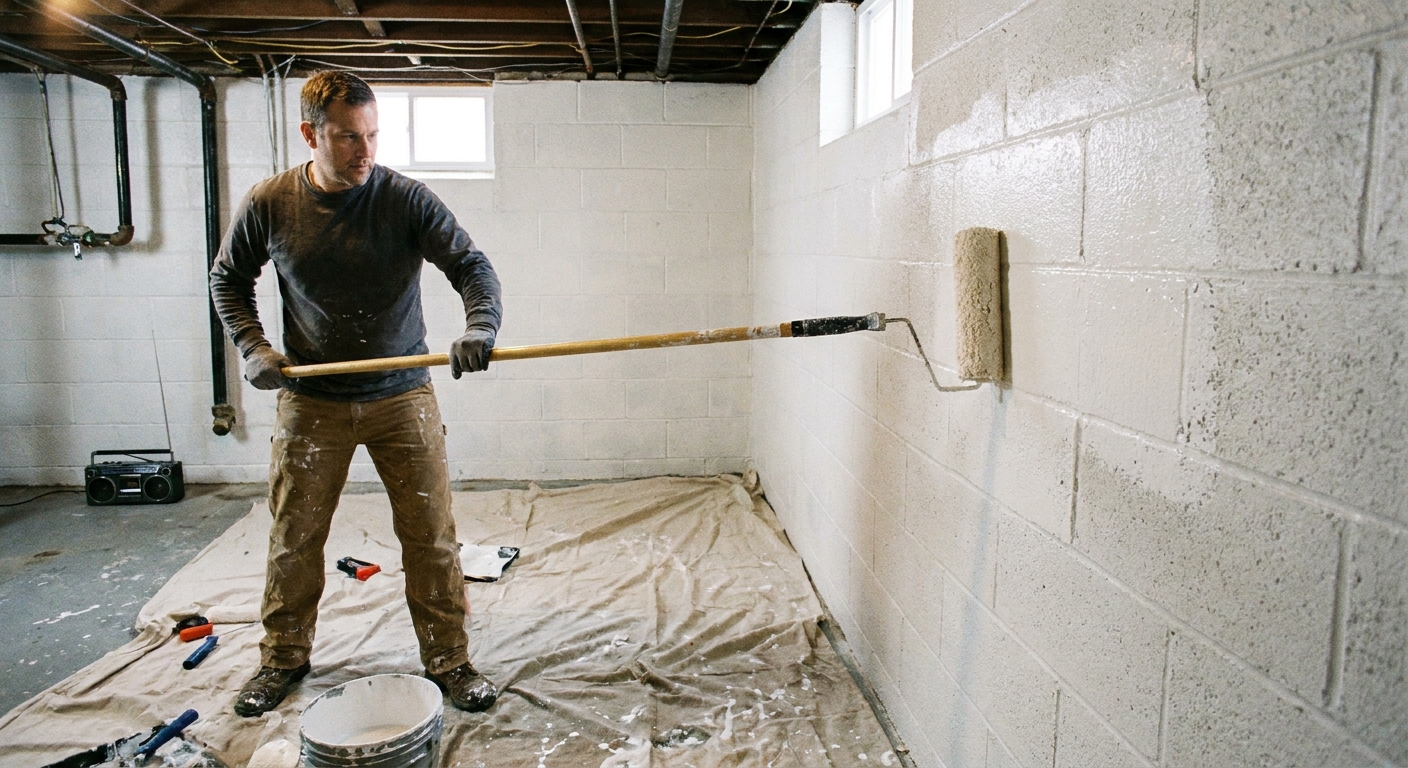
- Prep the wall. Knock off loose paint, efflorescence, or crumbling mortar so the foam sits flat.
- Install foam board tight to the wall. Stagger seams when possible.
- Seal seams and edges. Tape plus foam at edges is a strong combination.
- Frame a stud wall in front of the foam. Many builds use a stud wall in front of the foam (with a small gap if needed for plumb). For general framing planning, see Framing & Construction.
- Add wiring, then optional cavity insulation. If you add batts in the stud cavities, the rigid foam should still be the layer controlling air and keeping the cold concrete isolated.
Where rigid foam shines
- DIY projects where you want control, neatness, and repeatability.
- Long, simple foundation walls with fewer obstructions.
- Budget-sensitive finishes where you can trade labor for savings.
Where rigid foam can struggle
- Rubble stone or very uneven walls where getting continuous contact and sealing edges is tough.
- Rim joists and band areas with lots of penetrations and odd shapes (you can still do it with cut-and-cobble, but it is fiddly).
- Complex details like behind stairs, around steel beams, and at bump-outs where air sealing is easy to miss.
Closed-cell spray foam on basement walls
Closed-cell spray foam is the “wrap it all in one continuous blanket” option. When it is applied correctly, it gives you insulation and air sealing in one shot, even on lumpy walls and around awkward framing.
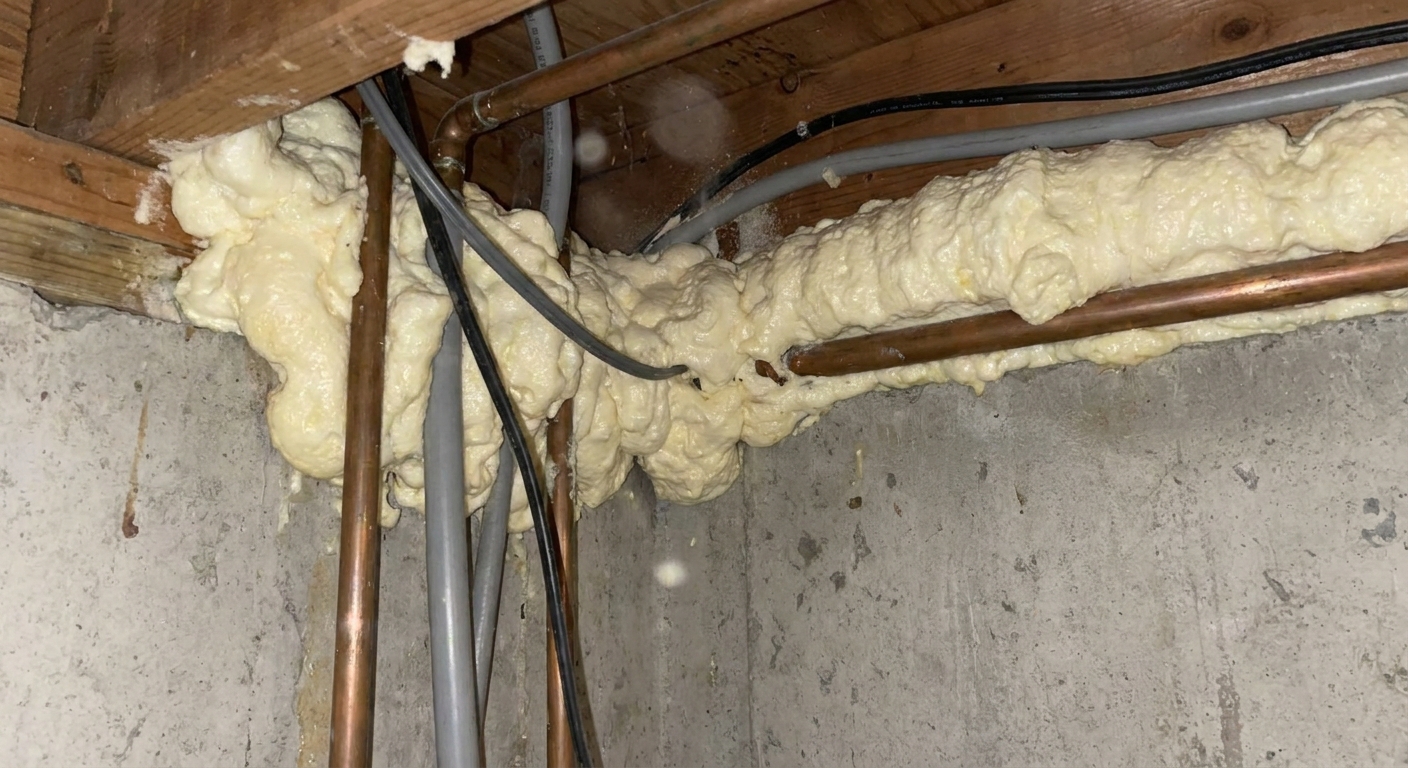
Why spray foam is excellent at moisture prevention
- It is inherently air-sealing. It adheres to concrete and wood and closes off the micro pathways where humid air travels.
- It conforms to irregular surfaces. Great for old basements where nothing is straight.
- It reduces condensation risk at the rim joist. Rim areas are a common condensation problem because they are cold and leaky.
The downsides: cost, access, and quality control
Spray foam is often the premium choice, but it comes with tradeoffs:
- Higher cost per insulated square foot in many markets.
- Harder to DIY well. Small kit foam can work for rim joists and patches, but full-wall applications are typically best left to a pro crew with the right equipment.
- Application quality matters. Depth consistency, adhesion, and coverage at transitions are what make or break performance.
- Future changes are messier. Running new wiring or changing plumbing after the fact is not as friendly as working with a removable board layer.
Where spray foam shines
- Rim joists and tricky transition zones.
- Uneven or complex foundation walls where boards leave too many gaps.
- Higher moisture-risk basements where air sealing needs to be rock solid.
Where spray foam can be overkill
- Big open walls that are easy to do with foam board, tape, and careful edge sealing.
- Projects on a tight budget where the money might be better spent on drainage improvements, a better dehumidifier plan, or higher-quality finishes.
Rigid foam vs. spray foam: how I choose
If your main goal is moisture prevention, here is the decision filter I use in real basements.
1) How complicated is your foundation wall?
- Smooth poured concrete + long runs: rigid foam is usually straightforward.
- Very uneven masonry, lots of jogs, ledges, penetrations: spray foam often wins on continuity.
2) Can you realistically air-seal every seam?
Rigid foam can be excellent, but only if you are willing to slow down and seal like your drywall depends on it, because it does.
- If you know you will rush seams, miss edges, or leave unsealed gaps at the top plate area, spray foam can be more forgiving because it naturally seals.
- If you are meticulous and patient, rigid foam is a very strong DIY path.
3) What is your moisture profile?
If you have any history of damp smells, seasonal humidity spikes, or minor seepage, I lean toward the solution that delivers the most reliable air seal at transitions. Often that means spray foam at the rim joist and a careful rigid-foam wall assembly below.
For a step-by-step way to evaluate your basement before you insulate, use the thinking in our pre-finishing basement checklist.
4) Budget and schedule reality
Basement finishing is full of hidden costs that show up right when you thought you were cruising. If you are working through priorities, it helps to map insulation as one line item inside the full build. These guides help:
The hybrid approach I use most
In a lot of real-world basements, the smartest move is not rigid foam or spray foam. It is both, used where each one is strongest.
- Closed-cell spray foam at the rim joist and any truly nasty transition areas where air leaks love to hide.
- Rigid foam board on the main wall field where you can get clean seams, good tape adhesion, and continuous coverage.
This hybrid approach keeps costs sane while still treating the leakiest part of the basement like the high-risk detail it is.
Code and inspection reality checks
I am not your inspector, and basements vary a lot by climate zone, soil conditions, and local code. Before you lock in an assembly, keep three practical items in mind:
- Required R-values vary. Basement insulation requirements change by climate zone and sometimes by whether the wall is considered fully below grade.
- Foam usually needs a thermal barrier. In most finished, occupied spaces, foam plastics (rigid board or spray foam) need to be covered with an approved thermal barrier, often drywall, for fire safety. Plan for that in your finish schedule.
- Termite details can matter. In termite-prone regions, you may need an inspection gap or other detailing so pest inspectors can see the foundation wall.
If permits are part of your project, it is worth reading basement finishing permits early so insulation details do not surprise you during inspection.
Common mistakes that cause moisture issues
Insulating before solving bulk water
If water is coming through the wall or up from the slab, insulation becomes a sponge or a cover-up. Address grading, gutters, exterior drainage, crack repair, and humidity first.
Leaving the top of the wall leaky
The band and rim area is where warm air likes to hit cold surfaces. Treat the top of the wall like a priority air-sealing project, not an afterthought.
Using basement walls like an above-grade wall
Basements are not standard exterior walls. Materials that behave fine upstairs can rot or mold downstairs when they are paired with cold masonry and humid interior air.
Skipping dehumidification
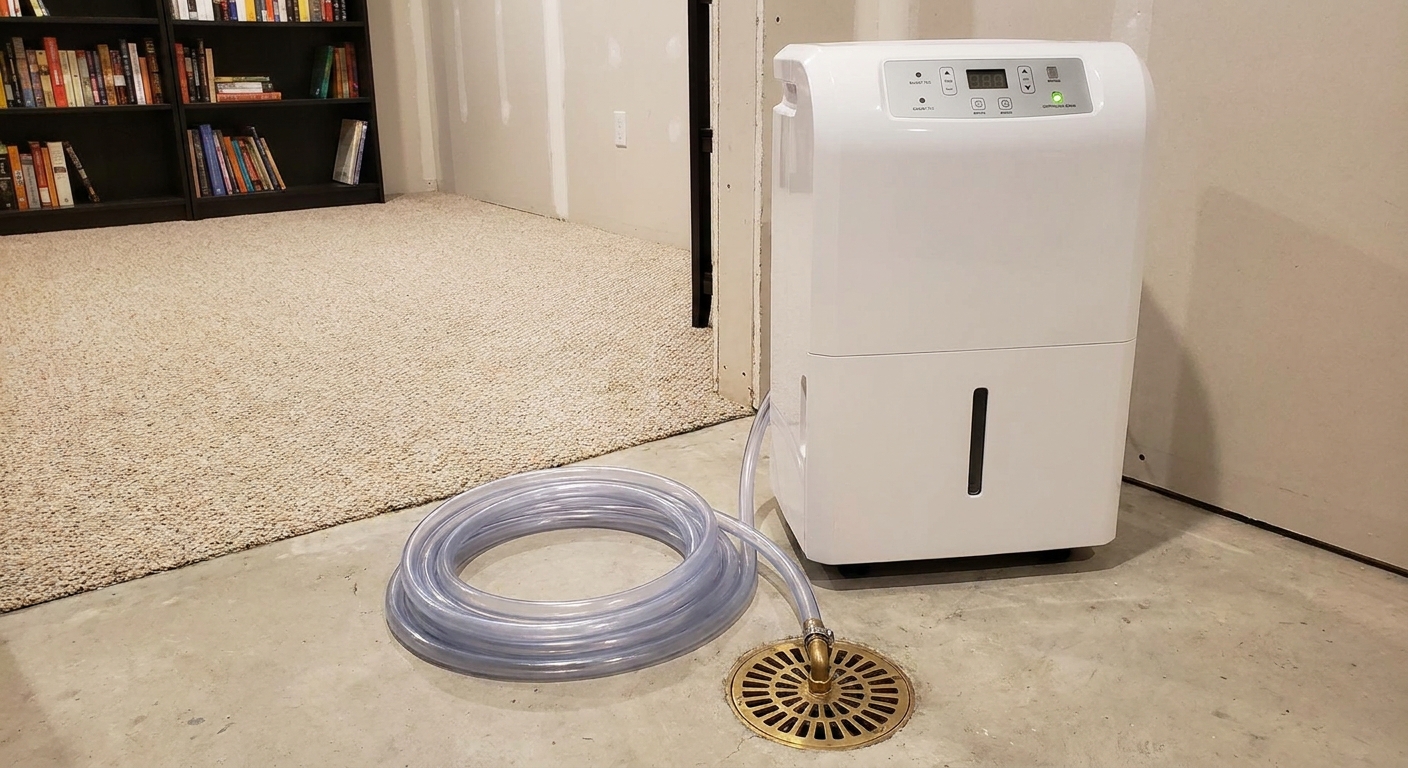
Even a well-insulated basement often needs active humidity control during shoulder seasons. Insulation reduces condensation risk, but it does not remove moisture from the air.
FAQ
Is closed-cell spray foam a vapor barrier?
Sometimes. “Vapor barrier” is defined by perm rating, and closed-cell spray foam can land in different classes depending on the product and thickness. For basement moisture prevention, I care more about its air sealing. Air movement is the fast lane for moisture.
Is rigid foam board a vapor barrier?
It depends on the type and the facer. Foil-faced products are typically very vapor-tight. Some unfaced foam boards are more vapor-open. In practice, treat rigid foam as part of a vapor control strategy, but the biggest win is using it as a continuous layer that blocks interior air from reaching the cold wall.
Do I need a plastic sheet vapor barrier on the inside?
In many basement assemblies, adding interior polyethylene can cause more harm than good by trapping moisture in the wrong place. Local codes and climate matter here, so check what is required in your area and aim for an assembly that can tolerate incidental moisture.
Which is better for soundproofing?
Neither rigid foam nor closed-cell spray foam is a magic sound solution. Spray foam can help by sealing air leaks, but for sound control, fibrous insulation and good framing details usually do more of the heavy lifting than closed-cell foam does.
My bottom line
If your top concern is preventing condensation on cold foundation walls, both rigid foam and closed-cell spray foam can work. The better choice is the one you can install as a continuous air-sealed layer without shortcuts, after bulk water is under control.
- Choose rigid foam if you want a DIY-friendly system, your walls are fairly straightforward, and you are willing to be meticulous about seams and edges.
- Choose closed-cell spray foam if your basement has irregular surfaces, lots of tricky penetrations, or you want the most reliable air seal and you are comfortable paying for pro installation.
- Consider a hybrid if you want the best performance per dollar: spray foam where basements leak the most, rigid foam where basements are simple and flat.
Whatever you choose, remember the rule that would have saved my first basement: control the air first, after you have controlled the water, and the moisture problems usually get a lot smaller.