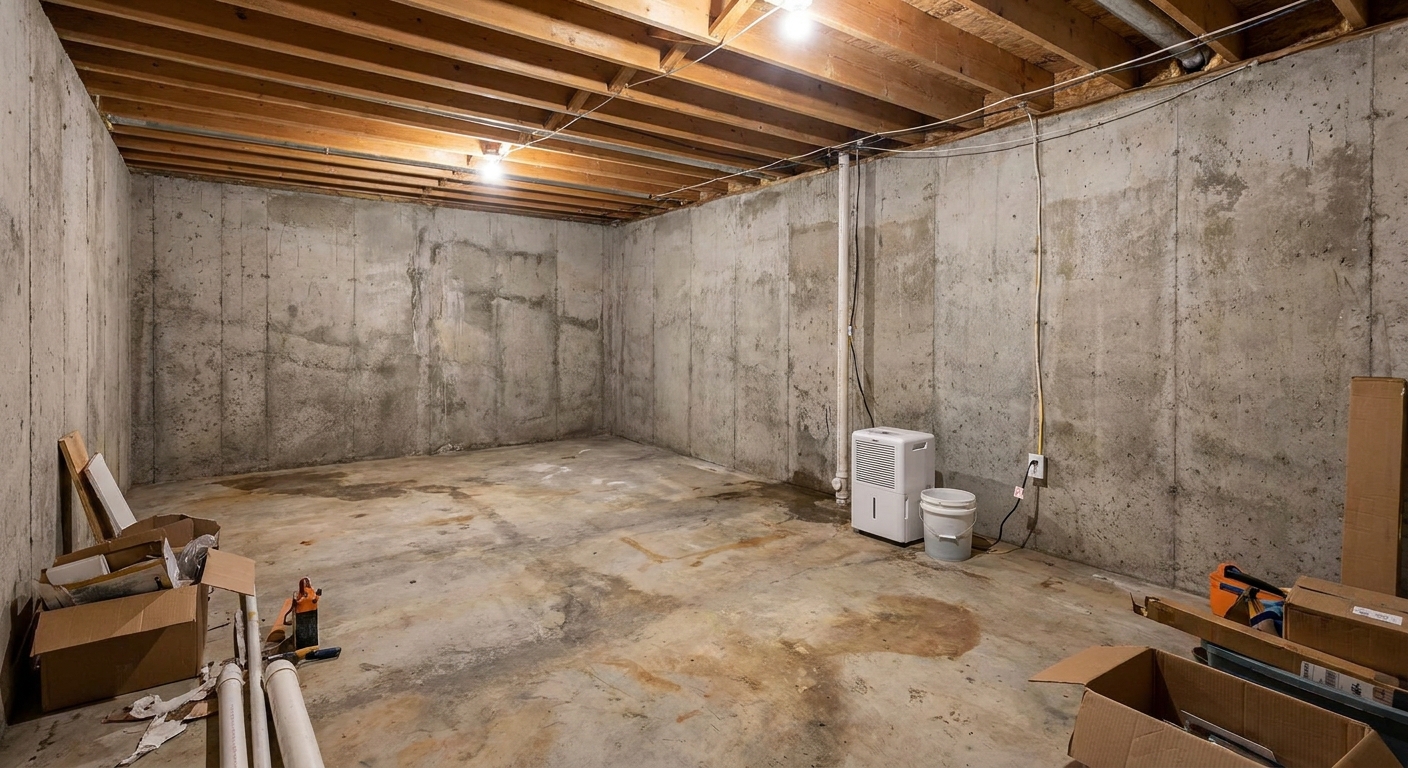
The first basement I ever finished taught me an expensive lesson: you can build the prettiest walls in the world and still lose to water. In my case, the “mystery dampness” wasn’t a plumbing leak or some magical groundwater curse. It was rain coming off the roof, hitting the ground right next to the foundation, and soaking its way into the basement.
If you’re planning an interior remodel, exterior moisture control is where you win the battle. Get the grading and gutter routing right and everything you do inside lasts longer, smells better, and stays healthier.
Start here: water takes the easiest path
Water does not need a crack big enough to see. It needs time, pressure, and a path. When your yard slopes toward the house or your downspouts dump right at the foundation, you are basically holding a slow, steady hose next to your basement wall.
I like to think of exterior moisture control in this order:
- Catch it (gutters and downspouts)
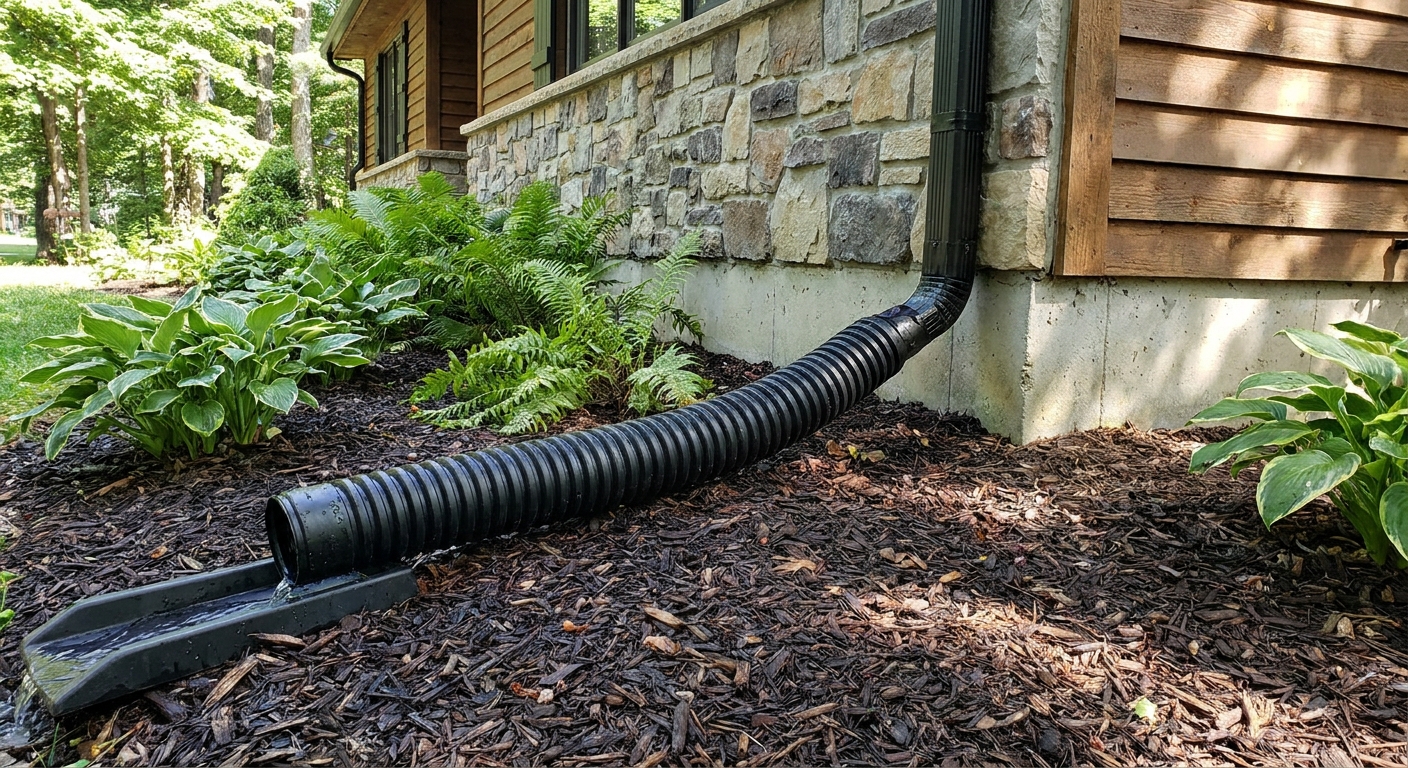
- Carry it (extensions, solid drain pipe, or splash blocks and above-ground routing)
- Pitch it away (grading that slopes away from the foundation)
- Block and dry what’s left (foundation sealing and interior humidity control)
For the rest of this article, we’ll focus on the big two: grading and downspout routing. For the bigger moisture picture, see Moisture Control.
How to tell if your yard drains toward the house
Do the simple “walk the water” test
After a hard rain, walk the perimeter of your home and look for clues:
- Soil splashed up onto siding near the base
- Mulch washed into piles against the foundation
- Persistent muddy spots within a few feet of the wall
- Puddling near window wells, stoops, or walkways
- Downspouts that discharge onto flat ground or into a low spot
Check the slope with a level and a tape
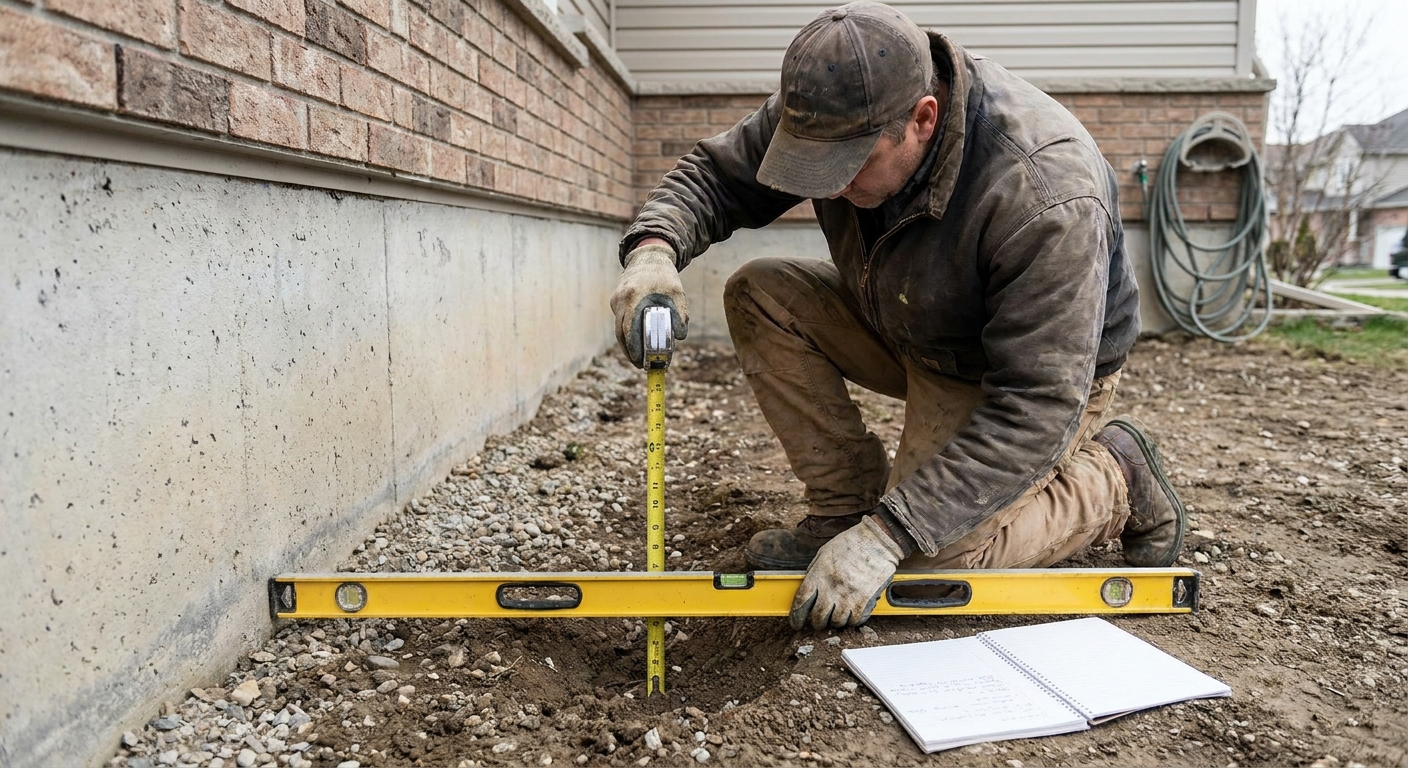
You do not need fancy gear. A long level (4 to 6 feet) and a tape measure tell you a lot.
- Set one end of the level on the ground right next to the foundation.
- Level it, then measure the vertical drop from the underside of the far end of the level down to the ground.
- That measurement is your drop over the length of the level.
Good target: Many rules of thumb land around 6 inches of drop over the first 10 feet away from the house (about 1/2 inch per foot). More slope is fine if you can do it without burying siding, blocking brick weep holes, or creating awkward edges. Less slope can work too, especially on very flat lots, but you will need to be more careful about downspout discharge and low spots.
Rule of thumb I use: I want the first 6 to 10 feet around the house to shed water away as consistently as possible. You will not get perfection in every yard, but you can eliminate the obvious reverse slopes and low pockets.
Regrading basics
Target slope and where it matters most
The highest priority is the first few feet next to the foundation. If water drops away from the house early, it has less time to soak down alongside the wall.
- Aim for a steady slope away from the house for the first 6 to 10 feet.
- Do not bury siding or wood trim. Keep soil below materials that can rot. If you are not sure about your home’s clearance requirements, stay conservative and keep soil low.
- Do not cover weep holes on brick veneer homes.
- Avoid creating a “bathtub” between the foundation and a walkway or patio.
Soil choice matters more than people think
Here’s the part I learned the hard way: piling fluffy topsoil against the house feels productive, but it often settles and holds moisture. For building up grade near a foundation, I prefer a well-compacting, low-organic fill that packs tight and sheds water. Then I top it with a thin layer of better soil for grass if needed.
A quick nuance: some regions have expansive clay soils that shrink and swell. In those areas, the goal is still the same (firm, compacted, low-organic fill with positive slope), but it is worth matching what is appropriate for your local soil conditions rather than assuming “more clay is always better.”
If you are doing larger changes, this is also a good time to walk through your overall moisture plan before you finish inside. My pre-work checklist lives here: Pre-Finishing Basement Checklist.
How to regrade without wrecking everything
- Mark the “no-go” lines. Identify siding clearance, window well rims, and any vents you cannot bury.
- Pull mulch back and set it aside. Mulch should be the last layer, not the first.
- Add soil in thin lifts (a couple inches at a time), and pack it with a hand tamper or by walking it in.
- Keep checking slope with your level as you go. It is easy to create a low spot by accident.
- Feather the new grade into the existing yard so water does not get trapped at the edge of your work.
- Restore landscaping after you confirm water flows away from the house during a rain.
Quick warning: If you have a lot of water and nowhere for it to go because of neighboring properties, retaining walls, or a very flat lot, you may be looking at a more involved drainage solution. This article stays focused on grading and downspouts, but do not ignore a yard that has no “downhill.”
Downspouts: move roof water away fast
If I could pick one weekend project that improves basements the most, it is extending downspouts. Roofs collect a shocking amount of water. Dump that water at the foundation and you can end up with saturated soil and higher hydrostatic pressure against your wall.
How far should downspouts discharge?
My baseline is at least 6 to 10 feet from the foundation, farther if the yard slopes back toward the house or the soil stays wet. The real goal is not a specific number. The goal is: the discharge point must be on ground that continues to drain away.
Also, be a good neighbor. Do not route water onto a sidewalk where it can ice up in winter, and do not dump runoff right at a property line or onto a neighbor’s yard. Some cities and HOAs have specific rules about discharge, so keep that in mind as you plan your outlet location.
Extension options that work
- Rigid above-ground extensions (the common black plastic style): cheap, quick, and effective. They can be ugly, but they work.
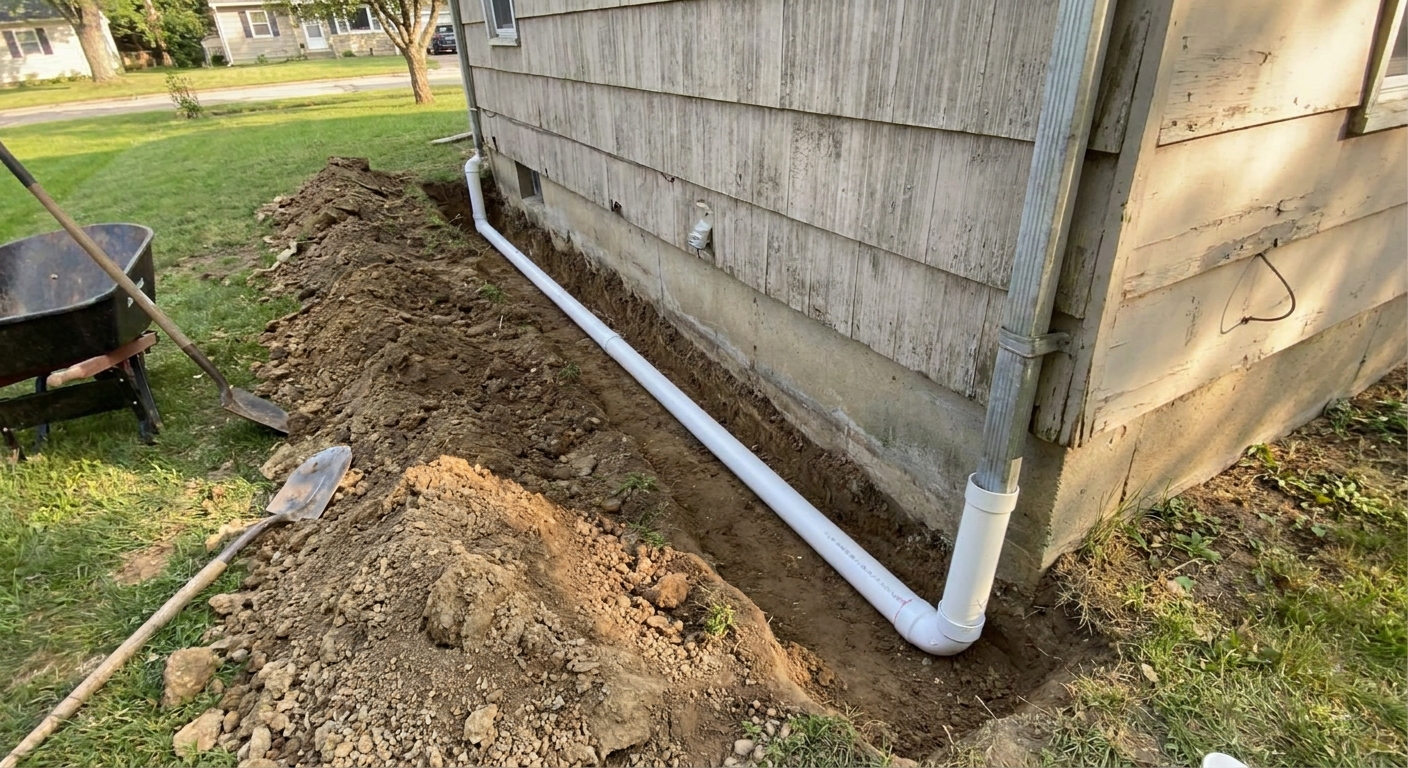
- Buried solid pipe to daylight: clean look and very effective when the yard allows a continuous downhill run. “To daylight” just means the pipe exits to open air on a downslope where you can see it discharge.
- Pop-up emitter at the end of buried pipe: useful when you do not want a pipe end exposed, as long as it can still drain freely.
Before you dig: get utilities marked. In the US that usually means calling 811. Hitting a line is the kind of “one-day project” that turns into a long, expensive week.
Important: Near the foundation, use solid pipe, not perforated. Perforated pipe is meant to let water out and in along its run. That is the opposite of what you want right next to your basement.
Common mistakes
Mistake 1: dumping water into a window well
Window wells already collect water. Sending a downspout anywhere near them is asking for leaks. Route downspouts away from window wells, make sure the grade around the well sheds water outward, and keep window well drains (if you have them) clear of silt and leaves.
Mistake 2: tying gutters into a “mystery pipe”
Some homes have underground downspout drains that collapse or clog. Before you trust them, test them during a rain or by running a hose into the downspout while someone watches for where the water exits. If you cannot find the outlet, do not assume it is working.
Mistake 3: running a drain line with no slope
Buried downspout lines need pitch. A dead-flat run fills with water and sediment, then freezes in cold climates or backs up during storms. If you cannot maintain slope to a reliable outlet, reconsider the plan.
Mistake 4: trying to fix a wet basement from the inside only
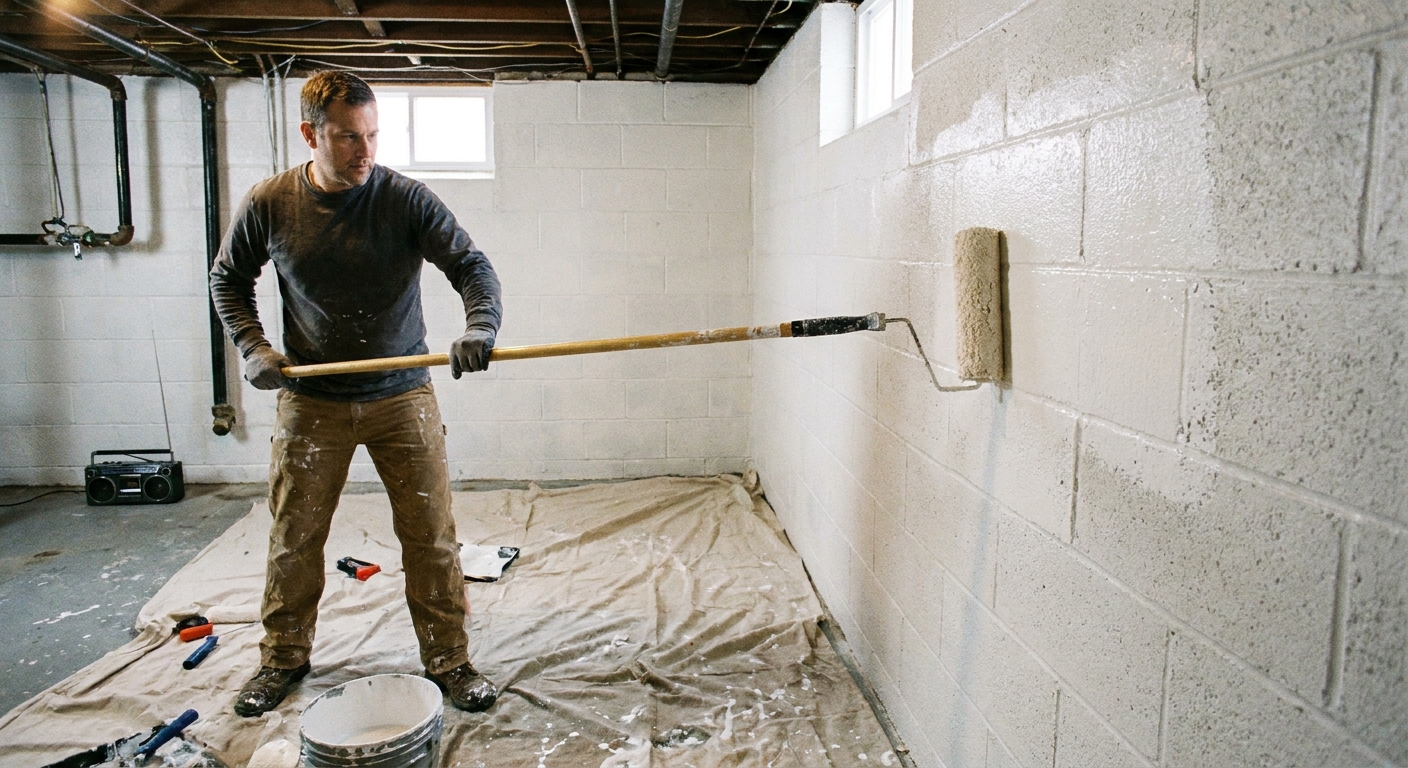
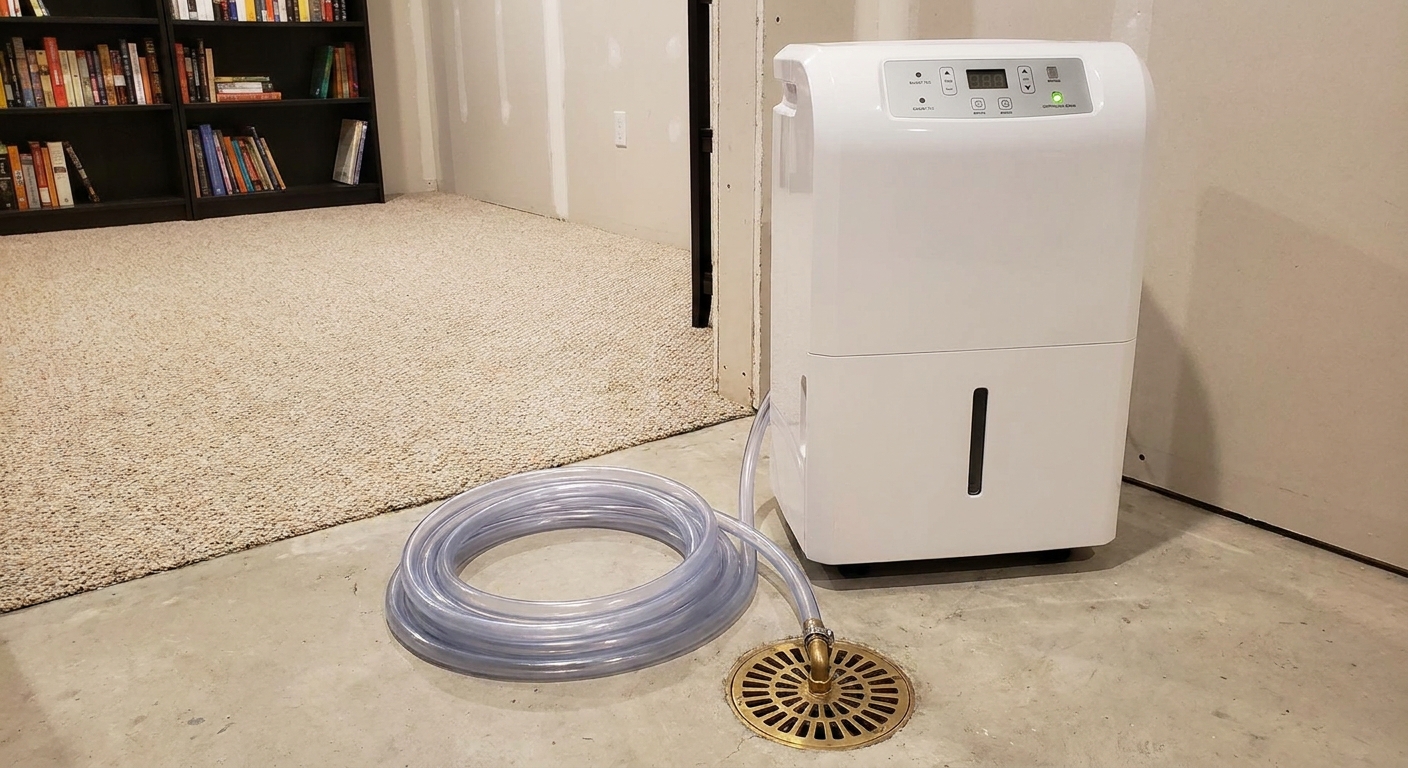
Interior sealants and dehumidifiers have their place, but they should not be your first move if the yard is sending water at the foundation. If you want to add an extra layer of protection on masonry after exterior work, see Waterproofing Basement Walls With Masonry Sealant. And if you need to manage humidity during and after finishing, I break down equipment options here: Basement Dehumidifier Sizing and System Options.
A simple weekend plan
If you want the “do this in order” checklist I follow at my own house and for friends, here’s the version that fits into two Saturdays.
Saturday 1: control roof water
- Clean gutters and confirm they are not overflowing at corners.
- Check that all downspouts are connected and not leaking at elbows.
- Add extensions so discharge is at least 6 to 10 feet away on ground that continues to fall away.
- During the next rain, confirm there is no pooling near the foundation.
Saturday 2: fix the grade
- Identify negative slope areas and low pockets near the foundation.
- Pull back mulch and regrade in thin, compacted layers.
- Re-check clearances near siding, brick weep holes, window wells, and vents.
- Restore mulch and landscaping only after water flow looks right.
Once those basics are handled, indoor work gets a lot less stressful. If you are mapping your full project steps, I laid out the build sequence here: Basement Remodel Timeline: Correct Order of Operations.
FAQ
How do I grade away from the house if there’s a sidewalk right next to it?
This is common and tricky. If the walk is higher than the surrounding yard, you can end up with a channel that traps water against the foundation. Sometimes the best fix is to regrade the yard side to slope away from the house and ensure water has a place to escape. If water is trapped between the foundation and concrete with nowhere to go, you may need a more involved drainage solution.
Should I use gravel next to the foundation?
Gravel can reduce mud splash and looks clean, but it does not automatically solve drainage. If the grade under the gravel pitches toward the house, water still heads to the foundation. Think “slope first, surface second.”
Can I run my downspout into a French drain?
I am careful with that. A French drain is typically perforated pipe meant to collect and convey subsurface water. Roof runoff is a big volume, fast. Some drainage systems are designed to accept roof water, but they need to be sized properly and routed to a real outlet. If you are not sure, solid pipe from the downspout to a reliable discharge point is usually the safer approach.
When should I call a pro?
If you have repeated water intrusion, visible foundation movement, standing water that persists for days, or a lot that simply cannot drain away from the home, get an experienced drainage or foundation contractor involved. Interior finishing materials are expensive. It’s worth solving the water problem first.