The first basement floor I ever installed was a “looks dry to me” job. It looked great for about a month, then came the smell, then the edges started to curl, and then I got to learn what moisture emissions are the hard way.
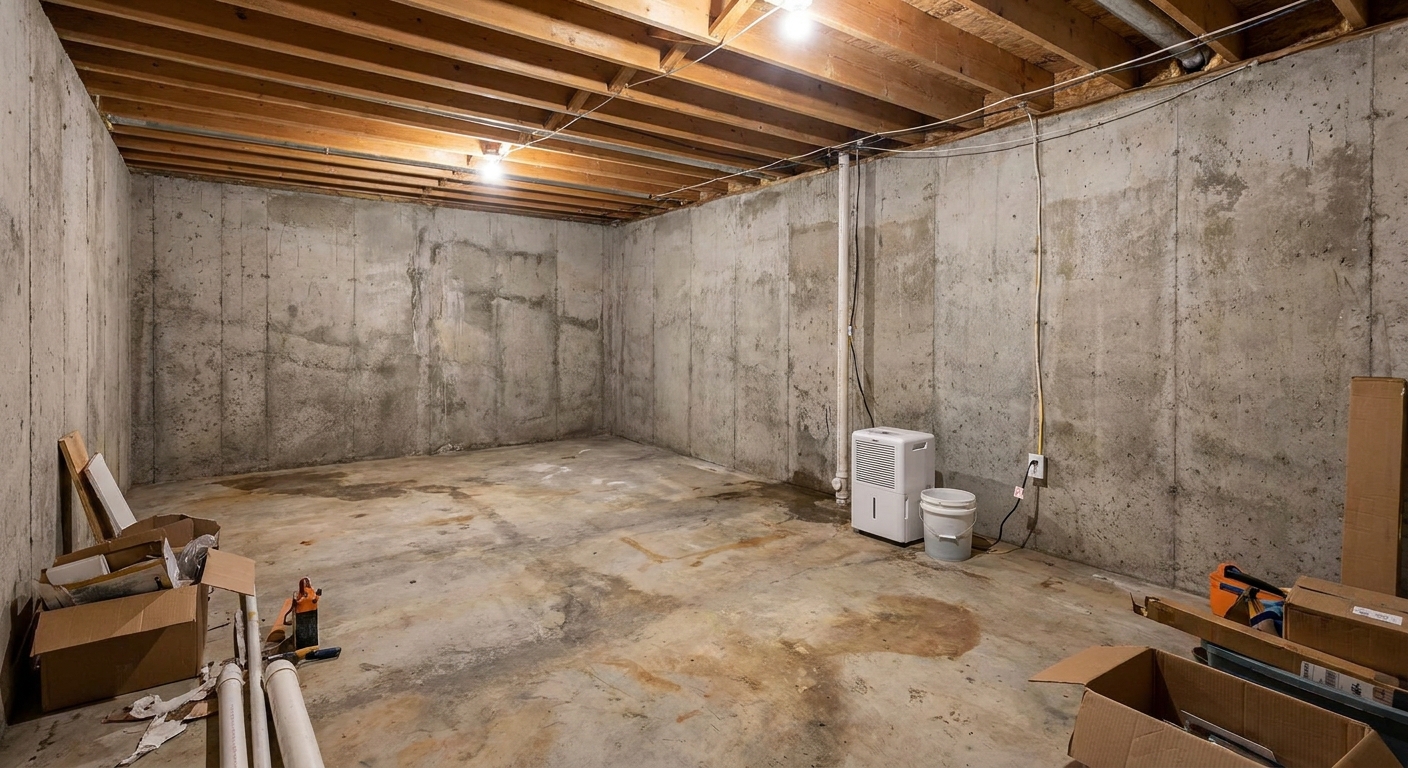
If you are finishing a basement, your concrete slab is not just a hard surface. It is a moisture source. Even when you do not see standing water, water vapor can move up through the slab and wreck adhesives, swell wood, trap moldy air under floors, and turn a brand new room into a musty one.
This article walks you through two homeowner-friendly tests:
- The plastic sheet test for a quick pass/fail screening
- Calcium chloride kits for a number you can compare to flooring requirements
Moisture problems you cannot see yet
Concrete is porous. Ground moisture moves through it by capillary action and vapor diffusion. The slab can feel dry to the touch while still emitting enough water vapor to cause flooring failure.
What you are trying to avoid:
- Adhesive failure under glue-down vinyl or carpet tile
- Cupping or swelling in engineered wood or laminate
- White mineral deposits and damp smell under floating floors
- Mold growth in trapped dust and organic debris under impermeable finishes
If you are still dealing with general basement dampness, start with the big picture first. I keep a full moisture game plan here: Moisture Control.
Before you test
Most bad test results I see are not “bad slabs.” They are bad test conditions. Do these basics so you are measuring the slab, not last night’s rainstorm and an open window.
Stabilize conditions
- Keep the basement closed up like it will be when finished. No propping doors open for “fresh air.”
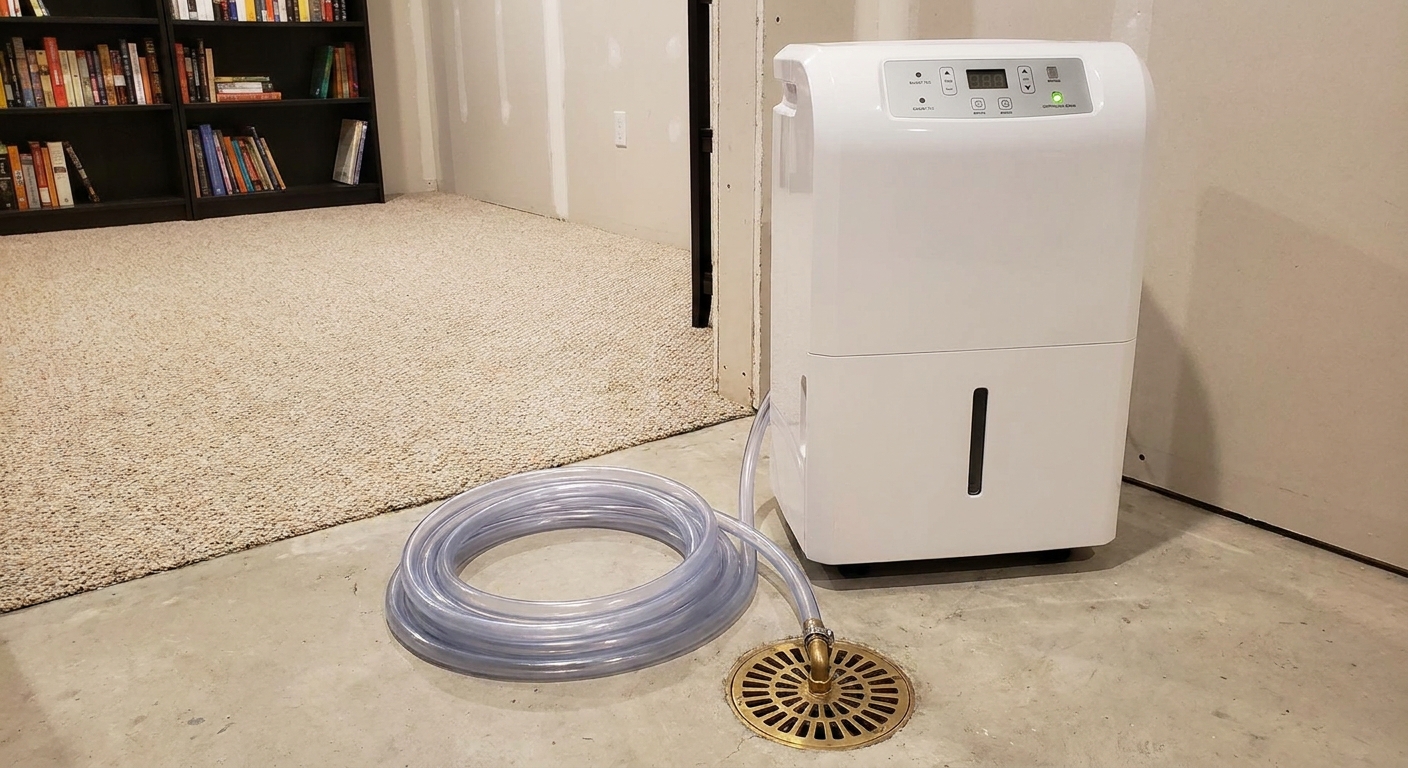
- Run your HVAC as normal, or run a dehumidifier to a steady setpoint.
- Give it at least 48 to 72 hours of stable temperature and humidity before testing if conditions have been changing.
If you need help dialing in dehumidification, see Basement Dehumidifier Sizing and System Options.
Pick smart locations
Do not test one random spot in the middle and call it good. Moisture varies across a slab.
- Test at least 3 locations for a small basement, more for larger spaces.
- Include one spot near an exterior wall.
- Include one spot near a floor drain, sump crock, or plumbing wall if you have them.
- Avoid obvious surface issues like old paint blobs or thick adhesive unless that is the actual condition you will floor over.
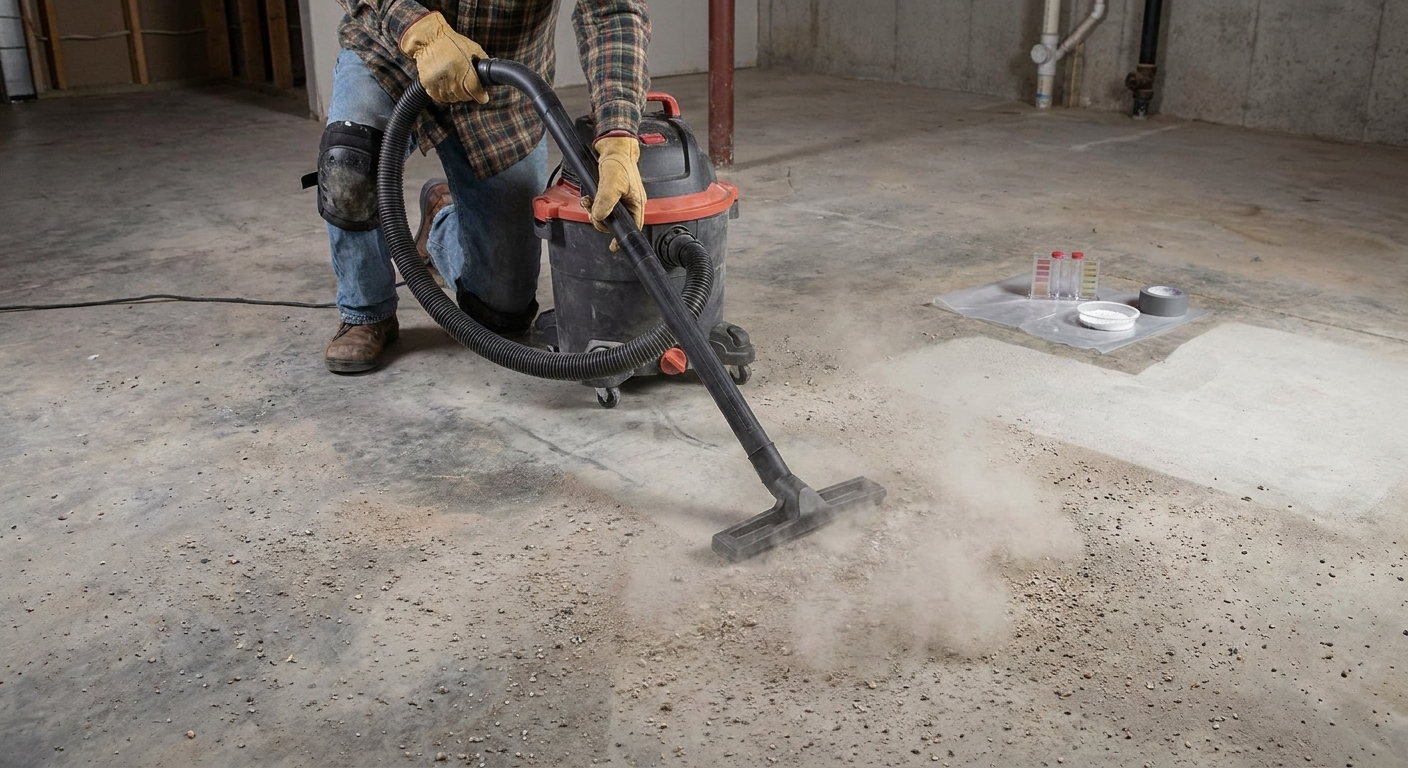
Clean the slab
Sweep and vacuum. For calcium chloride tests in particular, you want a clean surface so the dish is measuring moisture coming through the slab, not water trapped in debris.
Test 1: Plastic sheet test
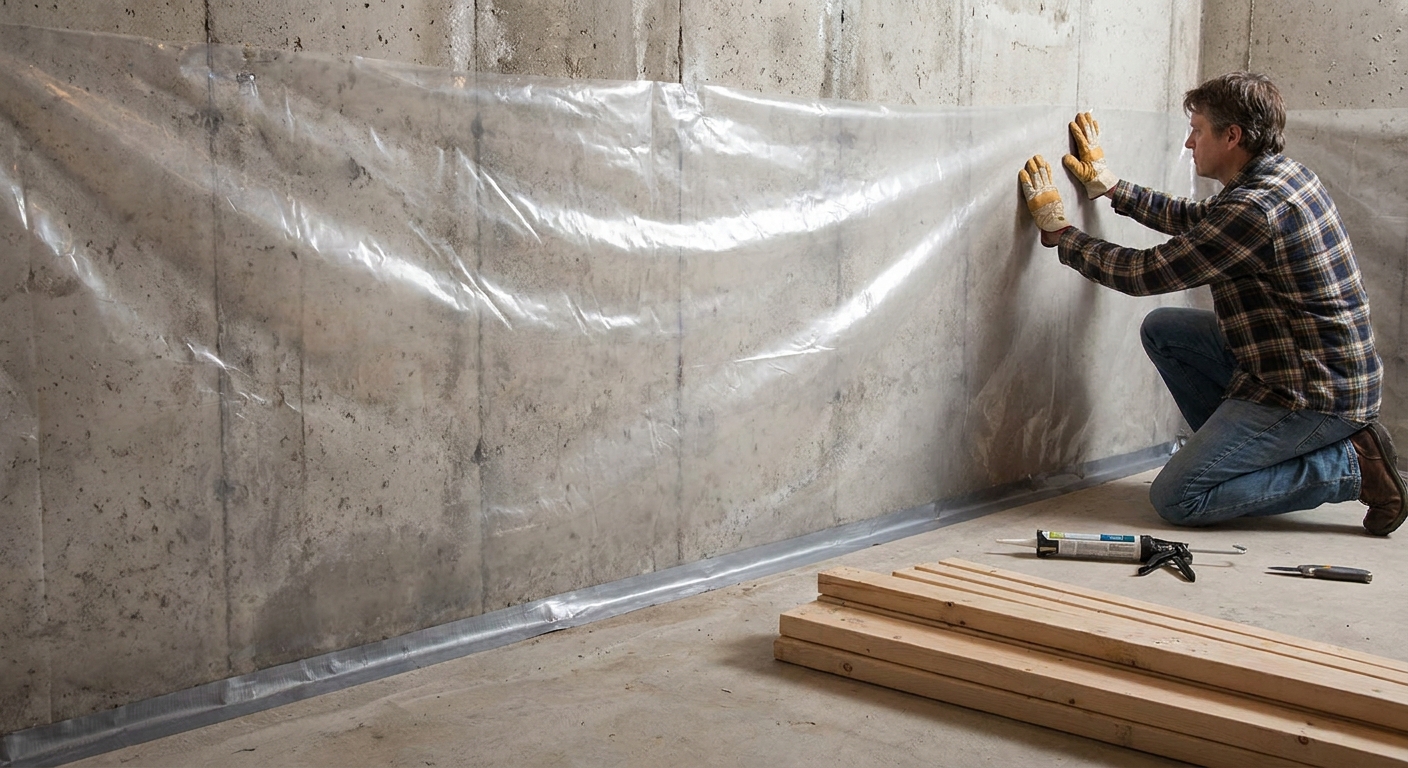
This is the fastest way to find out if you have an obvious vapor problem. It is simple, cheap, and worth doing even if you plan to run a calcium chloride test later.
One important note: this is a qualitative screening test. It can tell you “something is going on,” but it is not a substitute for a manufacturer-required moisture test.
What you need
- Clear plastic sheet, roughly 2 ft by 2 ft (6 mil poly is great, but any reasonably thick plastic works)
- Painter’s tape or duct tape
- Scissors
- A marker (optional)
How to do it
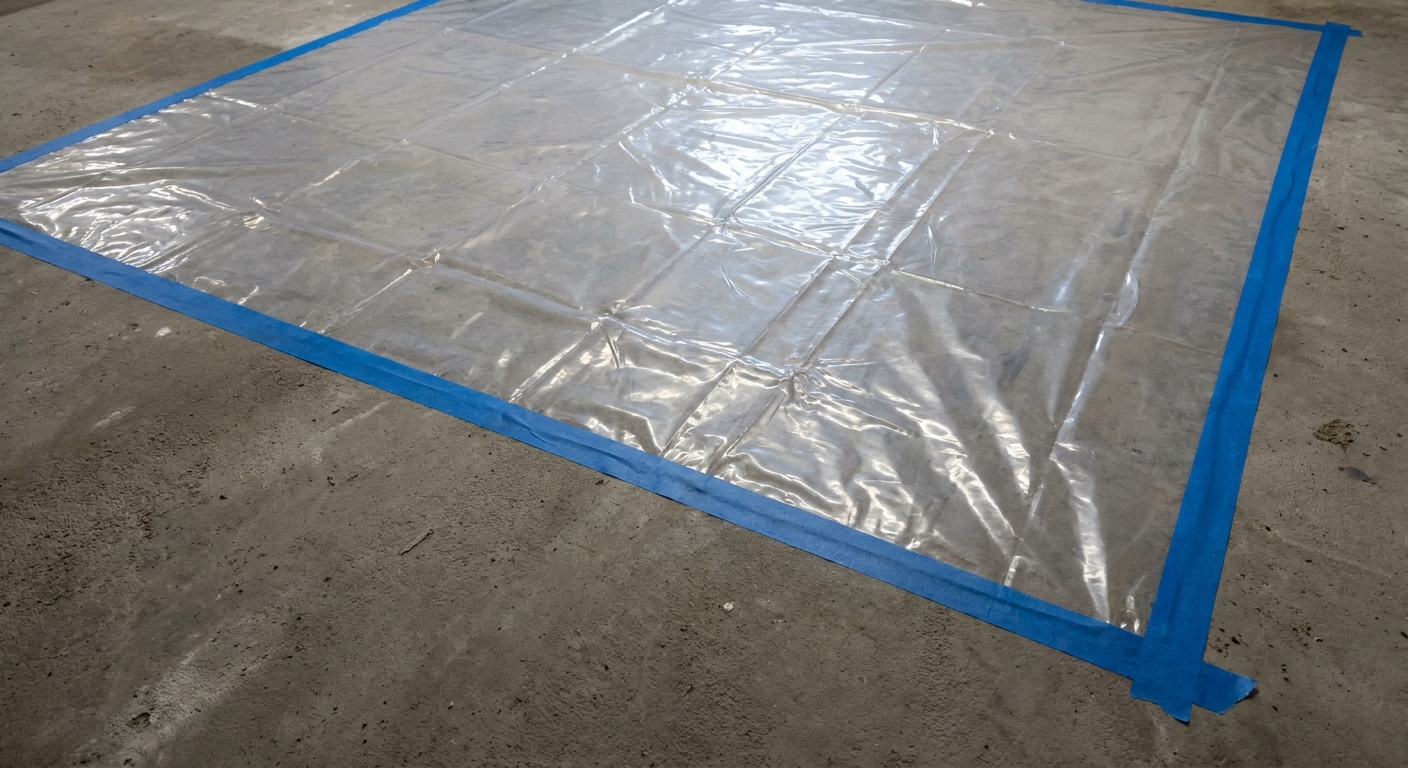
- Cut the plastic into squares.
- Seal all four edges to the slab. Press tape down firmly so air cannot exchange at the edges.
- Leave it undisturbed for 48 to 72 hours.
- Check for condensation and darkening of the concrete under the plastic.
You will sometimes see the plastic sheet test referenced as a shorter window in formal write-ups. For basements, I prefer 48 to 72 hours because it gives slow vapor emission more time to show itself.
How to read the results
- Condensation on the underside of the plastic or a clearly darkened slab under the plastic usually means the slab is emitting moisture at a level that can threaten many floor systems.
- No visible condensation is a good sign, but not a guarantee. Some slabs emit moisture slowly enough that you will not see droplets, yet still exceed flooring limits.
My rule: if you see condensation, do not talk yourself out of it. Move to a quantitative test (calcium chloride) and start thinking through moisture management before you install anything.
Test 2: Calcium chloride kits
Calcium chloride testing gives you a number called MVER, short for Moisture Vapor Emission Rate. It is usually reported as pounds of water per 1,000 square feet per 24 hours (lb/1000 sq ft/24 hr).
This is the test many flooring manufacturers still reference in their installation requirements. Some manufacturers, especially for certain adhesives and commercial-style installs, prefer or require in-slab relative humidity testing instead. Always follow the testing method your flooring instructions call for, because that is where warranty language lives.
What you need
- A calcium chloride test kit (sold at flooring suppliers and online)
- A scale is usually not required because kits come pre-weighed and include instructions, but follow your kit’s directions
- Timer or phone
- Scraper and vacuum for surface prep
Surface prep that matters
Follow the kit instructions first, always. In general:
- Test on bare concrete. If the slab is painted, sealed, or covered in adhesive residue, your reading may not represent what is happening under your future floor.
- Do not wash the floor right before the test. You can drive surface water into pores and spike the reading.
- Let the slab come to normal room conditions. If the slab is colder than the air (below the dew point), you can get condensation that confuses what you are trying to measure. That is one big reason stable conditions matter.
How to run the test
- Clean a small test area per the kit instructions.
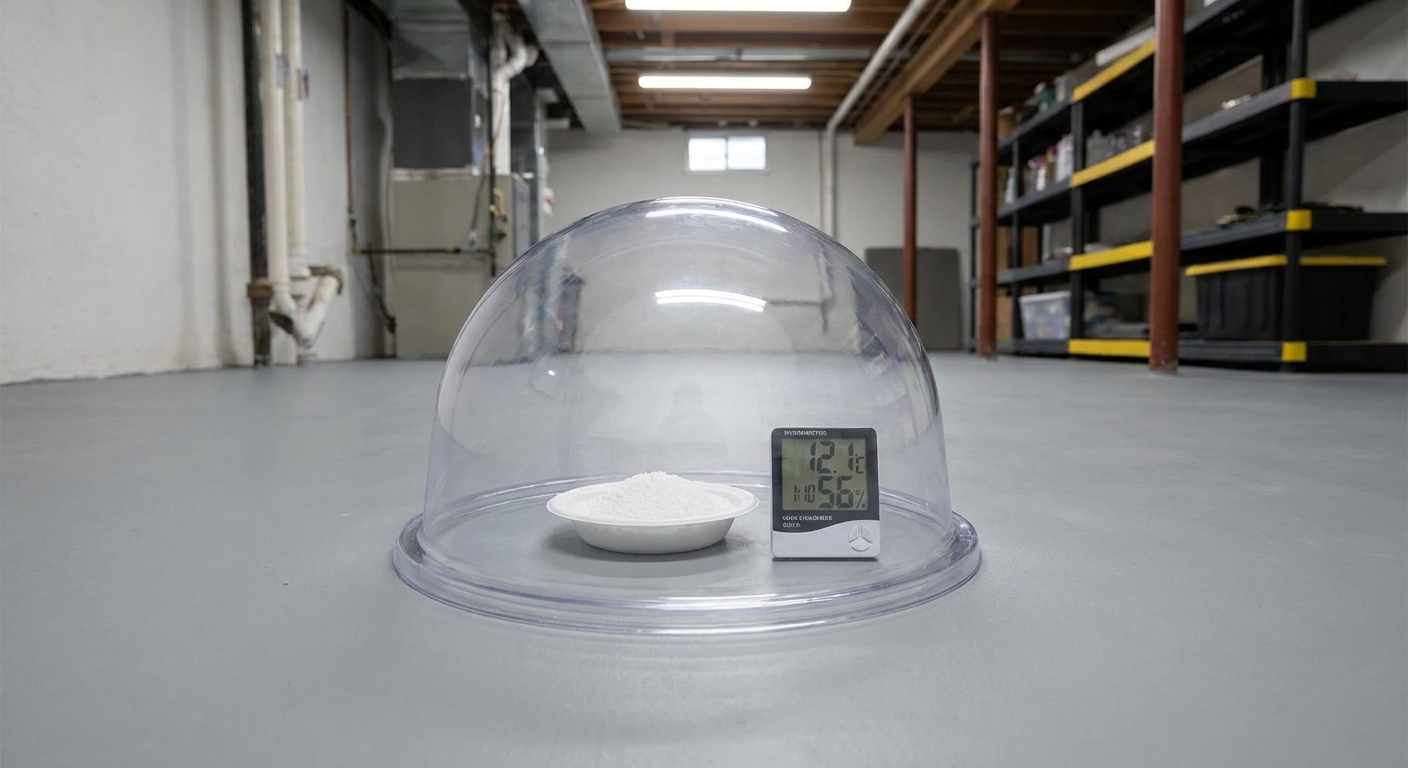
- Open the dish and place it on the slab.
- Cover and seal with the provided dome or plastic enclosure, sealing the perimeter so air does not leak.
- Wait the specified time per the kit instructions (often around 60 to 72 hours).
- Close up the dish and calculate results exactly as the kit explains.
How many tests?
At least three in different areas, even in a modest basement. If one corner is high and the rest are fine, you have learned something important about drainage, cracks, or slab thickness.
Interpreting the number
This is where DIYers get tripped up, because there is no single “safe” number for all floors.
- Your flooring product is the boss. Look up the manufacturer’s MVER limit for your specific flooring and adhesive.
- As a rough frame of reference, some systems call for numbers around 3 lb or less, while some moisture-tolerant products and mitigation systems allow higher. Specs vary a lot, so treat this as context, not a target.
If your result is over the flooring limit, you have three practical choices:
- Choose a different floor system that is rated for higher moisture
- Install a compatible moisture mitigation layer (underlayment or membrane approved by the flooring manufacturer)
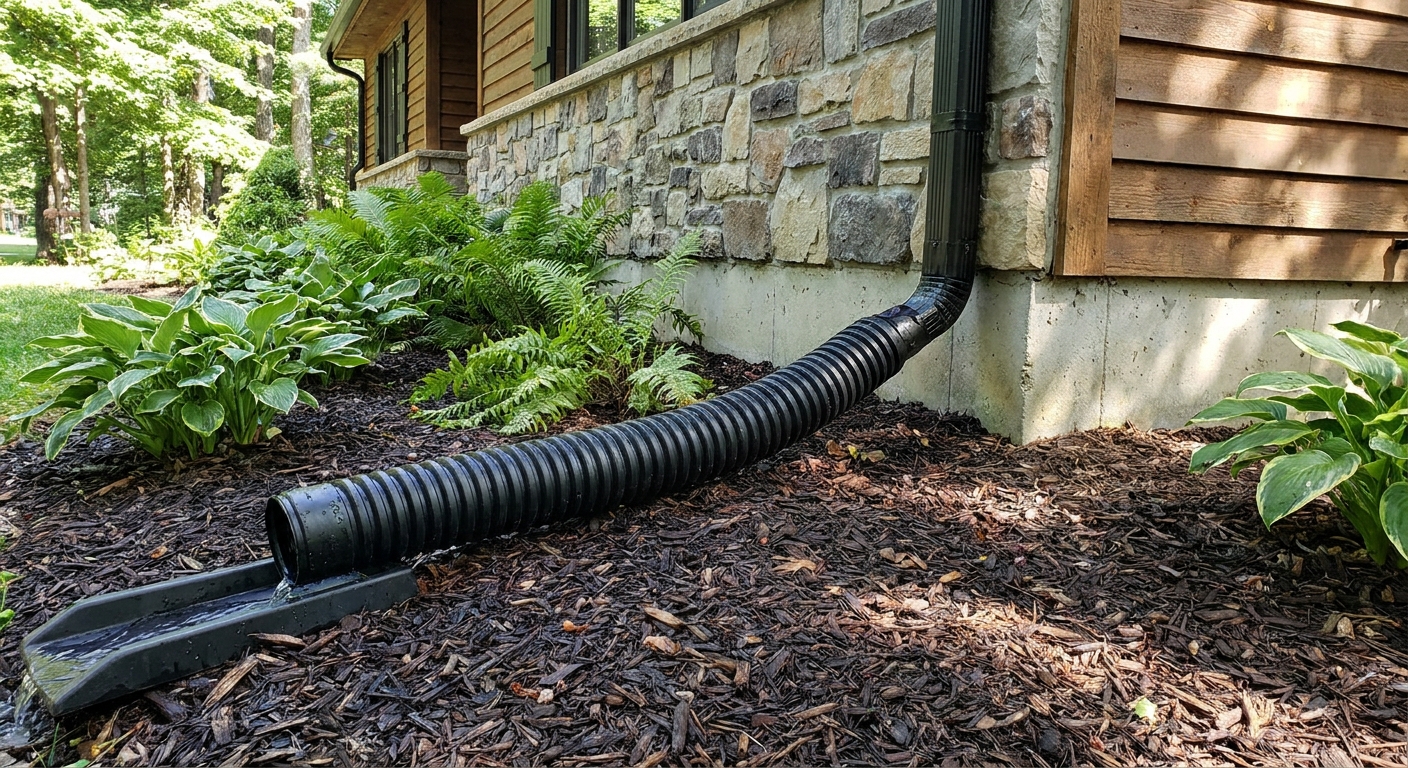
- Address the moisture source (grading, gutters, exterior drainage, interior drainage, dehumidification) so the slab emissions drop over time
Which test to use
If you only do one test, do the calcium chloride test. But I like using both because they answer slightly different questions.
- Plastic sheet test: Fast screening. Great for early planning and identifying “obviously wet” conditions.
- Calcium chloride test: Gives a number you can compare to your flooring requirements and warranty language (as long as your product accepts this method).
And if you are thinking, “Can I just skip all this and install a vapor barrier anyway?” Sometimes yes, but only if that vapor barrier is approved as part of the system you are installing. Basements punish improvisation.
If you are still in planning mode, my pre-flight checklist for a basement finish is here: Pre-Finishing Basement Checklist.
Common mistakes
Testing right after a rain or plumbing event
If your gutter overflowed last night or your sump ran nonstop, your slab may be temporarily elevated. That is still useful information, but do not pretend it represents normal conditions. I like to test once under normal conditions and once after a wet period if I am being extra cautious.
Not sealing the plastic edges
If air can move, you are testing room humidity, not slab emissions. Press that tape down like you mean it.
Running a dehumidifier only during the test
Turning on a dehumidifier for the first time when the test starts can skew results. Stabilize conditions for a couple days first.
Assuming “dry to the touch” means “dry enough”
Most flooring failures I have helped friends fix started with this assumption.
If your slab fails
A failed moisture test does not mean you cannot finish your basement. It means you need a plan that matches your moisture reality.
One realism check: if you have visible water, persistent puddles, active seepage, or heavy efflorescence, pause the finishing plan and fix bulk water entry first. No membrane and no “miracle underlayment” makes an actively wet basement a good place for finished flooring.
Step 1: Fix the whole moisture system
- Check grading and downspouts outdoors.
- Confirm your sump and drainage are doing their job if you have them.
- Control indoor humidity with the right dehumidification strategy.
If you suspect you need interior drainage work before you build walls and floors, read Interior French Drains and Sump Pumps Before Basement Finishing.
Step 2: Choose basement-friendly flooring
Some floors tolerate moisture better than others. I covered basement-appropriate choices, pros, cons, and what I avoid here: Flooring Options.
Step 3: Use a tested system
Whether it is a membrane, underlayment, or a full subfloor system, make sure it is rated for your situation and installed the way the manufacturer requires. This is where warranties live or die.
FAQ
How long should I leave plastic on a basement floor?
Leave it sealed down for 48 to 72 hours. Shorter windows can miss slower vapor emission. Longer is fine if it stays sealed.
Can I run a calcium chloride test myself?
Yes, as long as you follow the kit instructions carefully and control conditions in the basement. Run multiple tests in different locations for a more trustworthy picture.
What if I already have a vapor barrier under the slab?
Some newer homes do, many older basements do not, and sometimes it is compromised. Even with a vapor barrier under the slab, you can still have elevated moisture if water is getting in at edges, cracks, or from high interior humidity condensing on cooler concrete.
Do I need in-slab RH probes instead?
In-slab RH testing is common in commercial work and can be excellent, but it is more involved and tool intensive for most homeowners. The bigger point is this: use the test method your flooring manufacturer requires. If your product accepts calcium chloride, that plus a plastic sheet screen gets you far enough to make a smart flooring choice and avoid the obvious disasters.
My bottom line
If you remember one thing: test before you buy the floor. A basic moisture test is cheap compared to ripping out brand new flooring, redoing trim, and chasing odors that never seem to leave. Plan on roughly $20 to $80+ per kit depending on what you buy and how many locations you test.
Start with the plastic sheet test to screen. If you are finishing the space for real, confirm with calcium chloride kits in several spots (or whichever method your flooring calls for). Then pick a floor system that matches your numbers, not your hopes.