The first basement I ever framed looked great for about six months. Then I pulled a baseboard to run a cable and found that musty smell you never forget: damp concrete, soft bottom plates, and the early stages of mold behind brand-new drywall. My mistake was not one big dramatic blunder. It was a handful of “good enough” vapor barrier decisions that let moisture keep doing what basements do.
This guide walks you through picking the right vapor barrier approach and installing it cleanly before you frame, so your studs and drywall stay dry for the long haul.
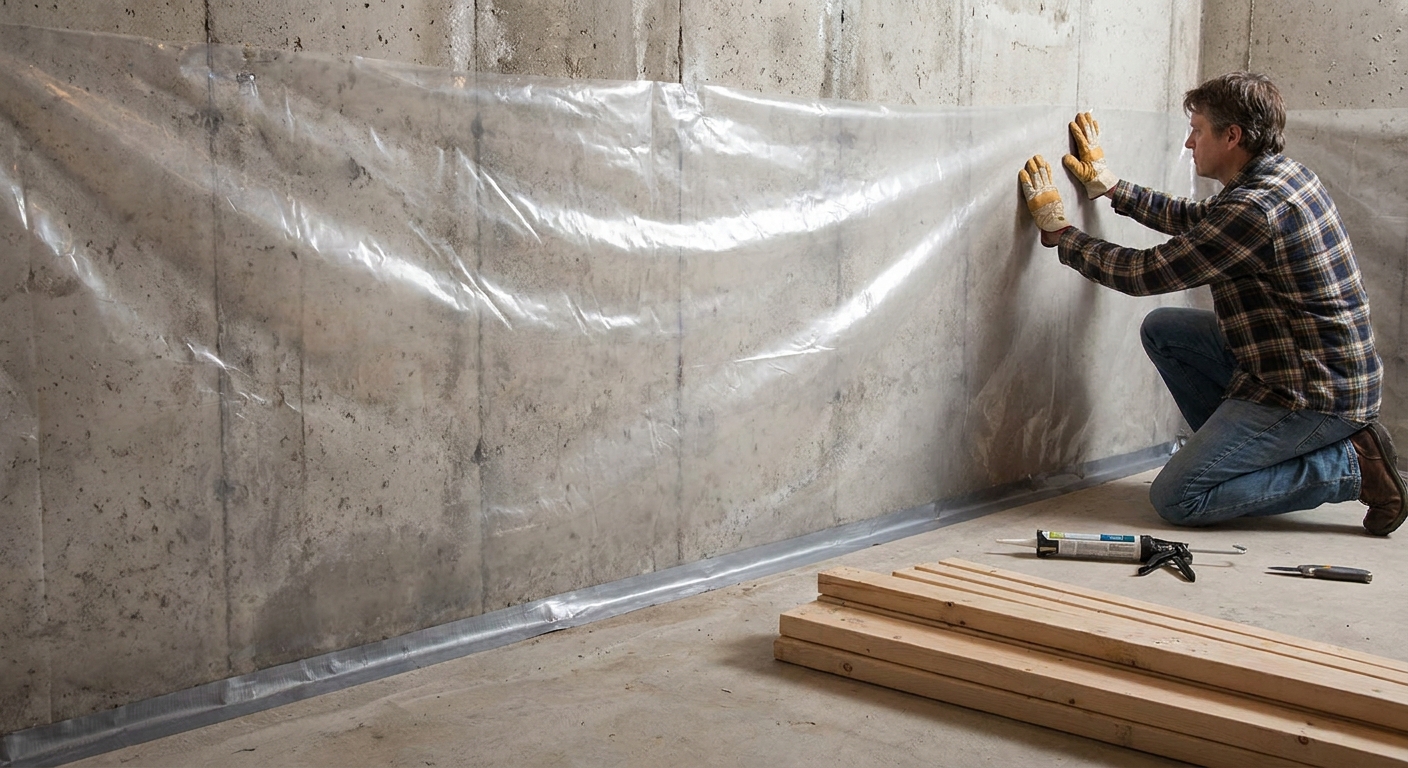
Vapor barrier vs waterproofing
Basements deal with moisture in a few different ways, and it helps to name the enemy before you buy a roll of plastic.
- Bulk water: liquid water leaks, seepage, puddles, active cracks. A vapor barrier will not fix this. You need drainage, repairs, and moisture management first.
- Water vapor: moisture moving through concrete as vapor and then condensing on cooler surfaces.
- Humid air: damp basement air that finds cold surfaces and drops water as condensation.
A “vapor barrier” in basement talk is usually about controlling vapor diffusion through concrete and lowering condensation risk inside the finished wall system. But basements are also all about air control, because air leaks move a lot more moisture than vapor diffusion ever will.
If you have leaks or chronic dampness, start with the fundamentals in Moisture Control before you frame anything.
Quick definitions
People use these terms interchangeably, but they are not the same thing.
- Vapor barrier: very low permeance. It really slows vapor diffusion.
- Vapor retarder: slows vapor movement, but still allows some drying.
- Air barrier: blocks air leakage. This is huge in basements because air carries moisture.
Most good basement wall systems use a vapor retarder plus a real air seal, not just loose plastic somewhere in the wall.
Poly, foam, or painted sealer?
There is no single best vapor control for every basement. The “right” system depends on climate zone, your insulation plan, and whether your walls ever get damp. It is also one of those areas where local code and local inspector expectations can vary a lot.
Option A: Rigid foam on the wall (my go-to)
For many basements, rigid foam board with sealed seams works as a tough air barrier and a reliable vapor retarder layer. It keeps the first condensing surface warmer, and it is less likely to trap moisture against wood than interior polyethylene stapled to studs.
- Best when: you want a durable tape-and-seal system and you are insulating the wall properly.
- Common materials: XPS, foil-faced polyiso, or EPS. (Unfaced EPS can be more vapor open, so thickness and detailing matter if vapor control is the goal.)
Option B: Polyethylene sheet (poly) on the concrete
Poly can work, but it has to be detailed carefully, and it is not a “default best practice” in every below-grade wall. An interior Class I vapor barrier can be problematic in some basement assemblies because it can reduce drying potential if the wall gets wet.
- Best when: your inspector expects it, your assembly is designed for it, and you can seal it continuously.
- What to avoid: poly sandwiched between two vapor-tight layers with no drying path.
- Why it can trap moisture: interior humidity leaking into the cavity and condensing, small plumbing leaks, or incidental bulk water that has no way to dry.
Option C: Painted sealer or vapor-retarder coating
Roll-on products can reduce vapor movement through concrete and are sometimes used on walls or slabs. They are not a fix for hydrostatic pressure or active leaks.
- Best when: you need a thin approach in tight spaces or want to improve vapor control before another system.
If you are still mapping the whole basement build, read Pre-Finishing Basement Checklist first. Vapor control is one piece of a bigger moisture plan.
Moisture reality check
Do these checks before you commit to a wall assembly.
1) Confirm no bulk water
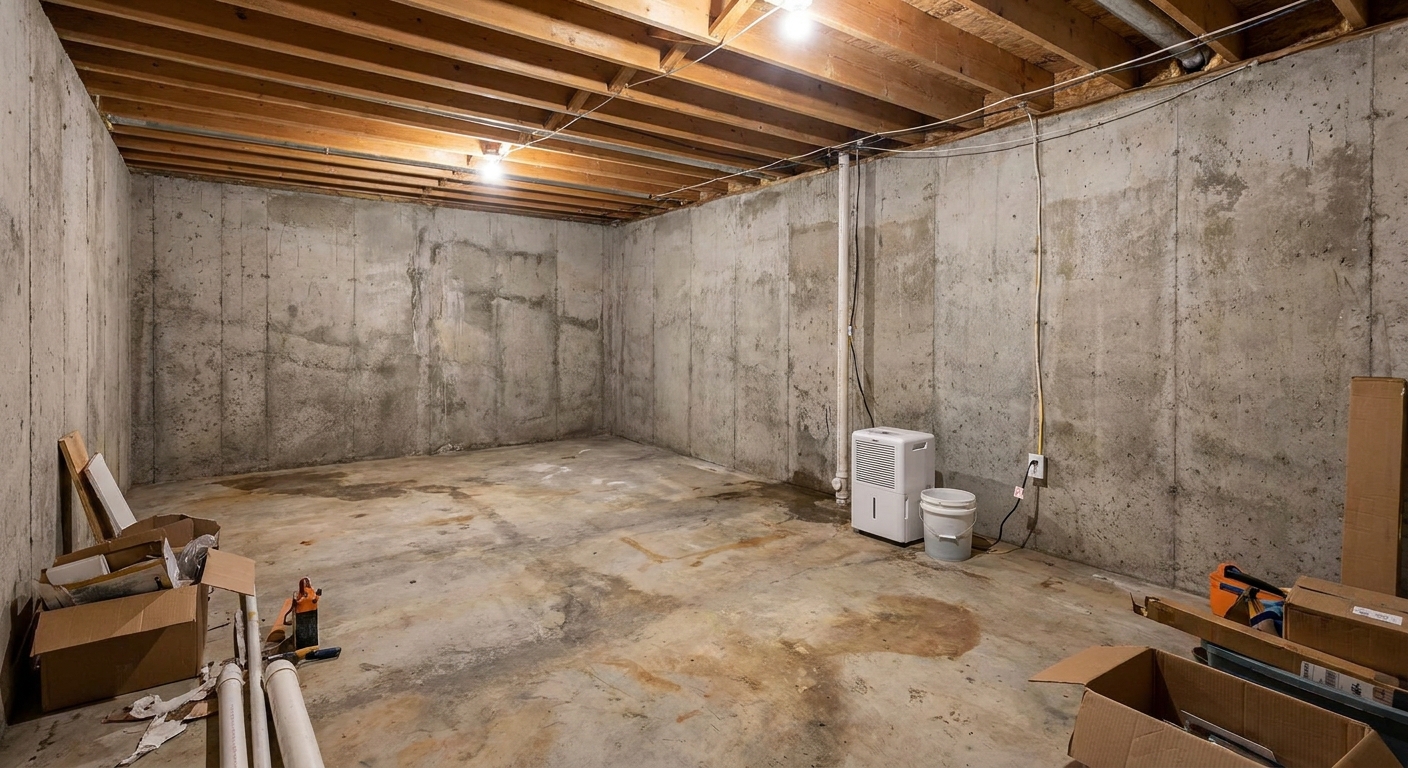
- Look for damp streaks, efflorescence, puddles, peeling paint, rusted bottom of metal columns, or rotted wood near the slab edge.
- Check after a heavy rain if you can.
- If you have active seepage, stop and solve that first.
2) Screen for slab moisture
Tape down a 2 ft by 2 ft square of clear plastic to the slab in a few locations. Leave it 24 to 48 hours. If you see condensation under the plastic or darkened concrete, your slab is emitting a lot of moisture.
This is a screening test, not an ASTM-level measurement. It will not give you a number, but it will tell you whether the floor is trying to feed moisture into whatever you build on top of it.
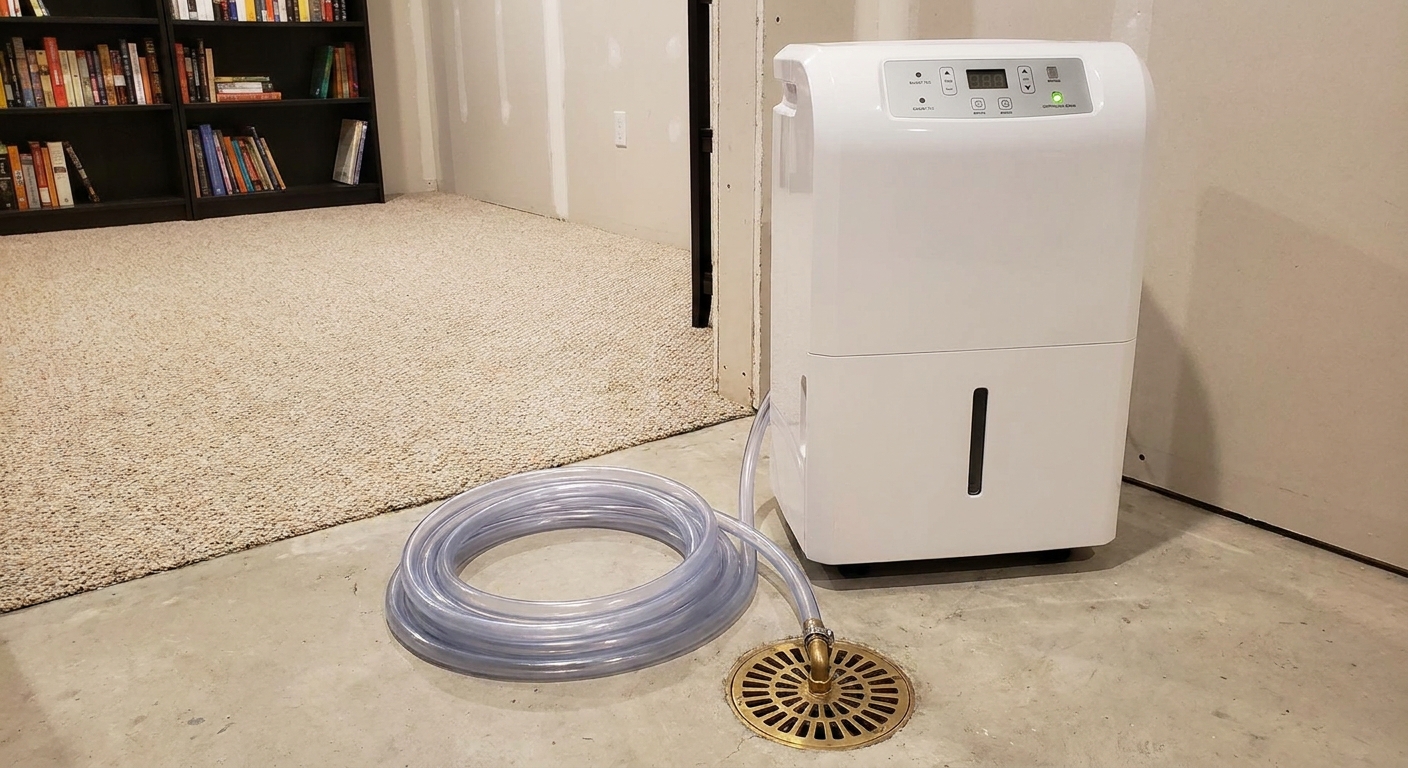
3) Get humidity under control
If your basement regularly sits above about 50 to 55 percent relative humidity, your finished materials are living on hard mode. In many homes, aiming closer to 40 to 50 percent in summer (when possible) reduces musty smells and mold risk. Winter humidity targets can be different, and your comfort may vary, but the goal is the same: do not seal up a wet basement and hope it behaves.
Tools and materials
Your exact list depends on which vapor control system you choose, but here is what typically shows up in a solid install.
For poly installs
- 6 mil or thicker polyethylene sheeting (heavier is usually easier to avoid tears)
- Acoustical sealant or compatible construction sealant for perimeter sealing
- Sheathing tape rated for polyethylene or vapor barrier tape
- Cap fasteners (cap nails or cap staples), furring strips, or compatible adhesive (choose a method that keeps the poly tight long term)
- Utility knife, scissors, straightedge
- Caulk gun
For rigid foam installs
- Rigid foam board
- Foam-compatible adhesive (do not use adhesives that melt foam)
- Tape approved for the foam or facer you are using (manufacturer-approved is the safe play)
- Spray foam for rim joists and tricky gaps (low-expansion where needed)
- Long straightedge, knife, handsaw or foam cutter
Whatever system you choose, the goal is the same: continuous coverage with sealed seams and edges. Tiny gaps matter because air carries moisture.
Install poly on basement walls
If you are going with polyethylene on the wall, detail it like you mean it. “Stapled loosely to studs” is the version that fails.
Step 1: Prep the wall
- Clean dust and loose paint. Adhesives and tapes need a sound surface.
- Knock off sharp concrete nibs that could puncture the plastic.
- Seal obvious cracks appropriately if they are dry and stable.
Step 2: Plan continuity
Decide where the poly will seal so you can trace one continuous layer around the room.
- Bottom: typically sealed to the slab near the wall edge, or lapped to a floor vapor layer if you are doing one.
- Top: sealed to the sill and rim joist air barrier area. If you are spray foaming the rim joist, plan to tie the poly into that sealed zone so air cannot sneak behind your wall system.
Step 3: Hang it tight and keep it tight
Work in vertical runs. Unroll and position the sheet so it lies flat against the concrete with minimal wrinkles.
Then fasten it in a way that stays snug: cap fasteners, furring strips, or a compatible adhesive method. The goal is not just “it is up,” it is “it will still be tight when you bump it during framing.”
Step 4: Overlap and tape seams
- Overlap seams at least 6 inches.
- Tape the full height of the seam with tape rated for polyethylene.
- Press tape firmly with a plastic squeegee or the flat edge of a putty knife.
Step 5: Seal perimeter edges
Use a continuous bead of acoustical sealant or compatible sealant at the top and bottom edges, then press the poly into it. The edge seal is what turns “plastic on a wall” into an actual air and vapor control layer.
Step 6: Seal penetrations
Pipes, wires, hose bibs, and cleanouts are where vapor barriers quietly fail.
- Cut tight to the penetration.
- Seal the cut edge with tape and sealant.
- If the hole is messy, patch with a second piece of poly that overlaps by several inches, then tape all edges.
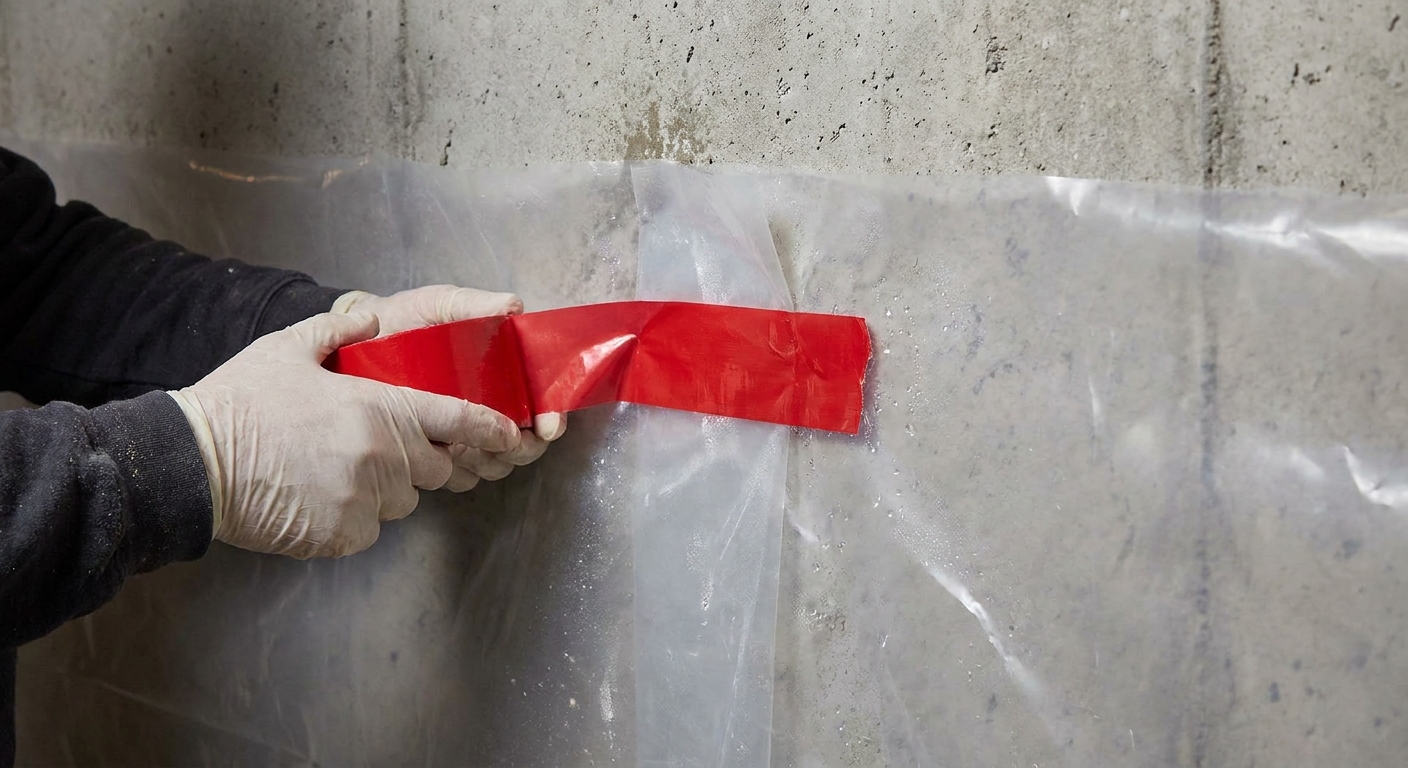
Step 7: Protect it during framing
Once poly is up, be mindful during framing. A single careless corner of a stud can slice it. If you tear it, patch it immediately with poly and tape.
Rigid foam on basement walls
If you want one system that usually does a better job resisting condensation and also gives you a flatter, warmer wall, rigid foam is hard to beat when detailed correctly. Think of it as a continuous insulation layer that can also serve as an air barrier and a vapor retarder when seams and edges are sealed.
Step 1: Pick thickness
Basements vary by climate and code requirements. The big-picture principle is that more continuous insulation keeps the interior side warmer, which reduces condensation risk.
Step 2: Dry-fit the layout
Plan board placement so seams land on flat concrete whenever possible. Avoid tiny slivers of foam at corners if you can. They are hard to seal well.
Step 3: Adhere foam to concrete
Apply foam-compatible adhesive in vertical beads or per manufacturer direction. Press the board flat. Use temporary bracing if needed until it grabs.
Step 4: Tape seams and seal edges
- Tape every seam with tape made for your foam type or facer. Do not assume any tape sticks forever.
- Seal the perimeter with spray foam or sealant so air cannot sneak behind the foam.
- Seal around penetrations with spray foam and tape patches as needed.
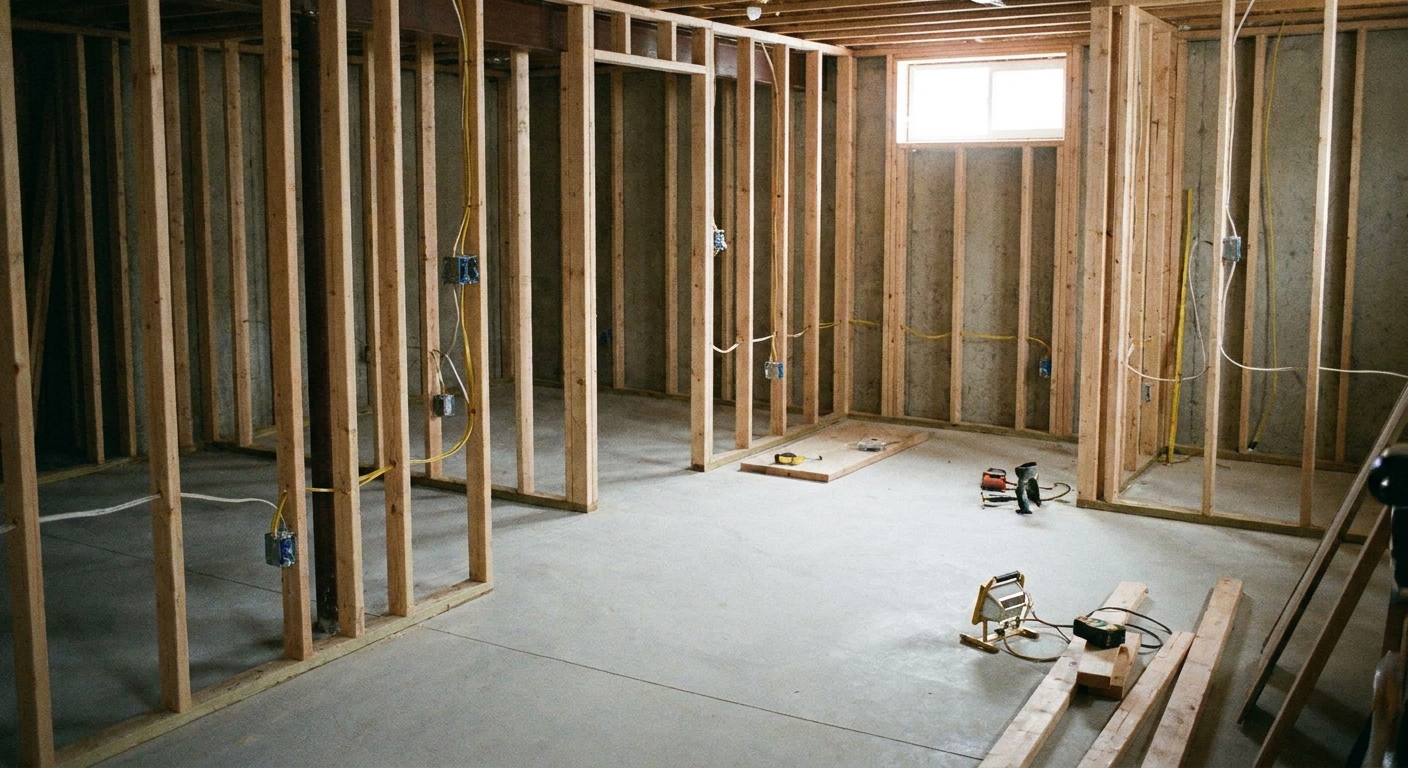
Step 5: Frame in front of the foam
Typically you frame a stud wall slightly in from the foam so the wood is not touching concrete. Studs can sit tight to the foam if your layout requires it. The important part is that wood does not bear directly on concrete, and you keep your air seal intact.
Also do not ignore the bottom plate details: use a pressure-treated bottom plate and a capillary break like sill gasket or foam under the plate where required or recommended in your area.
If you are planning your framing sequence, the order of operations matters. See Basement Remodel Timeline: Correct Order of Operations for a full build flow.
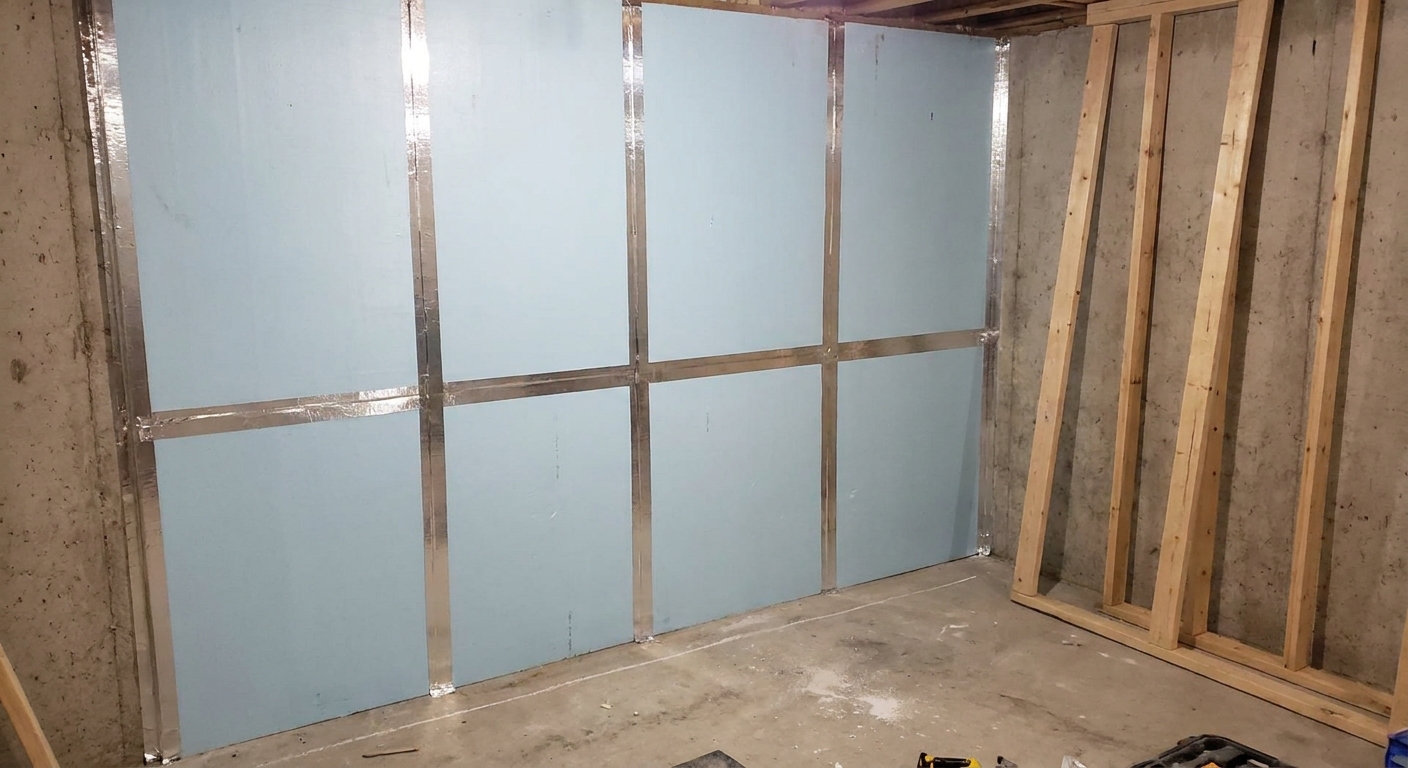
Important: Avoid adding interior polyethylene on the warm side if your foam layer and detailing already create a low-perm layer. You want a wall that can dry to at least one side.
Foam safety and code note
Most foam insulation products require a code-approved thermal barrier, commonly drywall, when installed on interior walls. Some locations also have ignition-barrier rules for exposed foam in utility spaces. Check your local requirements before you leave foam exposed.
Vapor barrier on the floor?
Sometimes yes, especially if your plastic sheet screening test shows moisture and you are installing a floating floor, carpet, or anything sensitive.
Common approaches
- Under a floating subfloor system: many systems include an integrated vapor layer or require one.
- Poly on the slab under sleepers: can work, but details matter. Trapped moisture plus wood can get ugly.
- Vapor-retarding underlayment: depends on the flooring manufacturer.
Flooring is its own rabbit hole. If you are choosing materials, start at Flooring Options so you do not accidentally pick something that hates basements.
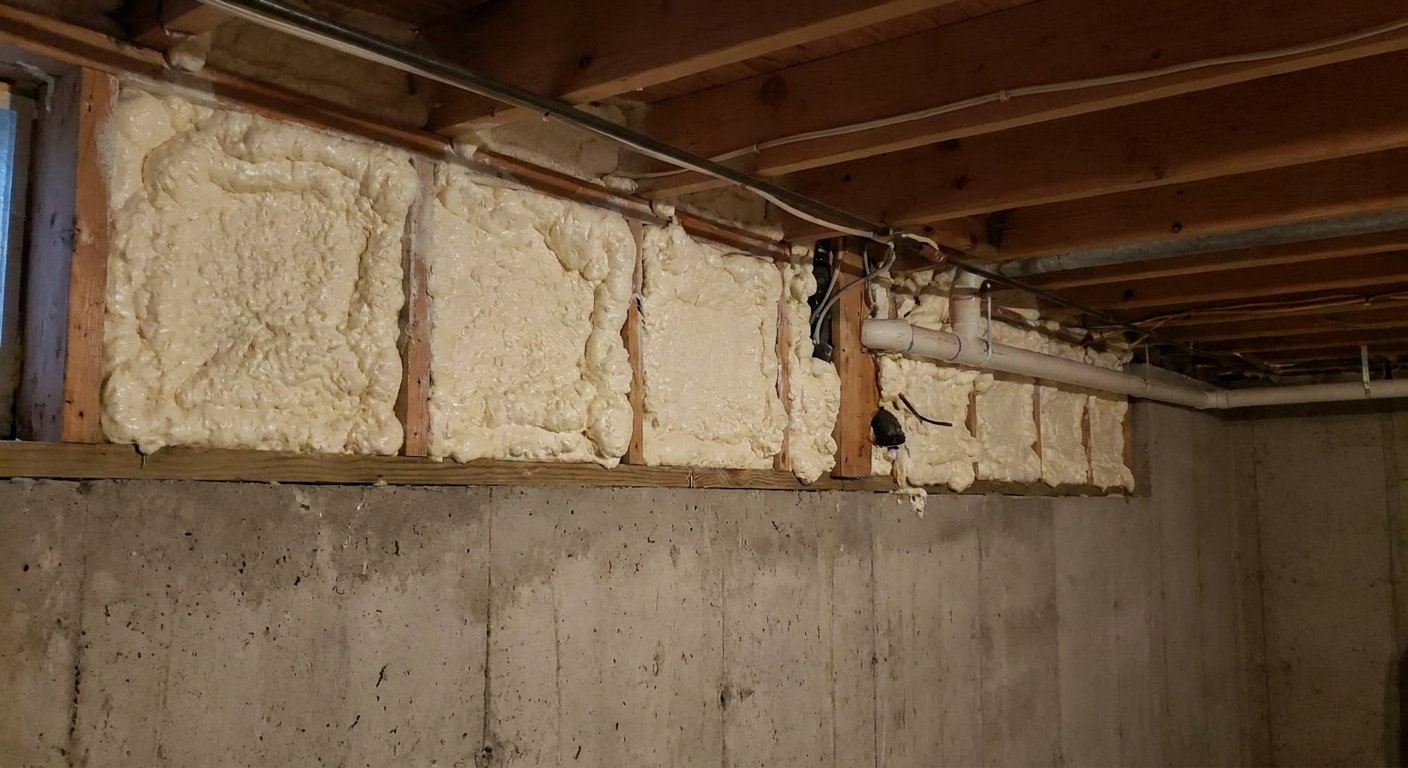
Rim joists and sills
The rim joist area is where I see a lot of “mystery moisture” show up, even in basements that seem otherwise dry. Warm indoor air hits cold wood and cold concrete, then condenses.
Best practice for many DIY basements
- Seal air leaks first (spray foam is common here).
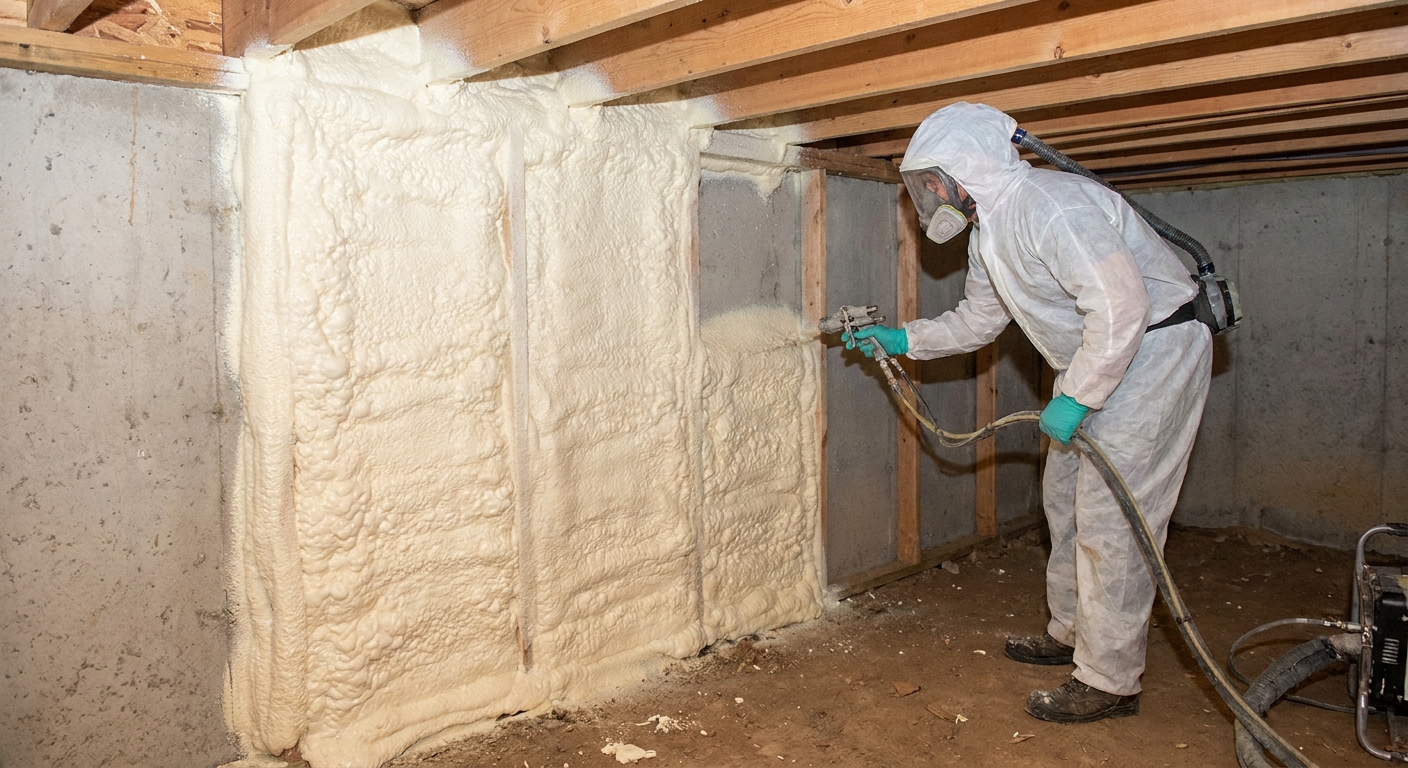
- Insulate rim joist cavities with rigid foam pieces sealed at edges, or use closed-cell spray foam if that is in your plan and budget.
This is also a spot where you want to be thoughtful about mechanicals and soffits so you do not lose headroom. If ductwork and plumbing are crowding your perimeter, see Basement Plumbing and HVAC Without Losing Ceiling Height.
Common mistakes
- Using poly to “fix” a wet wall: if water is coming through, plastic just hides it until the damage is worse.
- Not sealing seams and edges: loose plastic is not a system. Air leaks will move moisture behind it.
- Letting wood touch concrete: bottom plates and studs should not be wicking moisture from the foundation.
- Creating a double vapor barrier: two vapor-tight layers can trap moisture with no good drying path.
- Skipping rim joist air-sealing: this is where humid air loves to condense.
- Framing before you are sure the basement is dry: once wood and drywall are up, every moisture problem gets more expensive.
How to tell you did it right
I like checkpoints that are easy to verify before framing and drywall hide everything.
- Continuity: you can trace the barrier around the room without obvious gaps.
- Seams: overlapped, taped, and pressed firmly. No loose flaps.
- Edges: sealed top and bottom, not just “tucked.”
- Penetrations: taped and sealed, not hacked around.
- No tears: patched immediately if they happen.
FAQ
Should the vapor barrier go behind or in front of studs?
If you are using polyethylene, many people place it against the concrete behind the stud wall and detail it carefully. In a lot of modern basement assemblies, rigid foam on the concrete with sealed seams does the vapor control job better, and the stud wall sits inboard of it. Local code, climate zone, and insulation strategy matter here, and a true interior vapor barrier can be a bad fit for some below-grade walls.
Can I staple poly to the studs?
That approach is risky in basements because the cold concrete side can drive condensation into the cavity, and stapled poly is usually full of air leaks at edges and penetrations. Basements need tighter detailing and more thought about drying potential.
Do I need both foam board and poly?
Usually no. If your foam layer is continuous and seams are taped and sealed, adding interior poly can trap moisture. Aim for one primary vapor control layer and make it continuous, then allow drying to at least one side.
What if my inspector requires a specific vapor barrier?
Permits and inspections vary a lot by location. If you are pulling permits, keep documentation on the wall assembly you are building and ask questions early. This overview on the process helps: Basement Finishing Permits: What You Need and How to Get Them.
Where this fits in your build
Vapor barriers are not a standalone project. They are part of a chain: manage water, control air, control vapor, insulate, then frame and finish. If you want to see how all the pieces stack in a sane order, read Basement Remodel Timeline: Correct Order of Operations. It will save you from redoing work because something important was buried too early.