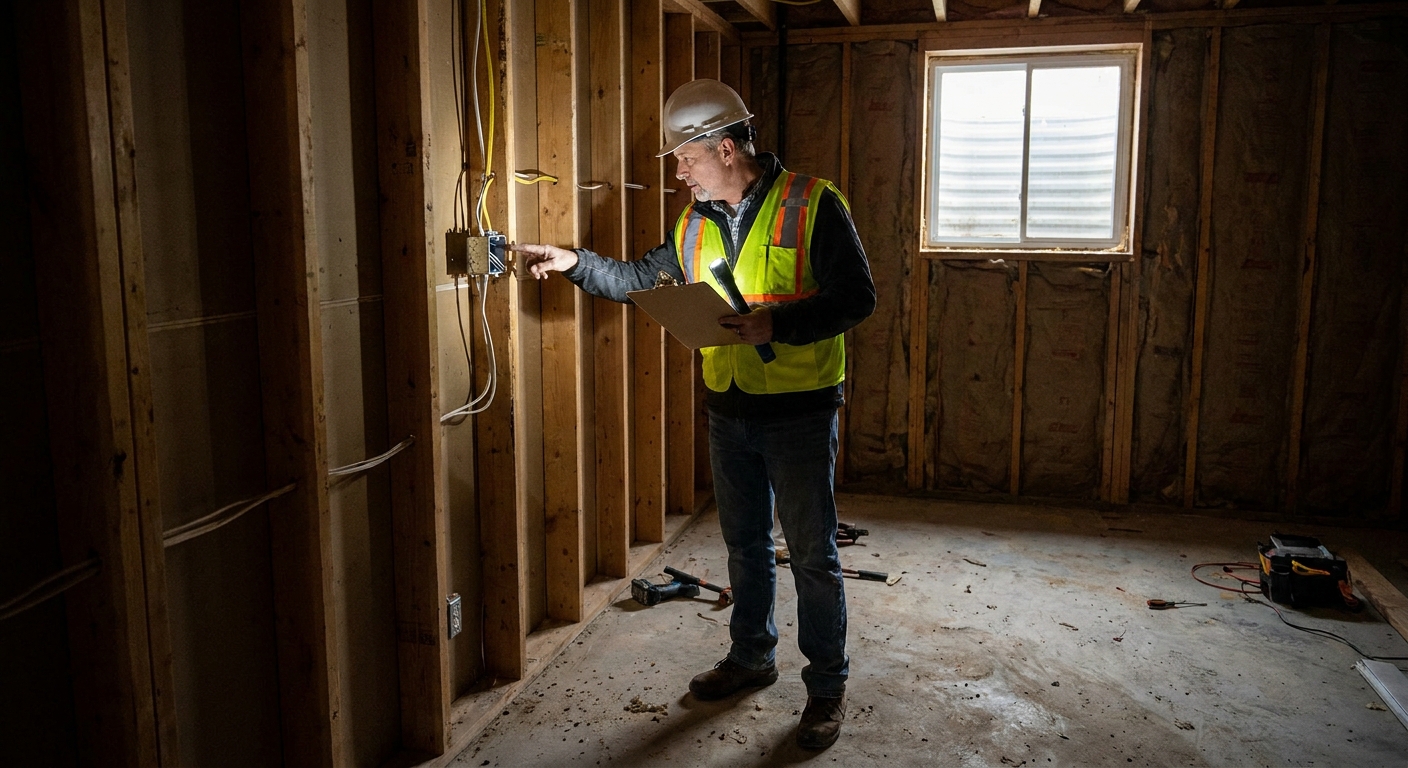
The first basement I framed was a classic DIY confidence move: I obsessed over straight walls, I planned around low ductwork, and I thought I was being careful. Then the inspector walked in, looked up at a soffit I was proud of, and asked one simple question: “Where’s your fireblocking?”
I had heard the term, but I had not built for it. In a basement, fireblocking is one of those invisible details that rarely makes a Pinterest board, yet it is exactly the kind of detail that can decide whether your project passes inspection and, more importantly, how quickly a fire can spread through hidden wall and ceiling cavities.
This guide walks you through where fireblocking is typically required in residential basement framing, which materials are generally accepted, and how to install it cleanly before insulation and drywall make everything hard to access.
Baseline definition: fireblocking is required at specific connections and intervals so concealed spaces are not one long, continuous “chimney” for flame and hot gases.
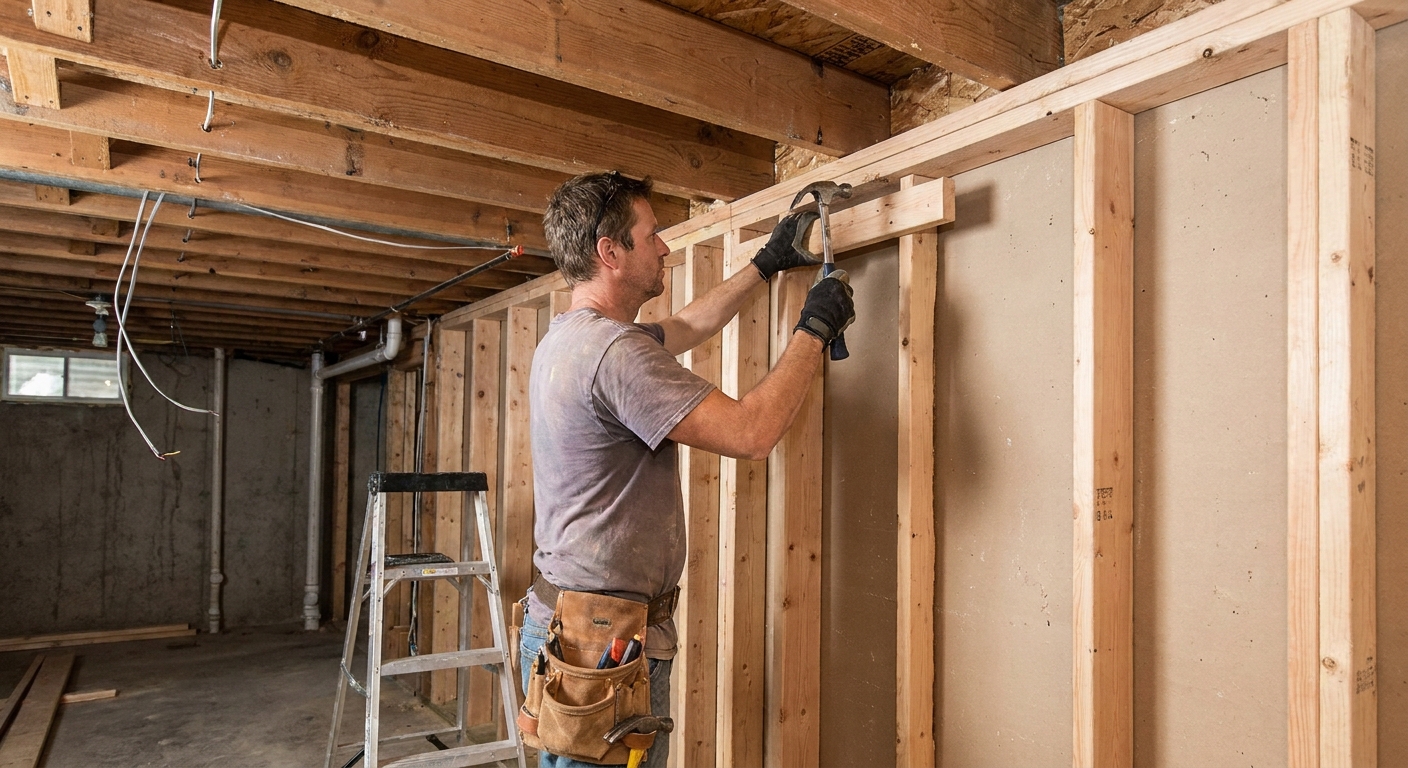
What fireblocking does (and what it does not)
Fireblocking is meant to slow the movement of flame and hot gases through concealed spaces. Stud cavities, soffits, drop ceilings, and chases can act like chimneys. Fireblocking interrupts that draft so the fire has fewer fast paths to run.
Two quick clarifications that help keep the terms straight:
- Fireblocking subdivides concealed cavities so fire and smoke cannot travel freely.
- Draftstopping is typically larger-scale blocking in big concealed areas (often attics). Draftstopping is less common in basements, but it can come up if you create large concealed ceiling spaces, long furred ceilings, or other big uninterrupted voids.
In a typical basement finish, you are focused on fireblocking. Your local code office or inspector has the final say on what they want to see, so treat this article as practical guidance, not a substitute for local requirements.
If you are still early in planning, it also helps to understand the broader permit and inspection flow. I keep a plain-language overview here: Basement finishing permits: what you need and how to get them.
Where basement framing usually needs fireblocking
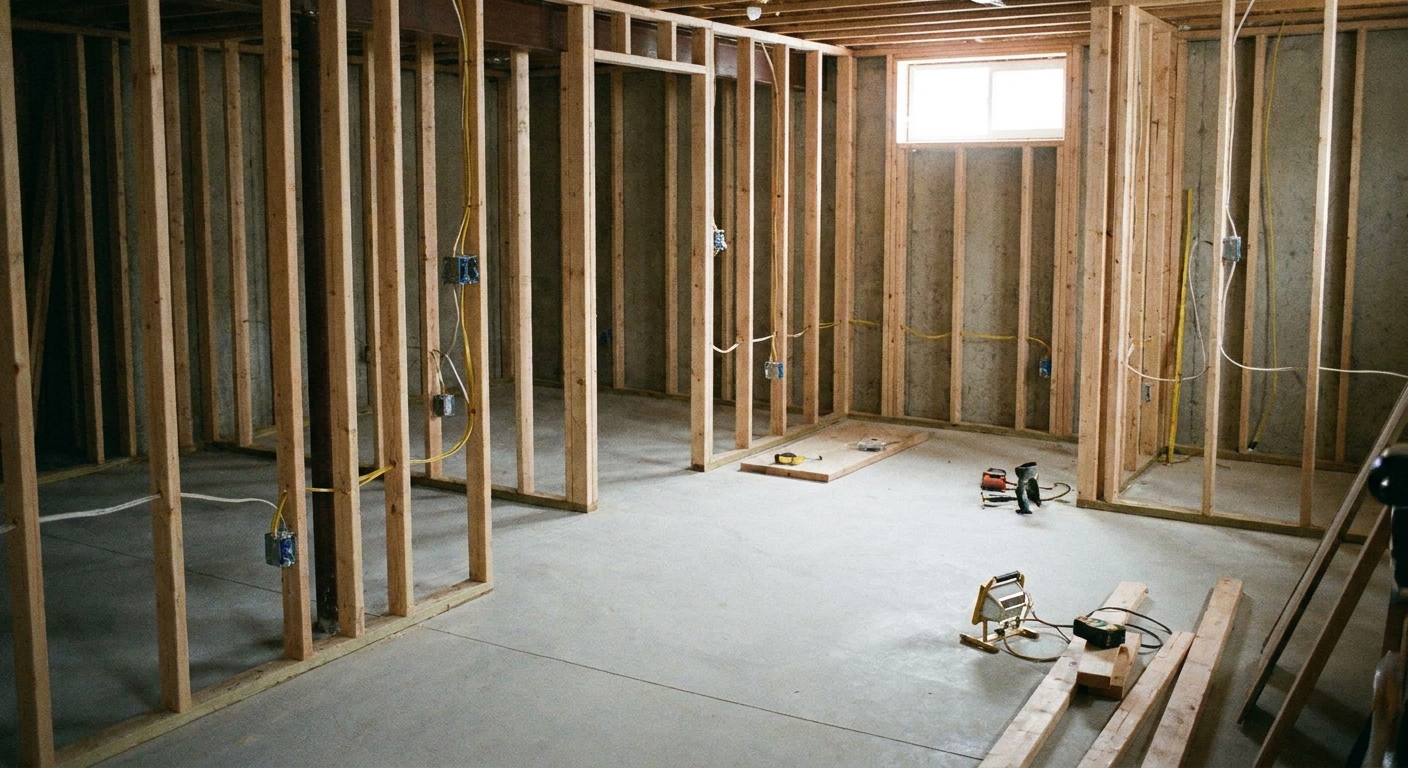
Most basement fireblocking locations fall into a few predictable categories. If you walk your framed space and look for places where air can move from one concealed cavity into another, you will find almost all of them.
1) At the top of stud walls (especially at the rim joist area)
If you frame a wall under floor joists, each stud bay can communicate with the joist cavities above unless you close it off. In many basements, this happens at the band or rim joist area and along exterior foundation walls where you build a stud wall in front of concrete.
Typical fix: install solid blocking at the top of the wall or use an approved fireblocking method that seals each stud cavity so it cannot dump into the joist space.
2) Soffits, dropped ceilings, and duct chases
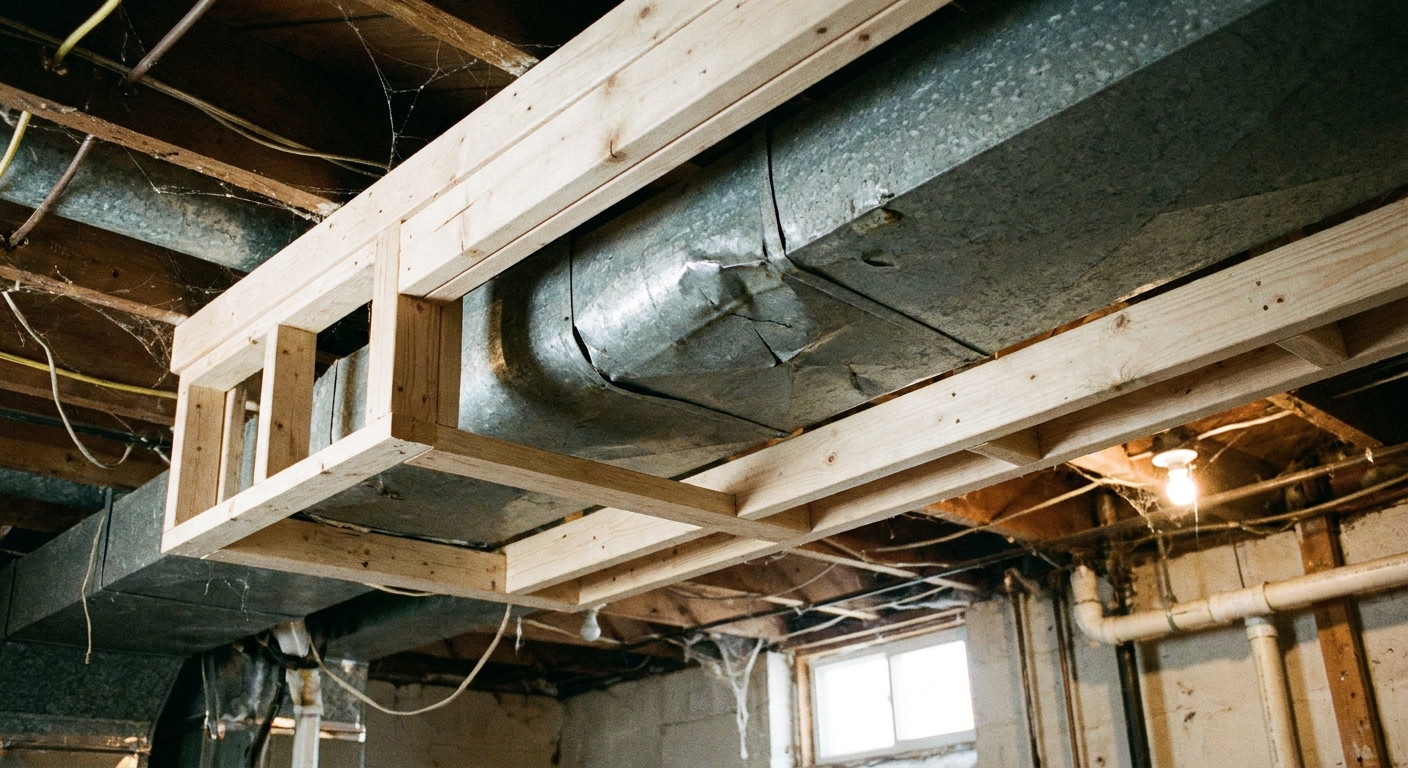
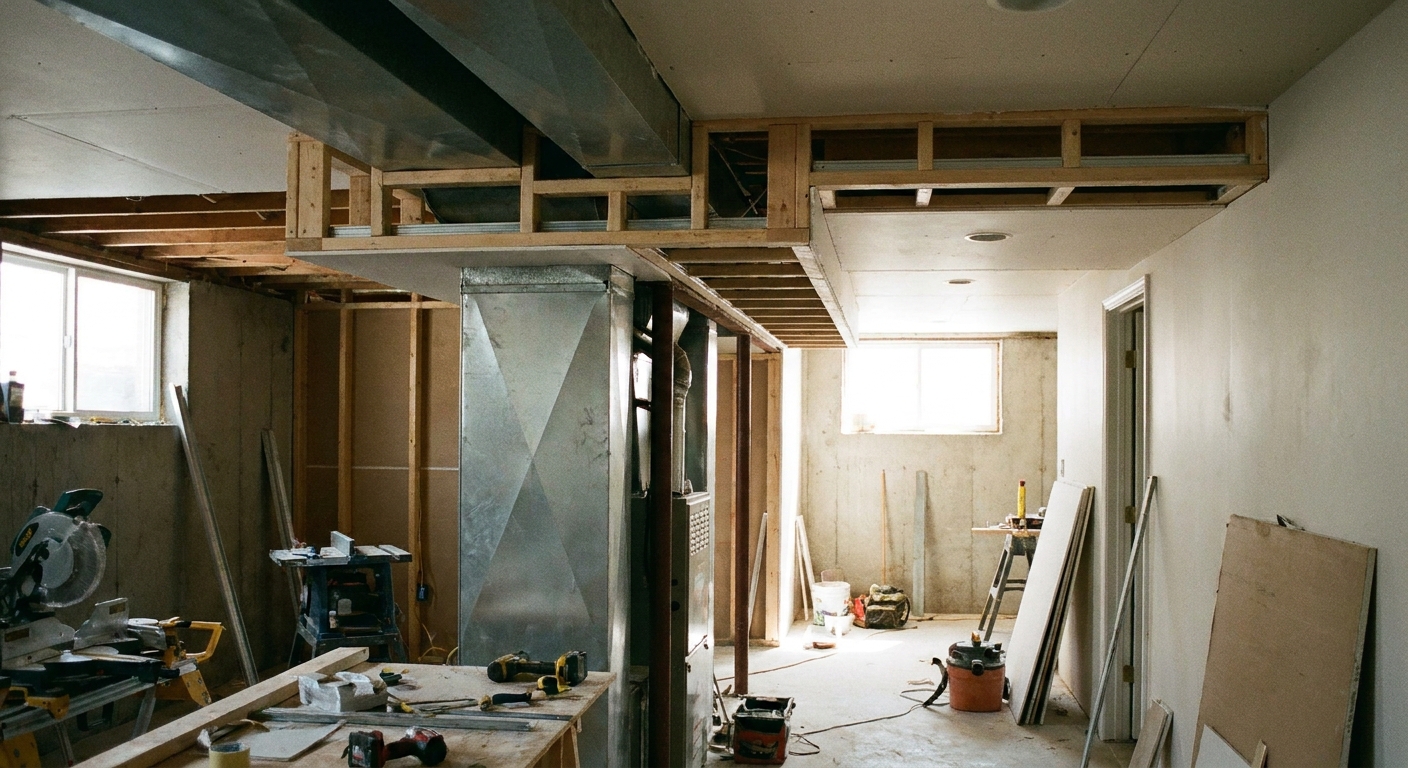
Basements are full of mechanicals, and soffits are the common solution. The problem is that a long soffit can become a highway for fire and smoke unless it is blocked at key transitions.
Typical fix: add fireblocking where a soffit intersects a wall, at the ends of the soffit, and at any point where it opens into another concealed space.
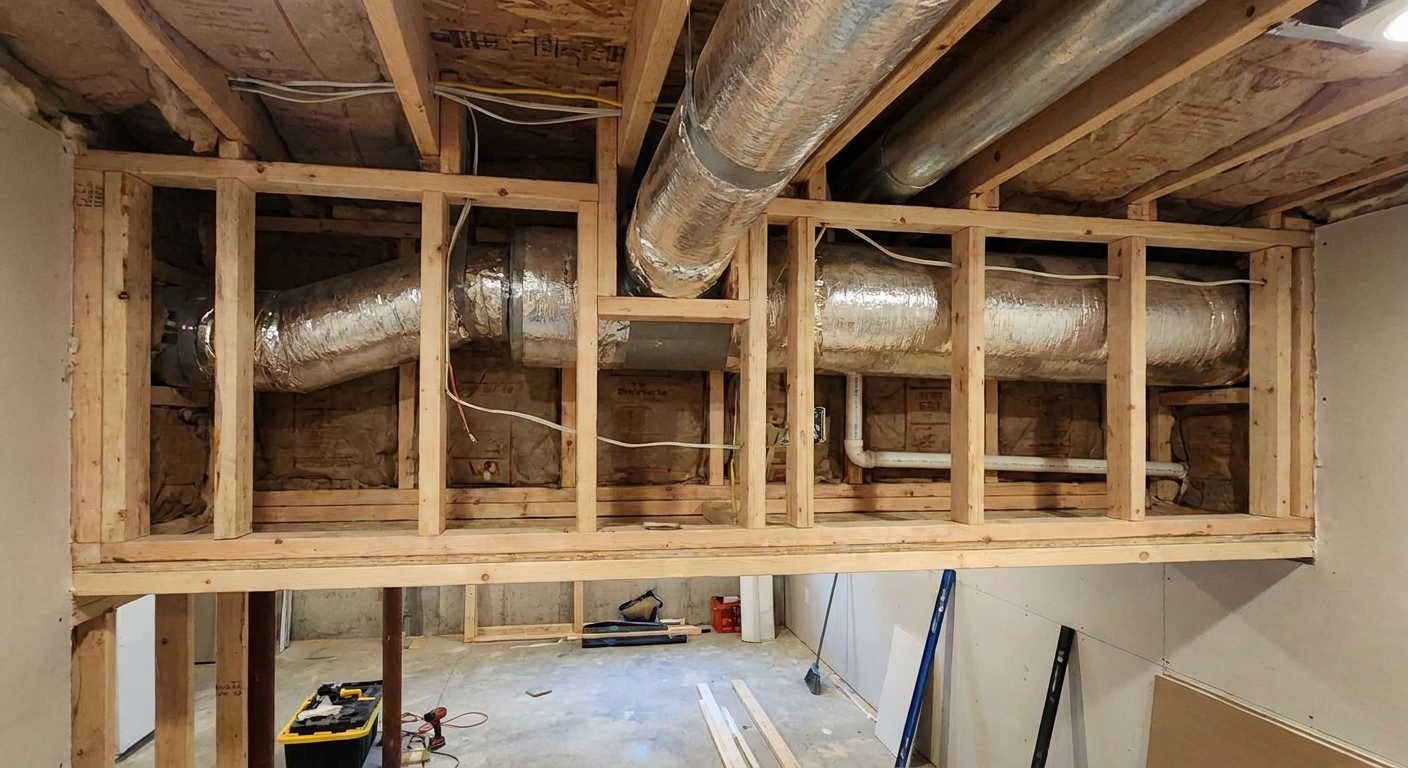
3) Vertical chases for plumbing, electrical, and HVAC
Any vertical chase that runs from the basement up toward the first floor is a big deal. Think around a main plumbing stack, a duct riser, or a framed chase that hides multiple utilities.
Typical fix: fireblock at each floor or ceiling level the chase passes, and cap the top and bottom of the chase so it cannot act like a chimney.
4) Intersections and concealed transitions
These are the spots DIYers miss because they are weird geometry:
- Where a partition wall meets an exterior wall
- Behind tubs or shower units if you have a basement bathroom
- Behind stair stringers or under stair landings if you enclose a stair area
- At furred-out areas used to straighten or hide foundation irregularities
- Around columns, boxed beams, or decorative wrap-arounds that create tall concealed voids
- Around fireplace or stove chases, if your basement has one (these can have additional clearance and material requirements, so follow the appliance and local code rules)
5) Around penetrations, using the right approach
Fireblocking is not only wood blocks. It is also about sealing the small gaps where pipes, conduits, cables, and ducts pass through top plates, bottom plates, blocking, or drywall.
Typical fix: use approved fireblocking sealant (often fire-rated caulk) or mineral wool plus sealant where required.
One nuance that matters: penetrations through ordinary, non-rated framing cavities are usually handled with fireblocking methods meant to resist the free passage of flame and hot gases. If you are penetrating a fire-resistance-rated wall or ceiling assembly (or something your inspector treats as rated), you generally need a listed firestop system that matches that assembly, not just generic fireblock foam.
Materials that are commonly accepted for fireblocking
The exact list varies by jurisdiction, but these are the materials inspectors most often accept in residential basement work when installed correctly. When in doubt, ask what your inspector wants to see before you cover anything up.
Solid wood or wood structural panels
- 2x lumber blocks cut to fit between studs or joists
- Wood structural panels such as plywood or OSB of an approved thickness for fireblocking in your area
Wood blocking is straightforward and durable. The key is fit.
1/2 inch gypsum board
Drywall is a very common fireblocking material, especially for closing off stud bays at the top, boxing around chases, or blocking soffits. It is stable and predictable in a fire, which is why inspectors often like it.
Mineral wool (rock wool)
Mineral wool is noncombustible and great for odd-shaped cavities where wood blocking is painful. It is often used with an approved sealant to close small gaps around pipes and at irregular edges.
Fireblocking sealants (caulk and foam), used carefully
There are products labeled for fireblocking that are meant to seal small openings and edges around blocking. These are not magic in a can. A few rules of thumb:
- Use them for gaps and cracks, not as the primary block for a large open cavity.
- Follow the product limits for maximum gap size and required thickness.
- Do not assume fireblock foam equals a complete firestop for every penetration, especially when you are dealing with rated assemblies or large openings.
What I avoid in basements
- Regular spray foam that is not specifically labeled for fireblocking or firestopping in the intended use
- Loose fiberglass as a fireblock. It is insulation, not blocking, and many inspectors will not accept it as a fireblock material by itself.
Tools and supplies that make the job faster
Fireblocking can be a half-day task or a multi-day crawl depending on how complicated your basement is. A few tools turn it into clean work instead of frustration.
- Impact driver or drill and construction screws
- Hammer and nails (fine if you prefer)
- Tape measure and speed square
- Circular saw or miter saw for wood blocks
- Utility knife for drywall pieces
- Caulk gun
- Fireblocking caulk and/or listed fireblock foam (as appropriate)
- Mineral wool for odd gaps
- Marker for labeling blocked bays
If you are still in the framing phase and want a clean material takeoff before you buy anything, I also keep this calculator-style guide handy: Calculate materials for basement framing and drywall.
Step-by-step: how I install fireblocking
This is my preferred order of operations in a basement. The theme is simple: do the fussy, hidden work before the next layer covers it.
Step 1: Walk the basement and mark every chimney path
I do a slow lap with a marker and look for any concealed cavity that connects to another concealed cavity:
- Stud bays that open into joist bays
- Soffits that run uninterrupted across rooms
- Chases that go vertical
- Big holes around plumbing stacks or duct runs
I put an “FB” mark on studs near each location so I do not miss one later.
Step 2: Block the tops of framed walls
This is the big one in basements. If your stud wall runs tight to the joists, you can often install blocking at the top plate area to seal each stud bay. If your framing sits below obstructions, or you have an offset, you may need drywall pieces or wood structural panels to close off odd areas.
My approach:
- Cut wood or drywall pieces to fit each cavity.
- Fasten them solidly so they do not shift later.
- Seal the perimeter gaps with approved fireblocking caulk if needed.
How tight is tight: I aim for a fit that leaves no obvious air paths. If you can see daylight, feel airflow, or run a finger through a gap, it is not done yet. Small gaps get sealed with the product the manufacturer and inspector expect.
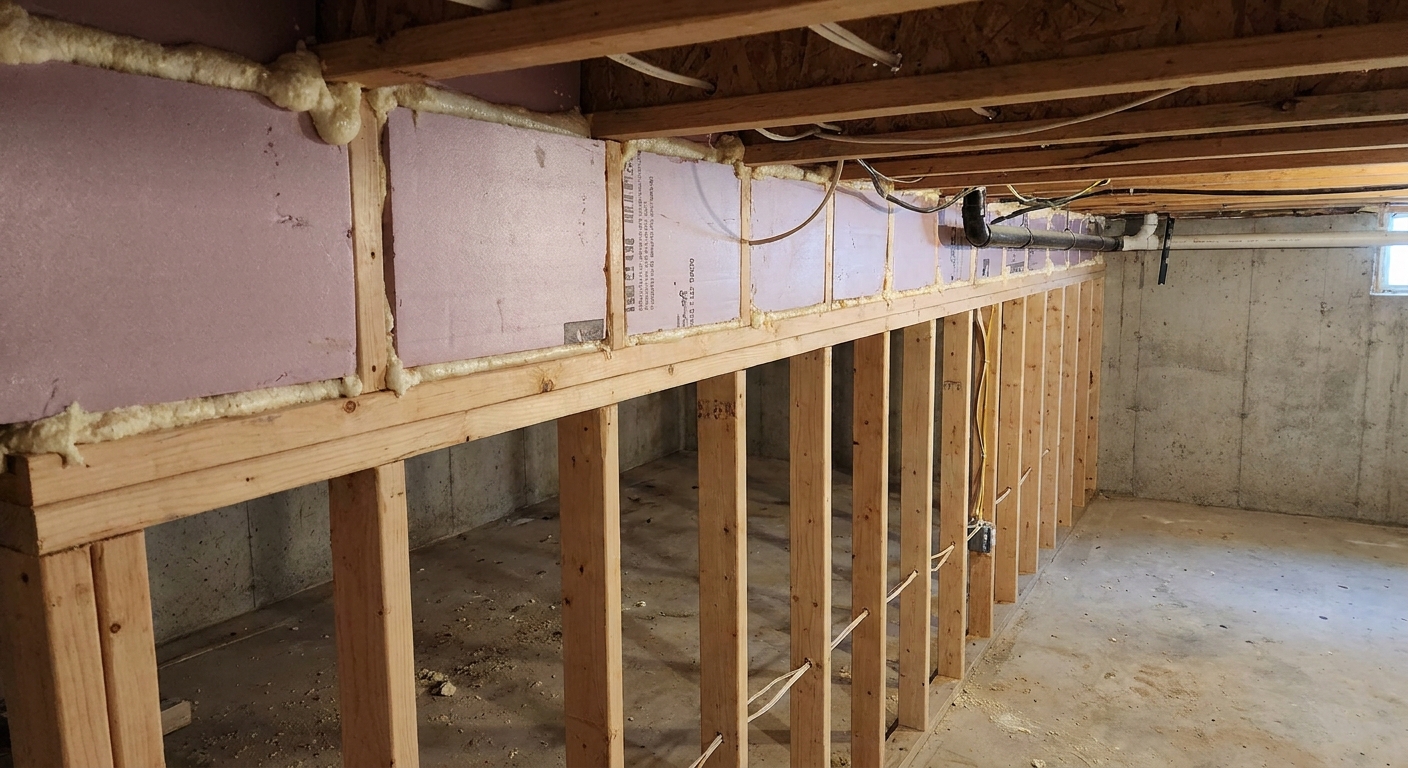
Step 3: Fireblock soffits at ends and transitions
Soffits are where DIY basements get dinged. If your soffit is a long tunnel, add blocking so it is not one continuous concealed space feeding multiple areas.
What to block:
- At the end of the soffit
- Where the soffit crosses a wall line
- Where the soffit changes direction or height
- Where the soffit opens into a larger ceiling cavity
If you are trying to keep as much headroom as possible while still doing this correctly, planning the soffit and mechanical routes matters. This walkthrough can help you think through the layout before you commit: Basement plumbing and HVAC without losing ceiling height.
Step 4: Build and cap utility chases like they are their own little rooms
For a chase around a stack or duct riser, I like to think in layers:
- Frame the chase with access in mind (cleanouts, shutoffs).
- Block at the bottom so air cannot move freely from the basement into the chase.
- Block at the top (and at level transitions if the chase continues) so it cannot act like a chimney to upper levels.
- Seal small gaps around pipes and conduits with mineral wool and fireblocking caulk where appropriate.
Step 5: Seal small penetrations as you go
Do not wait until after insulation. Every cable hole through a top plate, every oversized bore for a pipe, and every notch you boxed around is easier to seal while it is still visible.
My rule: if you can see daylight or feel airflow, it needs attention. Use the right product for the gap size and the material you are sealing to.
Step 6: Take photos before insulation and drywall
This is not a code trick. It is a sanity trick. Photos help you:
- Answer inspector questions if something becomes hidden
- Remember where wires and pipes run later
- Avoid drilling into a blocked cavity you forgot about
Basement trouble spots
Behind shower units and fiberglass tubs
If you are building a basement bathroom, you may frame bump-outs or wet wall cavities that become hard to access. Block and seal before the unit goes in. It is the last time you will have a clean shot at it.
At stair enclosures
Stairs often have weird triangular cavities under landings and along stringers. If you are finishing under stairs or enclosing the stairwell, look for concealed voids that connect levels and block them intentionally.
Rim joist insulation setups
Many of us insulate rim joists with rigid foam or spray foam as part of moisture and comfort control. That is fine, but do not assume your insulation plan automatically satisfies fireblocking. Ask your inspector how they want rim areas treated in a finished basement.
Also, separate from fireblocking, some spray foam applications at rim joists need an ignition barrier or thermal barrier depending on the product, location, and whether the area will be accessible. That requirement is one of those inspection surprises that tends to show up right next to a fireblocking conversation.
If you are still deciding how to insulate for moisture control, this breakdown may help: Rigid foam vs spray foam basement insulation for moisture control.
Inspection and code language
Most homeowners do not need to memorize code sections to do good work. What you do need is a consistent way to interpret what inspectors are asking for:
- Concealed space means any hidden cavity once drywall goes up: stud bays, soffits, chases, and dropped ceilings.
- Continuous is the red-flag word. If air can move unbroken from one end of the basement to the other through framing voids, you probably need blocking.
- Approved material means material that your local jurisdiction accepts for that use. When in doubt, wood, drywall, and mineral wool are safer bets than specialty foams.
If your basement is in a town that uses the International Residential Code (IRC) as a base, you can read the model language for fireblocking and draftstopping directly from the ICC: International Code Council code library.
Mistakes I see DIYers make
Using fireblock foam to fill big open cavities
Foam is for sealing, not for replacing solid blocking when a cavity is wide open. If you can push your hand through the opening, think solid wood, drywall, or mineral wool packed tight, then seal edges.
Leaving gaps because drywall will cover it
Drywall covers, but it does not necessarily block air movement in the concealed space behind it. Fireblocking is about what is happening before drywall goes on.
Skipping moisture basics first
This is not directly fireblocking, but it is the sequence that causes rework. If you are still dealing with water entry or humidity issues, solve those before you close cavities. Otherwise you may be ripping out nice blocking later to fix damp framing.
Start here if you need it: Moisture control.
Quick checklist
- Stud bays are blocked at the top so they cannot vent into joist cavities.
- Soffits are blocked at ends and where they cross walls or change direction.
- Vertical chases are blocked at the bottom and top, and at level transitions if applicable.
- Penetrations through plates and blocking are sealed with appropriate fireblocking sealant or mineral wool plus sealant.
- Photos taken before insulation and drywall.
- Inspector expectations confirmed early, especially if you are using foam products.
FAQ
Do I need fireblocking in every stud bay?
Not always in the middle of a standard wall, but you usually need it wherever stud bays communicate with other concealed spaces, like the joist space above, soffits, or chases. The goal is to stop hidden air pathways from becoming long, continuous runs.
Can insulation count as fireblocking?
Some inspectors accept certain materials in certain uses, but many do not accept typical fiberglass as fireblocking by itself. Mineral wool is more commonly accepted as part of a fireblocking approach, especially when installed tightly and combined with sealant for gaps. When in doubt, use wood or drywall for the main block.
What is the difference between fireblocking and firestopping?
Fireblocking is what we do in typical wood framing to slow movement through concealed spaces. Firestopping usually refers to tested, listed systems used to maintain the rating of a fire-resistance-rated assembly. In a basement finish, you will often do fireblocking, but specific situations can require firestopping products or methods.
When should I do fireblocking in the basement finishing timeline?
After framing and rough-in, and before insulation and drywall. If you want the full sequence so you do not bury problems behind finished surfaces, follow this order-of-operations guide: Basement remodel timeline: correct order of operations.
The bottom line
Fireblocking is not glamorous, but it is exactly the kind of basement detail that separates looks finished from built right. If you take one thing from my first failed inspection, let it be this: walk your framing and hunt for chimney-like cavities before you insulate or drywall. Block the big pathways with solid materials, seal the small gaps with the right products, and your basement will be safer and a whole lot easier to get through inspection.