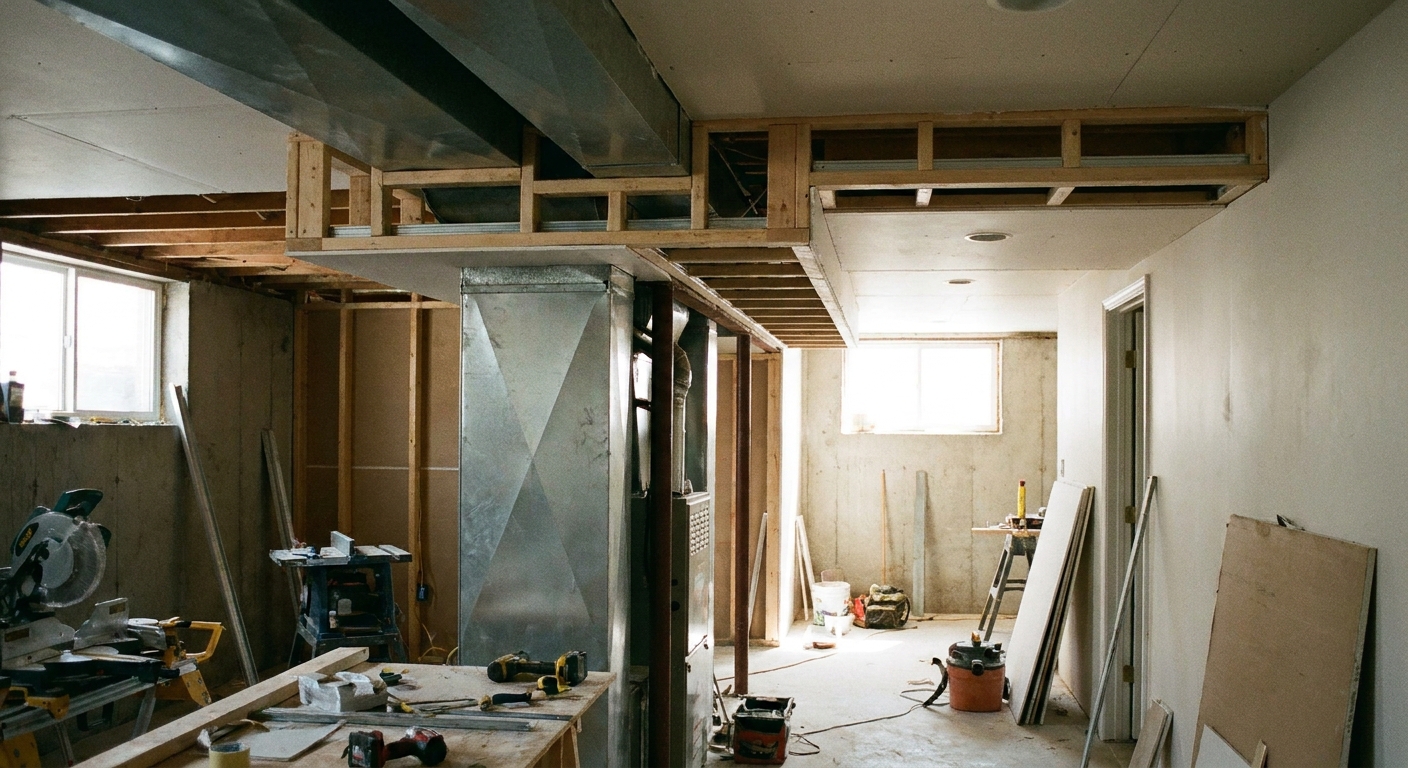
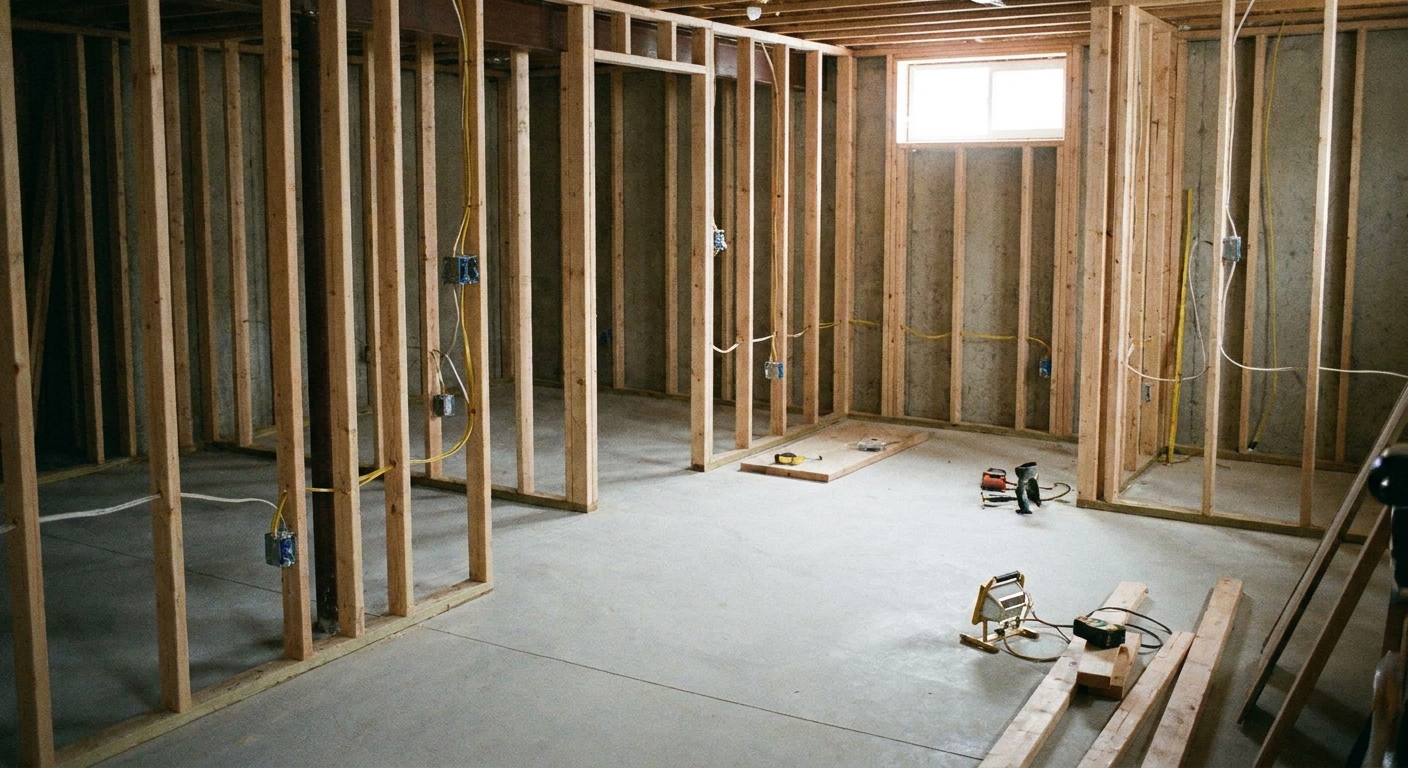
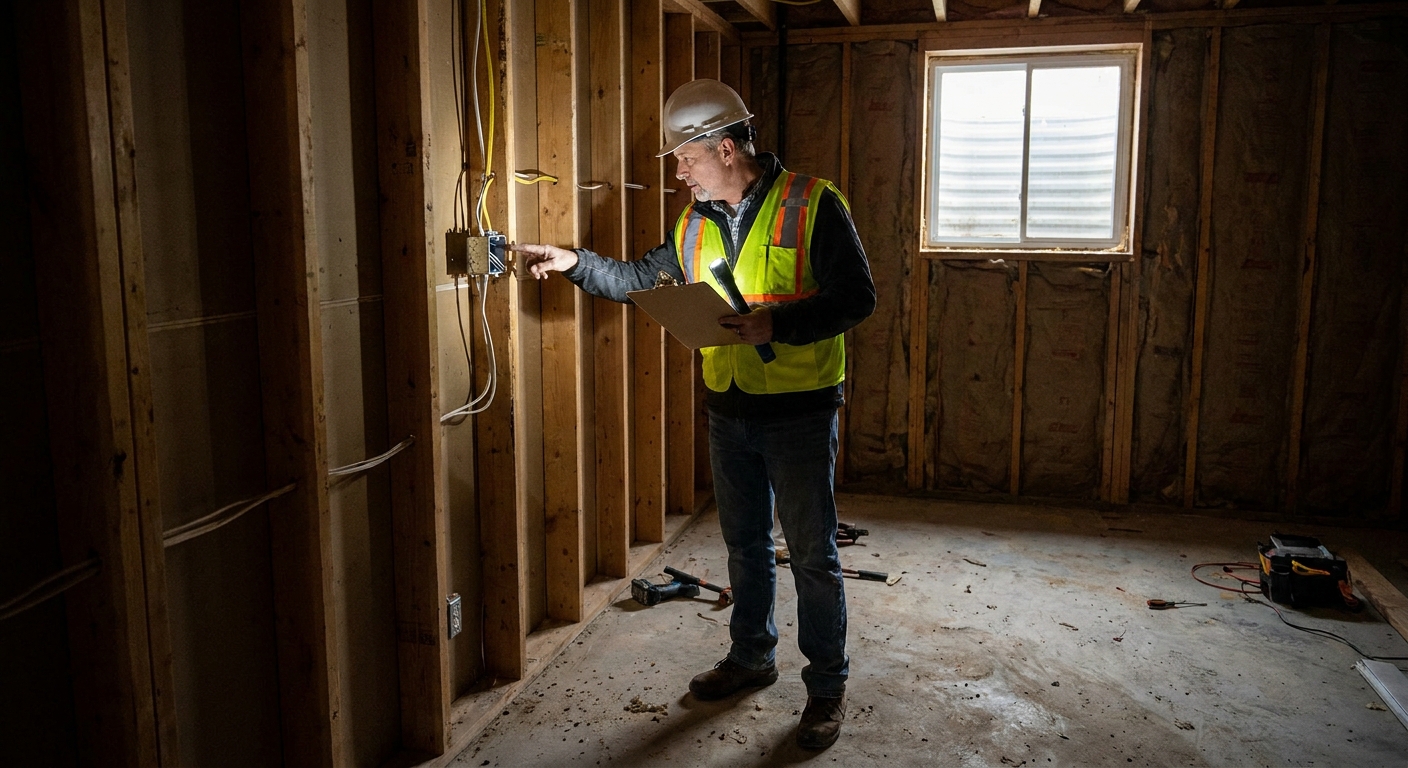
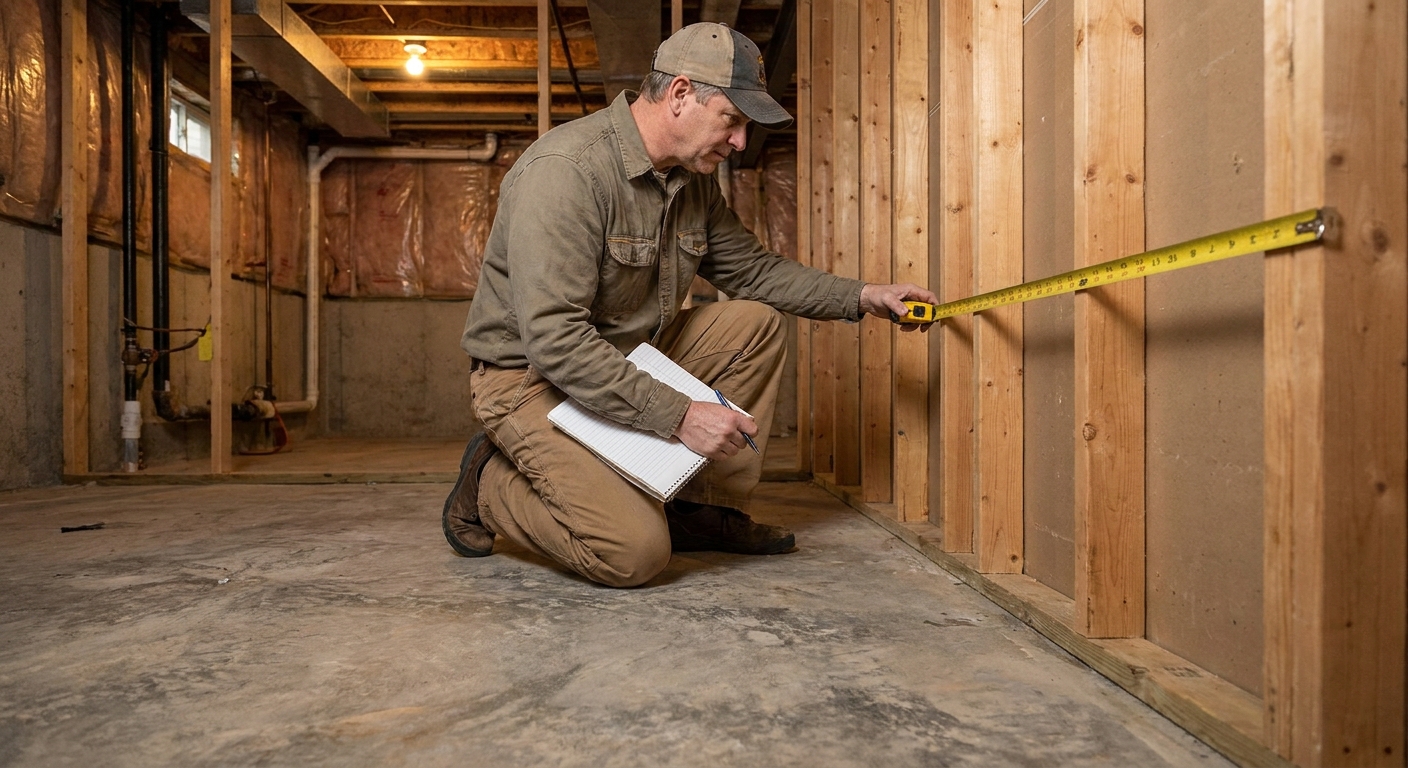
The first basement I ever finished had a main trunk duct running right through the middle of the ceiling like it owned the place. I did what a lot of DIYers do the first time around: I boxed it in as fast as possible, then regretted it when the room felt shorter than it needed to and I had no access to a cleanout I forgot existed.
This guide is the way I frame basement soffits and bulkheads now: tight to the utilities (but not touching), straight, easy to drywall, and planned so you lose as little headroom as possible.
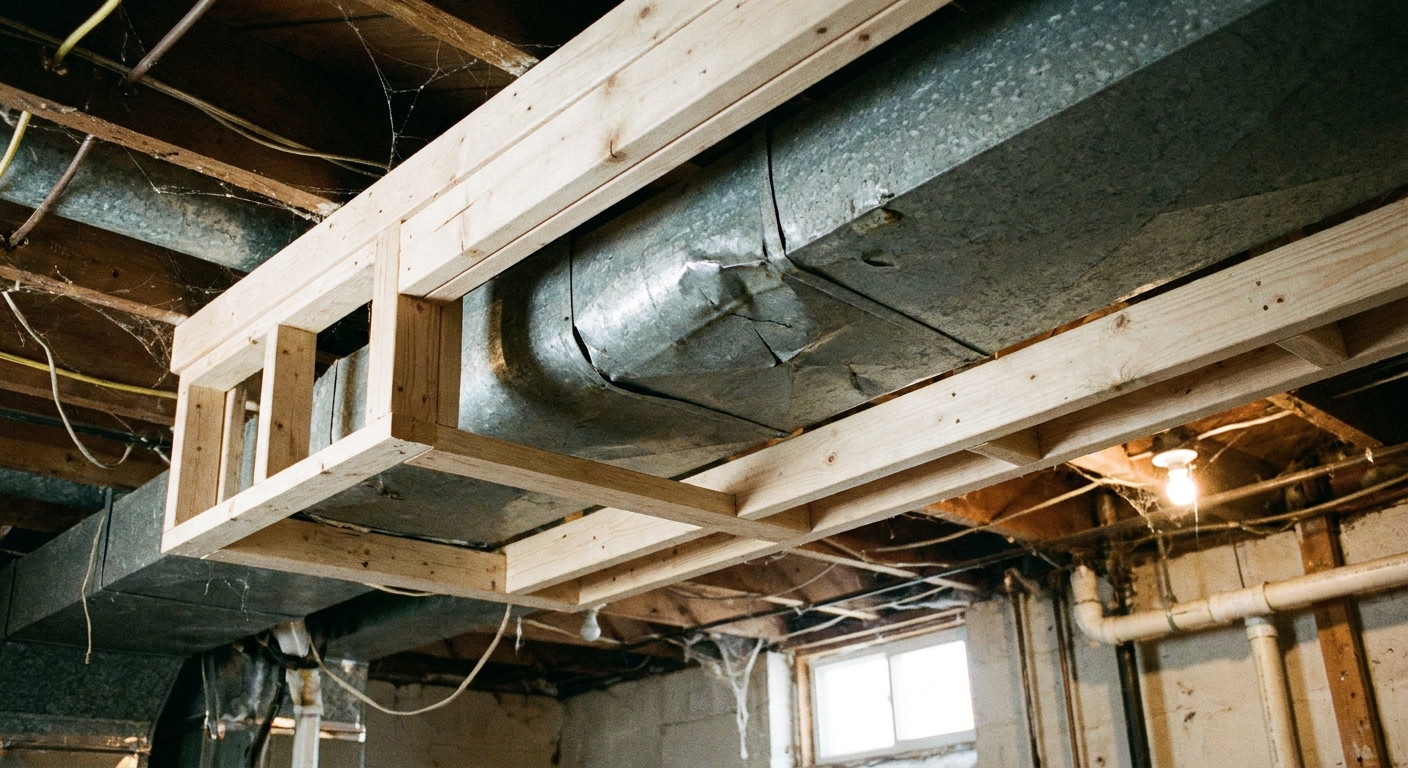
Soffit vs. bulkhead
In basements, people use these interchangeably. Here is the practical difference I use on jobs:
- Soffit: A longer drop that runs along ductwork or pipes, often following a straight line across the room.
- Bulkhead: A boxed area, often shorter or localized, like around a beam pocket, a plumbing cluster, or a duct that jogs.
Both get framed the same way. The real goal is one clean, intentional shape that looks like it belongs in the room design.
Plan first to save headroom
Before you cut lumber, take 20 minutes to “map the ceiling.” This is where most headroom is won or lost.
1) Find the lowest and the widest
- Lowest: Often the bottom of a main trunk duct, but sometimes a beam, a plumbing trap, or a low-hanging wye fitting.
- Widest: Trunk ducts are wide, but plumbing clusters with cleanouts can be surprisingly bulky.
2) Decide what gets boxed and what gets moved
Some utilities are worth moving instead of boxing. Others are not.
- If your ductwork is poorly routed or hanging too low, read my approach to basement plumbing and HVAC without losing ceiling height before you commit to a big soffit.
- If you are early in the project, confirm your sequence in the correct order of operations so you are not framing a soffit and then realizing you still need to run new wiring or bath fan ducting.
3) Lay out lines that look intentional
The best looking soffits usually do at least one of these:
- Run parallel to a wall and stop cleanly at a logical point.
- Line up with a doorway, hallway edge, or room division.
- Turn a problem into a feature by making the soffit a straight spine that defines zones like a bar area vs. TV area.
Clearances to build in
You want the soffit close, but not pressing on anything. My general rule: frame for air space and access.
HVAC ducts
- Do not compress duct insulation if the duct is wrapped. Leave room so the wrap stays fluffy.
- Leave a little space so the duct can expand, contract, and not transmit noise into the framing.
- If you have duct sweating issues, fix that before finishing. Moisture problems always win in the long run. The moisture section at Moisture Control is where I would start.
Plumbing pipes
- Keep clearance around cleanouts, shutoffs, and unions.
- For hot water lines, avoid wood touching the pipe. It can squeak, and it can also cook the pipe insulation over time.
- If a pipe needs to be insulated for condensation control, leave room for insulation thickness.
Electrical and low voltage
- Do not bury junction boxes. If something must be in the soffit area, plan an accessible cover.
- Keep wiring holes centered in framing members and use nail plates where required.
My quick reality check: If you cannot picture how you would service a shutoff, cleanout, damper, or junction box after drywall, you are not done planning.
Tools and materials I use
Tools
- Tape measure, pencil, chalk line
- Laser level or a simple level and straightedge
- Miter saw (or circular saw)
- Impact driver or drill
- Framing nailer (optional)
- Marker paint or a pencil for marking joists and edges before you start fastening
Materials
- 2x2, 2x3, or 2x4 lumber (I choose based on the drop needed)
- 3 inch construction screws or framing nails
- Drywall backing scraps (1x or plywood strips) as needed
- Fire blocking materials where required (often 2x lumber or approved blocking methods)
If you are building multiple soffits, do yourself a favor and calculate your lumber and sheet goods before the store run. I put my process in Calculate Materials for Basement Framing and Drywall.
Ladder frame method
This is my default because it is straight, rigid, and gives you a nice nailing surface for drywall. Think of it like building a wall on the ceiling, then adding a bottom.
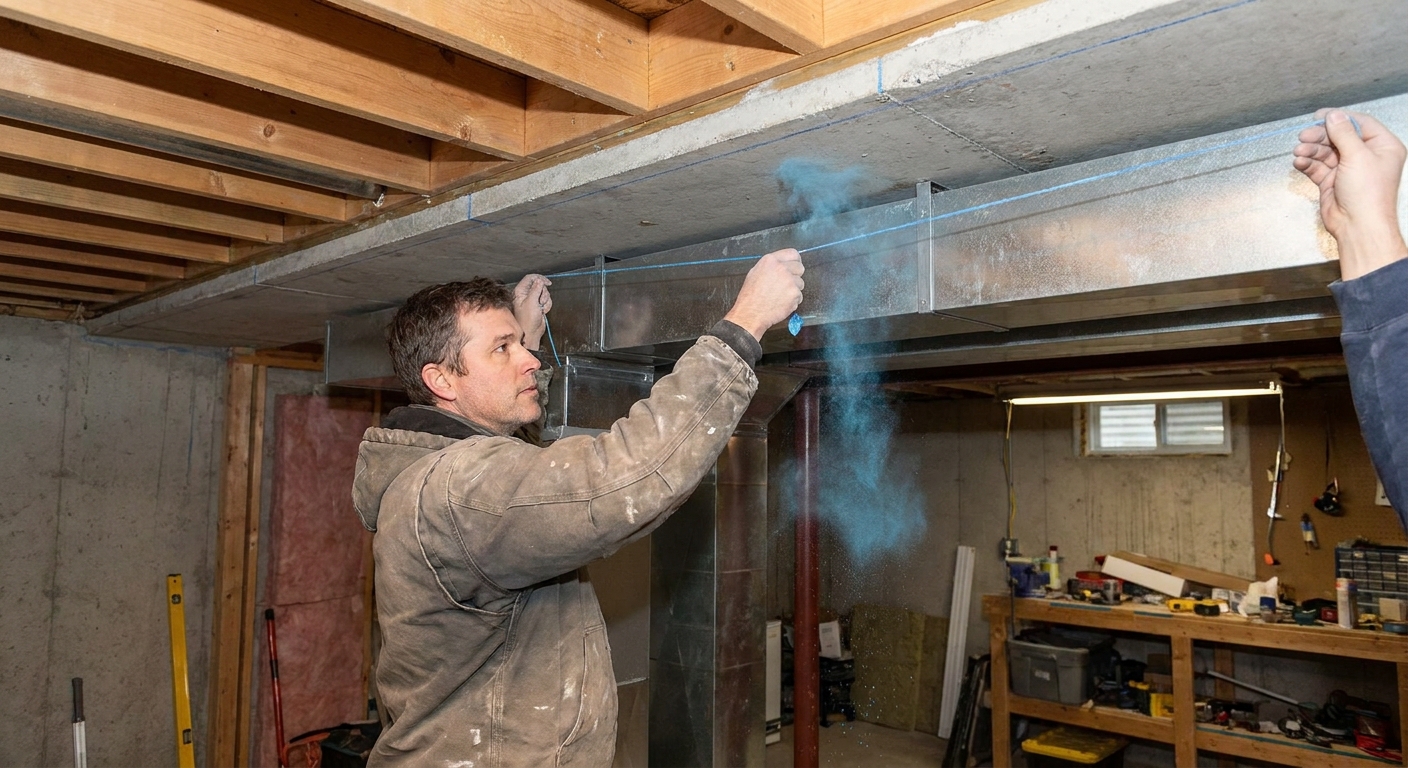
Step 1: Mark it on the ceiling
- Measure the total width you need: duct width plus clearance on both sides.
- Snap two chalk lines on the ceiling for the soffit edges.
- Mark where the soffit starts and ends so you do not drift.
Step 2: Set the drop height
- Decide what your “ceiling line” is. In most basements that is the bottom of the joists, unless you are planning furring or a different ceiling system.
- Measure down from that line to the lowest point of the utility.
- Add clearance, then decide your finished drop.
- Mark that height on nearby walls or use a laser.
Tip from hard experience: If the duct dips slightly over distance, set your soffit height based on the lowest spot, not the first measurement you take.
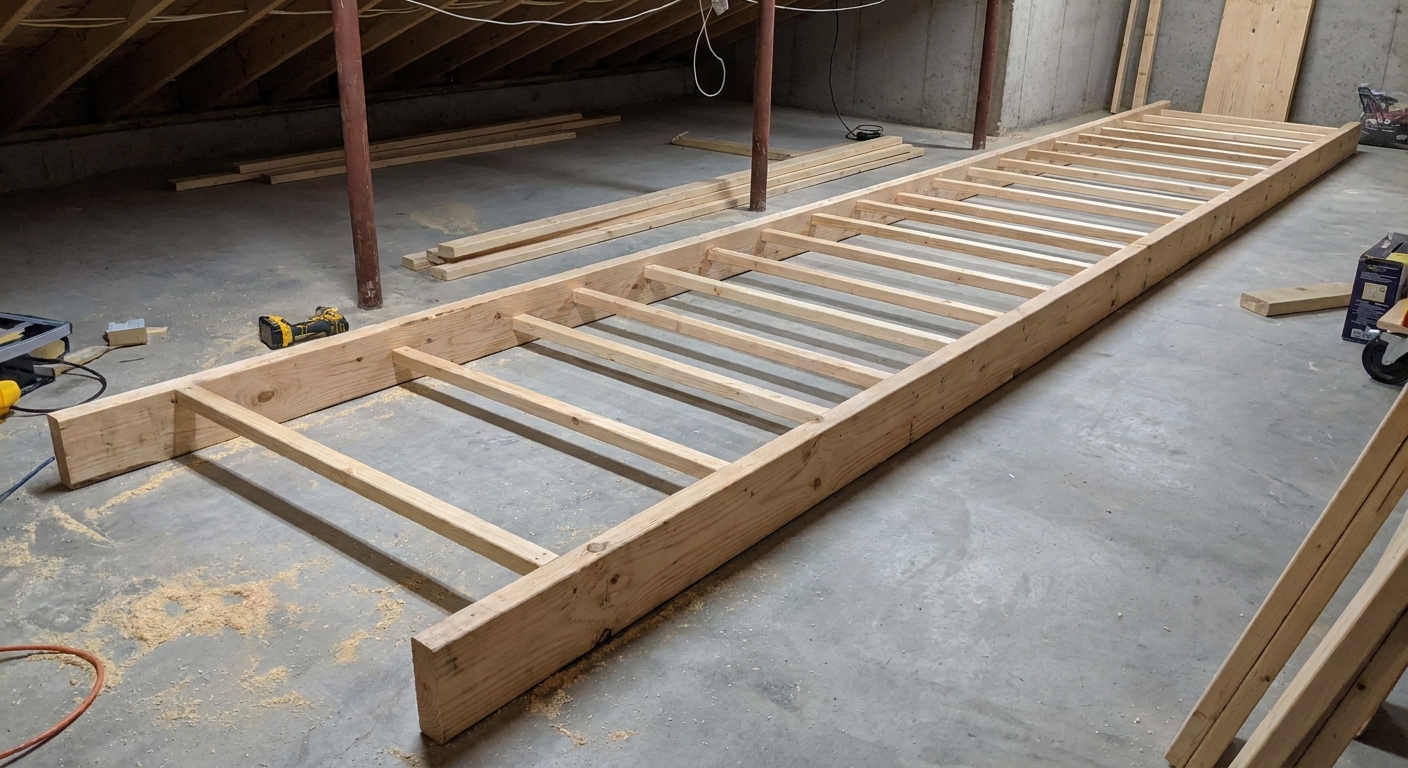
Step 3: Build and install the ladder
A ladder frame is two long members (rails) with cross pieces (rungs) between them.
- Cut two long 2x members to run the soffit length.
- Decide how you are assembling the ladder:
- Rungs between rails: Cut cross pieces to the inside width (overall soffit width minus the thickness of both rails).
- Rungs on top of rails: Cut cross pieces to the overall width (the full soffit width).
- Assemble the ladder on the floor with screws, keeping it square.
- Lift it up and fasten it to the joists above along your chalk lines.
If you cannot hit joists exactly where you want, add blocking between joists first, then fasten the ladder to that blocking.
Step 4: Build the box
You are creating an L shape: a vertical face and a horizontal bottom.
- From the ladder, drop short vertical pieces down to your target height along the outside edge of the soffit.
- Fasten a long bottom member to those verticals to form the outside bottom edge.
- Add the inside bottom member if you need it for drywall backing on the underside.
Drywall note: I aim for verticals about 16 inches on center when I can because it makes drywall easier and keeps the soffit stiff. It is a convenience target for fastening drywall, not a universal code requirement.
Step 5: Straighten and add backing
- Check that the soffit face is straight. Sight down it like a 2x4, or use a string line.
- Add backing anywhere two drywall edges will land without support, especially at outside corners and soffit ends.
Flush mount for more headroom
If the duct runs between joists, sometimes you can hide part of it without dropping below the joist bottoms.
How it works
- You build the soffit sides tight to the duct, but you fasten framing to the sides of joists instead of hanging everything below them.
- The bottom of the soffit might still drop, but you avoid adding extra thickness below the joist plane.
This approach is especially helpful in basements where every inch counts. Just keep in mind: you may need more blocking and more patience because you are building in tighter quarters.
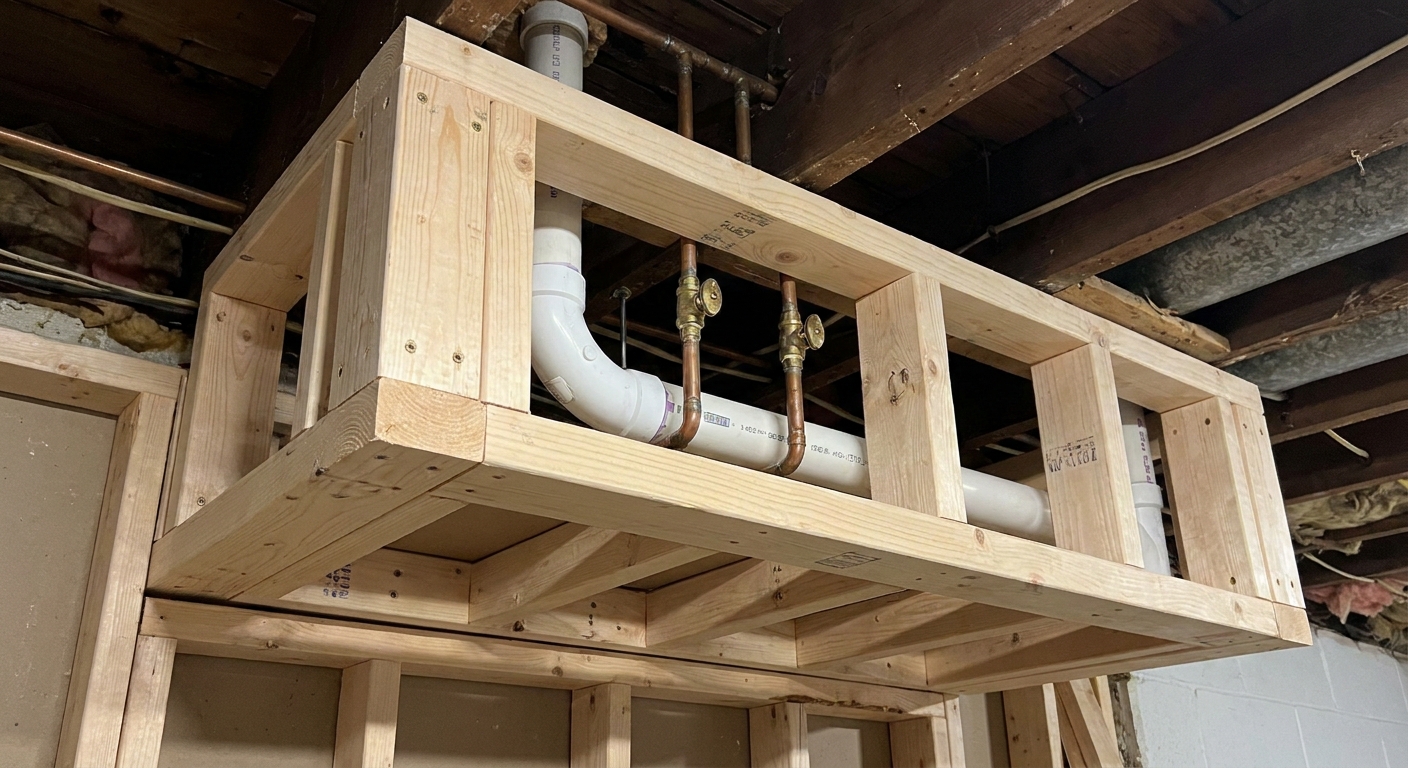
Pipe soffits and access
Pipes create two common soffit problems: cleanouts you forget to service and odd-shaped clusters that tempt you into a bulky box.
My rules
- Never permanently bury cleanouts. Build an access panel or locate the cleanout outside the soffit if you can.
- Do not frame tight to PVC elbows that may need future replacement. Give room for a wrench and hands.
- Group utilities when it makes sense. Sometimes a slightly wider soffit that hides duct plus pipe looks cleaner than two separate soffits fighting each other.
Ends and corners
The difference between a “contractor-looking” soffit and a DIY box is usually the details at the ends.
Clean ends
- Frame a solid end cap with backing so drywall has something to land on.
- If the soffit stops in the middle of a room, pick a purposeful stopping point like aligning with a doorway or wall return.
90 degree turns
- Frame the corner like a wall corner: you need backing on both planes so drywall corners do not float.
- Keep the outside edge straight through the turn. A slight kink screams “afterthought.”
Steps up or down
If the duct changes height, you can step the soffit. When I do this, I try to step at a logical boundary, not randomly mid-span. Add extra framing at the step so drywall can be screwed tight.
Access panels
You do not need an access panel everywhere, but you should add one when service is likely.
Good candidates
- Plumbing cleanouts
- Shutoff valves
- Backwater valves (if present)
- HVAC dampers, balancing points, or equipment connections
- Electrical junction boxes that cannot be relocated
How to frame one
- Frame a rough opening with doubled members like you would for a small wall opening.
- Add solid wood backing around the perimeter so the access door can screw in cleanly.
- Keep the panel on the vertical face when possible. It is easier to open and less noticeable than one on the underside.
Fire blocking and code issues
I am not your inspector, but I have been tripped up enough times to treat soffits like part of the inspection conversation, not just decoration.
- Fire blocking and draft stops: A soffit can create a concealed chase that connects wall cavities to joist bays, or lets air move freely from one concealed space to another. Those hidden pathways are where inspectors often want fire blocking. The exact details depend on your layout and your local rules, so ask your building department how they want soffit cavities handled.
- Mechanical clearances: Do not crowd around flues or venting that has clearance-to-combustibles requirements.
- Permits: If you are pulling permits for a basement finish, soffits often get looked at during framing inspection because they hide wiring and mechanicals. My overview is here: Basement Finishing Permits: What You Need and How to Get Them.
Ceilings and soffits
Soffit framing is easier when you decide what ceiling you are building first.
Drywall ceiling
- Frame the soffit so you have solid backing on every drywall edge, especially at the soffit to ceiling transition.
- Keep faces flat and consistent so the finished corner does not wave.
Drop ceiling
- If you are using a suspended grid, plan the soffit so the grid has a clean termination. I like to leave a straight, level edge for the wall angle to die into.
- Make sure you still have service access. One of the main advantages of a drop ceiling is access, so do not accidentally create a sealed box you cannot open.
Wood vs. steel framing
I frame most basement soffits in wood because it is fast and forgiving. That said, light gauge steel can be a nice option:
- Steel track and studs can stay very straight on long runs, and it is lighter overhead.
- Wood is easier for most DIYers to screw into for backing, blocking, and access panel framing.
Either way, the fundamentals stay the same: keep clearance, keep it straight, and build in backing for drywall.
Noise and vibration
If you have ever heard a duct “tick” in the winter, you already know why I care about this.
- Do not fasten framing to ductwork or pipes.
- Leave a small gap so the utility can move without rubbing wood.
- If something already rattles, fix the rattle before you close it in. A soffit is great at amplifying annoying sounds.
Drywall friendly details
Even if you are not hanging drywall yourself, frame like you are the one who will. You will avoid cracks and wavy corners.
- Build to 16 inches on center where possible, especially on long faces.
- Back every corner. Outside corners need solid nailing on both sides.
- Keep faces in plane. Shim if a vertical is crowned and pushes out.
- Plan lighting early. If you want recessed lights in the soffit, frame for the fixture depth and wiring routes now. My lighting section lives at Lighting and Finishes.
Mistakes I see
- Boxing the entire ceiling instead of just the utilities. It is the fastest way to make a basement feel cramped.
- Forgetting access to a cleanout or valve. Drywall is not an access panel.
- Framing crooked because the duct is crooked. Your soffit should be straight even if the duct jogs. Use consistent lines and let the clearance absorb the oddities.
- Not leaving room for insulation on cold ducts or sweating pipes. Moisture inside a soffit is a slow-motion mess.
- Weak ends and corners with no backing. That is where cracks and loose corners show up later.
Quick FAQ
Can I attach soffit framing directly to ductwork?
No. Ductwork is not a structural member, and fastening to it can create noise and vibration issues. Frame to the joists, blocking, or nearby walls.
Should I use 2x2s to save space?
Sometimes, yes, especially for shallow drops. But if the soffit face is long, or you need a sturdy nailing surface, 2x3 or 2x4 is often straighter and easier to work with.
Do I need to insulate inside a soffit?
Only if there is a reason, like preventing condensation on cold air ducts or pipes. The real priority is solving moisture issues before you close things in. If your basement has humidity problems, start with dehumidifier sizing and system options and broader moisture control.
Is it okay if the soffit drops below minimum ceiling height?
It depends on local rules and how the space is classified. Many areas treat beams and soffits differently than the main finished ceiling height, and the allowances can change based on room use and how much area is affected. If headroom is tight, confirm expectations with your inspector before you commit.
The bottom line
A good basement soffit is not just a box that hides ugly stuff. It is a planned ceiling feature that protects headroom, stays serviceable, and makes the entire room feel deliberate. Take your time on layout, build in access where it matters, and frame it straight even if the utilities are not. Your drywall and your future self will thank you.
If you are still in the planning stage, I would also read Pre-Finishing Basement Checklist so you do not close up something you should have addressed first.