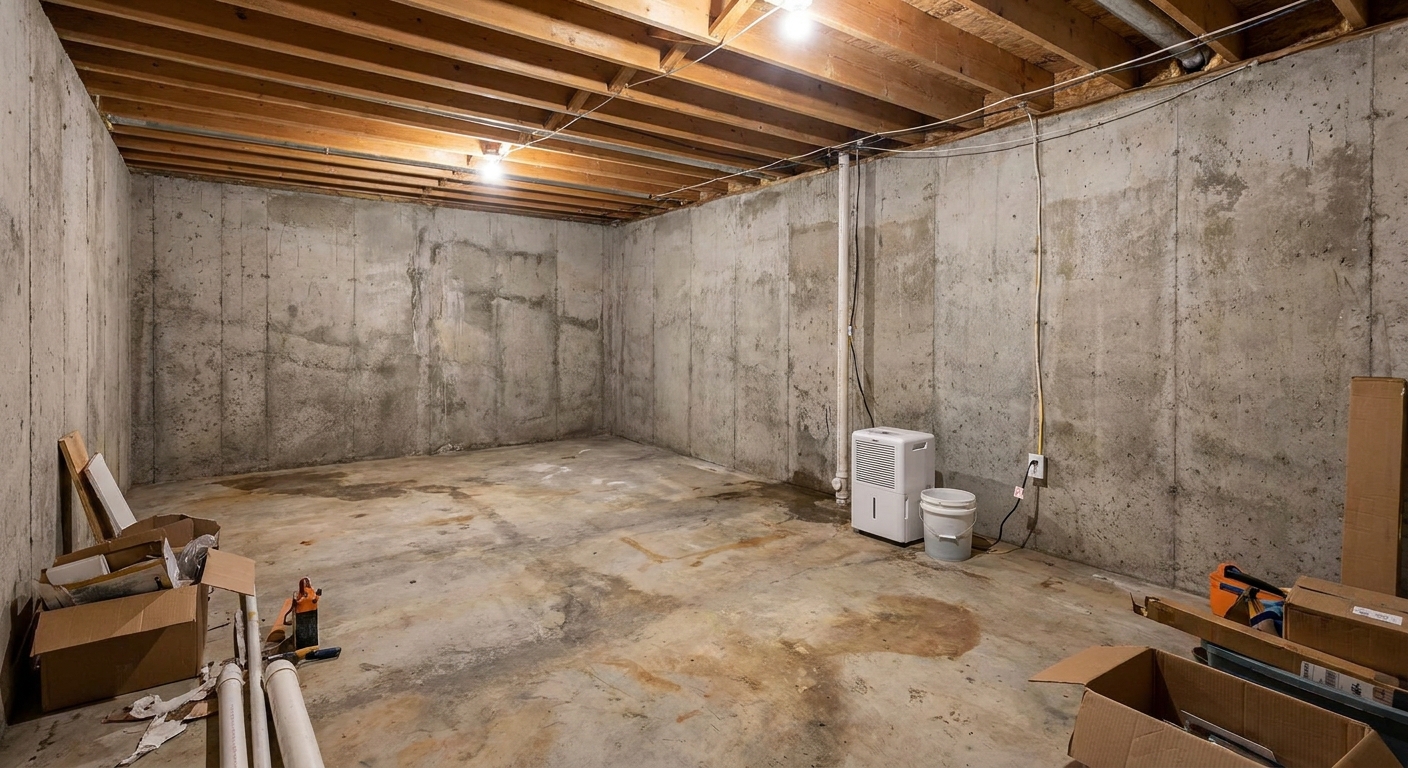
The first basement I ever finished had one stubborn crack that would only “leak” a few times a year, usually after a hard rain. It was just enough water to make the air feel clammy and keep that musty smell alive. I tried the usual quick fixes first, and they all failed in slow motion. A patch would look fine for a while, then the next big storm would find the same weak spot again.
What finally worked was a low-pressure injection kit, installed carefully and patiently. Done right, injection can be a long-lasting repair because you are filling the crack from the inside, often through much of the wall thickness, instead of smearing something over the surface.
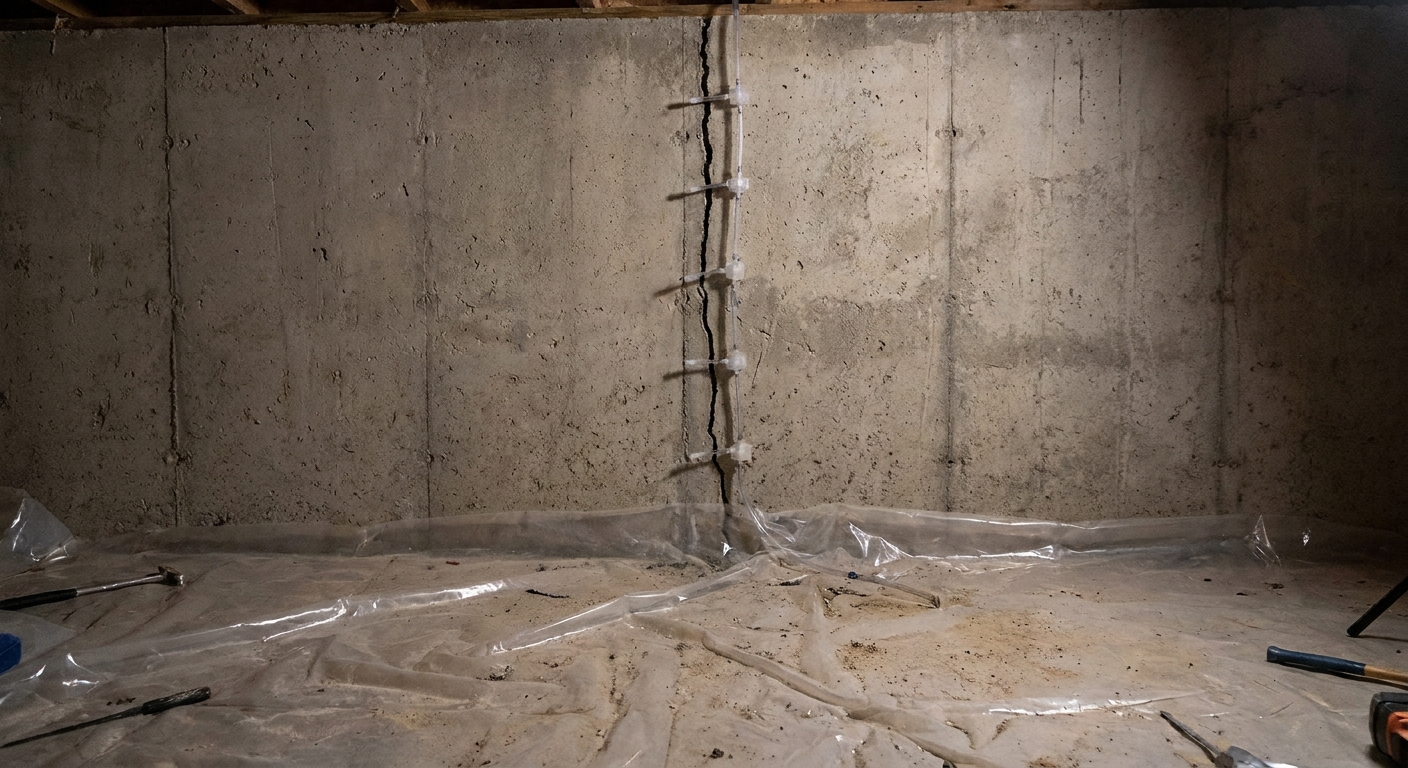
This guide walks you through choosing epoxy vs polyurethane, prepping the wall, injecting correctly, and knowing when to stop and call a pro so you can finish the space with confidence.
Before you inject
Injection kits are best for poured concrete foundation walls with a crack that is letting in water or dampness. They can work on certain concrete block situations too, but block walls often leak through mortar joints and hollow cores, so injection is not always the right tool.
Good candidates
- Vertical or slightly diagonal cracks in poured concrete.
- Hairline to moderate width cracks that do not show significant displacement.
- Leaking cracks where you can see water tracks, efflorescence, or active seepage.
- Cracks accessible from the inside with enough room to work and keep ports aligned.
Red flags
- Horizontal cracks, especially mid-wall. These can indicate soil pressure issues and may require structural reinforcement.
- Stair-step cracks in block walls that are widening over time.
- Cracks with offset where one side of the crack is pushed in or out.
- Repeated water intrusion across multiple spots, cove joint leaks (wall meets slab), or water coming up through the floor.
If you are still in the “is it water, humidity, or both?” phase, start with the broader moisture picture. I keep all my basement moisture basics in Moisture Control, and if your end goal is a finished room, my pre-finishing basement checklist helps you avoid sealing a crack and then discovering a bigger water pathway.
Epoxy vs polyurethane
Both products get sold as “foundation crack injection,” but they do different jobs. Picking the wrong one is one of the main reasons DIY repairs fail.
Polyurethane foam injection
- Goal: stop water. Polyurethane reacts with moisture and expands to fill voids.
- When I use it: the crack is actively leaking or reliably seeps after rain.
- Why it works: expansion helps it chase tiny pathways, and cured foam stays slightly flexible as the wall moves a bit season to season.
- Tradeoff: it is not a structural glue.
Epoxy resin injection
- Goal: bond the concrete across a stable crack. Epoxy is a rigid adhesive that can restore strength when the crack is not moving.
- When I use it: the crack is dry (or can be dried) and I want a hard fill.
- Tradeoff: epoxy generally does not like wet cracks. If you inject epoxy into a crack that is actively leaking, the water can prevent proper bonding.
My rule of thumb
If the crack ever leaks, I treat it like a water problem first and choose polyurethane. If it is a dry crack I want to stabilize, I consider epoxy. For true structural questions (bowing walls, widening cracks, or anything horizontal), I do not guess. I get an engineer or a foundation specialist involved.
Tools and materials
Most kits include the injection material, ports, and surface paste. The missing items are usually what make the job go smoothly.
- Low-pressure foundation crack injection kit (epoxy or polyurethane)
- Wire brush and shop vac
- Angle grinder with a concrete wheel (optional but very helpful for paint and rough surfaces)
- Putty knife or margin trowel for surface paste
- Caulk gun (some kits use dual-cartridge setups or proprietary guns)
- Painter’s tape and plastic sheeting to protect floor and finished surfaces
- Nitrile gloves, eye protection, and a respirator or at least good ventilation
- Moisture meter (optional) to help confirm whether the wall is truly dry enough for epoxy
- Hygrometer (optional) to track basement humidity before and after the repair
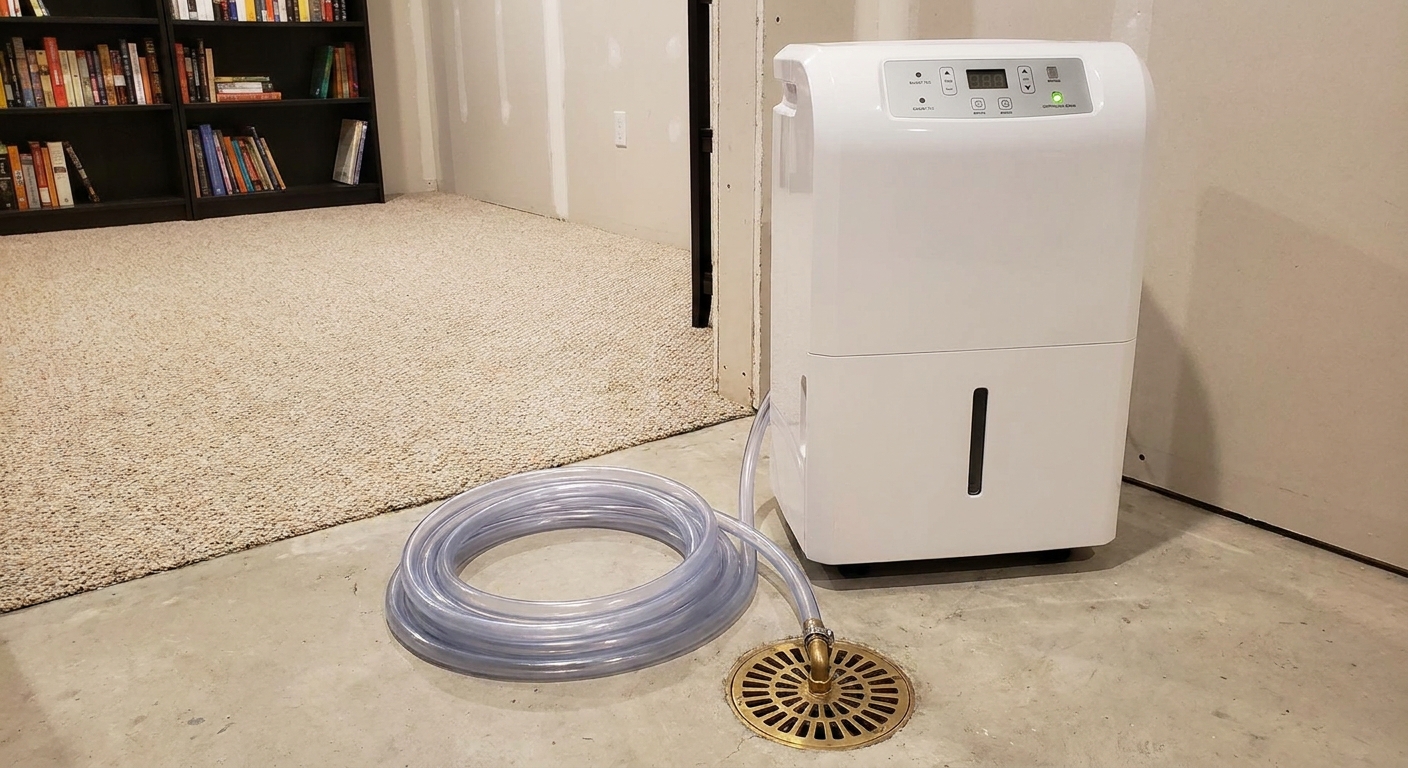
Also plan for what happens after the crack is sealed. If your basement runs humid, the leak may be gone but the clamminess will not be. This is where dehumidification matters. I break down practical options in basement dehumidifier sizing and system options.
Step-by-step injection
Read your kit instructions, but the workflow below is the real-world sequence that keeps the job clean and effective.
1) Mark the full crack
Cracks love to hide behind shelving, insulation scraps, or old paint. Use a bright flashlight and follow the crack as far as you can see, from the slab up toward the rim joist area.
- Mark the crack line with pencil or painter’s tape.
- Note any branches. Branches can require extra ports or separate injections.
- Check the top of the wall. Water can enter higher and show up lower.
2) Handle active flow
If water is actively running, many kits will struggle because the surface paste may not adhere. In that situation you have a few options:
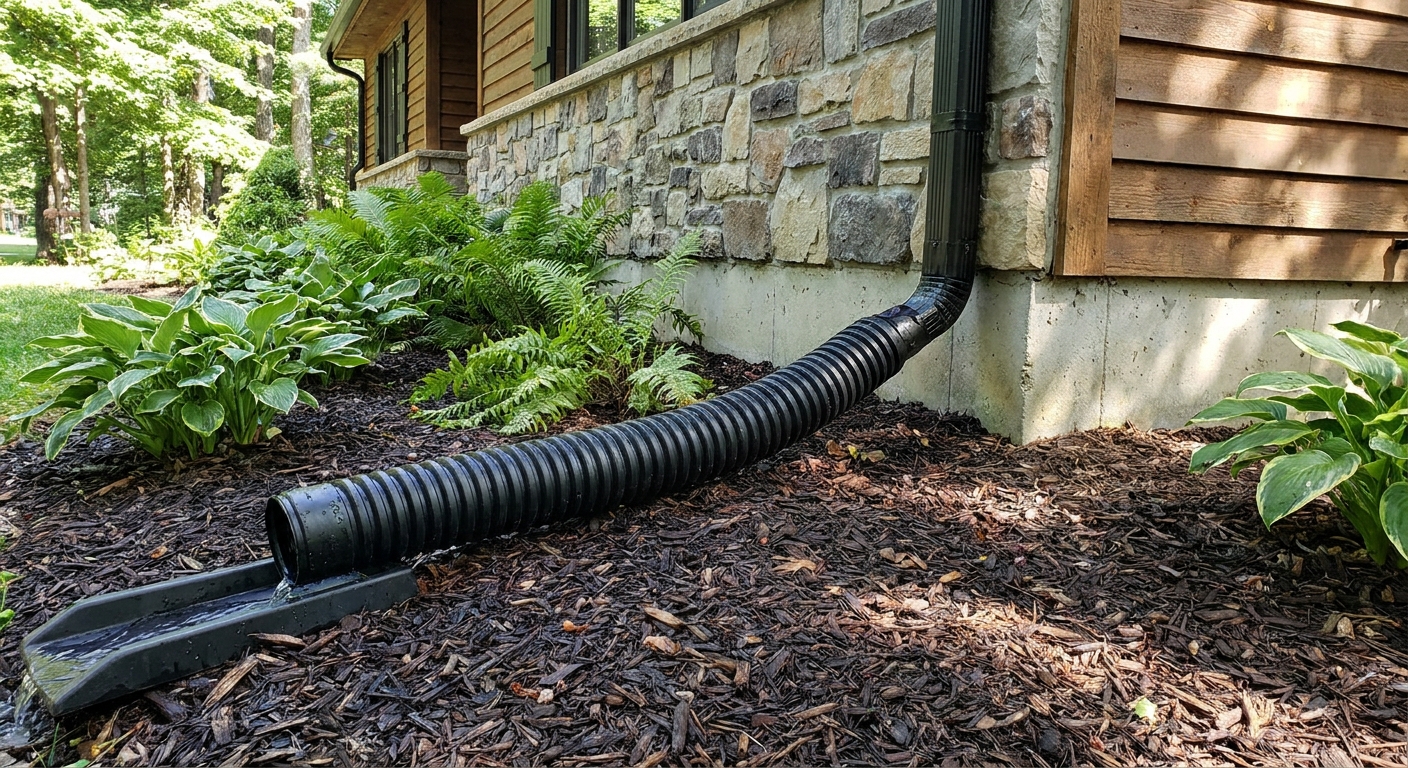
- Wait for a dry window and lower exterior water load by extending downspouts and improving drainage.
- Use a small, fast-setting hydraulic cement plug only at the point of active flow, then inject after it stabilizes. Avoid smearing cement along the crack where the kit paste needs to bond to clean concrete.
If water is coming in at the wall-to-floor seam (the cove joint) rather than the crack itself, injection is not the right fix. You are dealing with a different pathway.
3) Prep the surface
This step is not glamorous, but it is where “long-lasting” happens.
- Remove paint along the crack line. Surface seal paste sticks best to raw concrete.
- Wire brush the crack and surrounding area, then vacuum dust.
- Degrease if needed. Efflorescence and grime can prevent adhesion.
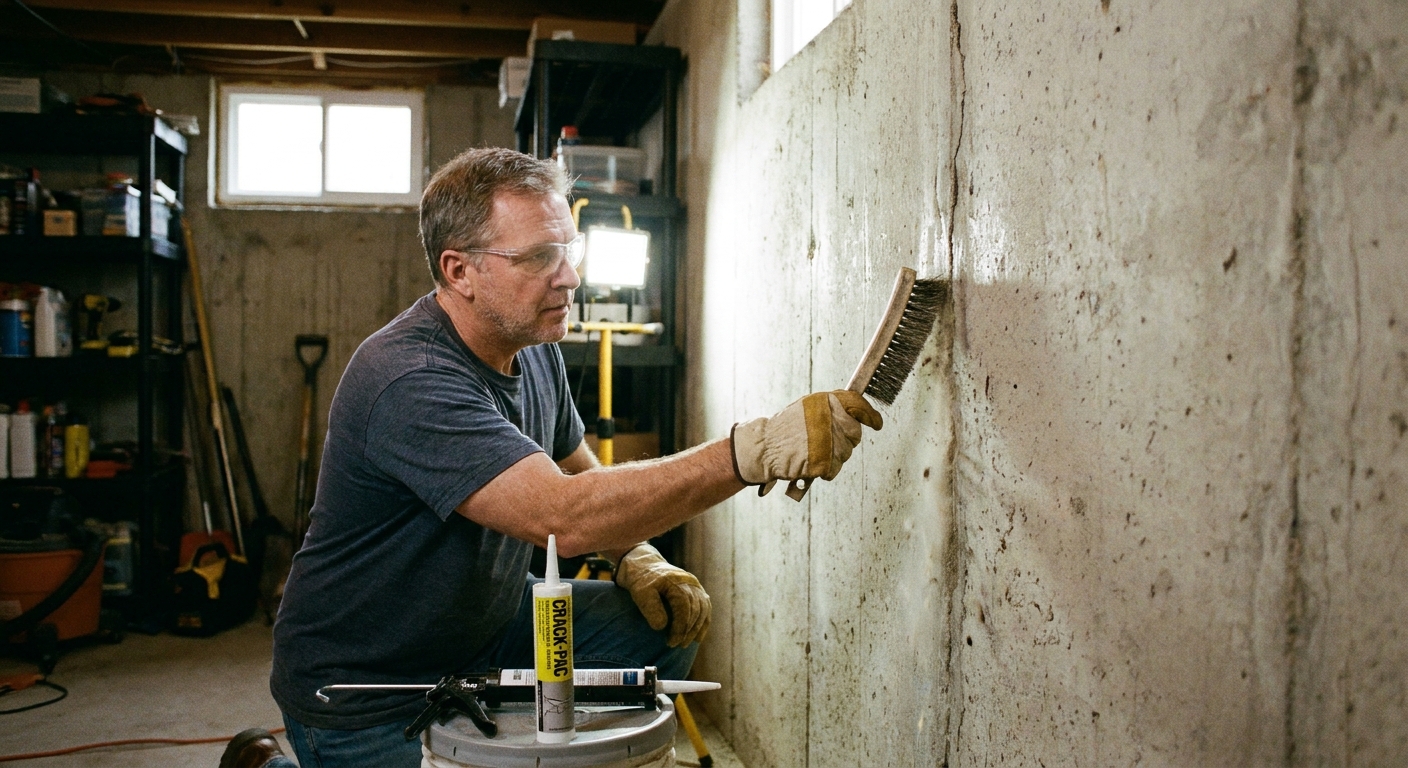
4) Place ports bottom to top
Ports are usually spaced every 6 to 12 inches depending on crack width and kit guidance. Closer spacing gives better control.
- Start near the bottom of the crack.
- Continue up the wall with even spacing.
- Keep ports centered over the crack line.
5) Seal the surface
You are creating a temporary dam so injected material is forced into the crack, not back out into your basement.
- Mix and apply the surface seal paste over the crack between ports.
- Feather the edges so it bonds well, usually 1 to 2 inches wide.
- Seal around each port base.
Let the paste cure for the kit’s recommended time. Rushing this is the easiest way to blow out a seal during injection.
6) Inject slowly
Low-pressure injection is not about muscling material in. It is about giving it time to travel.
- Attach the injection nozzle to the lowest port.
- Inject slowly until you see material appear at the next port above, or until pressure noticeably increases.
- Cap the port you just filled (if your system uses caps).
- Move to the next port up and repeat.
That bottom-to-top sequence matters. It reduces trapped air and helps you fill the crack in a controlled, progressive way.
7) Look for good fill
- Material appears at the next port in sequence.
- Injection becomes harder in a smooth, steady way, not a sudden spike.
- No paste blowouts or sudden weeping along the surface seal.
8) Cure, remove ports, patch
After the injected material cures:
- Remove ports (some twist off, some snap off depending on type).
- Scrape off surface paste as needed.
- Patch the small port marks with a compatible patching compound.
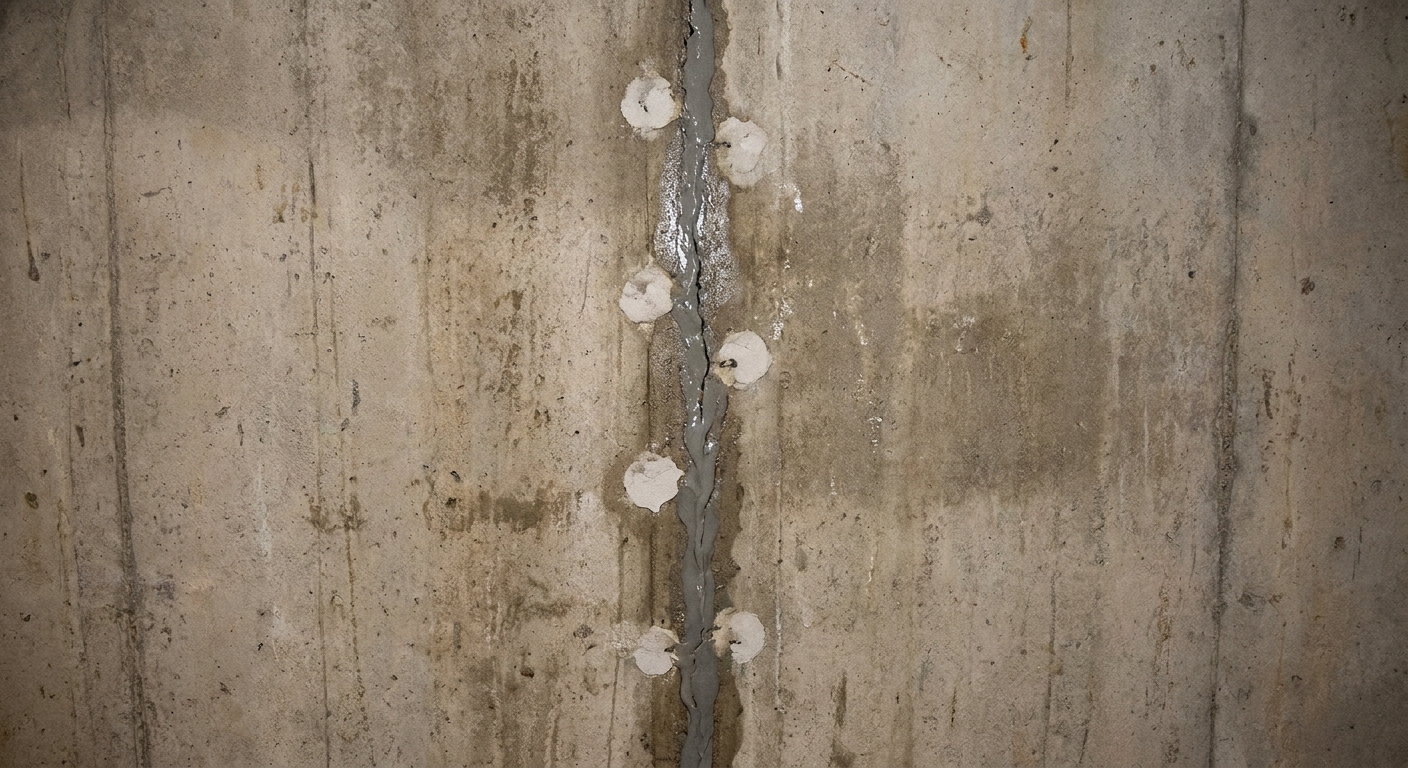
Safety and conditions
- Ventilation matters. Some resins have strong odors. Keep fresh air moving and wear a respirator if the product calls for it.
- Protect skin and eyes. Gloves and eye protection are not optional. Keep kids and pets away until everything cures.
- Temperature affects cure. Many products have minimum air and wall temperatures. If the wall is cold, cure times stretch and some pastes will not bond well.
How to tell if it worked
I like to verify success in three ways, because basements can fool you.
- After rain: check the crack line and the floor directly below it for dampness within 24 hours.
- Over a few weeks: watch for new efflorescence or darkening concrete.
- Humidity trend: if your basement was damp mainly because of that leak, the dehumidifier should run less often once the crack is sealed.
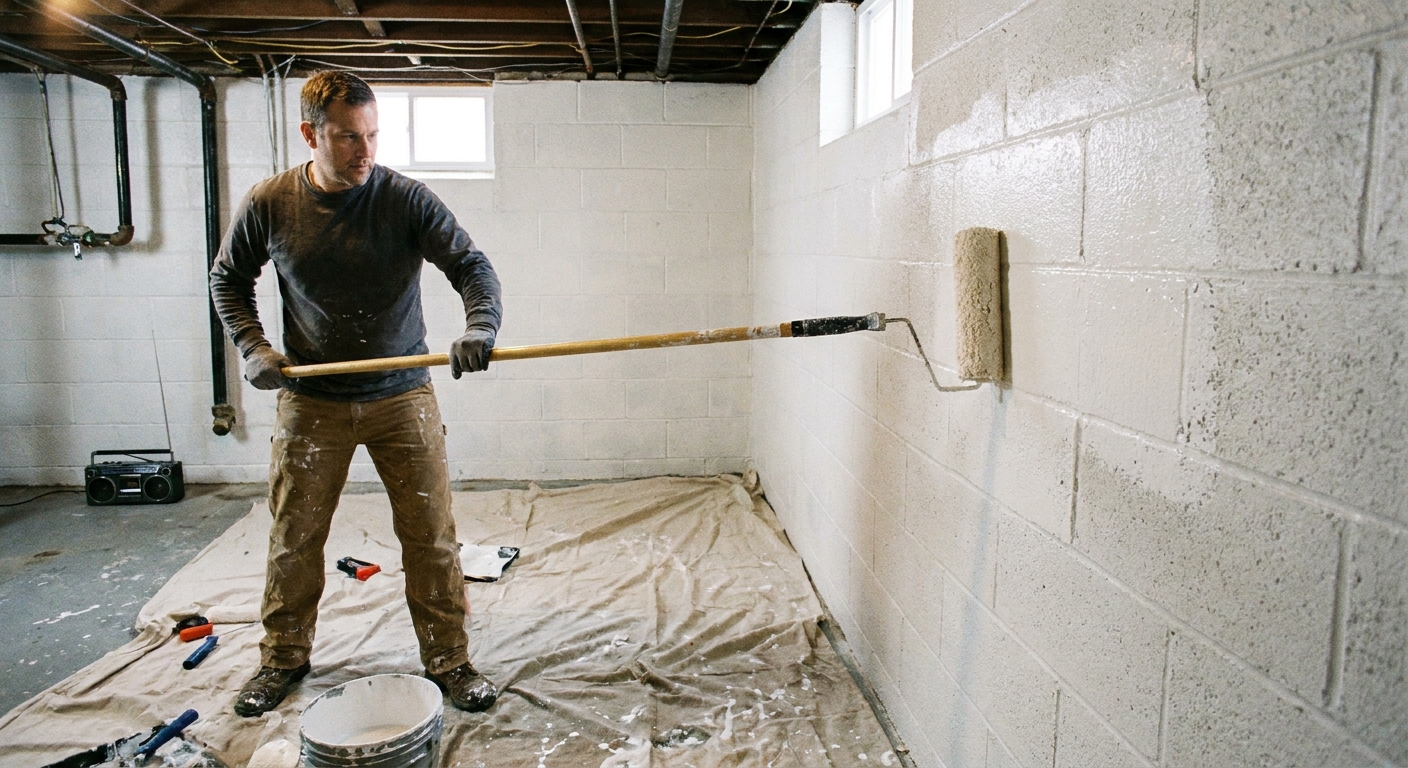
If your wall is still damp but the crack is dry, you may be dealing with condensation or porous concrete rather than a leak. For that situation, take a look at waterproofing basement walls with masonry sealant. It is not a crack repair, but it can be part of an overall moisture strategy when used correctly.
DIY injection mistakes
Skipping surface prep
If the paste does not bond, you will get blowouts and wasted material. Clean, bare concrete is the goal.
Using epoxy in a wet crack
Epoxy and water do not mix. If you cannot confidently keep the crack dry during the cure window, use polyurethane.
Injecting too fast
Fast injection creates pressure that finds the easiest exit, which is usually a paste failure or a side channel you did not know existed.
Ignoring drainage
Injection seals a pathway. It does not lower the amount of water pressing against your foundation. If your downspouts dump next to the wall or your grading pitches toward the house, fix that too. Otherwise you may stop one leak and discover the next weakest point.
Closing the wall too soon
Give it time. I prefer to watch at least one good rain cycle before I close a wall up with insulation and drywall. If you are planning the full project, follow a sensible order of operations. My go-to is basement remodel timeline and correct order of operations.
When to call a pro
Injection kits are great, but they are not magic. Consider bringing in a structural engineer or foundation specialist if:
- The crack is horizontal or the wall is bowing.
- The crack is widening measurably over months.
- You see significant displacement.
- Multiple areas are leaking and exterior water management is clearly failing.
And if you are already budgeting a full basement finish, it is worth pricing moisture fixes honestly at the beginning. Hidden water work is one of the classic budget wreckers. I lay out common surprises in 7 hidden costs of finishing a basement.
FAQ
Is polyurethane injection permanent?
When the crack is stable and the injection is done correctly, polyurethane can be long-lasting because it fills the crack and stays slightly flexible. The other half of “permanent” is water management. If hydrostatic pressure stays high, you can stop one pathway and create a new leak somewhere else.
Can I inject from the inside only?
Yes. Most residential crack injections are done from the interior face of a poured concrete wall. The goal is to fill the crack from the inside so water cannot use it as a pathway.
Should I still run a dehumidifier after sealing cracks?
Often, yes. Sealing leaks helps a lot, but basements also get humidity from the slab, air leakage, and everyday living. A controlled humidity target is what keeps framing, insulation, and finishes healthy long-term. See basement dehumidifier sizing and system options for setup options.
Can I finish over an injected crack?
You can, but I like to wait until the repair has been through at least one heavy rain without any dampness. Once you frame and insulate, leaks get harder to spot and more expensive to fix.
How much kit do I need?
Measure the crack length and read the kit’s linear-foot coverage before you start. If your crack branches, budget extra. Running out mid-injection is frustrating, and stopping halfway can leave sections unfilled.