The loudest room in my first finished basement was not the home theater. It was the “quiet” TV nook under the kitchen. Every heel click and chair scrape from upstairs came through the ceiling like a drum. I did what a lot of DIYers do. I added insulation and called it good. It helped a little, but not the way I wanted.
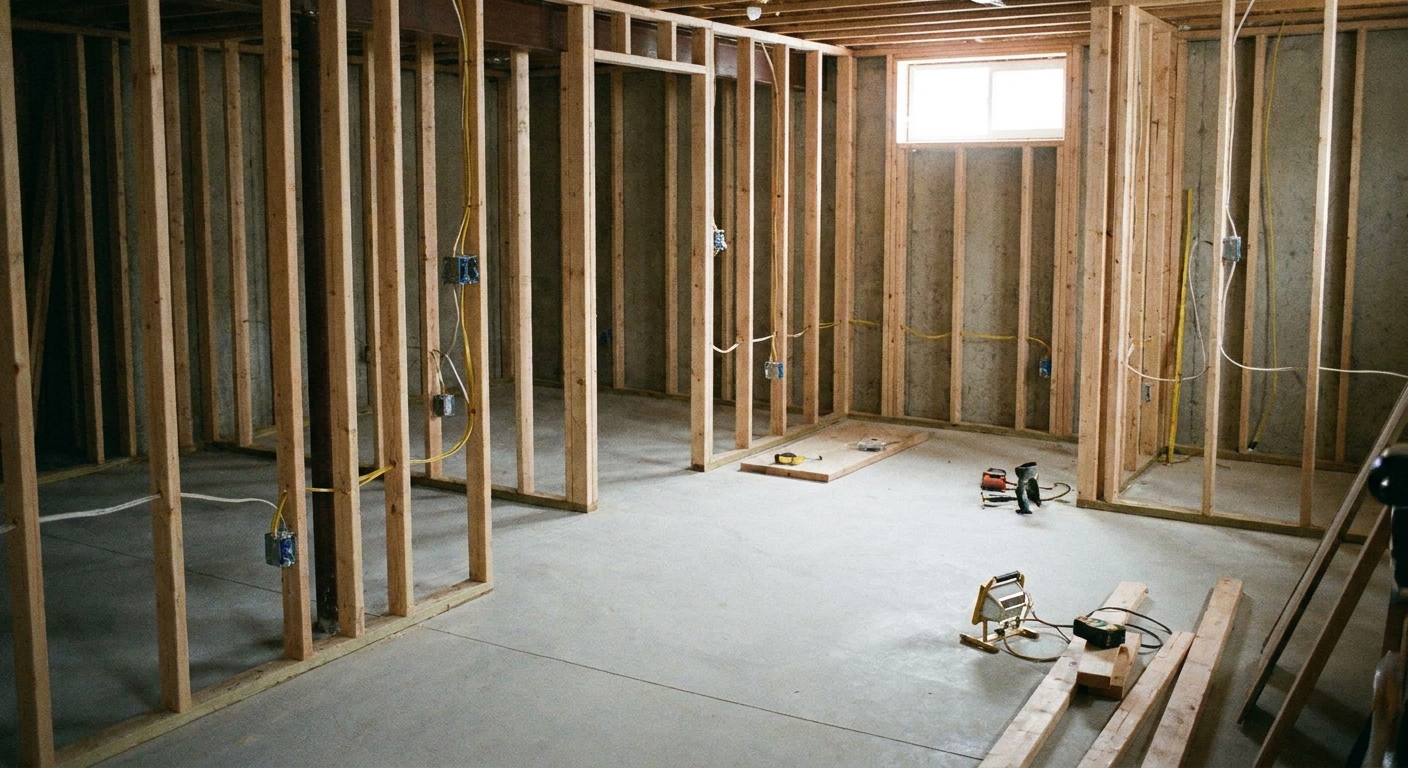
If you want to meaningfully knock down footstep noise (impact noise) and everyday voices (airborne noise), the move that matters most is decoupling your ceiling drywall from the floor framing above. The best time to do that is during the framing phase, before drywall goes up and before you have a maze of soffits and ducts boxing you in.
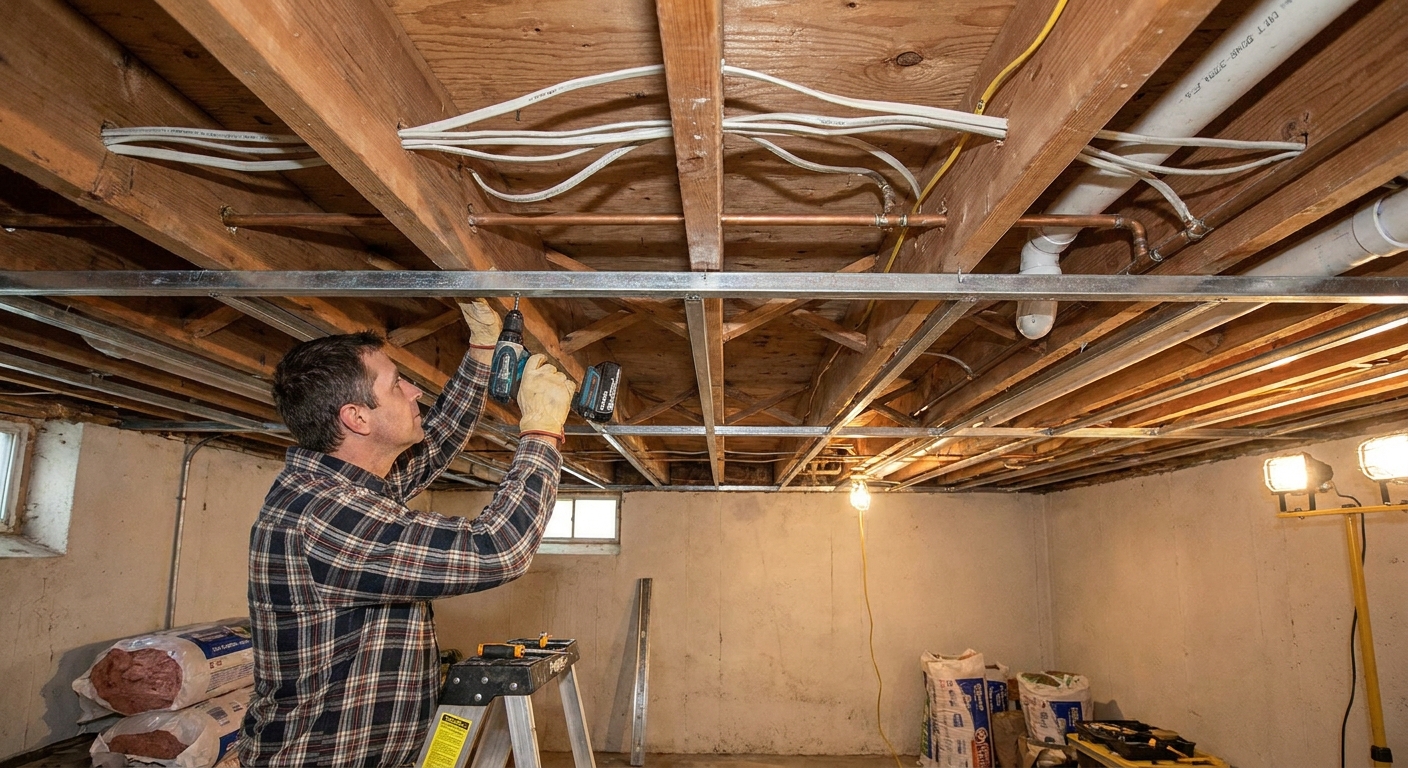
What decoupling does
Sound travels two main ways:
- Airborne noise: voices, TV, music. It vibrates the air, then sets your ceiling vibrating.
- Impact noise: footsteps, dropped toys, chairs scooting. It vibrates the framing itself.
When drywall is screwed directly to joists, those vibrations have a straight shot into your basement ceiling. Decoupling breaks that direct path by adding a flexible connection between the framing and the drywall. Resilient channel and isolation clips are both ways to create that “springy” connection.
This is also why “just add fiberglass” is usually disappointing. Insulation can help with airborne noise, but it does not stop the joists from passing impact vibration into the drywall.
Resilient channel vs. clips
Resilient channel (RC)
Resilient channel is a thin steel channel designed to flex. It is typically an asymmetrical profile (often sold as RC-1 style), and it gets screwed directly to the bottom of the joists. Drywall then screws to the channel, not the joists.
- Pros: commonly available, relatively affordable, faster to install than clips on many ceilings.
- Cons: performance depends heavily on correct installation. It is easy to “short-circuit” (accidentally connect drywall back to joists).
Isolation clips with hat channel
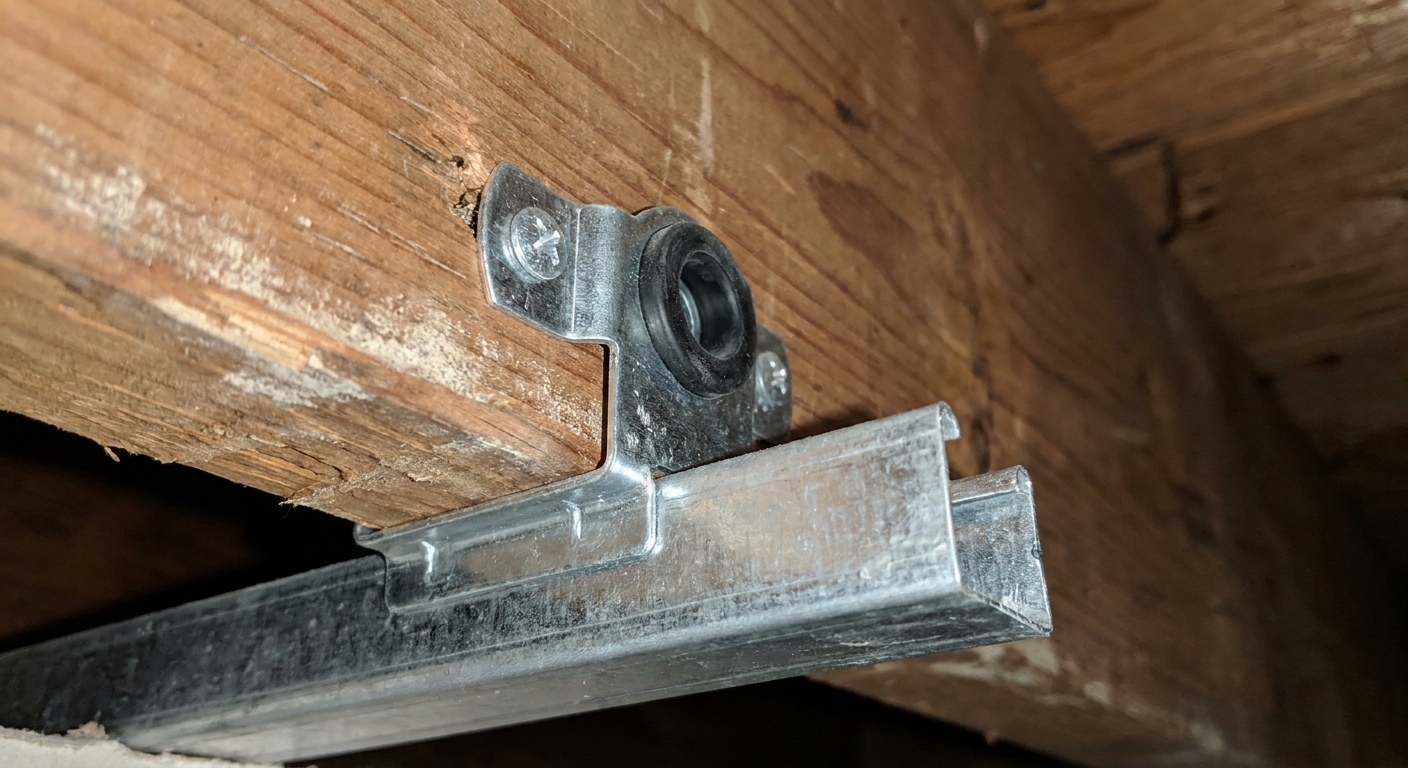
With clips, you screw rubber or spring isolation clips to the joists, then snap or screw hat channel (a stiffer, symmetrical profile) into the clips. Drywall attaches to the hat channel.
- Pros: typically more consistent performance, especially on uneven framing. Easier to avoid accidentally compressing the isolation or short-circuiting it.
- Cons: usually costs more in materials. Slightly more layout and measuring time.
If you are trying to reduce footstep noise specifically, clips plus hat channel are often the better “do it once” approach. If budget is tight and you are meticulous, resilient channel can still be a big upgrade over direct-to-joist drywall.
One reality check: clips are not foolproof. You can still short-circuit a clip system with bad perimeter fastening, sloppy soffits, or heavy fixtures that bridge back to framing. The hardware helps, but the details still matter.
Check moisture and headroom
Soundproofing a ceiling is worth it, but not if you are trapping moisture or losing needed clearance.
Moisture first
If your basement has active dampness issues, fix those before closing the ceiling. Moisture problems do not get better when you hide the joist bays behind drywall. Start with the basics on the outside and inside.
HVAC and plumbing planning
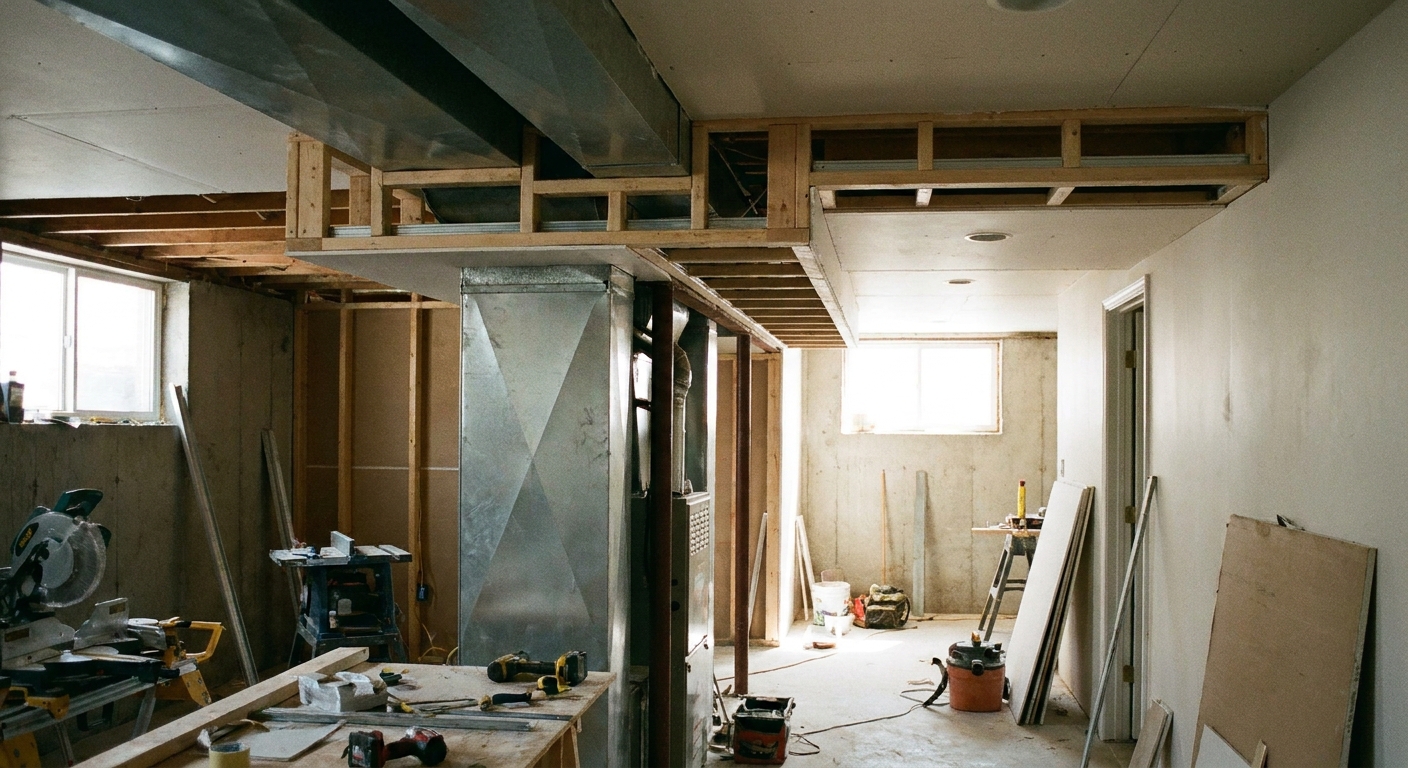
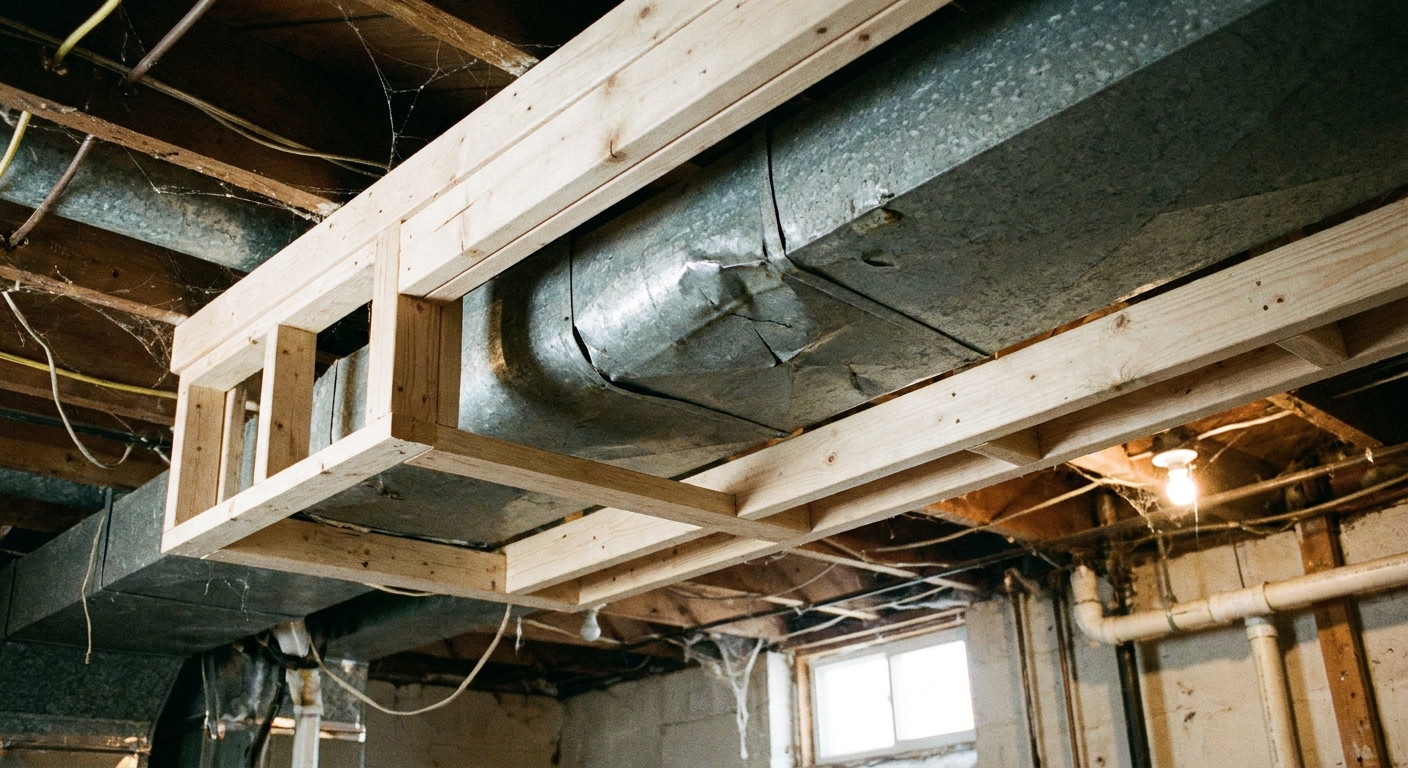
Decoupling systems drop the ceiling plane slightly. Plan around ducts, beams, and plumbing so you do not accidentally create a low “clothesline” across the room.
- Basement plumbing and HVAC without losing ceiling height
- How to frame soffits and bulkheads around ductwork and pipes
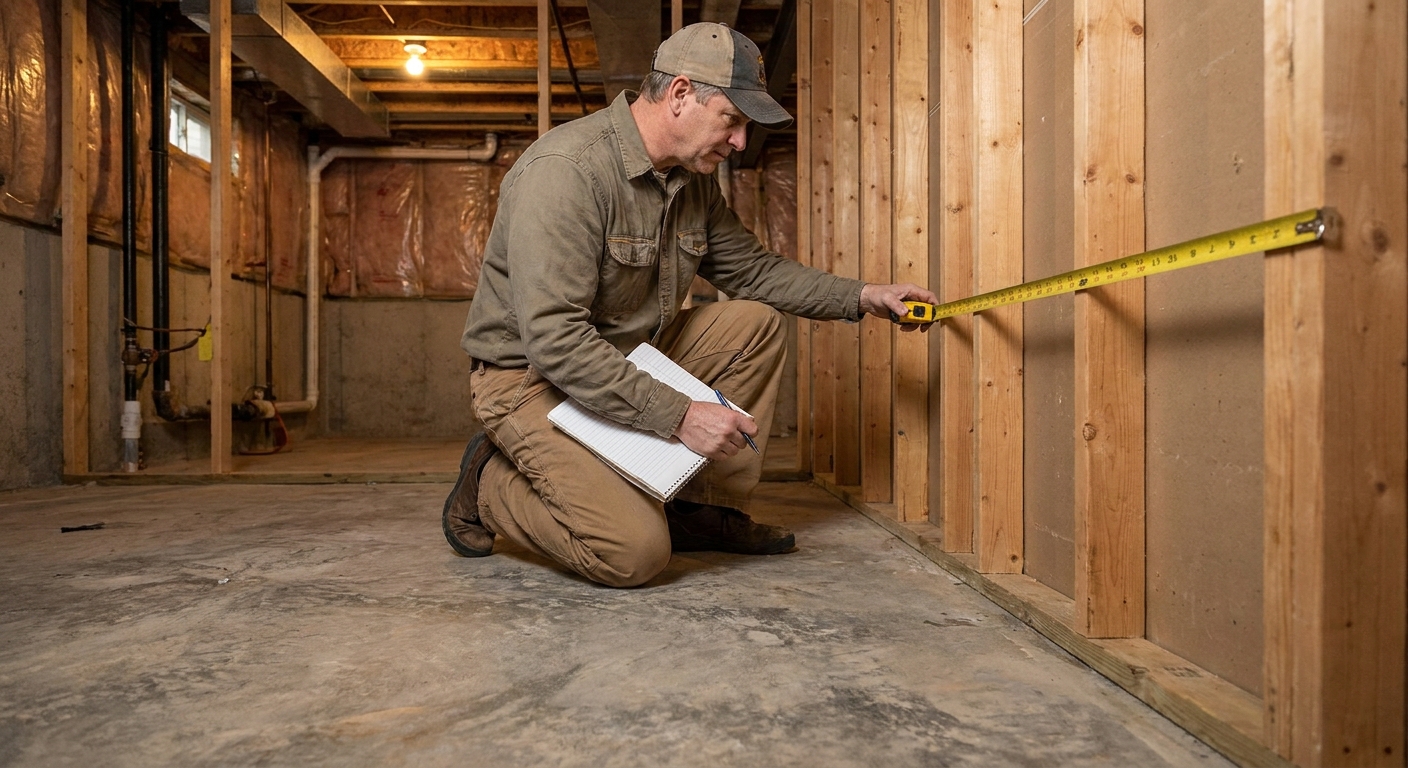
Rule of thumb for headroom: resilient channel and clip plus hat channel systems often drop the finished ceiling by roughly 1/2 inch to about 1 inch, but it is product-specific. Measure your worst spot, not your best spot, and read the specs for the exact system you plan to use.
A ceiling stack-up that works
A solid basement ceiling sound-control assembly usually combines three ingredients:
- Decoupling (RC or clips plus hat channel): reduces vibration transfer.
- Absorption (mineral wool or fiberglass in joist bays): reduces “echo” inside the cavity and helps with airborne noise.
- Mass and airtightness (drywall layers and sealed gaps): heavier and tighter surfaces transmit less sound.
A practical stack-up
- Joists above
- Mineral wool or fiberglass batts in the bays (do not compress)
- Isolation clips plus hat channel or resilient channel
- 1 layer of 5/8 inch drywall (or 2 layers if you are going all-in)
- Acoustic sealant at perimeter gaps, then standard trim
Two drywall layers can improve performance, but it adds weight and effort. If you go double-layer, consider a damping compound between layers as the “middle step” that can add noticeable improvement without changing the framing. Follow the product instructions and plan your lift strategy so you are not rushing overhead work.
Also worth repeating: joist-bay insulation helps, but it will not solve footstep noise by itself. For impact noise, decoupling is the main lever.
Resilient channel: do and avoid
Resilient channel works best when it is treated like a system, not just “metal furring.” The details are what stop sound bridges.
Do this
- Run channel perpendicular to the joists.
- Keep runs straight and consistent so drywall edges land cleanly.
- Use manufacturer spacing. Depending on product and drywall load, spacing is often in the 16 to 24 inches on-center range.
- Use the specified screws and do not overdrive them. Crushing the channel reduces isolation.
Avoid this
- Screws that are too long and hit the joists.
- Drywall at the perimeter screwed into framing instead of only into channel.
- Light fixtures, soffit framing, or blocking screwed through drywall into joists.
- Trim nailed into joists through the ceiling drywall.
The biggest RC mistake: short-circuiting
Short-circuiting is when the drywall ends up mechanically connected to the joists anyway, which defeats the whole point.
My personal habit: I mark joist lines on the walls before channel goes up, then I deliberately avoid those lines when fastening drywall. It is a simple way to prevent “oops” screws.
Clips and hat channel: do and avoid
Clip systems add one more step, but they can reduce the chance of installation errors.
Do this
- Install clips in rows across the joists per your manufacturer’s spacing.
- Snap or screw hat channel into the clips so channels run perpendicular to joists.
- Keep channel ends properly supported. Do not leave long unsupported tails.
- Use the fastening schedule for your drywall load (single layer vs double layer matters).
Avoid this
- Perimeter fastening that pins drywall tight to framing.
- Soffits or fixture backing that touches the drywall ceiling and also ties into joists.
- Mounting heavy items to drywall and channel without a plan.
Why clips are nice in basements
- Older framing is rarely perfect. Clips help average out minor twists and unevenness.
- Mechanical runs are everywhere. With clips, you often get a bit more flexibility to route around obstacles and keep a flatter plane.
Details that matter
Seal the perimeter
Sound leaks through gaps like water leaks through cracks. Leave a small gap at the ceiling perimeter (per drywall best practice) and seal it with an acoustic sealant before trim. This is one of the cheapest upgrades you can make.
Electrical boxes and penetrations
Every penetration is a weak spot. Keep cutouts tight, seal around boxes, and avoid leaving open paths into the joist bay. In spots where sound control matters most, consider sound-rated details like putty pads on electrical boxes or building a sealed backer box for speakers and other openings, as long as it stays code-compliant.
Recessed lights: keep it code-clean
If you can, avoid large recessed fixtures in the sound-rated part of the ceiling. If you must have them, use fixtures that meet your local code requirements (for example, IC-rated and airtight where required), follow clearance rules, and protect any required fire or air barrier. Big holes plus leaky fixtures can undo a lot of work.
Ducts and soffits without bridging
Soffits are a common place people accidentally bridge the system. If you frame soffits after the ceiling is decoupled, think through what the soffit framing attaches to. A soffit screwed into joists while also touching the ceiling drywall can reintroduce vibration paths. This is where a careful layout and a little patience saves you from rework.
Flanking paths
A “soundproof” ceiling will still feel loud if sound goes around it through other routes, like:
- Open stairwells
- Unsealed rim joist areas
- HVAC registers that connect rooms like a megaphone
- Shared wall cavities
Ceiling decoupling is a huge step, but it is not magic. Think of it as reducing the main highway of noise, not every side street.
Code and fire safety
Basement finishes often have code requirements that affect ceiling assemblies: drywall as a thermal barrier, fireblocking and draftstopping, and rules for penetrations and fixtures. Before you commit to a specific ceiling build-up, confirm what your local inspector expects for your space, especially if you have a furnace room, an attached garage above, or any area that needs a fire-rated separation.
Common questions
Should I insulate the joist bays if I am using RC or clips?
Yes, if the ceiling is being finished anyway. A decoupled ceiling plus absorption in the cavity is a strong one-two combo. Mineral wool is a favorite because it is dense and friction-fits well, but standard fiberglass batts can still help if installed neatly and not compressed.
Just keep expectations straight: insulation helps most with airborne noise, not footstep impact.
Will this stop footstep noise completely?
It will reduce it, sometimes dramatically, but impact noise is stubborn. The best results usually come from a combined approach: decoupled ceiling below and softer flooring or rugs above. If you control both sides, you win twice.
Can I hang a projector, TV mount, or heavy storage from a decoupled ceiling?
Heavy loads should not be supported by drywall and channel alone. Plan blocking and dedicated structure that does not compromise the sound system. In many cases, you can locate mounting points that are isolated thoughtfully, but this is a spot where reading the product instructions and, if needed, asking the manufacturer is worth the time.
Does a second drywall layer help more than decoupling?
They do different jobs. Extra drywall adds mass (good for airborne noise). Resilient channel or clips add decoupling (critical for impact vibration). For footstep noise, decoupling is usually the bigger lever.
Where this fits in the build
If you are planning your basement step-by-step, ceiling soundproofing sits right after rough mechanicals and inspections, and right before drywall.
- Basement remodel timeline and correct order of operations
- Calculate materials for basement framing and drywall
- Basement finishing permits: what you need and how to get them
If you are already framing walls, it is a perfect moment to pause and decide whether this ceiling is getting decoupled. Once drywall is up, upgrading is messy, expensive, and usually not worth it.
Before you commit
Pick one room as your “test case” if you are on the fence. A bedroom under a busy living room or a TV room under the kitchen is a great candidate. Do clips or resilient channel in that zone, then finish the rest normally if budget demands it. Basements are full of trade-offs, and sound control is one of the few upgrades you can feel every single day.
If you want more framing guidance overall, I keep a running hub of practical basement framing topics here: Framing & Construction.