The first basement I ever finished was the one under my own fixer-upper. I wanted that warm hardwood look so badly that I almost ignored the musty smell and the cold slab under my feet. I am glad I didn’t. Basements play by different rules than the rest of the house, and solid hardwood is one of the quickest ways to learn that lesson the expensive way.
So can you put hardwood in a basement? In the strict sense of solid hardwood, I treat it as a no for most below-grade spaces. But if what you mean is a real wood surface, then engineered wood flooring can work in many basements when you manage moisture, pick the right product, and install it the right way.
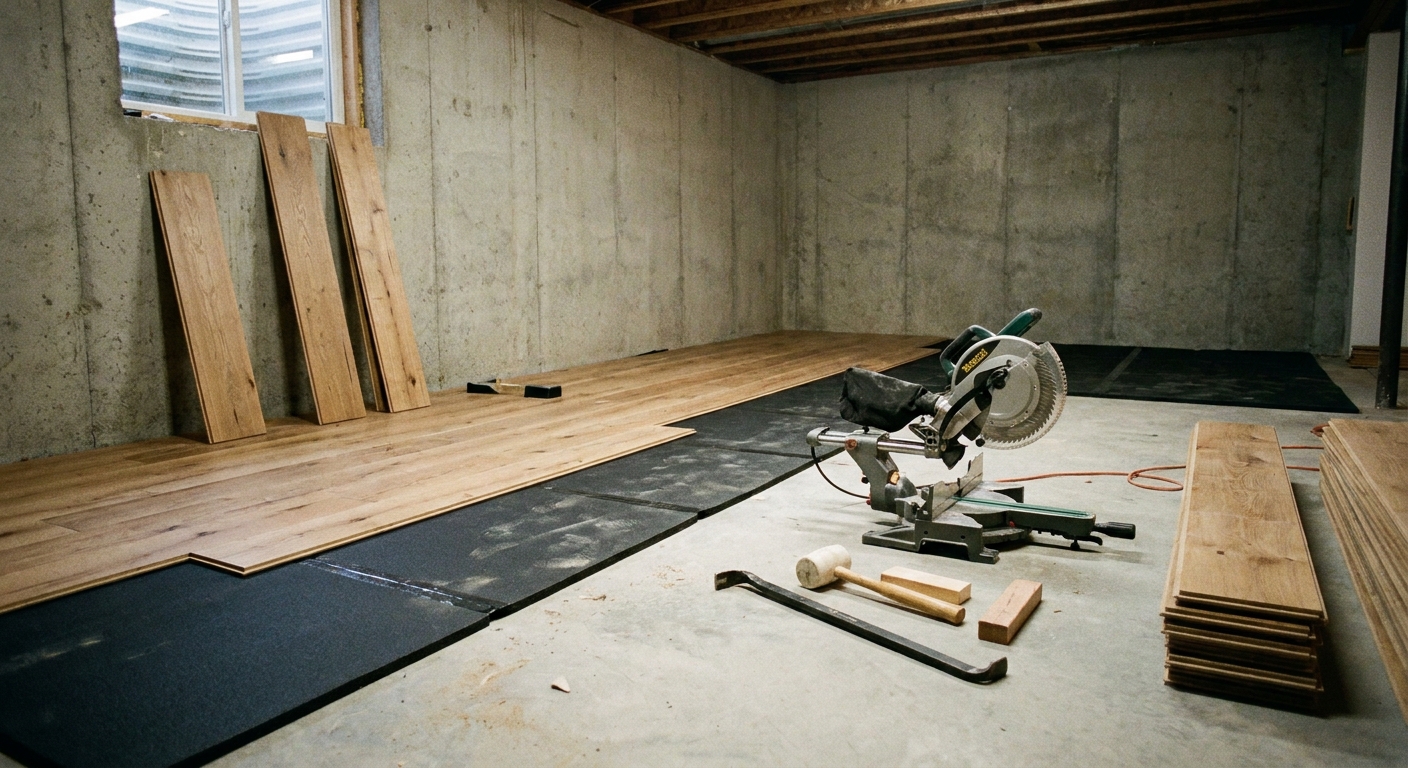
Why solid hardwood fails below grade
Solid hardwood is one piece of wood from top to bottom. Wood is hygroscopic, meaning it constantly takes on and gives off moisture until it reaches balance with the surrounding air. That is fine upstairs where conditions are relatively stable. In a basement, it is a different story.
Basements add moisture from multiple directions
- Concrete is porous. Even a slab that looks dry can allow water vapor to migrate upward.
- Foundation walls can wick moisture. Rain and groundwater outside can show up as humidity inside.
- Humidity swings faster downstairs. A wet summer day, a dehumidifier that fills up, or an HVAC change can shift conditions quickly.
Cupping, crowning, gaps, and mold are common
When solid wood absorbs moisture from below (slab) more than above (room air), it swells unevenly. That is when you see edges curl up (cupping), boards peak in the middle (crowning), squeaks, or seasonal gaps that never quite go away. If moisture stays elevated long enough, you can also feed mold in dust and underlayment layers.
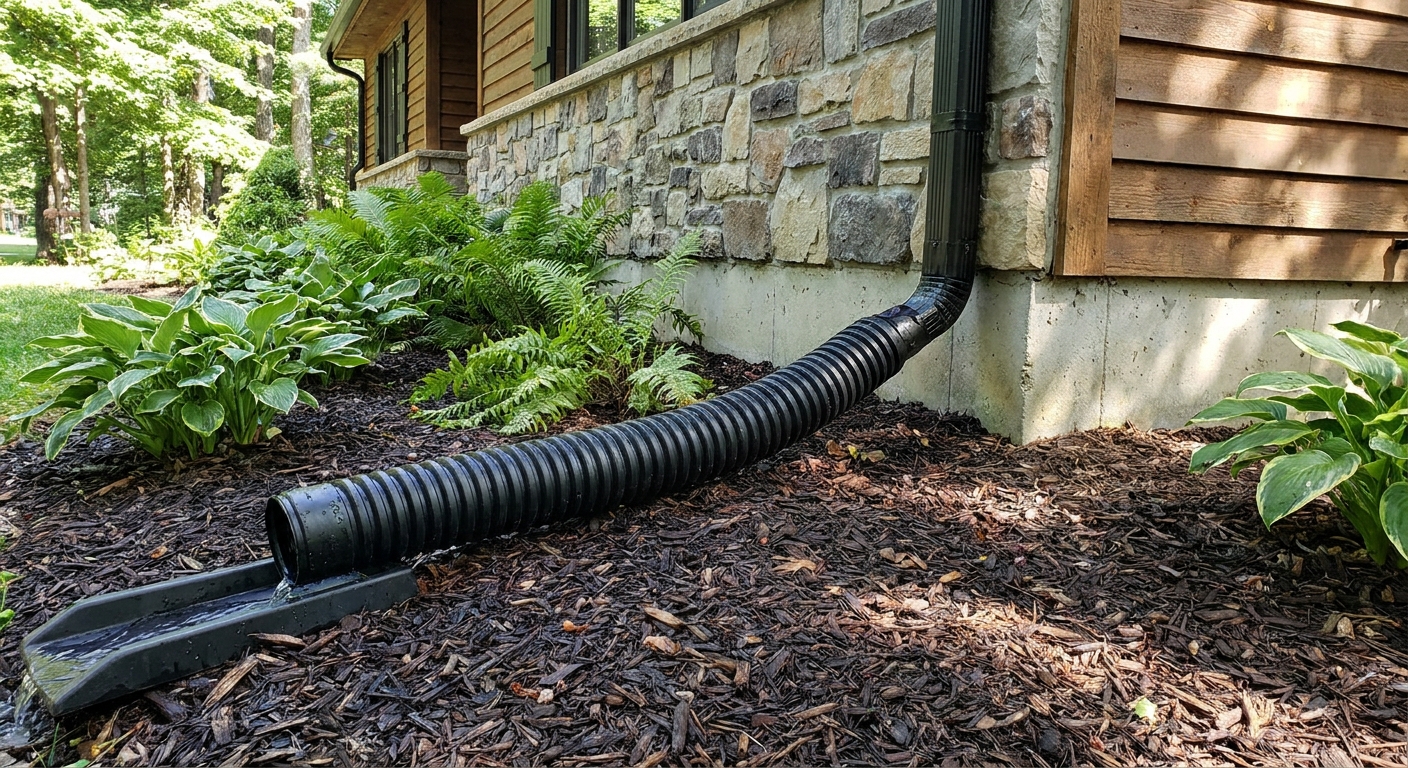
If you want a deeper moisture-first plan, start with the house-wide water management steps in Exterior Moisture Control: Yard Grade and Downspouts and then work inward.
Why engineered wood performs better
Engineered wood is real wood, but it is built in layers for stability. Many products use a plywood-style, cross-layer core. Others use an HDF core (high-density fiberboard). Either way, the goal is the same: reduce movement compared to a solid plank.
- Top layer: a hardwood veneer (the species and look you see)
- Core: multiple wood layers laid in alternating directions, or a dense HDF core
- Bottom layer: a stabilizing backer
That layered construction is the entire point. It dramatically reduces seasonal movement compared to solid wood, especially in wider planks.
Engineered wood is not waterproof
This is where a lot of homeowners get burned. Engineered wood tolerates moisture better, but it still does not like chronic dampness, slab vapor, or standing water. If your basement has ever taken on water, solve that first. Flooring should be the reward at the end of the moisture-control story, not the beginning.
Also, you will see “engineered hardwood,” “engineered wood,” and similar labels used interchangeably at retail. Ignore the marketing and trust the documentation. What matters is whether your exact product is approved for basement installs and what it requires to keep the warranty intact.
Before you commit to any wood product, read Test a Basement Slab for Moisture Emissions. It is the closest thing you get to a truth serum for basement flooring.
When engineered wood makes sense
Good fit when
- The basement is consistently dry and you can keep relative humidity controlled.
- You have no history of water intrusion or you have permanently corrected the source.
- You can follow the manufacturer’s basement-approved installation method (floating, glue-down, or over a subfloor system where allowed).
- You are willing to run a dehumidifier as needed in humid seasons.
Pick another floor when
- You have an active leak, seepage, or frequent dampness.
- Your slab moisture test results exceed the flooring spec and you cannot add an approved vapor control layer.
- You want to install directly over carpet pad or any “soft” layer.
- You expect occasional water on the floor (kids, pets, laundry overflow, floor drain backups).
In those higher-risk basements, I usually steer friends toward resilient options. This comparison can help: Luxury Vinyl Plank vs Laminate for Basements.
Choosing engineered wood for a basement
Not all engineered wood is created equal, and basements are where the differences show up.
1) Look for a thick wear layer
The wear layer is the real hardwood veneer on top. Thicker veneers generally allow more refinishing and can feel more “real” underfoot. For basements, durability matters because you are often installing over concrete, and subfloor softness is limited.
2) Prefer stable cores and proven locks
Plywood-style cores tend to handle small humidity changes well. HDF cores can be very dense and flat, but they are less forgiving if moisture is elevated. The locking system matters too, especially for floating floors. A tight lock reduces squeaks and edge lift.
3) Be careful with wide planks
Wide planks look great, but wider boards show movement more readily if conditions drift. In a basement where humidity control is sometimes imperfect, moderately sized planks are often the safer bet.
4) Confirm it is approved for basements
This sounds obvious, but I still see people buy a beautiful engineered floor that is only approved for above-grade installs. If the paperwork does not clearly allow basement or below-grade installation, assume it is not.
5) If you have radiant heat, verify compatibility
Radiant slab heat changes the game. Only use products specifically rated for radiant, and follow the manufacturer’s temperature limits and heat-up schedule. Too much heat or too fast can cause gapping, checking, or adhesive failures.
Basement prep that matters
Step 1: Fix bulk water first
If water is getting in, flooring is not the project. Handle exterior drainage and grading issues, and if needed address interior collection systems before finishing. Finish Below covers both ends of that spectrum in Interior French Drains and Sump Pumps Before Basement Finishing.
Step 2: Make the slab flat
Engineered wood wants a flat substrate. Flat matters more than level. Most manufacturers specify a maximum variation over a given span, and it commonly lands around 3/16 inch over 10 feet or 1/8 inch over 6 feet. Check your product and follow that number, not mine. Grind high spots and fill low spots with an appropriate leveling compound.
If leveling is on your list, see Level an Uneven Basement Concrete Floor. The prep principles are similar even if the finish floor changes.
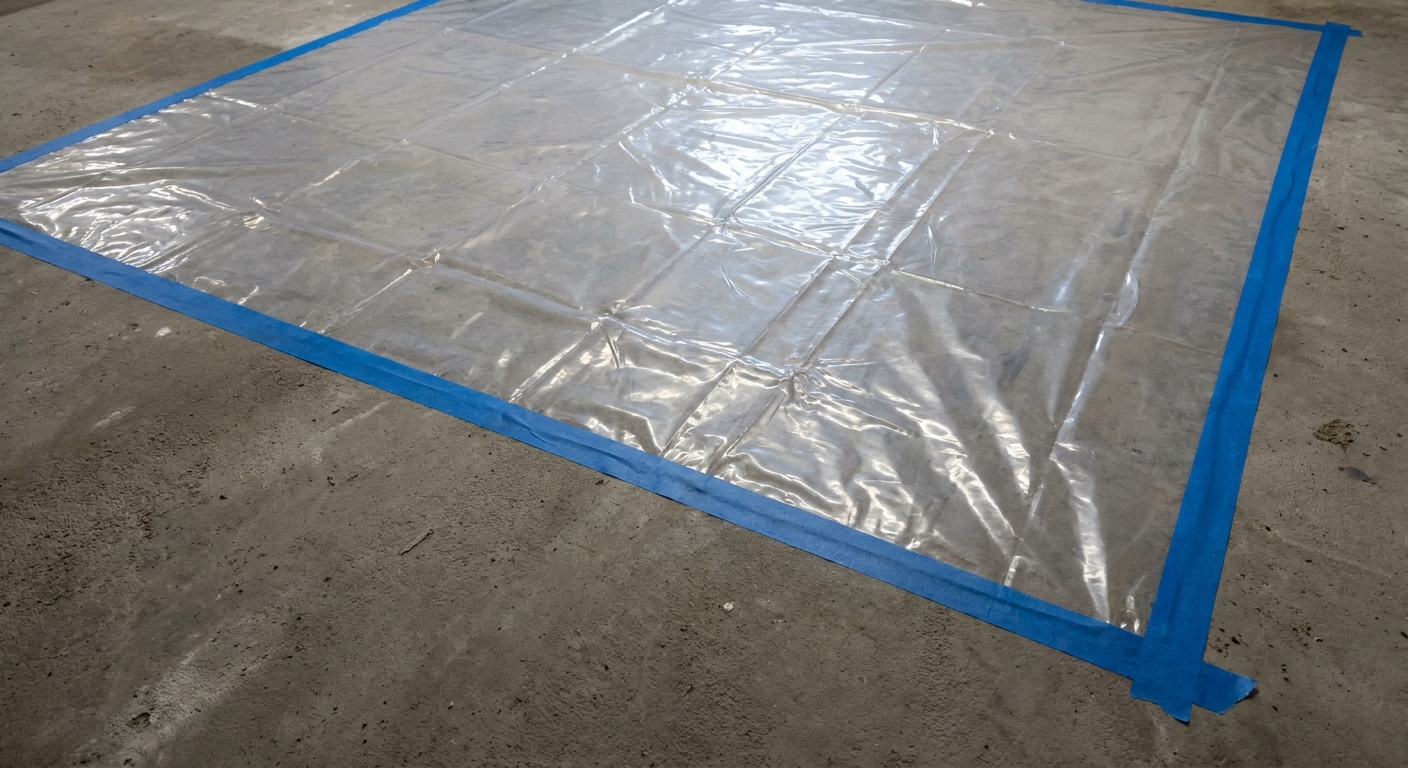
Step 3: Test for moisture the way your flooring requires
“Moisture test” is not one single thing. Flooring specs commonly reference tests like ASTM F2170 (in-slab relative humidity probes) or ASTM F1869 (calcium chloride). Use the test method the manufacturer calls out, and compare your results to that product’s limits. If your numbers are too high, do not try to “outsmart” them with wishful thinking.
For the practical how-to, start here: Test a Basement Slab for Moisture Emissions.
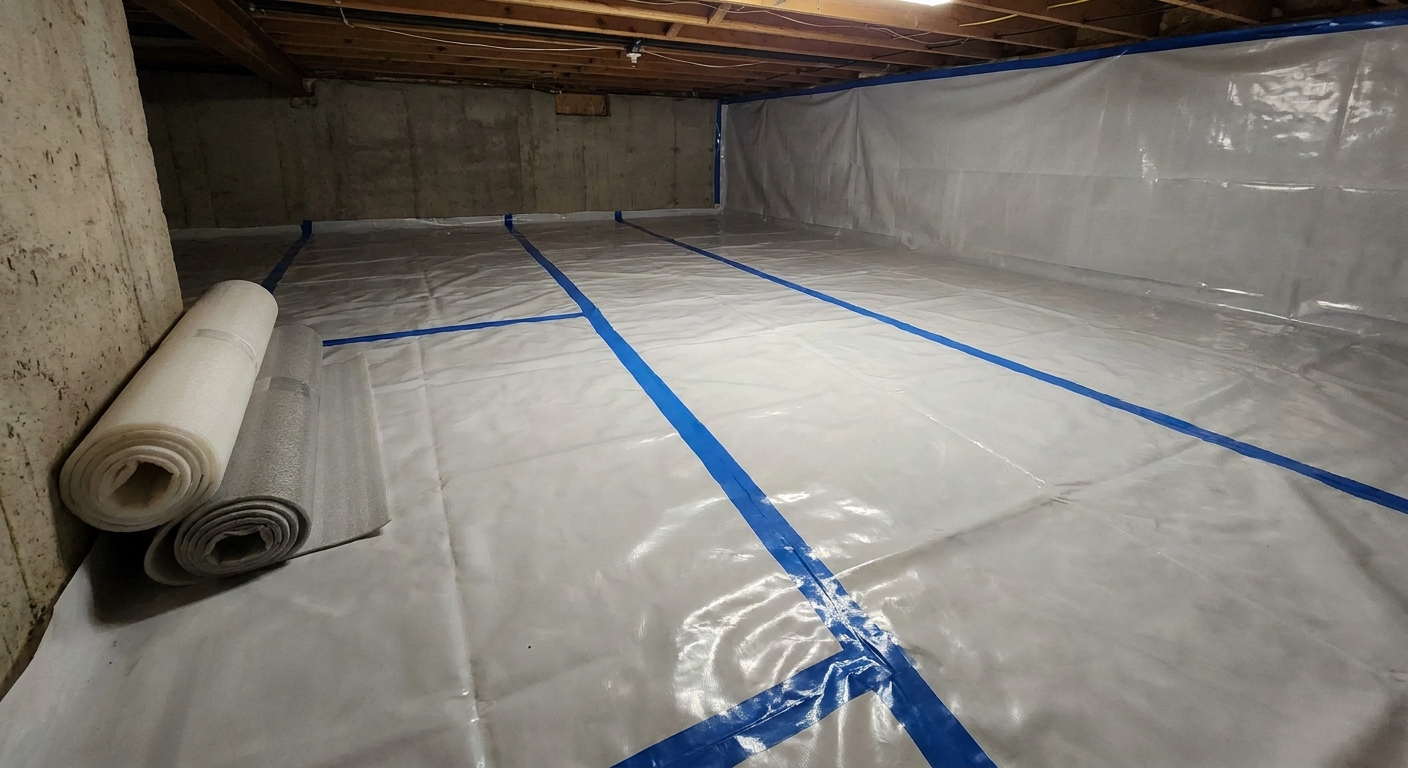
Step 4: Control vapor from the concrete
This is the basement-specific step. Depending on your engineered wood and install method, you may need one of the following:
- A manufacturer-approved vapor retarder underlayment for floating installs.
- A roll-on moisture control membrane under glue-down floors.
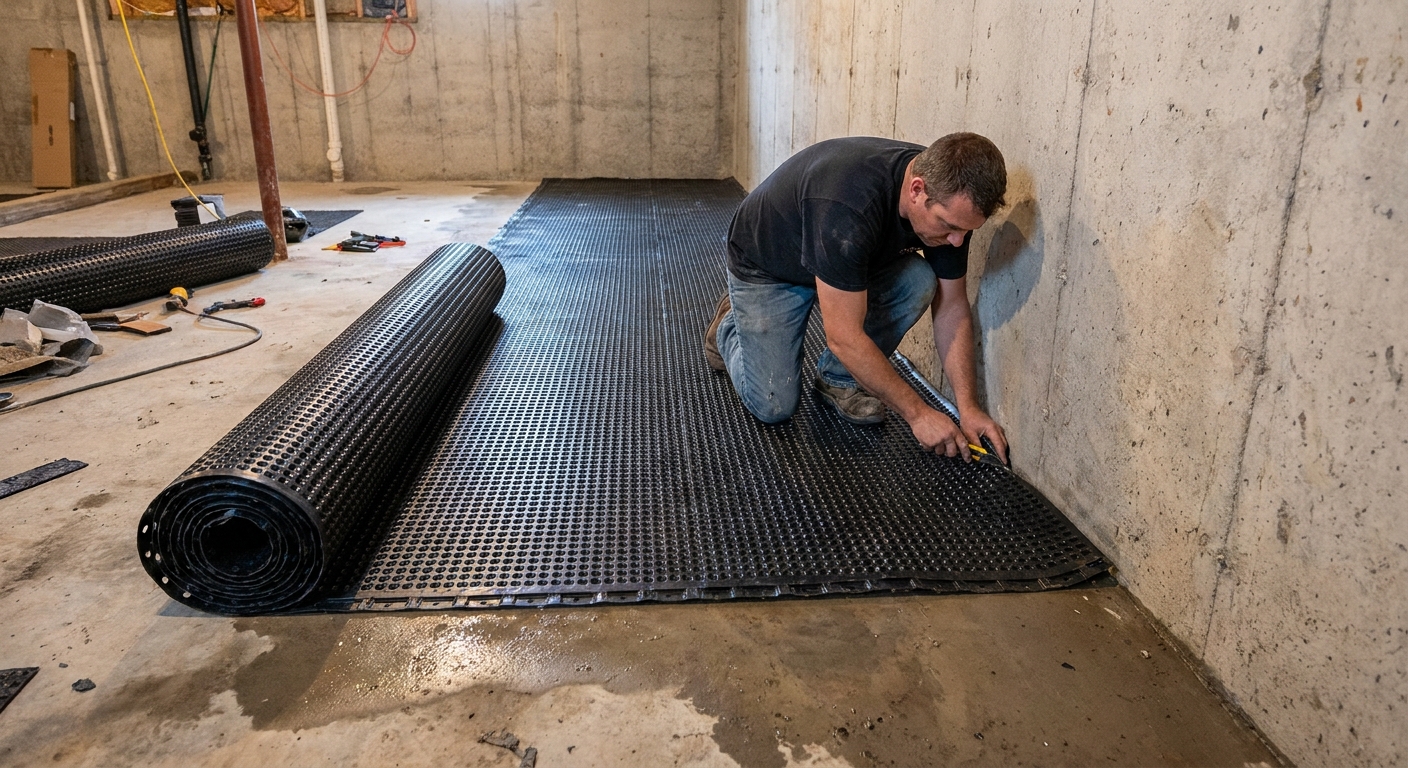
- A subfloor system that adds separation and a thermal break (often my favorite comfort upgrade on cold slabs). It can reduce risk from small seasonal dampness, but it is not a fix for excessive vapor emissions.
If you are considering a raised subfloor, compare options here: Basement Subfloor Systems: Dimpled Mats vs Interlocking OSB Panels.
And one more that gets skipped: do not install over a slab with active mold or mildew. Clean and remediate first, then solve the moisture that caused it. Covering it up is not a plan.
Acclimation mistakes to avoid
Acclimation is where good basement installs are made or broken. The goal is simple: get the flooring and the basement living space close to the same temperature and humidity before the boards lock together.
Set the basement to living conditions first
Do this before the flooring comes out of boxes:
- Run HVAC (or a permanent heat source) to normal living temperatures.
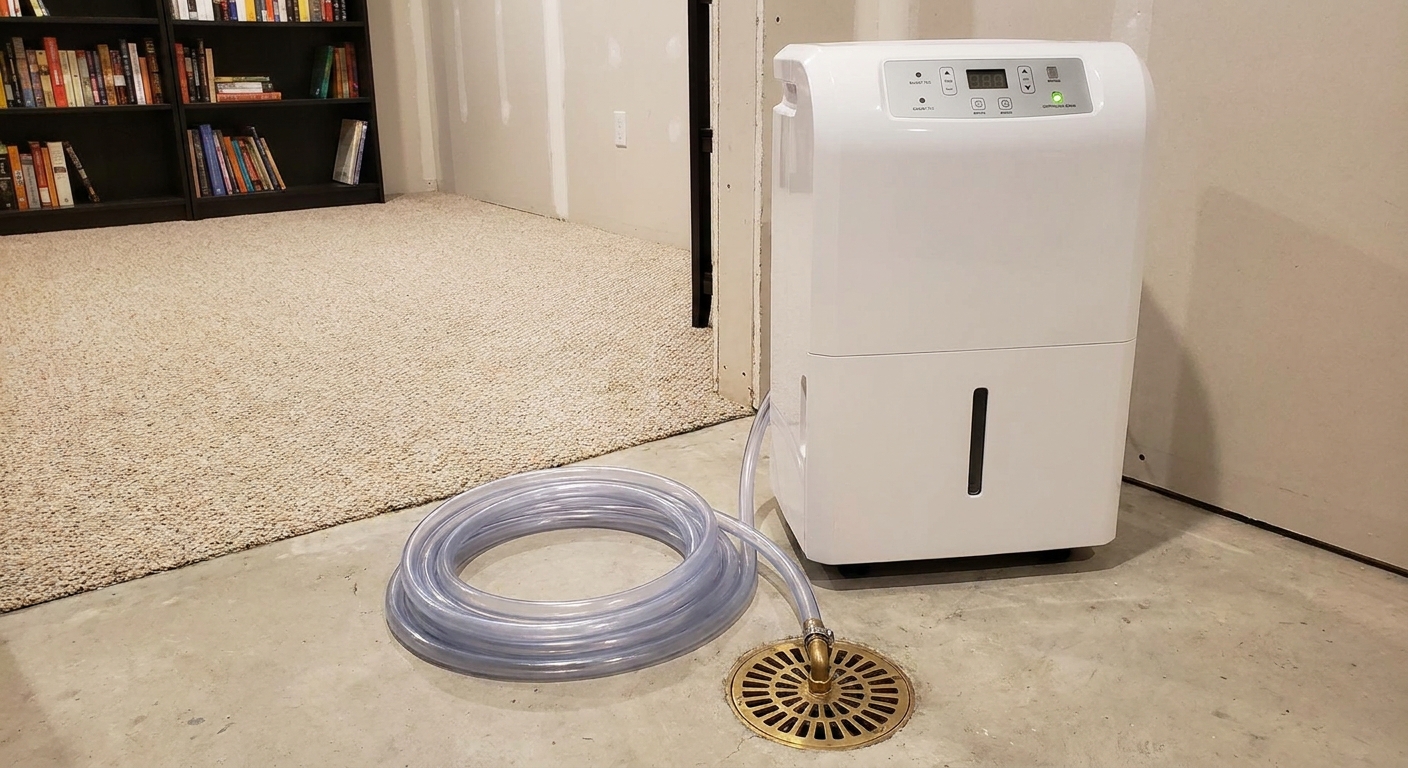
- Run a dehumidifier as needed. Basements often need one even with central air. If you are shopping, see Basement Dehumidifier Sizing and System Options.
- Keep conditions steady for several days, not just a few hours.
Follow the manufacturer’s acclimation rules
Some products want boxes opened and stacked with spacers for air flow. Others want cartons left sealed. Some engineered floors are designed to be installed without a long acclimation period, but that only works if the basement is already at stable conditions.
My personal rule: if your basement humidity is still bouncing around, you are not acclimating yet. You are gambling.
Do not acclimate in a wet, unfinished basement
People sometimes store flooring downstairs weeks early “to acclimate.” If the space is still musty, unconditioned, or you have not sealed obvious moisture sources, you are just letting the wood soak up problems before installation.
Installation methods for basements
The best method depends on your product, slab condition, and how much height you can spare.
Option 1: Floating engineered wood
Floating floors click together and rest on an underlayment. In basements, that underlayment often needs to include a vapor retarder.
- Pros: DIY-friendly, no glue smell, boards can be replaced more easily.
- Cons: Can sound hollow without a good underlayment, expansion gaps must be perfect, heavy built-ins can be an issue.
Option 2: Glue-down engineered wood
Glue-down can feel more solid underfoot, but it is less forgiving of slab issues and requires the right adhesive system for basement installs.
- Pros: Less “floaty” feel, good for certain layouts, can reduce hollow sound.
- Cons: Messy, adhesive choice is critical, removal later is painful.
Option 3: Over a basement subfloor system
If your basement is cold, or you want added separation from the slab, a raised subfloor can be a game-changer. You trade cost and a little headroom for comfort and risk reduction.
- Pros: Warmer feel, added separation from the slab, flatter surface.
- Cons: Adds height, adds materials and labor.
Expansion gaps still matter
Even engineered wood needs room to move. Leave the expansion gap required by the manufacturer at all walls and fixed obstacles, and plan transitions at doorways or long runs as required. In basements, I also like to be extra careful around support columns and stair stringers, places DIYers tend to tight cut because trim work feels annoying. Trim is cheaper than buckled flooring.
Details people overlook
Humidity control is part of the floor
I know it feels unfair, but basements ask you to think long-term. If you install engineered wood and then let summer humidity climb, you can still get movement issues. Many homeowners aim around the 45 to 55 percent range for comfort, but the real rule is this: stay within the relative-humidity range required by your flooring warranty.
Plan for small water events
If your basement includes laundry, a wet bar, or kids coming in from the yard, consider:
- A floor drain plan and good condensate routing for dehumidifiers.
- Area rugs you can lift and dry quickly.
- Baseboard profiles that let you remove and reinstall without destroying the wall.
Do not trap moisture with the wrong underlayment
More padding is not always better. A soft, thick underlayment can create deflection, stress joints, and hold moisture. Use an underlayment approved for your product and your basement conditions, and do not layer products unless the manufacturer says you can.
What about solid hardwood in walkouts
If the floor is truly above grade, or you have a walkout basement where the room behaves more like a main level, the conversation changes. Some solid hardwood installations can work in those cases, but only if the structure is dry, the subfloor is wood (not a slab), and humidity is controlled year-round.
If you are on a concrete slab, even in a walkout, I still treat solid hardwood as a high-risk choice compared to engineered wood.
Quick checklist
- Confirmed no active water problems (outside and inside).
- Tested the slab for moisture using the method your flooring spec requires.
- Chosen an installation method approved for basement installs.
- Planned a vapor control strategy (underlayment, membrane, or subfloor system).
- Basement is conditioned and you can maintain temperature and humidity.
- Product is approved for basements and you understand the warranty requirements.
FAQ
Can I put engineered hardwood directly on concrete in a basement?
Sometimes, yes, but only if the product allows it and you use the correct vapor control layer for that installation method. Direct-to-concrete is where moisture testing and manufacturer specs really matter.
Is engineered wood better than laminate for basements?
They solve different problems. Engineered wood gives you real wood, but it is still moisture-sensitive. Some laminates handle surface moisture well, but they do not love chronic humidity or wet slabs either. If your basement is even slightly questionable, compare resilient options too: Luxury Vinyl Plank vs Laminate for Basements.
How long should engineered wood acclimate in a basement?
There is no universal number because it depends on the product and your conditions. Follow the manufacturer’s instructions, and focus on stabilizing the basement environment first. Acclimation is not a timer, it is a moisture and temperature target.
Will a dehumidifier really make that much difference?
In many homes, yes. Basements often hover at higher humidity than the rest of the house. Keeping it controlled protects not just the floor, but also trim, doors, and that basement smell. If you need help choosing one, see Basement Dehumidifier Sizing and System Options.