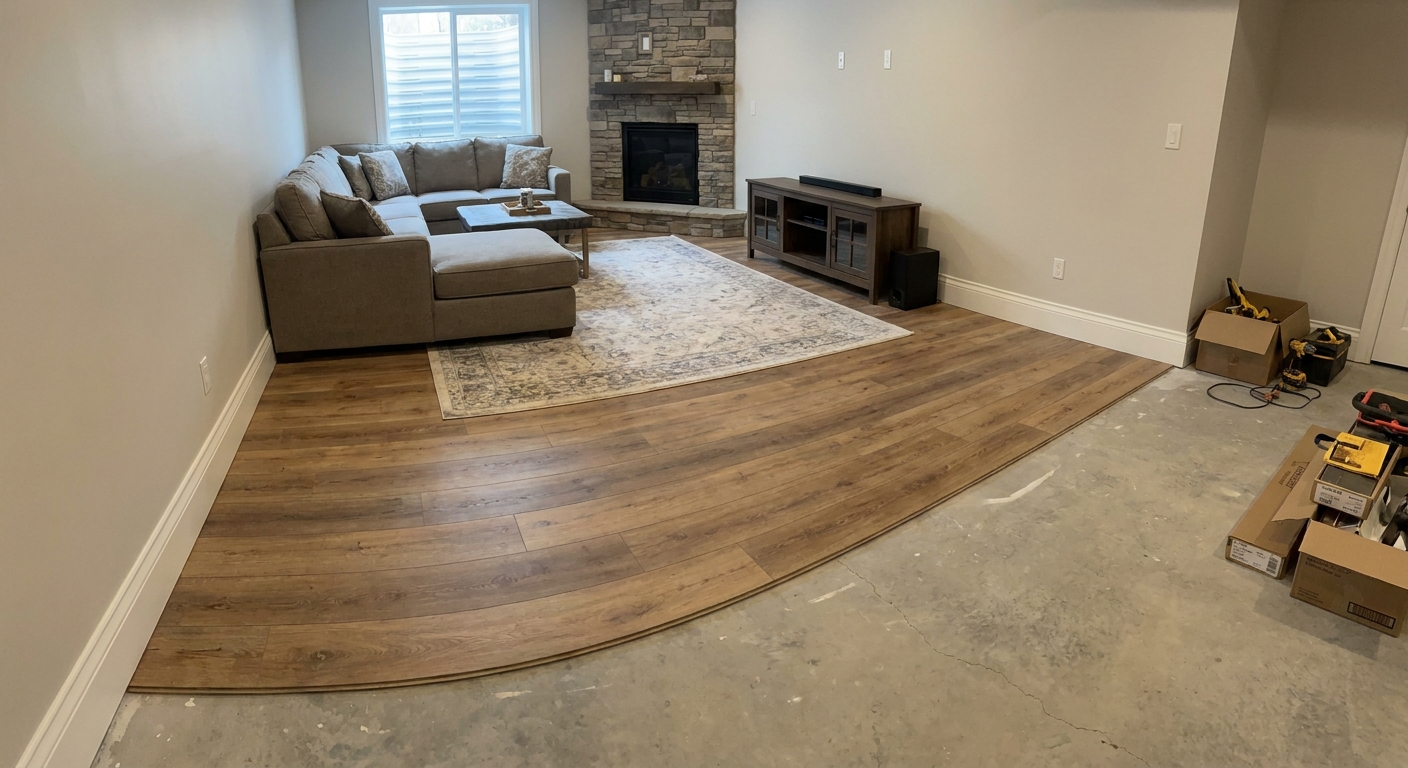
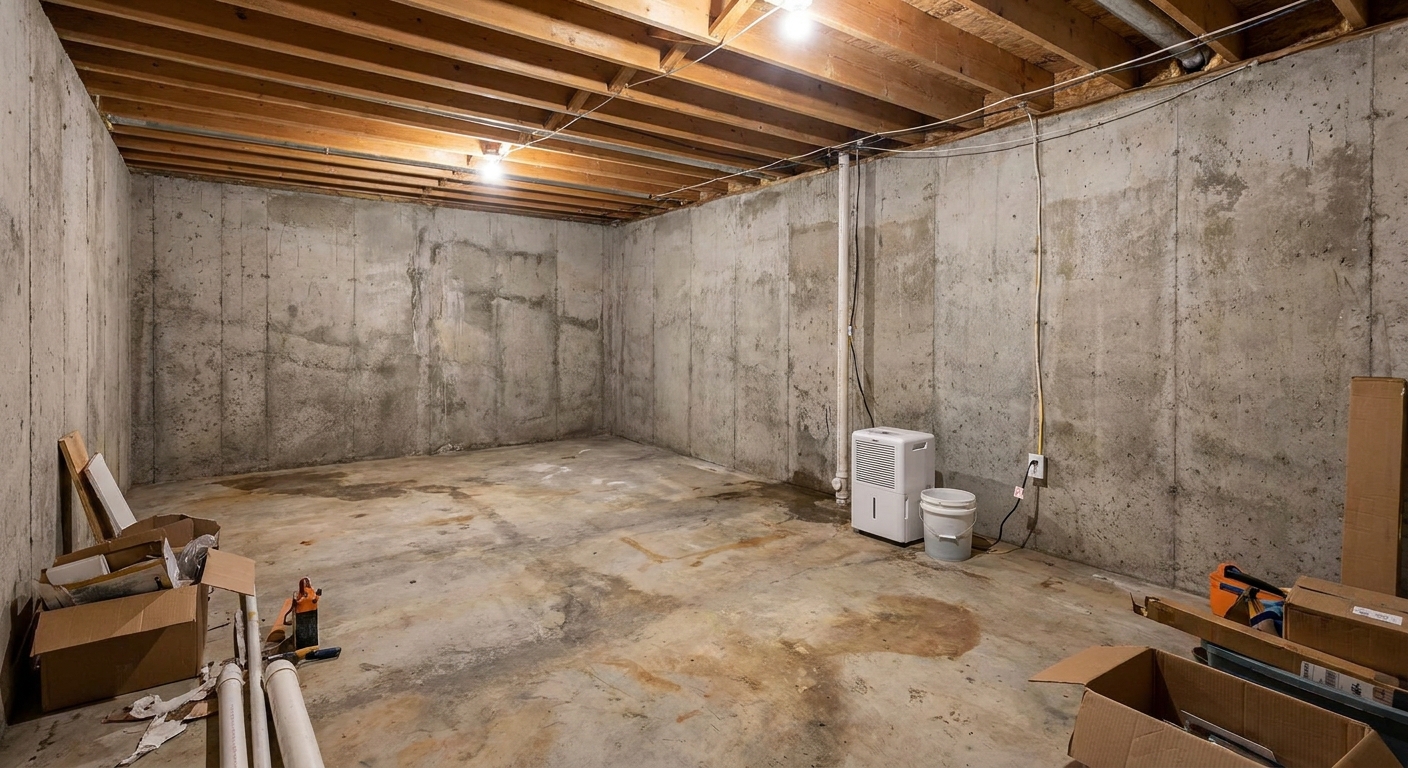
The first time I installed vinyl plank in a basement, I thought “floating floor” meant it would magically forgive whatever sins were hiding in the slab. It did not. Every hump telegraphed through, every dip turned into a hollow click, and one low spot near an old floor drain slowly worked a joint loose.
If you want vinyl plank to feel solid underfoot and stay locked together, the concrete underneath needs to be flat. Not perfectly level like a pool table, but flat enough that the planks are fully supported and not bending.
Flat vs level
Most vinyl plank manufacturers care about flatness, not whether your slab is perfectly level from one wall to the other. Basements often slope toward a drain or a sump area. That slope is fine as long as the surface is flat enough that planks are not flexing.
Typical guidance you will see in installation manuals is something like:
- Within 3/16 inch over 10 feet, or
- Within 1/8 inch over 6 feet
But specs vary. Some products are looser (you will occasionally see 1/4 inch over 10 feet), and some are tighter, especially with certain locking systems.
Bottom line: check your specific flooring instructions, then build your prep plan around those numbers. If there is a conflict between what someone on the internet says (including me) and your flooring warranty paperwork, the paperwork wins.
Fix moisture and bond issues first
Self-leveling underlayment and patch compounds are not miracle products. They need a slab that is dry enough and stable enough to bond to.
1) Make sure you are not fighting bulk water
If you have active seepage, puddling after rain, or dampness that comes and goes with storms, fix that first. Start outside whenever possible. I walk homeowners through the basics here: Exterior moisture control: yard grade and downspouts.
2) Do a moisture check (screening vs warranty tests)
Even if the basement looks “dry,” moisture vapor can still be moving through the slab. That matters for floor performance and for primers and underlayments.
At minimum, do a basic slab check before you spend money on leveling products. This guide shows practical ways to screen for trouble: Test a basement slab for moisture emissions.
Important: screening checks are not the same thing as warranty-level compliance. Some vinyl, adhesives, primers, and SLUs require specific ASTM tests (commonly in-slab RH probes or calcium chloride) to meet the fine print. If you care about a warranty or you are seeing borderline conditions, treat proper ASTM testing as part of the plan.
3) Deal with cracks and movement
Hairline shrinkage cracks are common. Wide cracks, differential height between the two sides, or cracks that keep growing deserve more attention.
If water is coming through cracks, address that first: Seal foundation cracks with injection kits.
Tools and materials
You can do this with basic tools, but a few items make a big difference in accuracy and finish quality.
Measuring and marking
- 6 to 10 foot straightedge (a long level works, but a straightedge is better)
- Chalk line or painter’s tape
- Marker or carpentry pencil
- Optional: laser level (helpful for mapping, not required)
- Optional: flashlight (raking light makes dips and humps obvious)
Prep and repair
- Scraper and shop vacuum with a clean filter
- Degreaser for any oily spots
- Concrete patch for small repairs (rated for feather edge if you need to taper)
- Concrete crack filler appropriate to your situation
Grinding high spots
- Angle grinder with a diamond cup wheel, or a floor grinder for larger areas
- Dust shroud and a vacuum rated for fine dust (silica dust is no joke)
- Hearing protection, eye protection, and a well-fitting respirator (a NIOSH-approved P100 is a good baseline)
Self-leveling underlayment (SLU) work
- Manufacturer-approved primer
- Self-leveling underlayment bags (cementitious)
- Mixing drill (1/2 inch) and mixing paddle
- Two buckets (one for mixing, one for rinse if you work fast)
- Gauge rake or smoothing tool
- Spiked roller (helps release trapped air)
- Foam sill seal or expansion foam strip for perimeter
Basement reality check: if you only have a couple of dips, you may not need a full SLU pour. Spot filling with a good patch can be smarter and cheaper, as long as it meets flatness requirements.
Step 1: Map the floor
The fastest way to waste money is pouring leveler everywhere when you only needed to correct a few problem areas.
How I find low spots and high spots
- Start with a clean slab. Vacuum thoroughly. Grit can trick you into “finding” humps that are just debris.
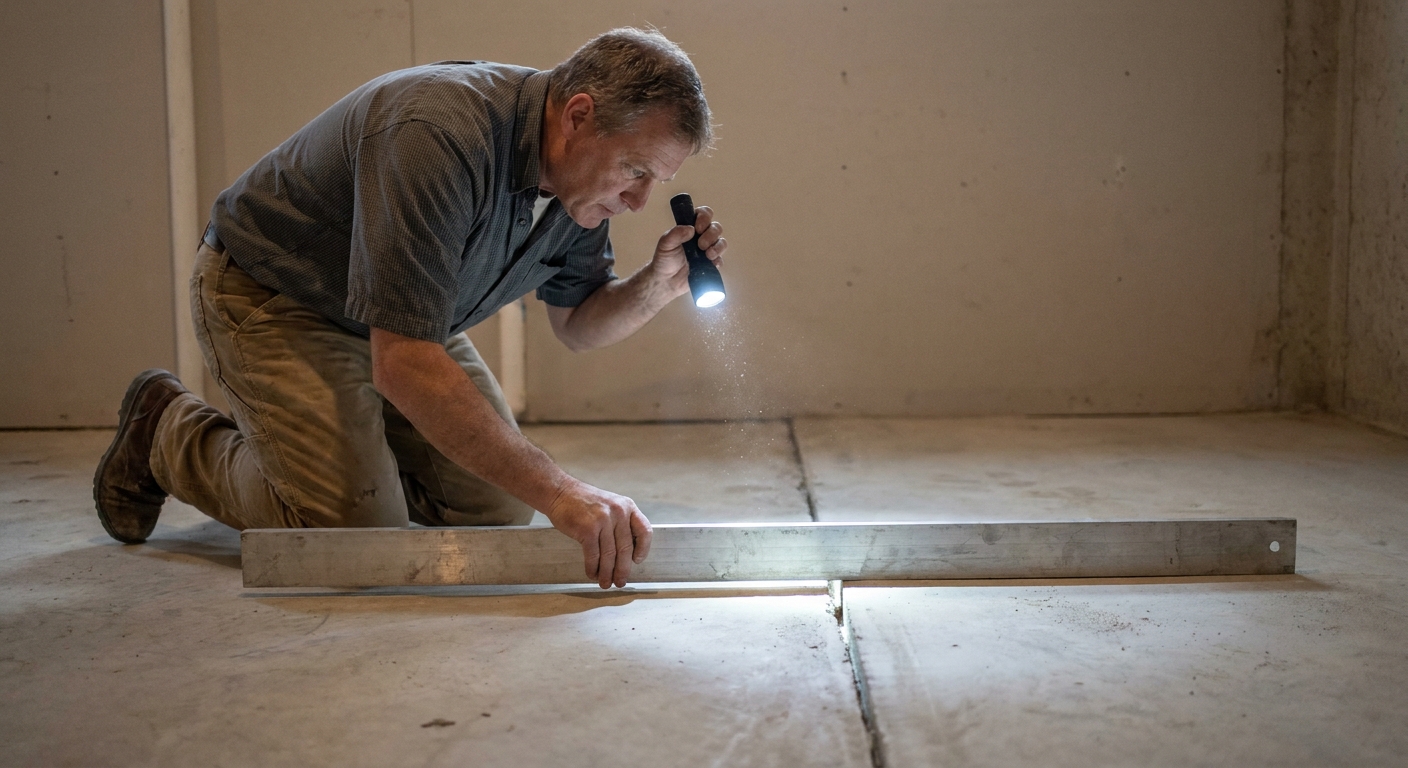
- Lay the straightedge down in multiple directions. Go north-south, east-west, and diagonals. Slide it around like you are looking for a squeaky board.
- Use a flashlight at a low angle. Shine it along the floor. Shadows show dips better than your eyes do in overhead light.
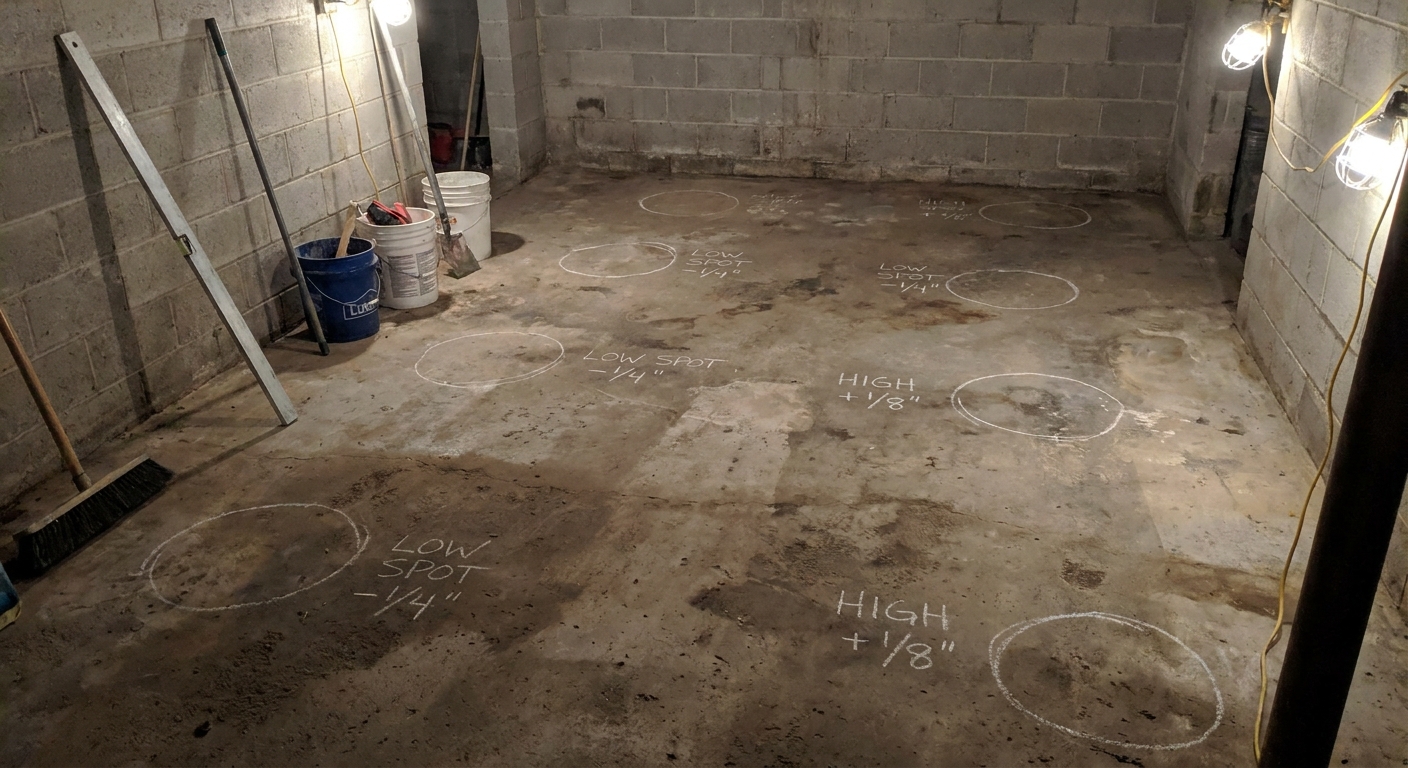
- Mark the results. Circle dips, X the humps. Write the depth on the slab if you can measure it.
Measuring the depth of a dip
When the straightedge bridges a low spot, measure the biggest gap under it using feeler gauges, stacked shims, or even a few paint stir sticks you know the thickness of. Your goal is to learn whether you are dealing with:
- Minor flaws (less than 1/8 inch)
- Moderate dips (1/8 to 1/4 inch)
- Serious low areas (over 1/4 inch, or spread over a big area)
That classification will tell you whether to grind, patch, pour SLU, or do a combination.
Step 2: Grind high spots
This is the part many DIYers skip, and then they end up pouring more self-leveler than they needed. Always remove the humps before you start filling dips.
Where high spots come from
- Trowel ridges and swirl marks
- Old adhesive ridges
- Heaved cracks or curled control joints
- “Mountains” around a patch someone did years ago
Grinding tips
- Control dust. Use a shroud and a vacuum, wear a real respirator, and seal off the basement from the rest of the house.
- Feather your edges. Do not create a new sharp ridge around the ground area.
- Check often. Grind a little, vacuum, straightedge it again. It is easy to overdo one spot.
- Stop if you hit black cutback adhesive. Older cutback can contain asbestos. Do not grind it. Get it tested and follow local rules for handling and abatement before you make dust.
After grinding, vacuum again and re-map the area with your straightedge. Many “low spots” are suddenly not low once the surrounding hump is gone.
Step 3: Prep the slab
Self-leveling underlayment is picky about prep. Most failures I see are not because the product is bad. They are because the slab was dusty, contaminated, or not primed correctly.
Clean and decontaminate
- Scrape off paint, drywall mud blobs, old adhesive ridges, and anything loose.
- Degrease oily spots. Rinse according to the cleaner instructions and let it dry.
- Vacuum until the slab looks boring.
Seal gaps so SLU does not escape
SLU can be very flowable, and it will find every crack and expansion gap and disappear into it.
- Perimeter: install a foam expansion strip along walls and around posts. This keeps the pour from bonding to walls and helps prevent edge cracking.
- Cracks and holes: fill or tape per the SLU manufacturer’s guidance.
- Floor drains: if the drain stays, build a temporary dam so you do not pour leveler into the plumbing. If you are abandoning the drain, do that properly before leveling.
Prime the concrete
Do not skip primer. Primer controls suction so the SLU flows and cures properly, and it improves bond strength. Use the primer recommended by the SLU brand you buy, and apply it as directed. Some products require diluted primer on porous slabs, sometimes two coats.
Let the primer dry to the correct stage. Some want it fully dry, some want it tacky. The bag and data sheet win every argument here.
Step 4: Patch or pour
Here is how I make the call in basements.
Use a patch compound when
- You have a few isolated dips.
- The dips are shallow and can be feathered.
- You do not need to correct a large, wavy area.
Use self-leveling underlayment when
- You have many dips and humps across the room.
- You need to fill a wide low area without trowel marks.
- You want the most reliable flatness result under click-lock vinyl.
A common winning combo
- Grind the high spots.
- Patch small defects and cracks.
- Pour SLU only where needed, or do a full skim pour if the slab is generally wavy.
Step 5: Mix and pour SLU
Self-leveling underlayment sets fast. The job is less about muscle and more about setup and timing.
Plan the pour
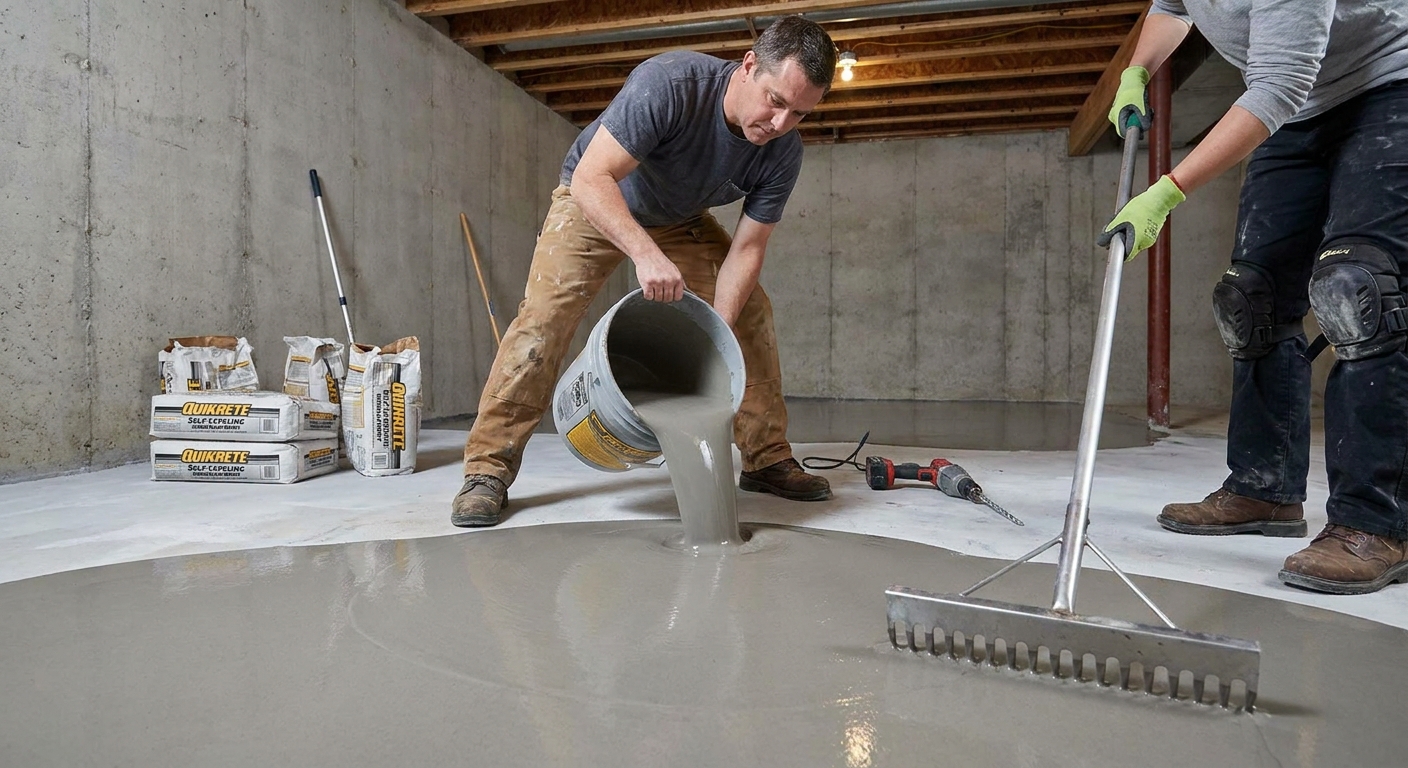
- Stage materials. Put all bags, buckets, water, drill, paddle, rake, and roller in place before you start.
- Work toward an exit. Do not pour yourself into a corner.
- Have help if the area is big. One person mixing while the other pours and rakes makes a huge difference.
- Mind temperature. Hot rooms shorten working time, cold rooms slow cure. Follow the product’s temperature range.
Do a quick bag count first
Nothing ruins a pour like running out of material mid-room. Measure your square footage and estimate average fill depth, then buy enough bags with a little buffer. The coverage chart on the SLU bag is usually the quickest way to do this math without getting fancy.
Mixing rules I follow every time
- Measure water precisely. Too much water weakens the pour and can cause separation or dusty surfaces. Too little and it will not flow.
- Mix for the full time. Most products call for a specific mix duration and sometimes a short rest then remix.
- Do not re-temper. Once it starts to set, do not add water and remix.
Pouring and spreading
Pour in ribbons and use a gauge rake or smoothing tool to help it reach the thickness you need. “Self-leveling” still needs guidance. It will not magically fix a huge dip if you do not put enough material there.
- Keep a wet edge. Blend each bucket into the next so you do not get cold joints.
- Use a spiked roller. Light passes help release air and improve flow.
- Respect min and max thickness. SLU products have limits. If you need thicker than allowed, you may need multiple lifts or a different product.
Common DIY failure modes
- Overwatering the mix because it “seems thick”
- Skipping primer or using the wrong primer
- Not sealing the perimeter and watching SLU disappear into gaps
- Pouring too thin in a dip and assuming it will find its own level
Step 6: Cure and re-check
Once the SLU cures enough to walk on, do not assume you are done. Check it.
What to do after cure
- Scrape nibs and ridges. Sometimes a little material hardens at the edge of a pour. Knock it down with a scraper or rubbing stone.
- Re-check with your straightedge. Confirm you meet the flooring flatness requirement.
- Spot correct if needed. Small imperfections can often be skimmed with patch compound or lightly ground.
When can you install vinyl plank?
Follow the SLU manufacturer’s cure time for installing flooring. Some products are ready in hours, others need longer depending on thickness and conditions. Basements with high humidity can slow cure, so keep air moving and run a dehumidifier if needed.
If you are building out the whole basement, it helps to keep the order of operations straight so you are not dragging drywall dust and framing debris across your new underlayment. This timeline overview is how I think about sequencing: Basement remodel timeline: correct order of operations.
Basement gotchas
Do not bury a moisture problem
Leveling does not waterproof. If you are seeing dampness or musty smells, tackle ventilation and moisture control as part of the flooring plan. This is where I start: Basement ventilation strategies for fresh, odor-free air.
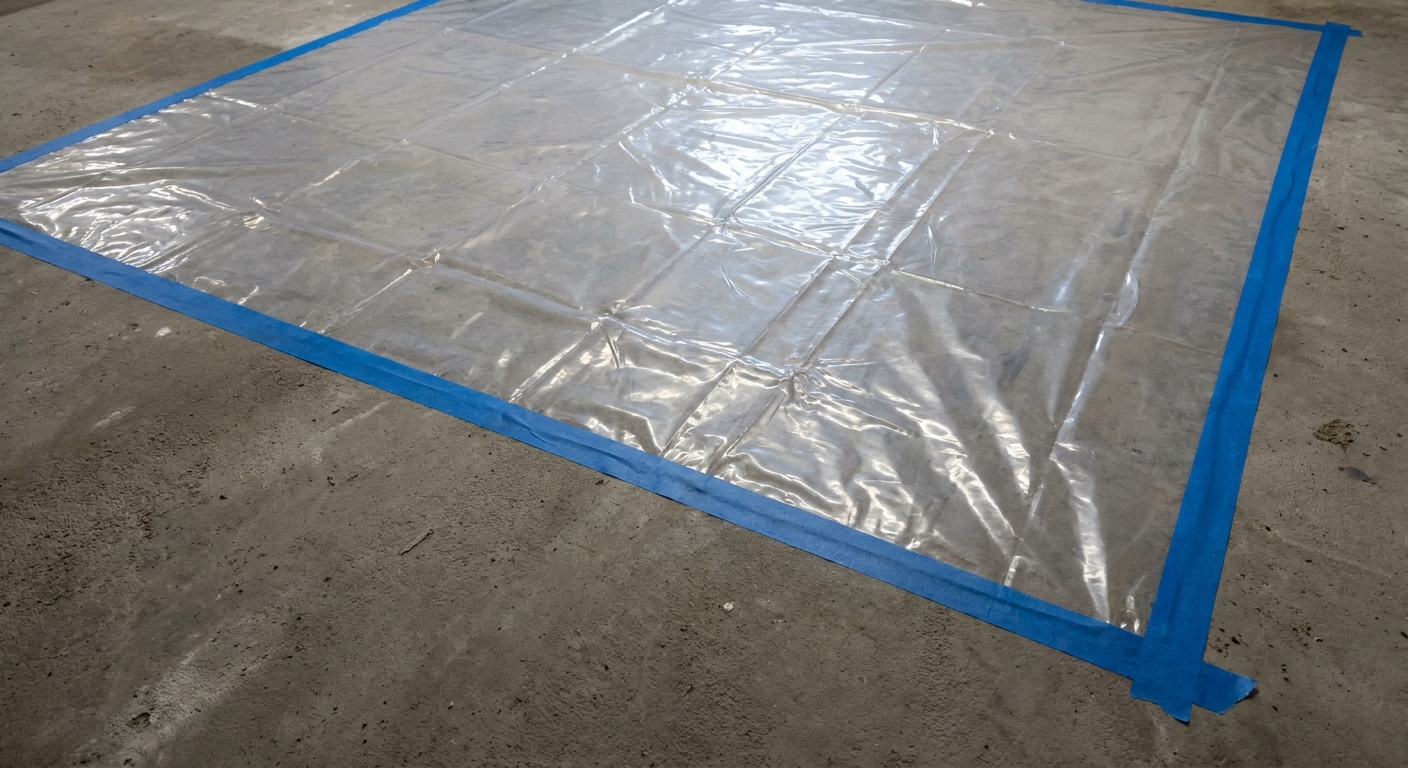
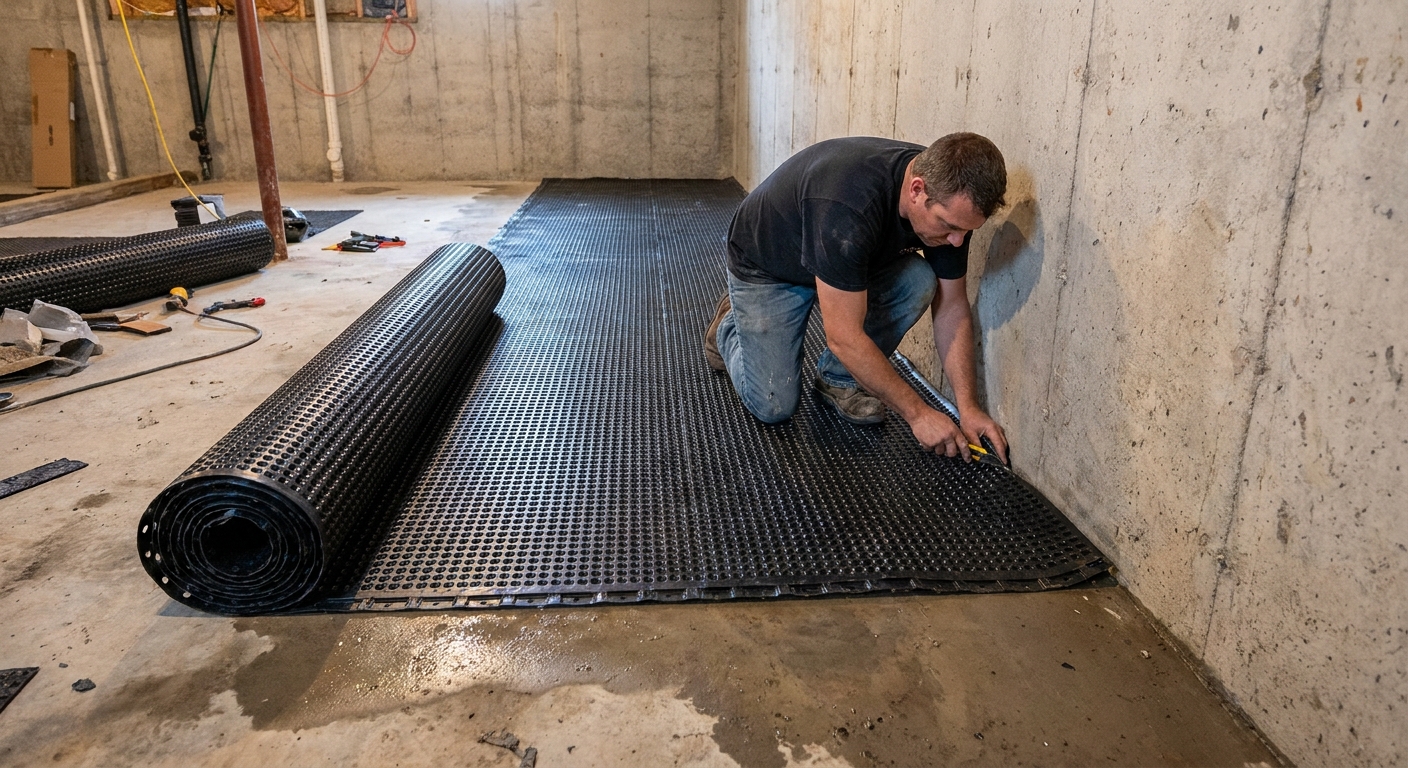
Also, pay attention to the vinyl system you bought. Some vinyl plank has an attached pad and forbids additional underlayment. Many products also require a vapor barrier over concrete, even when the slab looks dry. Follow the flooring instructions, not your instincts.
Watch ceiling height and transitions
SLU adds thickness. Vinyl adds thickness. Underlayment can add thickness. In a basement with already tight headroom, transitions at stairs and door thresholds can get tricky fast. It is one reason I like to grind high spots aggressively instead of pouring thicker everywhere.
Do not level over soft concrete
If the slab surface is chalky, crumbling, or delaminating, SLU can come loose with it. You may need to mechanically remove weak material and use a bonding primer system designed for that condition.
Control joints are a risk zone
Basement slabs often have control joints. Many manufacturers do not want you bridging an active joint without a detail that allows movement. Some systems allow bridging in limited cases, others require honoring the joint all the way through the finished floor. Read the vinyl plank instructions and the SLU instructions and make a plan that satisfies both.
Quick checklist
- Confirm no active water issues, then do a moisture check (screening now, ASTM testing if required for your system or warranty).
- Map the slab with a straightedge and mark humps and dips.
- Grind high spots first, vacuum thoroughly.
- Patch cracks and holes, dam drains and gaps, isolate the perimeter.
- Prime the slab with the SLU brand’s primer.
- Buy enough SLU for the pour, then mix exactly per instructions.
- Pour, rake, and spike roll while keeping a wet edge.
- Let it cure fully, scrape nibs, re-check flatness.
- Install vinyl plank only when the underlayment is ready and the underlayment and vapor barrier details match your flooring spec.
FAQ
Can underlayment padding fix an uneven slab?
No. Underlayment is for minor sound and comfort benefits and sometimes moisture management depending on the system. It will not correct dips and humps, and thick soft padding can actually make click-lock joints fail sooner because the floor flexes.
Do I need to level the whole basement or only the vinyl area?
Only the footprint that will receive vinyl plank needs to meet the flatness spec. If adjacent areas will be finished later, I still like to prep at least a few feet beyond the current project boundary so you are not trying to feather new leveler into an existing finished floor later.
What if my vinyl plank has an attached pad?
Then you need to be extra careful about what, if anything, you put under it. Many attached-pad products forbid additional foam underlayment, and some still require a vapor barrier over concrete. The installation manual tells you what is allowed.
What about control joints?
Treat them as movement points until proven otherwise. Do not assume you can bury them under SLU and vinyl. Follow the flooring and SLU instructions, and if either one says the joint must be honored, build that detail into the finished floor plan.
Is self-leveler strong enough for a basement gym?
Most cementitious SLUs are plenty strong once cured, but they are not designed to be the wear surface. Vinyl plank with the right underlayment can work well for a home gym, but heavy point loads and dropped weights are a separate problem. If that is your use case, I would prioritize extra flatness and consider protective mats in the heavy lifting zone.