The first basement floor I ever coated with epoxy looked great for about two weeks. Then it started peeling in spots like a bad sunburn. The epoxy was not the problem. My prep was.
Basement slabs are sneaky. They can look clean and dry while still holding moisture, curing compounds, and ground-in grime that keep epoxy from bonding. If you take your time on cleaning, profiling (etching or grinding), and moisture checks, a basic two-part epoxy kit can give you a tough, easy-to-clean floor that feels instantly more “finished.”
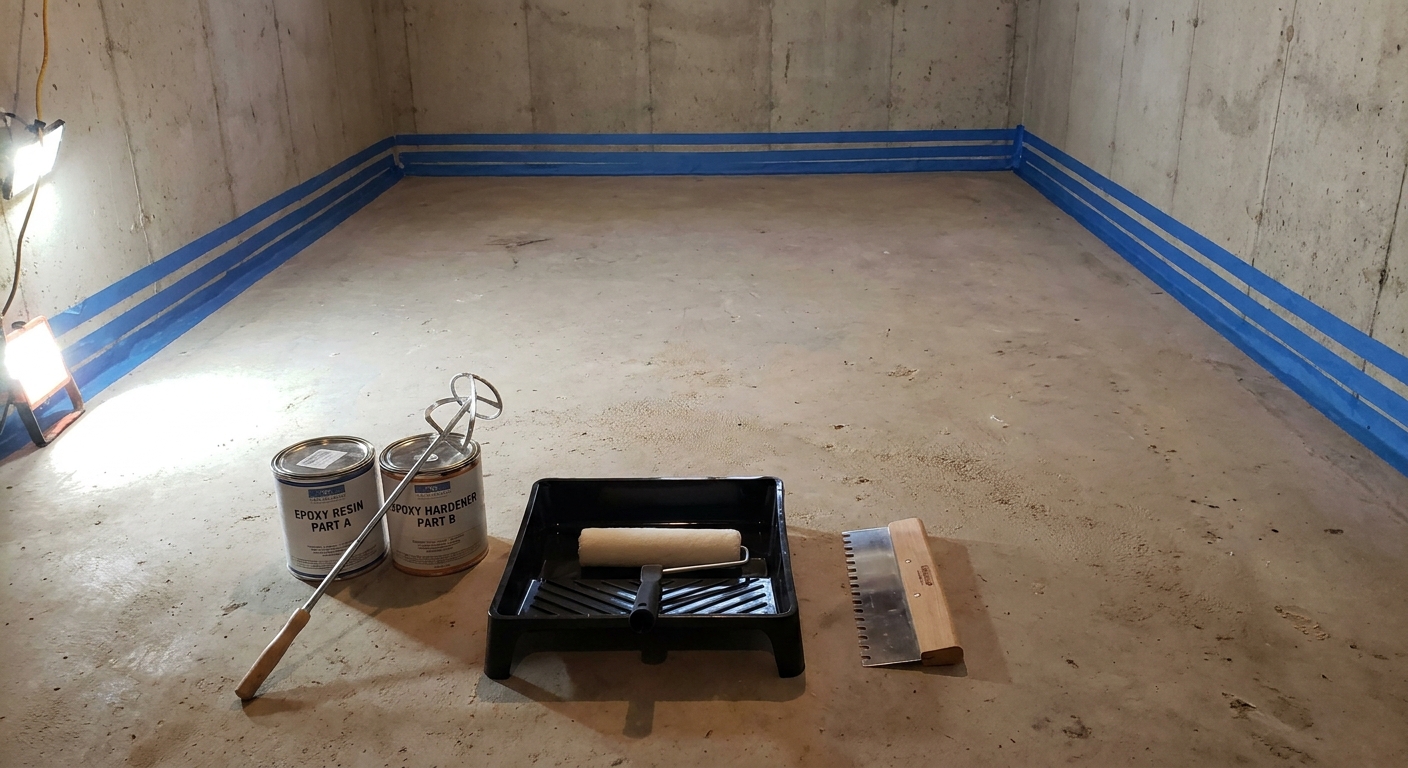
Before you epoxy
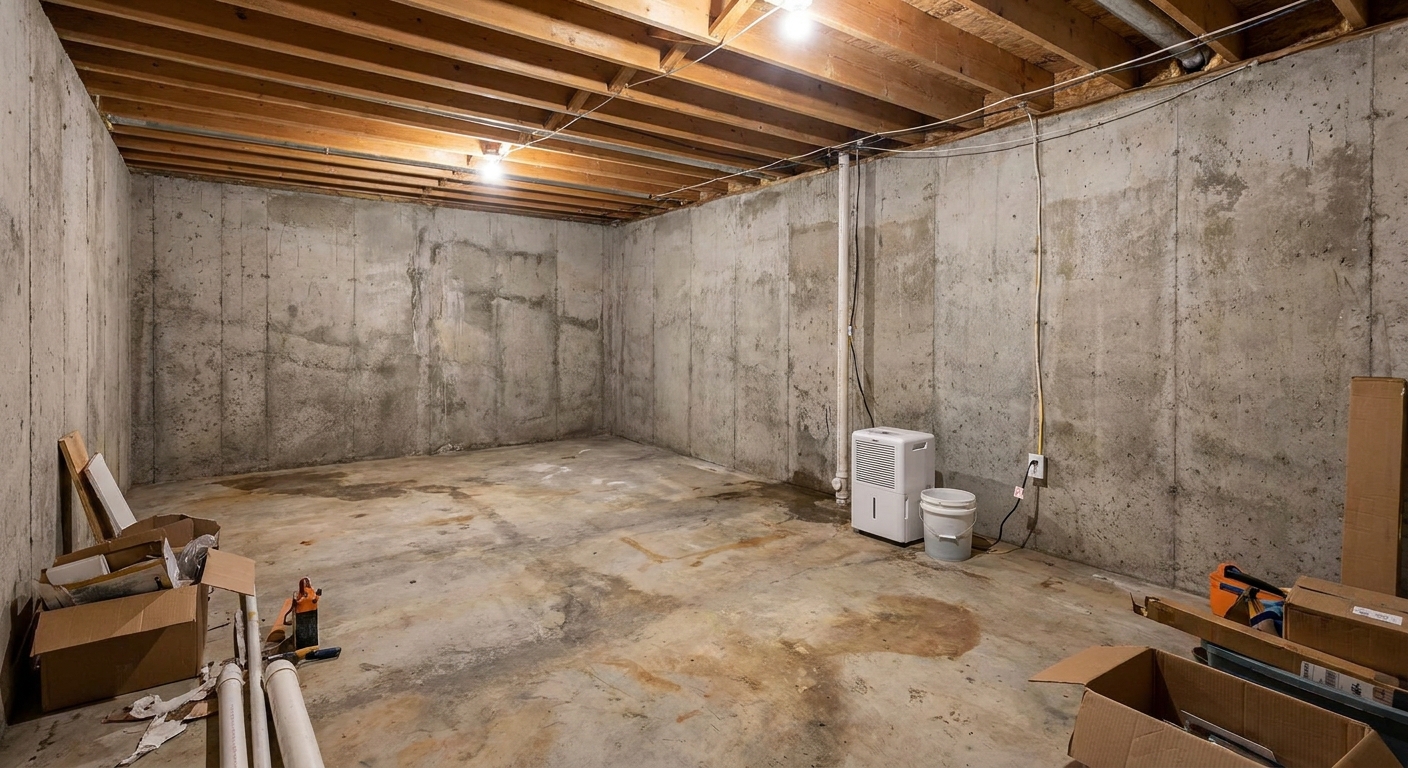
Epoxy is durable, but it is not a waterproofing system. If you have active water issues, you will waste money and time coating a slab that is pushing moisture up from below or leaking at the walls.
Check for bulk water first
- Standing water or puddles after rain: fix drainage and seepage before you coat.
- Efflorescence (white, chalky salts): indicates moisture movement through the slab or walls.
- Musty odors and damp air: you may need dehumidification and better ventilation.
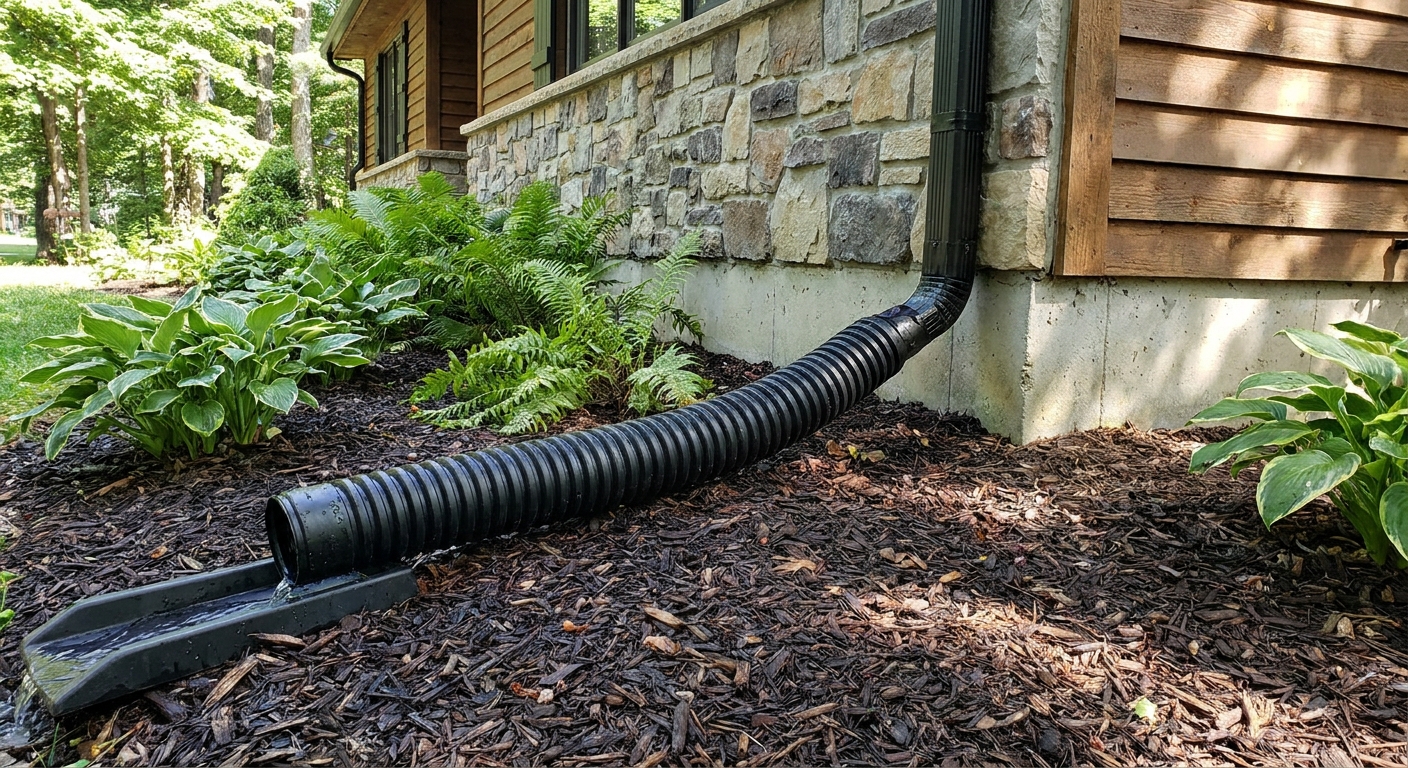
If you are still in the moisture-fighting stage, start here: Moisture Control and especially Exterior Moisture Control: Yard Grade and Downspouts.
Do a quick slab moisture test
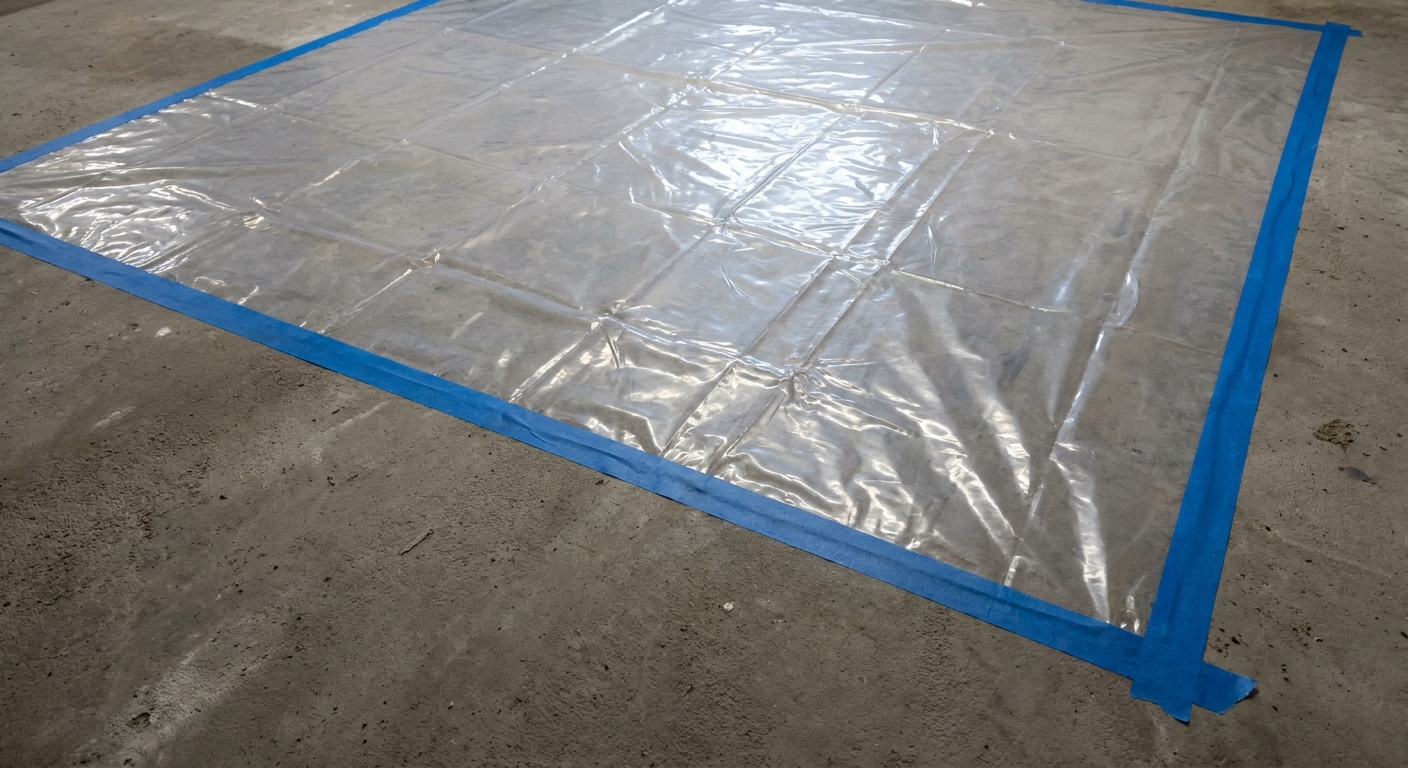
Even if the slab looks bone dry, test it. The easiest DIY screening method is a plastic sheet test. It is a pass/fail indicator, not a numeric moisture reading, so your coating manufacturer may still require a proper test for warranty or specific moisture limits.
- Sweep and vacuum a few areas of the slab.
- Tape down a square of clear plastic (about 2 ft by 2 ft) on all four sides so it is sealed.
- Leave it for 24 to 48 hours.
- If you see condensation under the plastic or the concrete darkens, moisture is moving through the slab.
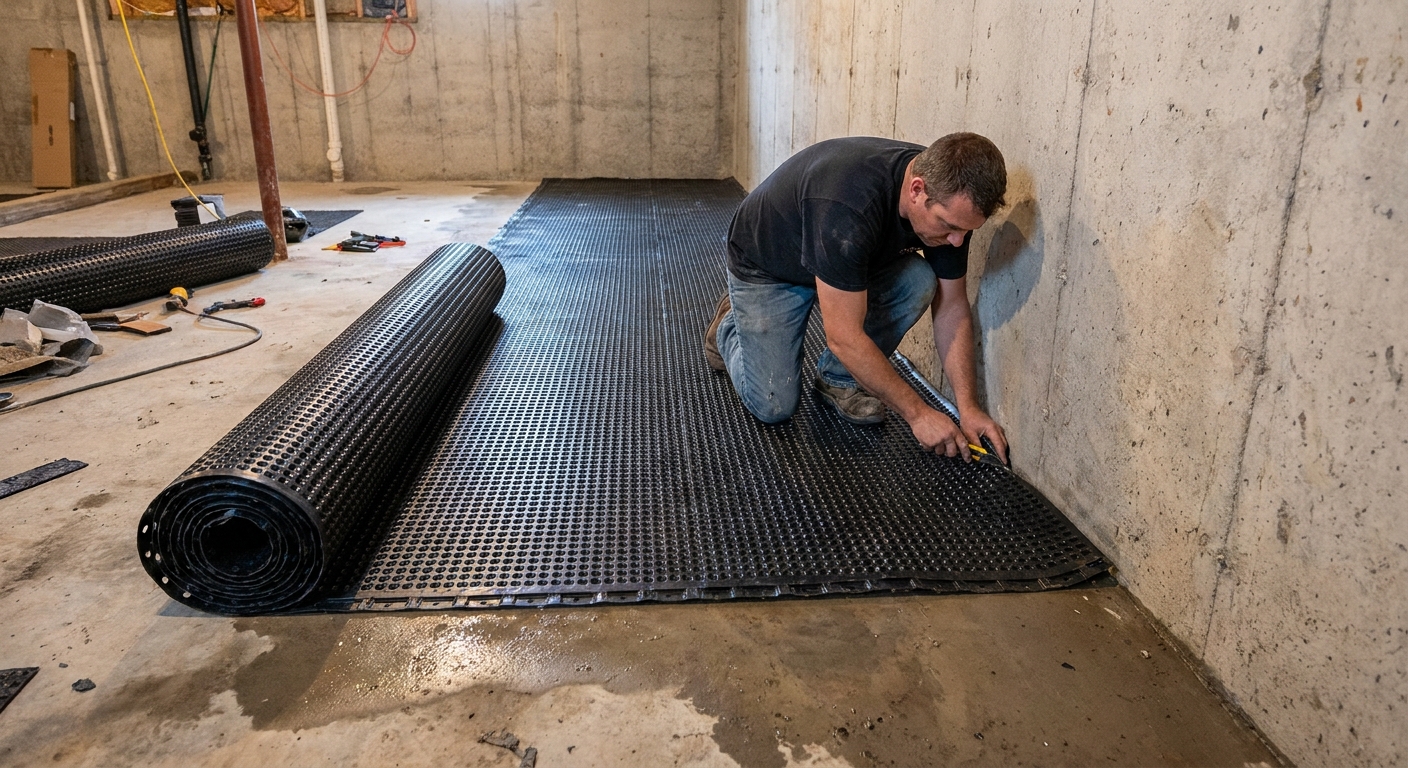
For a deeper dive on slab moisture and what it means for finishes, see Test a Basement Slab for Moisture Emissions. If moisture is high, look into moisture-mitigating primers specifically rated for your slab conditions, or pivot to a floating floor approach like subfloor panels instead of epoxy. This is one of those “listen to the concrete” moments.
What to buy
Most DIY kits fall into two camps:
- Water-based epoxy: lower odor, easier cleanup, often a bit more forgiving. Great for many basements, but typically not as thick as pro-grade systems.
- Solvent-based epoxy: stronger odor and ventilation needs. Performance varies a lot by formulation and solids content, so do not assume “solvent-based” automatically means tougher. Read the label, and pay attention to what the system is designed for.
Either can work if the slab is properly prepped and moisture is under control. What matters most is that you follow the manufacturer’s coverage rate, recoat window, and prep requirements.
Tools and supplies checklist
- Degreaser or concrete cleaner
- Stiff scrub brush and a push broom
- Shop vac (a wet-dry vac is ideal)
- Painter’s tape and plastic to protect walls
- Crack repair product (epoxy crack filler or concrete patch made for floors)
- Concrete etcher (commonly muriatic or a safer buffered acid product) or a grinder rental
- Garden hose and/or pump sprayer (for etching solution)
- Neutralizer, only if required by your etcher instructions
- Moisture-tolerant primer (if your system calls for it)
- Two-part epoxy (base + activator)
- Non-slip additive (highly recommended for basements)
- Notched squeegee and 3/8 in nap roller covers
- Extension pole, chip brush for edges, and a roller tray
- Spiked shoes (optional, helpful for larger spaces)
- Nitrile gloves, eye protection, and a respirator rated for your product (many coatings call for organic vapor cartridges)
- Fans for ventilation and drying
Budget note: epoxy looks inexpensive per square foot until you add prep supplies and (sometimes) a grinder rental. Prep is still cheaper than a failure.
Step 1: Prep the room
Epoxy is sensitive to temperature, humidity, and dust. I like to treat the basement like a mini jobsite.
- Temperature: follow your product’s range, but many kits want the slab and air in the 60 to 80 F zone.
- Humidity: lower is better. Run a dehumidifier the day before. On coating day, avoid pulling in muggy outdoor air and avoid aiming fans in a way that kicks up dust onto wet epoxy.
- Ventilation: set up a fan to exhaust air out a basement window if you can. If your product has strong solvents, take ventilation seriously.
- Dust control: finish sanding or framing messes before you coat. Epoxy is basically a dust magnet while wet.
One more basement gotcha: watch dew point and condensation. A cold slab on a humid day can sweat. If the floor feels cool and the air feels sticky, confirm conditions match your product guidance before you pour epoxy.
If you are still planning the overall basement build, epoxy often fits best before you frame walls, especially if you want the coated floor under the bottom plates. If your walls are already framed, it is still doable. You just need cleaner edge work and careful masking. For overall sequencing, see Basement Remodel Timeline: Correct Order of Operations.
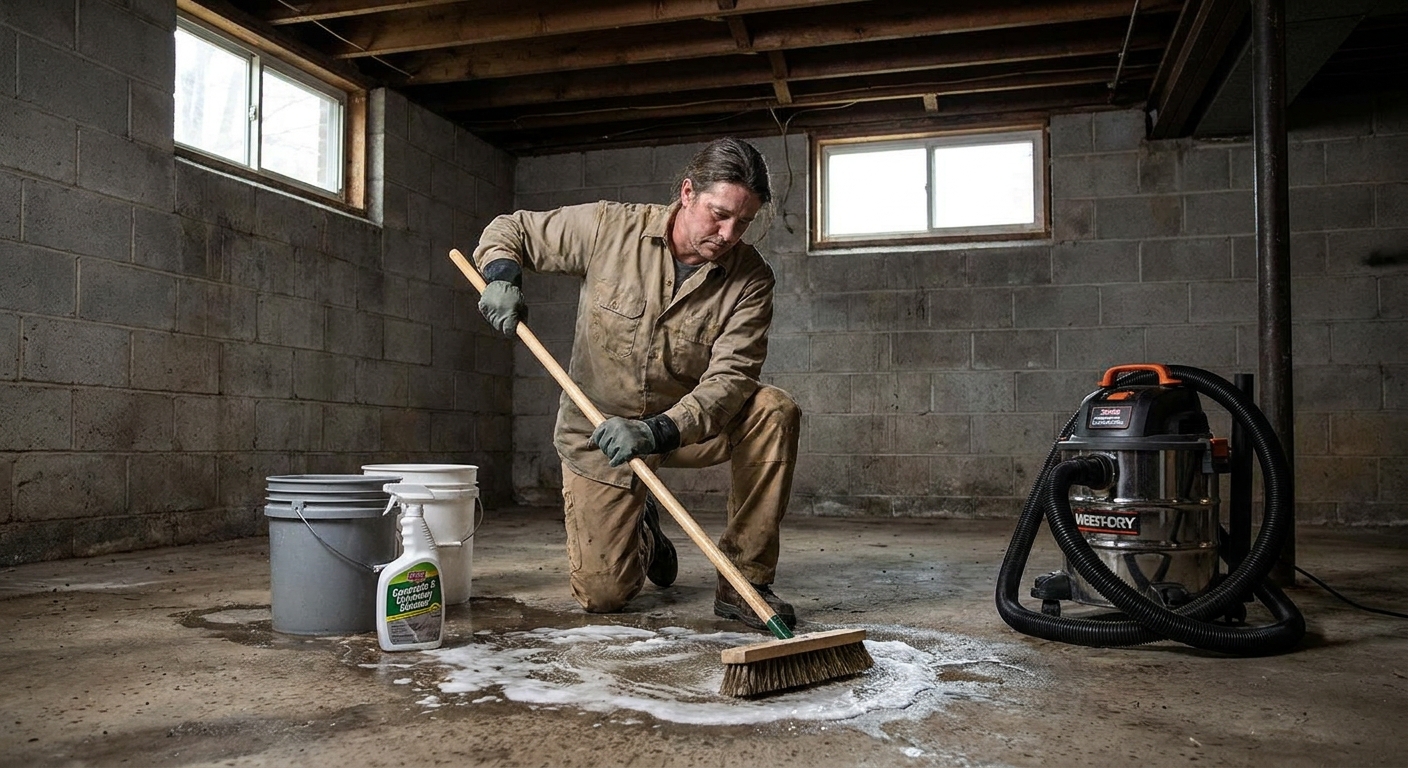
Step 2: Deep clean
Anything on the concrete that blocks epoxy from soaking in and grabbing the surface will cause peeling. Common basement culprits are paint overspray, drywall mud, old carpet glue, oil spots, and invisible curing compounds from when the slab was poured.
Cleaning process
- Scrape first: remove glue, paint drips, and bumps with a floor scraper.
- Degrease: treat oily spots with a concrete degreaser. Scrub hard and rinse thoroughly.
- Full-floor scrub: use concrete cleaner and a stiff brush. Work in sections.
- Rinse well: cleaner residue can interfere with bonding.
- Pull dirty water off the slab: squeegee and wet-vac the rinse water so you are not letting grime and cleaner dry back onto the concrete.
- Final vacuum: once the slab is dry, shop-vac it carefully.
Step 3: Repair cracks
Epoxy will not hide floor defects. It highlights them. Hairline shrinkage cracks are common, but not every tiny crack needs aggressive surgery. What matters is whether the crack is tight and stable, or moving and likely to re-open.
How I handle common defects
- Very tight, non-moving hairlines: depending on your system thickness, you may be able to clean and coat without chasing them. They can still “print through,” but they are not always an adhesion problem.
- Cracks you can feel, wider cracks, or edges that move: open slightly with a crack chaser wheel or grinder (if recommended by your filler), vacuum, then fill with an epoxy crack filler.
- Spalls and pitting: patch with a concrete repair product rated for floor traffic. Feather the edges smooth.
- Control joints: decide up front whether you will fill them (for a seamless look) or keep them as joints. Filling looks great but can crack again if the slab moves. If your basement has a history of movement, I tend to respect the joint.
Let repairs fully cure before etching or coating.
Step 4: Etch or grind
This is the make-or-break step. Epoxy needs a concrete surface profile so it can mechanically grip. A slab that feels slick or looks shiny is a red flag.
Option A: Acid etching
Etching dissolves a tiny amount of cement paste and opens up pores. Follow your etcher’s label exactly and wear proper protection. Keep kids and pets away.
- Pre-wet the slab: damp concrete helps the etch spread evenly.
- Apply etching solution: use a plastic watering can or pump sprayer, then scrub with a stiff broom. You should see light fizzing.
- Keep it wet while it reacts: do not let the etch dry on the slab.
- Neutralize only if required: some products call for it, some explicitly say not to. Do what your label says.
- Rinse until it is truly clean: flush thoroughly and keep rinsing until runoff is clear and you are confident no residue is left behind.
- Manage rinse water safely: follow the product label for collection, disposal, and what is allowed around floor drains or a sump system.
- Dry thoroughly: epoxy and damp concrete do not mix.
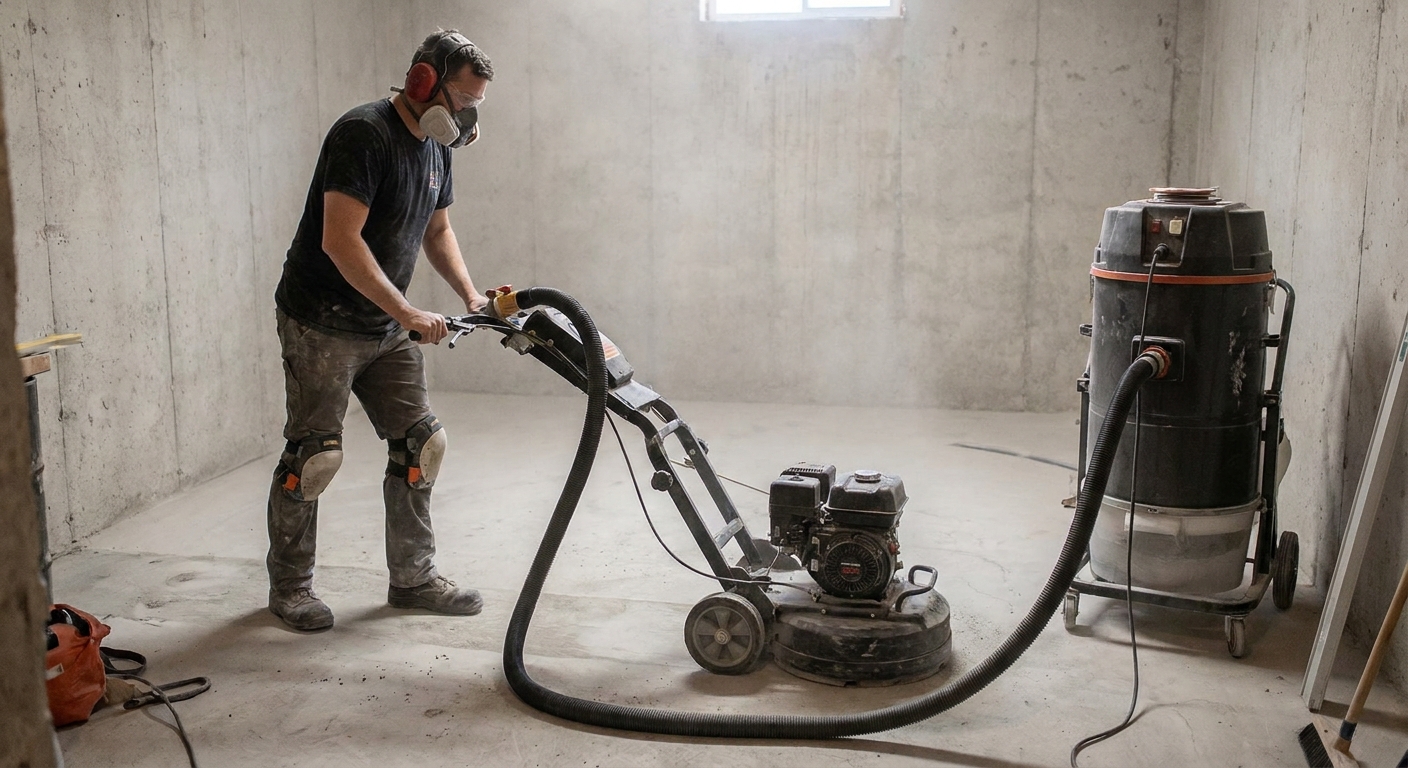
Option B: Grinding
Grinding is the more reliable way to profile concrete, especially if you suspect a curing compound or if the slab is very smooth. Renting a floor grinder with a diamond wheel and a proper dust setup is messy but effective. If you grind, you typically skip acid etching.
Whichever method you choose, your goal is concrete that feels like 120 grit sandpaper or matches the ICRI CSP profile your coating specifies (many thin-film epoxies want something in the CSP 1 to 3 range).
Step 5: Final checks
Do the water drop test
Sprinkle a few drops of water on multiple areas. If the water soaks in within a minute or two, the slab is open and porous. If it beads up, you still have contamination or the surface is too tight.
Confirm the slab is dry
After etching or rinsing, I like to give the slab at least 24 hours with fans and a dehumidifier, longer if humidity is high. If you can, repeat the plastic sheet test after the slab dries from prep. It is a good reality check.
Mask and protect
- Tape plastic at the bottom of drywall, insulation, or finished wall surfaces.
- Mask posts, stairs, and mechanicals.
- Plan your exit path so you do not paint yourself into a corner.
Step 6: Mix epoxy right
Two-part epoxy cures through a chemical reaction. Once Part A and Part B meet, the clock starts. That clock is called pot life, and it is shorter in warm rooms and in deep buckets.
My mixing rules
- Read the kit instructions first: some require induction time, meaning you mix, wait, then mix again.
- Pre-mix Part A: pigments can settle.
- Combine full units if possible: partial mixing mistakes are common. If you must split, measure precisely.
- Mix thoroughly: scrape sides and bottom. Unmixed epoxy stays tacky forever.
- Pour into a roller tray fast: leaving mixed epoxy in a bucket builds heat and shortens working time.
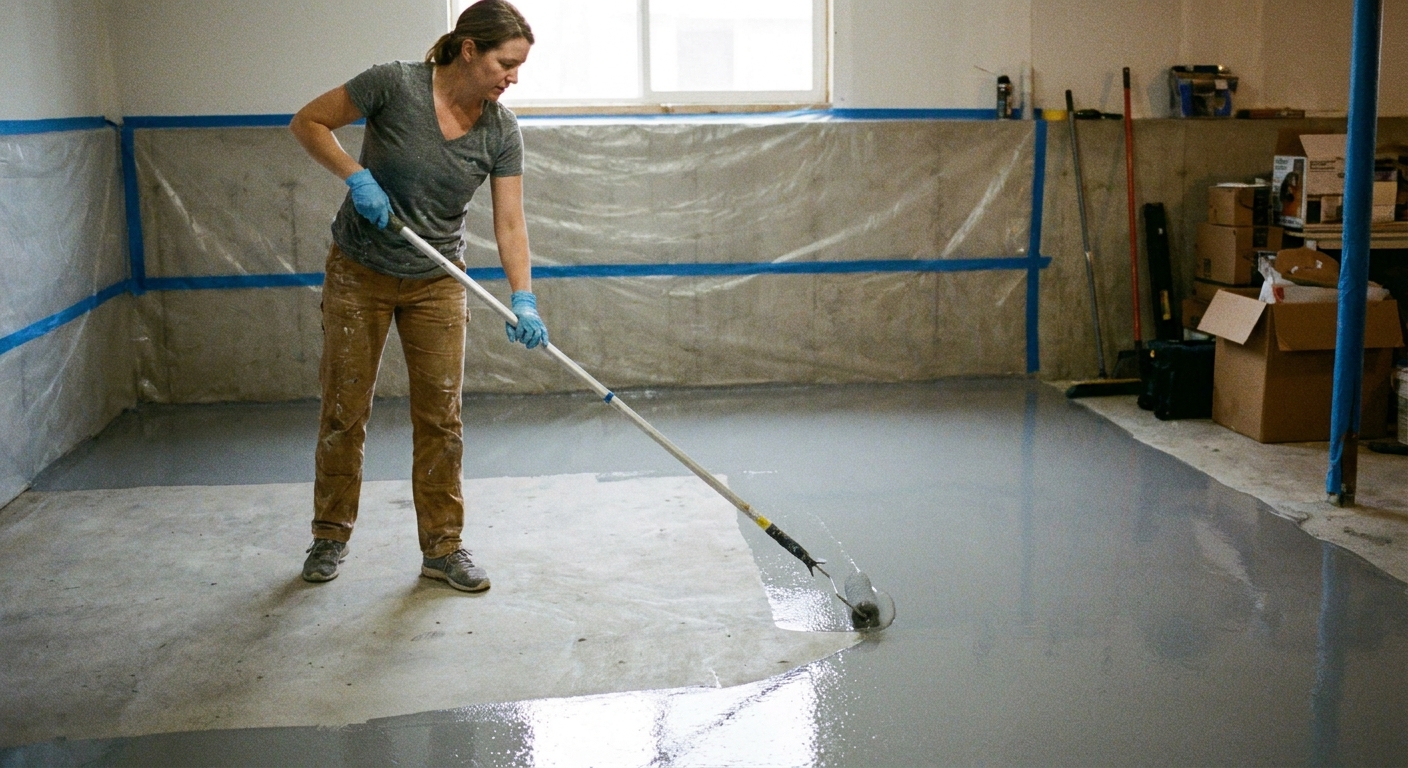
Step 7: Apply the base coat
Work in manageable sections. I like to cut in edges first, then coat the field while the edges are still wet so everything blends.
Application method that stays even
- Cut in: use a chip brush along walls, around columns, and tight spots.
- Pour ribbons: pour epoxy in small ribbons on the floor, not all in one puddle.
- Squeegee (optional but helpful): spread to approximate thickness quickly.
- Back-roll: roll perpendicular to your squeegee direction to even out roller marks.
- Maintain a wet edge: overlap sections before they start to tack.
Coverage rate is not a suggestion. Too thin can wear fast. Too thick can create curing problems and soft spots. Also, do not over-roll. Aggressive rolling can whip in air and contribute to bubbles.
Add traction now
Basements are notorious for damp shoes, socks on stairs, and the occasional dehumidifier spill. If your kit allows it, mix a non-slip additive into the epoxy or broadcast it lightly while wet. A little goes a long way. You want “confident footing,” not sandpaper.
Step 8: Flakes and topcoat
Many DIY systems include vinyl color flakes. They hide minor imperfections and make the floor look less like a garage.
If you use flakes
- Broadcast by hand: toss flakes upward like you are feeding chickens, letting them flutter down for even coverage.
- Choose your density: light sprinkle looks subtle; heavy broadcast is more uniform but uses more material.
- Let cure, then scrape: after the base cures, lightly scrape standing flakes with a floor scraper and vacuum thoroughly.
Topcoat tips
A clear topcoat adds abrasion resistance and makes cleaning easier. It is also your chance to lock in traction additive. Apply within the recoat window listed on the product. If you miss that window, you may need to sand for adhesion.
Cure time
Epoxy “dries” to the touch relatively fast, but it cures over days. Treat it gently at first.
- Light foot traffic: often 24 hours, but follow your kit.
- Furniture: commonly 48 to 72 hours.
- Full chemical cure: up to 7 days.
Basements tend to run cooler and more humid than garages, so cure times can stretch. Keep air moving and humidity controlled.
Common failures
Peeling or delamination
- Cause: poor prep, moisture vapor, or residue from cleaners and etchers.
- Prevent: profile the concrete, rinse thoroughly, test moisture, and keep coverage correct.
Bubbles and pinholes
- Cause: outgassing from concrete, coating as temperatures rise, rolling too aggressively.
- Prevent: coat when temps are steady or falling, use primer if recommended, and do not overwork the roller.
Sticky spots that never cure
- Cause: poor mixing or wrong ratio.
- Prevent: mix longer than you think you need, scrape the sides, and measure carefully.
Slippery finish
- Cause: glossy epoxy plus basement humidity.
- Prevent: add a traction additive, especially near stairs and exterior doors.
Where epoxy fits
I like epoxy when you want a clean, tough floor that can handle storage, a workshop corner, a home gym, or a kid-friendly play zone that is easy to mop. It can also be a smart “Phase 1” floor: coat the slab now, then upgrade later if the basement becomes a full guest suite.
If you are comparing finishes, take a look at our overview of Flooring Options. For some basements, a floating subfloor system makes more sense than coating concrete directly, especially if you want warmth underfoot.
FAQ
Do I need to etch if I grind?
Usually no. Grinding is already creating the surface profile epoxy needs. Etching after grinding can introduce extra moisture and potential residue, so I typically pick one method and do it well.
Can I epoxy over old paint on the slab?
You can, but it is risky. Paint that is weakly bonded becomes the failure layer. The best practice is to mechanically remove old coatings until you are back to sound concrete.
What about basement radon?
If you have radon concerns, address them as part of your overall basement plan. Testing and mitigation planning belong early in the project, before you lock in finishes. Sealing floors can help with air leakage paths, but radon mitigation is its own system. Epoxy is not a substitute for mitigation.
Will epoxy hide cracks?
It hides staining well, but it will not hide movement. If your slab cracks expand and contract seasonally, they can print through or re-open unless you use a crack-bridging system designed for that movement.
Prep is the project
Applying epoxy is the fun part. Cleaning, profiling, repairing, and drying is the real job. If you do those steps patiently, you can get a basement floor that looks sharp, sweeps clean, and takes a beating without flinching.
If you are wrestling with dampness or odors before you coat, start with moisture basics here: Basement Ventilation Strategies for Fresh, Odor-Free Air and Basement Dehumidifier Sizing and System Options.