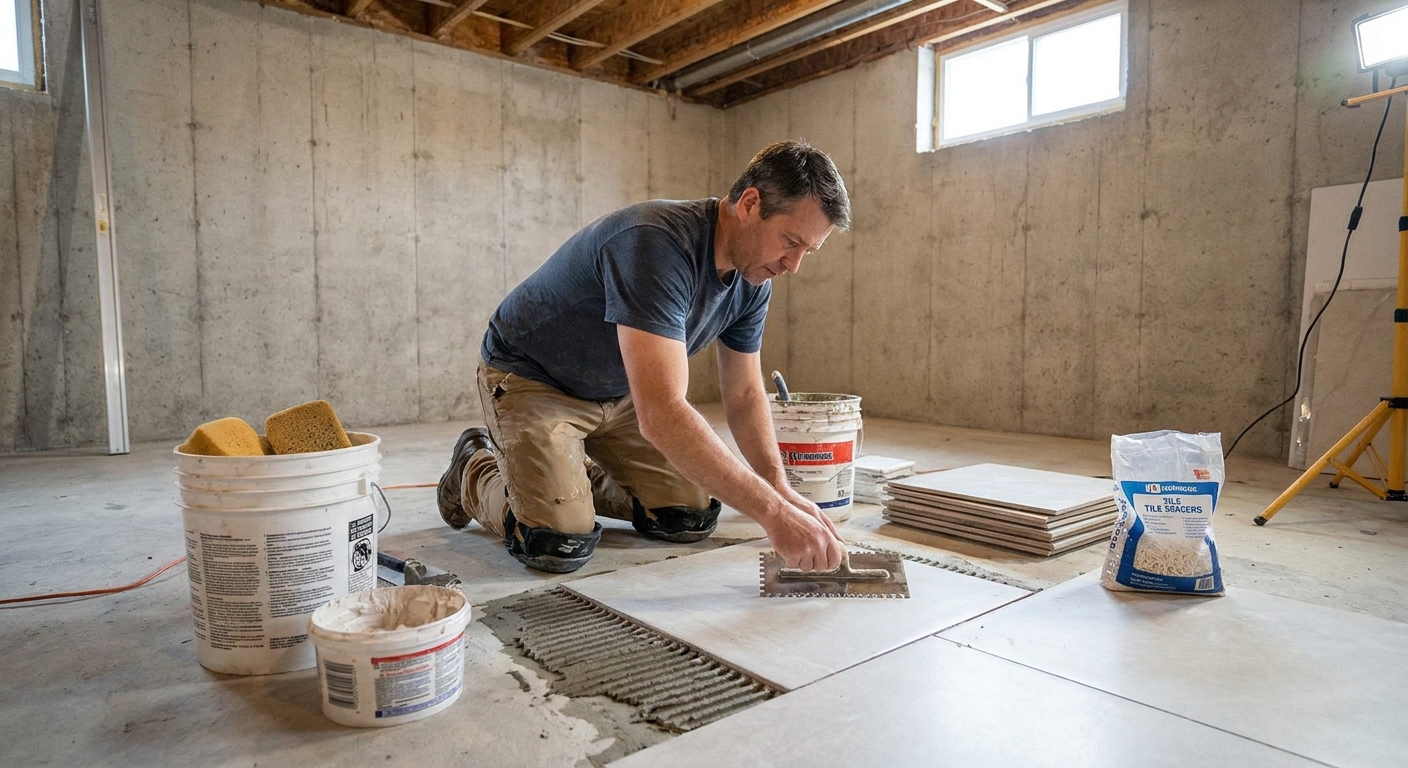
The first time I set tile on a basement slab, I did what a lot of DIYers do: I treated it like any other floor. The tile looked amazing for a few months, then a hairline crack showed up right through a grout joint. A season later, another one. The concrete had moved and the tile had no forgiveness.
Large format porcelain is a fantastic basement finish, but it is also brutally honest. If your slab has moisture, small cracks, or just normal shrinkage movement, a rigid tile assembly can telegraph that stress right to the surface. This guide is how I approach it now: the right mortar, the right membrane, and the little details that keep tiles from cracking.
Why basements crack tile
Basement slabs are different from a framed floor. Wood framing has a little give. Concrete does not. A slab can also move independently from your foundation walls, and it can do it in tiny amounts that are invisible until your grout starts splitting.
- Shrinkage and curing cracks: Many basement slabs have hairline cracks from the original pour. Those cracks can open and close slightly with seasonal changes.
- Moisture vapor emissions: High moisture vapor and alkalinity can exceed what a mortar or membrane system is designed to handle, contribute to efflorescence, and in some cases lead to bond problems over time. Cement thinset is not the same as a glue that “re-emulsifies,” but a wet slab can still create a system that fails.
- Thermal and humidity swings: Basements are cooler and can cycle in humidity, especially before the space is conditioned.
- Movement at the perimeter: The slab edge and wall junction is a common stress point.
If you take one thing from this article, make it this: tile does not like stress, but membranes and movement joints are designed for it.
Before you buy mortar: test for moisture
Uncoupling membranes help with movement, but they do not magically fix a wet slab. If you are finishing a basement, moisture is the first domino.
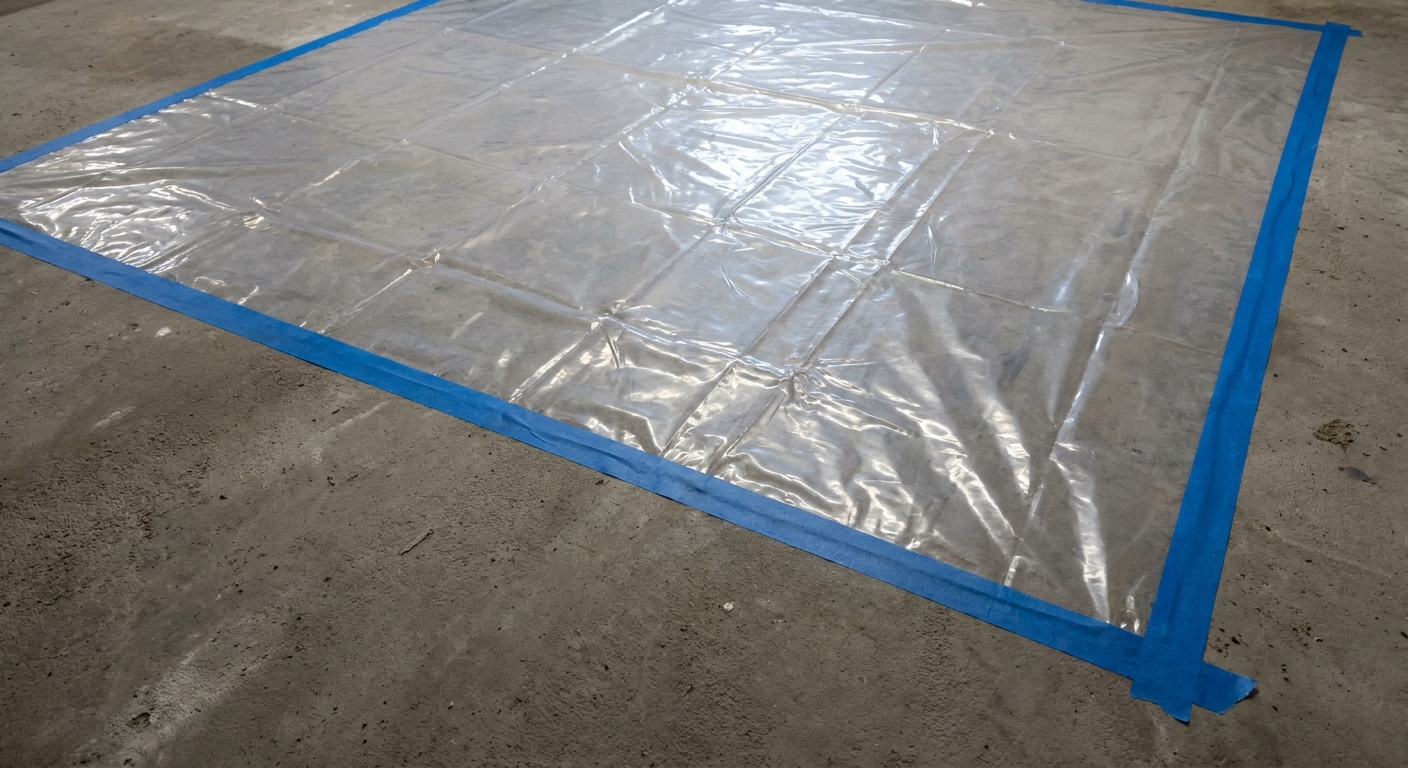
I like to do a basic moisture emissions check before committing to tile, especially if the basement ever smelled musty or you have had water issues. Start here: Test a basement slab for moisture emissions.
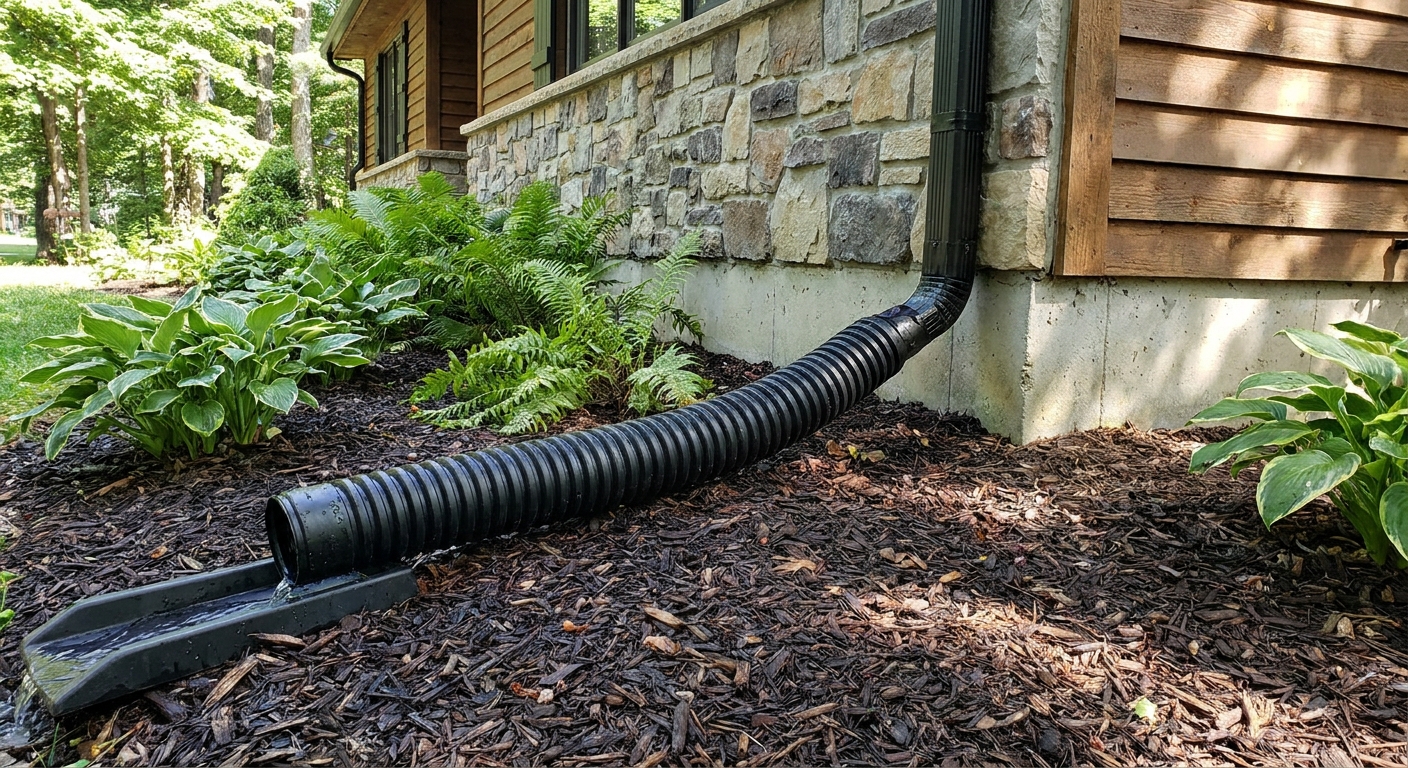
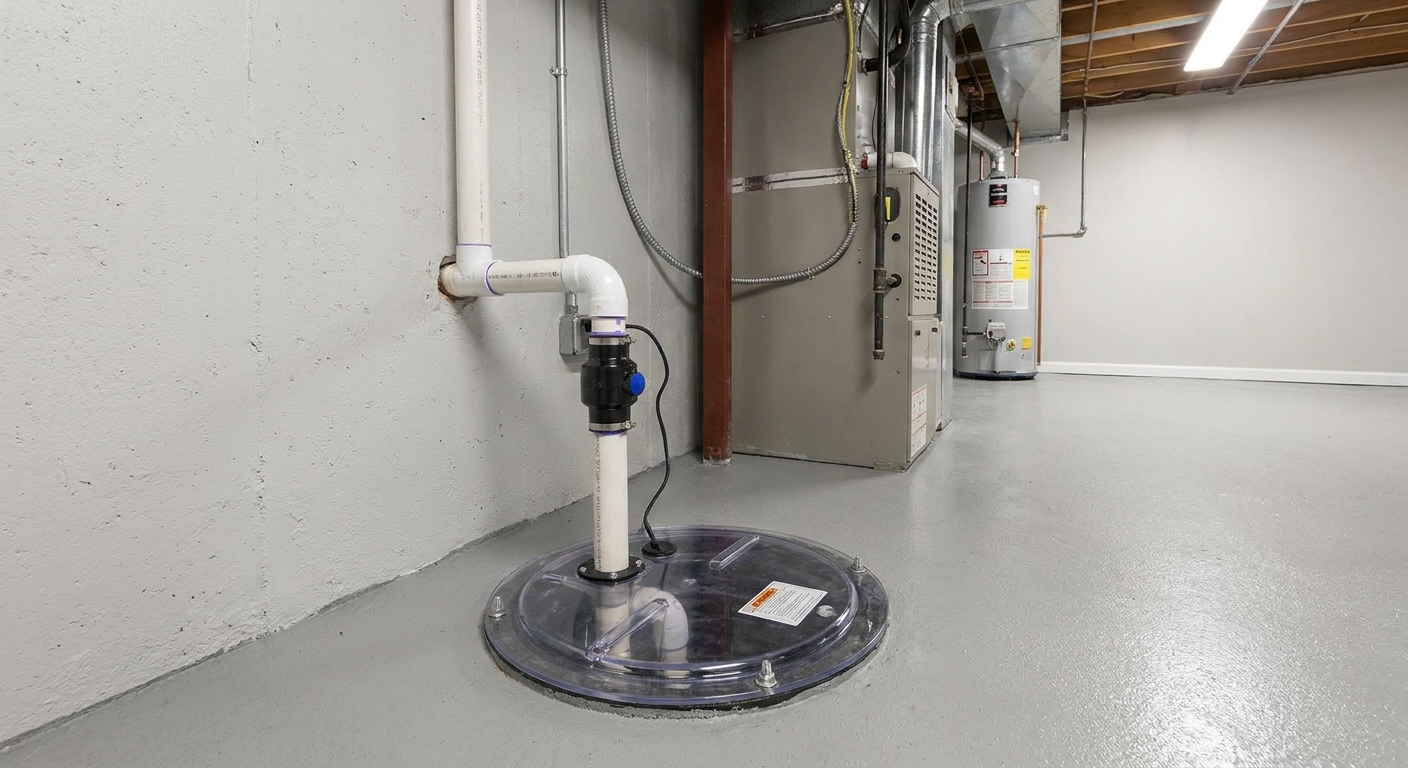
If you confirm elevated moisture, solve that upstream. Depending on the situation, that can mean exterior grading and downspouts, interior drainage, dehumidification, or sealing and remediation. These two pages are good companions:
Once the slab is within the limits for the membrane and mortar system you are using, then it is worth doing the tile work.
Slab prep that matters
Large tiles bridge imperfections. That sounds good, until you realize they also rock on high spots and leave voids under corners. That is how you end up with cracked grout lines and hollow sounding tiles.
1) Clean like you mean it
Thinset needs a clean, porous surface. Paint overspray, drywall mud, old adhesive, curing compounds, and sealers are bond breakers.
- Scrape and vacuum thoroughly.
- Degrease if there is any chance of oils.
- If water beads on the slab, assume contamination or a sealer until proven otherwise. Plan on mechanical removal, not a chemical shortcut.
One basement-specific caution: if you are dealing with old black mastic, unknown adhesive, or very old flooring residue, do not start grinding it blindly. In older homes, some materials can contain asbestos. Get it identified and follow safe removal practices before you turn it into dust.
2) Address cracks
Hairline cracks are common. Wide cracks, heaving, or differential height across a crack is a red flag that needs investigation.
If you are actively managing foundation issues, start with sealing and water control before tile. For crack sealing basics, see Seal foundation cracks with injection kits.
For tile purposes, follow the membrane manufacturer’s instructions for crack treatment. Some uncoupling membranes can go right over stable hairline cracks. Others require pre-filling or specific banding.
3) Flatten the slab
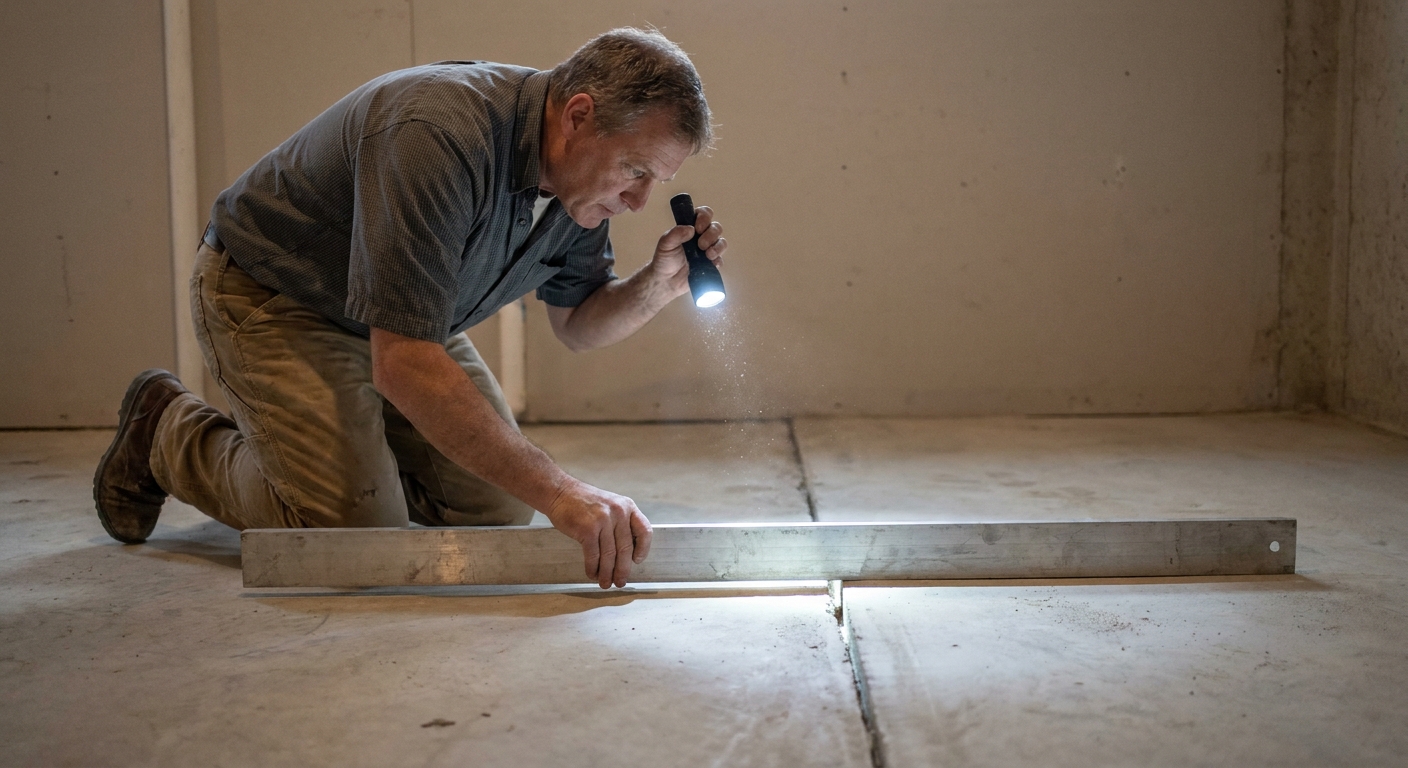
Tile cares about flatness, not whether the basement slopes to a drain. For large format tile, you want the floor very flat.
A typical industry requirement for tiles with any edge longer than 15 inches is around 1/8 inch in 10 feet and 1/16 inch in 2 feet. Treat that as a starting point, then confirm what your tile and mortar manufacturers require.
High spots get ground down. Low spots get filled with a patch or self-leveling underlayment approved for your assembly. If your slab needs significant flattening, this walkthrough helps: Level an uneven basement concrete floor. (It is written for vinyl plank, but the slab prep mindset and tools translate directly.)
4) Plan movement joints early
Tile assemblies need room to move. In basements, I pay special attention to:
- Perimeter joints where tile meets walls, posts, stairs, or thresholds. Leave movement gaps and later cover them with baseboard or a trim profile.
- Transitions to other flooring materials.
- Large continuous areas where you may need field movement joints depending on room size, sunlight exposure, and layout.
As a rule of thumb, movement joints are commonly spaced somewhere in the 20 to 25 foot range in each direction for interior installations, with more frequent joints if you have direct sun or heat sources. Do not treat that as a universal answer. Use the TCNA movement joint guidance (EJ171) and your product instructions.
A simple homeowner-friendly reference is the Tile Council of North America (TCNA): tcnatile.com.
Mortar for large format porcelain on concrete
“Thinset is thinset” is another lesson I learned the hard way. Large format porcelain, basement slabs, and uncoupling membranes all push you toward higher performance mortars.
What you want in basement mortar
- Meets the ANSI requirements appropriate for your assembly (modified or unmodified depending on membrane and substrate).
- Large-and-heavy-tile (LHT) rated so the ridges support big tiles without slumping.
- Working time that fits your conditions, since open time is affected by temperature, humidity, airflow, and substrate porosity. A thirsty slab and moving air can skin mortar faster than you expect.
- Good non-sag performance if any tile is going on risers or walls.
Modified vs unmodified
This is where DIYers get tripped up, because different uncoupling membranes have different mortar requirements.
- Bonding membrane to concrete: often calls for a modified thinset, but not always.
- Setting porcelain tile on top of the membrane: some membranes specify unmodified mortar, others allow or require modified mortars.
Do not guess. The membrane manufacturer is effectively the engineer for that system, and the warranty and performance assumptions follow their instructions.
A quick rule I use
If I am not 100 percent sure, I pick the membrane first, then buy the mortars that membrane calls for, then choose the trowel and technique that hits the coverage requirement. The mortar choice is not a place to freestyle in a basement.
Uncoupling membranes
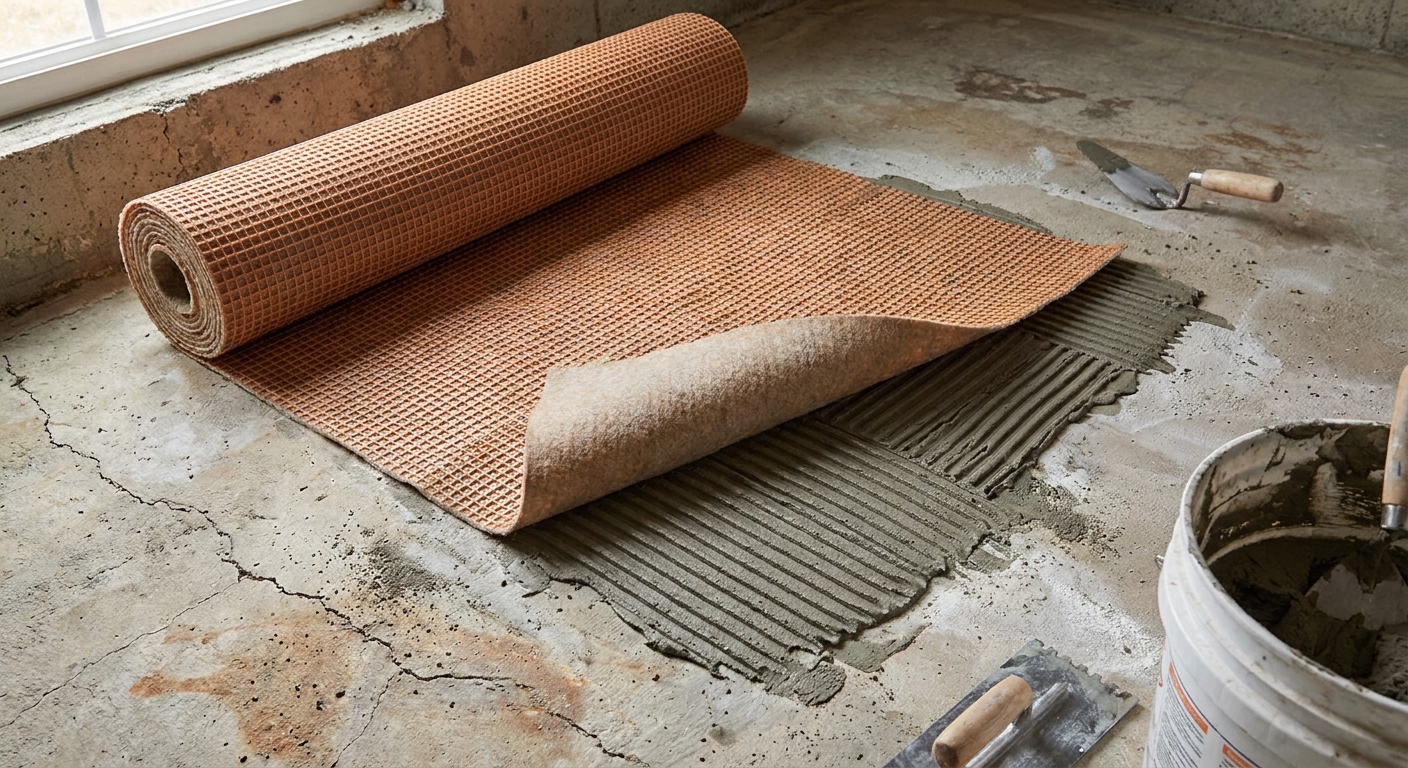
An uncoupling membrane is a layer between the slab and the tile that helps de-couple minor slab movement from the brittle tile layer above. It is not a trampoline. It is controlled movement management.
What they do
- Reduce stress transfer: minor horizontal movement in the slab is less likely to shear the tile assembly.
- Help manage stable cracks: many membranes are designed to bridge stable, non-vertical cracks.
- Provide a consistent bonding surface: especially helpful when the slab has patchwork repairs.
When I strongly recommend one
- Your slab has hairline cracking (very common).
- You are using large format tile.
- You want to reduce the odds of grout cracking in long runs.
- The slab is older and you do not know its history.
Uncoupling is not waterproofing
Some membranes offer waterproofing when seams are treated, but uncoupling by itself does not mean you solved bulk water or high vapor emissions. If you have actual water intrusion, handle that first. Start with Moisture Control and work outward from there.
Install tips that prevent cracks
Use the right trowel and back-butter
Large format porcelain needs high mortar coverage. Voids under corners are a common cause of cracked grout and broken tile edges. Two DIY mistakes I see all the time are using a too-small trowel and skipping back-buttering because it feels like “extra work.”
- Key-in coat: Burn a thin layer of mortar into the substrate with the flat side of the trowel.
- Comb in one direction: Straight ridges help air escape when you set the tile.
- Back-butter: Skim coat the back of each tile, especially if there is any texture.
Then lift a tile occasionally and check coverage. It is messy, but it is cheaper than replacing tile later.
Watch for skinning
Mortar can skin over on the surface before you set the tile, which kills bond. Only spread what you can cover within the mortar’s open time for your conditions. If it skins, scrape and re-trowel fresh mortar.
Control lippage with layout
Many large format tiles have a slight bow from manufacturing. When you stack a bowed tile edge to edge in a perfect 50 percent brick pattern, lippage becomes almost unavoidable.
- Consider a 1/3 offset pattern instead of 1/2.
- Use a leveling system if you are new to large format.
- Spend extra time flattening the slab instead of trying to “fix it in thinset.”
Honor perimeter gaps and transitions
Do not grout tight to the wall. Leave the movement gap, then cover it with baseboard or a trim profile. If you are finishing the basement with new walls, remember that wall framing details can affect your edge gaps. Floating walls are common in basements for a reason: Floating basement walls.
Do not tile straight across control joints
Saw-cut control joints and other planned slab joints are there because the concrete wants to crack on that line. In many cases, you need to carry that joint location through the tile surface as a movement joint (a soft joint), not lock it under tile and grout. Some membrane systems have specific details for handling joints, but this is a follow-the-spec situation, not a gut-feel situation.
New slab timing
If you have a brand-new slab, do not rush tile because the concrete looks dry on top. Concrete cures over time, and moisture remains in the slab long after it feels hard. Follow the mortar and membrane manufacturer requirements for minimum cure time and moisture limits, and verify with a slab moisture test before you commit.
Failures and what they mean
Crack through multiple tiles
Often indicates a crack in the slab that is moving vertically, or a control joint that was not treated correctly. Tile and grout cannot bridge vertical displacement.
Cracked grout lines
Usually movement and missing movement joints, or inadequate mortar coverage allowing flex under load.
Hollow sounding tiles
Often poor coverage, skinned mortar, or bonding to a contaminated slab. Hollow does not always mean failure, but it is a warning sign in a basement.
White residue at grout joints
That is often efflorescence from moisture moving through the slab and carrying salts. Go back to moisture control and slab testing: moisture emissions testing.
A tile system I trust
Every basement is different, and you should always follow the product instructions for your slab and membrane. But in broad strokes, a crack-resistant large format porcelain assembly on a basement slab usually looks like this:
- Slab moisture check and fix water issues first.
- Clean and flatten the slab to large format requirements.
- Install an uncoupling membrane using the mortar specified for concrete bonding.
- Set large format porcelain with an LHT mortar approved by the membrane manufacturer.
- Movement joints at perimeter, at transitions, and in the field as required.
- Grout with your conditions in mind and follow product instructions. If you are fighting moisture and salts, focus on controlling the slab first so you are not asking grout to solve a moisture problem.
If you are still deciding whether tile is the right basement floor for your family, start with the bigger picture here: Flooring Options.
FAQ
Do I need an uncoupling membrane on a basement slab?
If you are installing large format porcelain and you want to minimize cracked grout and tile, I consider an uncoupling membrane cheap insurance. The only time I skip it is when I have a brand-new slab with known prep history, excellent flatness, controlled moisture, and a layout that allows proper movement joints.
Can I tile over a control joint?
Sometimes, with the right system detail. Often, no. Many control joints need to be honored through the tile surface as a movement joint located directly above the joint. Follow the membrane manufacturer instructions and the TCNA movement joint guidance for your joint type and movement expectations.
What is the biggest DIY mistake with large format basement tile?
Trying to make the slab “flat enough” by using extra thinset under the tile. Thinset is not designed to be a leveling compound in thick sections. Flatten first, then set tile with consistent mortar thickness and solid coverage.