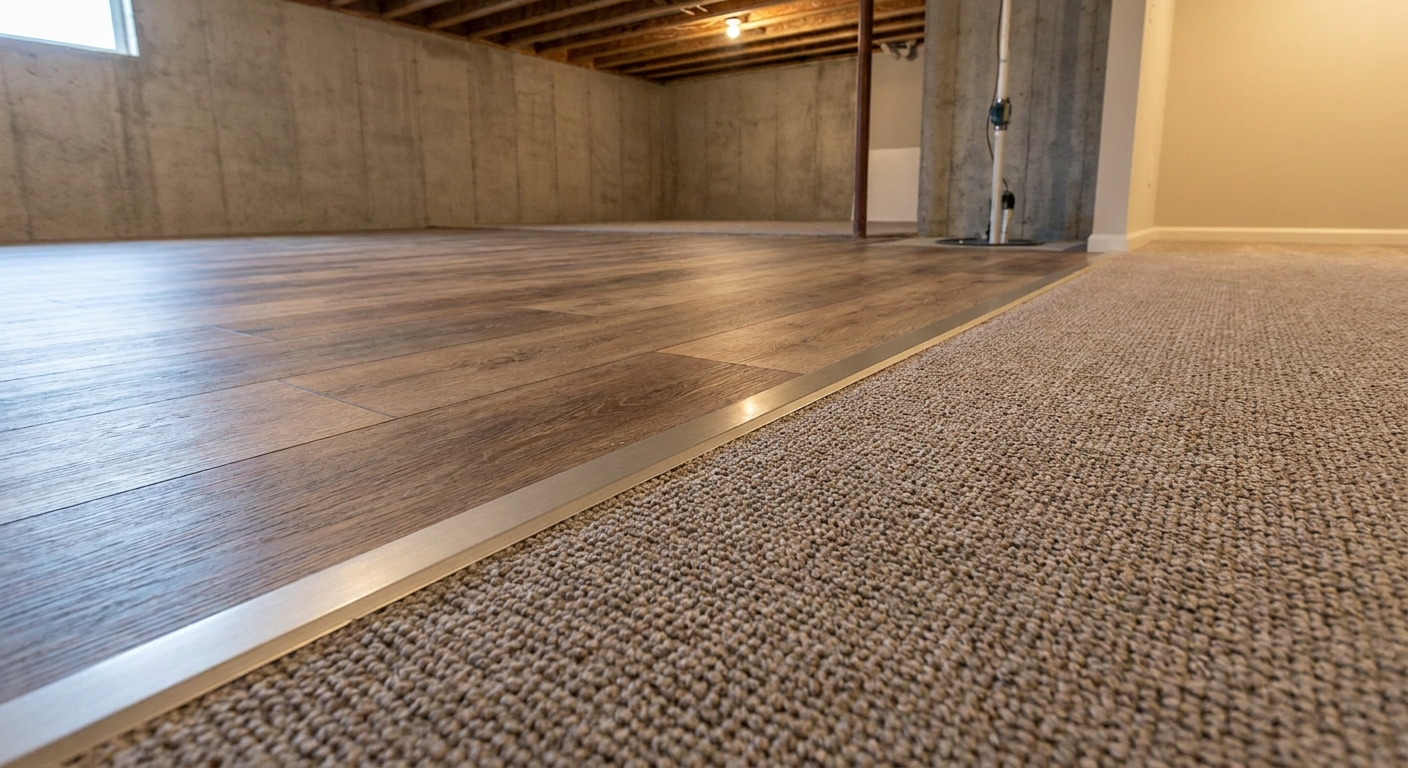
The first basement I ever finished looked great in photos, right up until you walked from the cozy carpeted TV area onto the vinyl plank “hallway.” My transition strip sat a little proud, the vinyl had a tight expansion gap, and every winter the whole thing would announce itself with a squeak and a tiny ridge you could feel through socks.
Open-concept basements are awesome for light and layout flexibility, but they are ruthless about floor transitions. You cannot hide a sloppy height change or an uneven line the way you can in a doorway.
Below is the approach I use now for long, doorway-free transitions in open basements to make carpet meet vinyl, tile, epoxy, or polished concrete cleanly, safely, and with basement moisture in mind.
Start with a basement reality check
Before you pick a transition profile, make sure the floors on both sides are actually good candidates for a long, open transition. Two basement issues cause most ugly transitions later: moisture and uneven slabs.
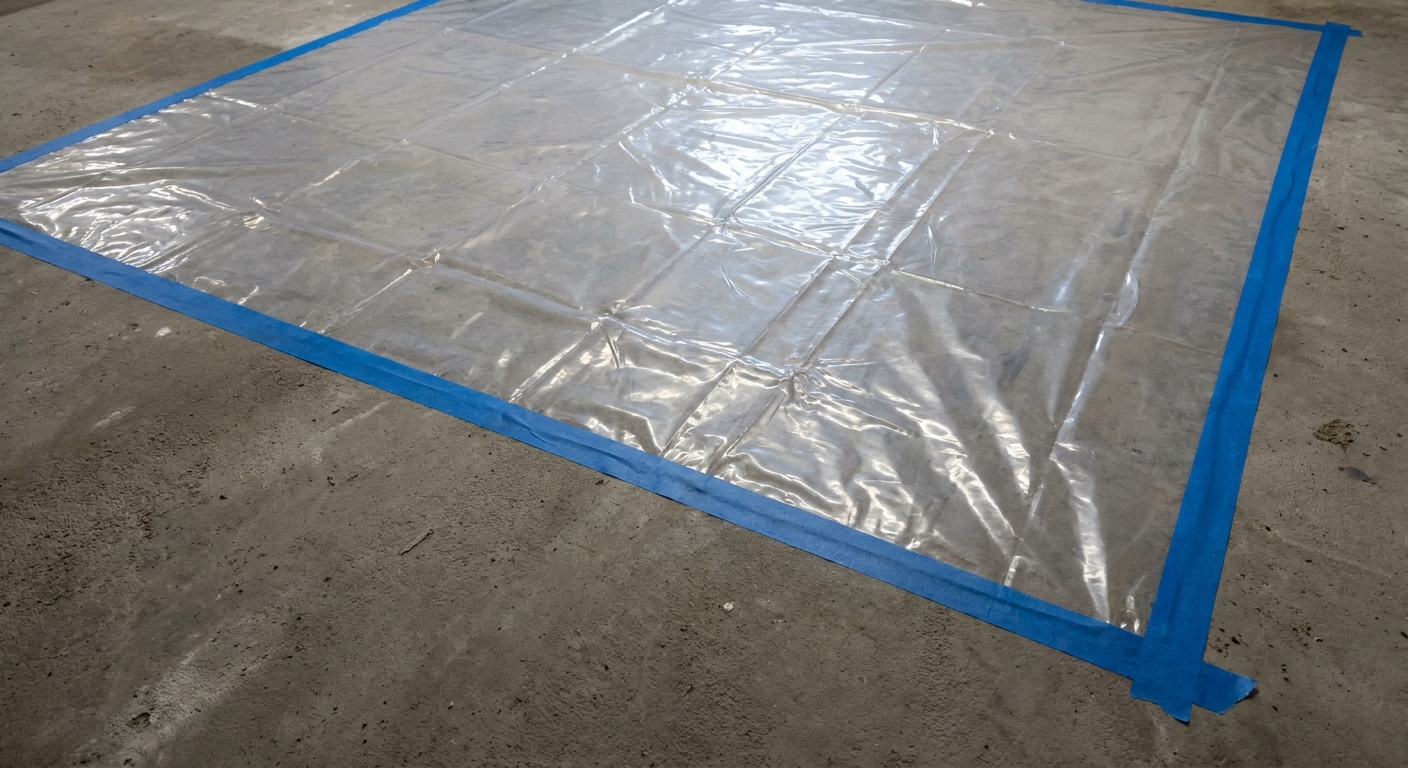
1) Confirm moisture is under control
If moisture is still moving through the slab, it will show up as adhesive failure (for glue-down floors), musty carpet edges, efflorescence near the joint, or cupping in moisture-sensitive products like wood or laminate. LVP is more likely to shift, tent, separate at seams, or telegraph a problem underneath than it is to “cup,” but the result is the same: the transition becomes the first place you notice it.
- Learn how to test the slab properly here: Test a basement slab for moisture emissions.
- If the basement smells stale or feels clammy, get ventilation and dehumidification figured out before you lock in finishes: Basement ventilation strategies and Basement dehumidifier sizing.
2) Deal with slab flatness and height differences early
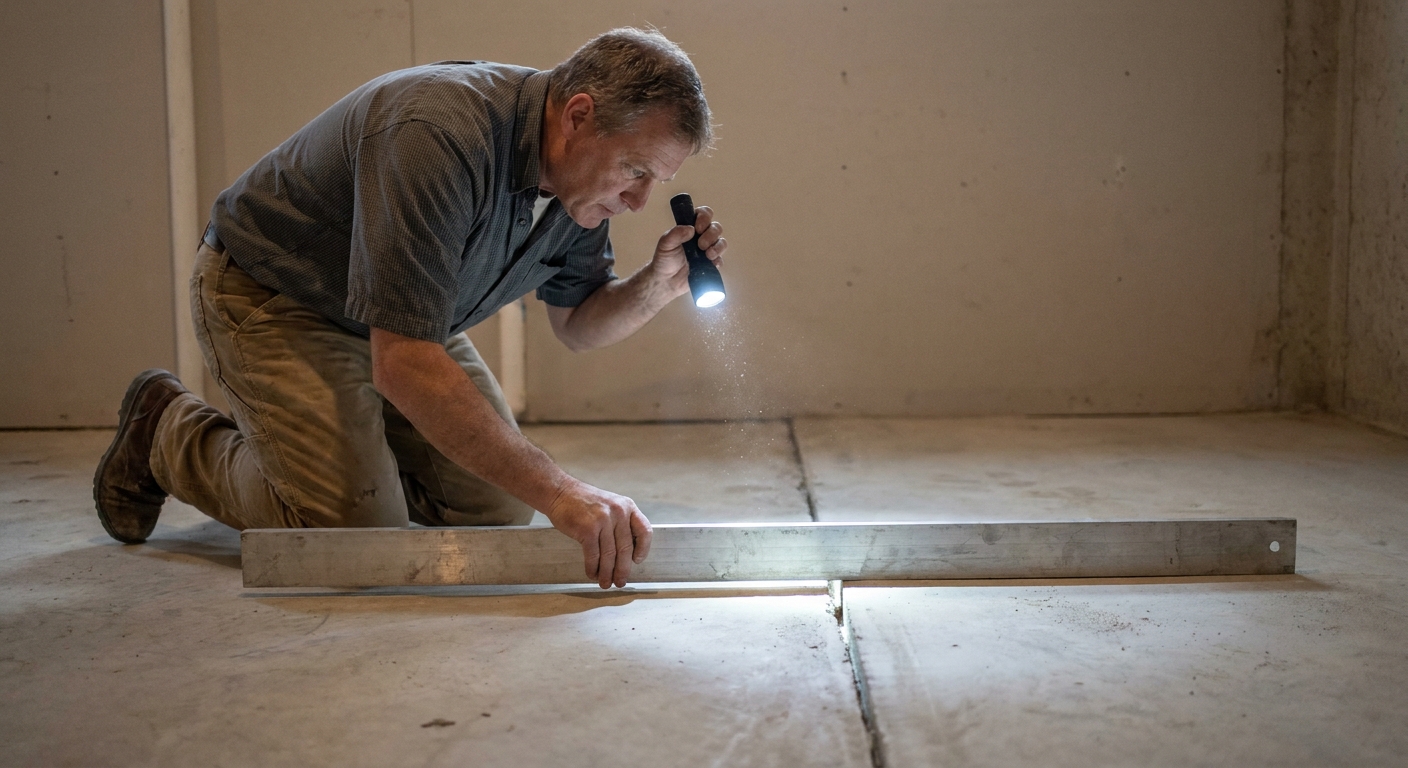
A transition strip is not a magic eraser for a wavy slab. If vinyl plank is rocking near the edge, the transition will loosen. If tile sits on a hump, you will feel it forever.
Two practical rules I follow:
- Follow the flooring manufacturer’s flatness spec. Floating floors are picky, and the spec is the one that matters.
- Fix problems where the transition will land. A long seam across an open area should sit on the flattest part of the slab you can create.
If you are installing LVP, this is the companion step that makes transitions behave: Level an uneven basement concrete floor for vinyl plank.
3) Decide where the transition line goes
In an open layout, the line is part of the design. I use three rules:
- Make it intentional. Follow a straight sightline like the edge of a kitchenette, the face of a bar, or the line where the ceiling soffit changes.
- Avoid floating islands. A random stripe of transition through the middle of a room reads like a mistake.
- Plan for furniture. If the seam will sit under a couch front leg, pick a low-profile option and make sure it is rock solid.
Pick the right transition
Most transition problems come from using the wrong profile for the job. Here is the quick way to choose.
Use a T-molding for equal heights
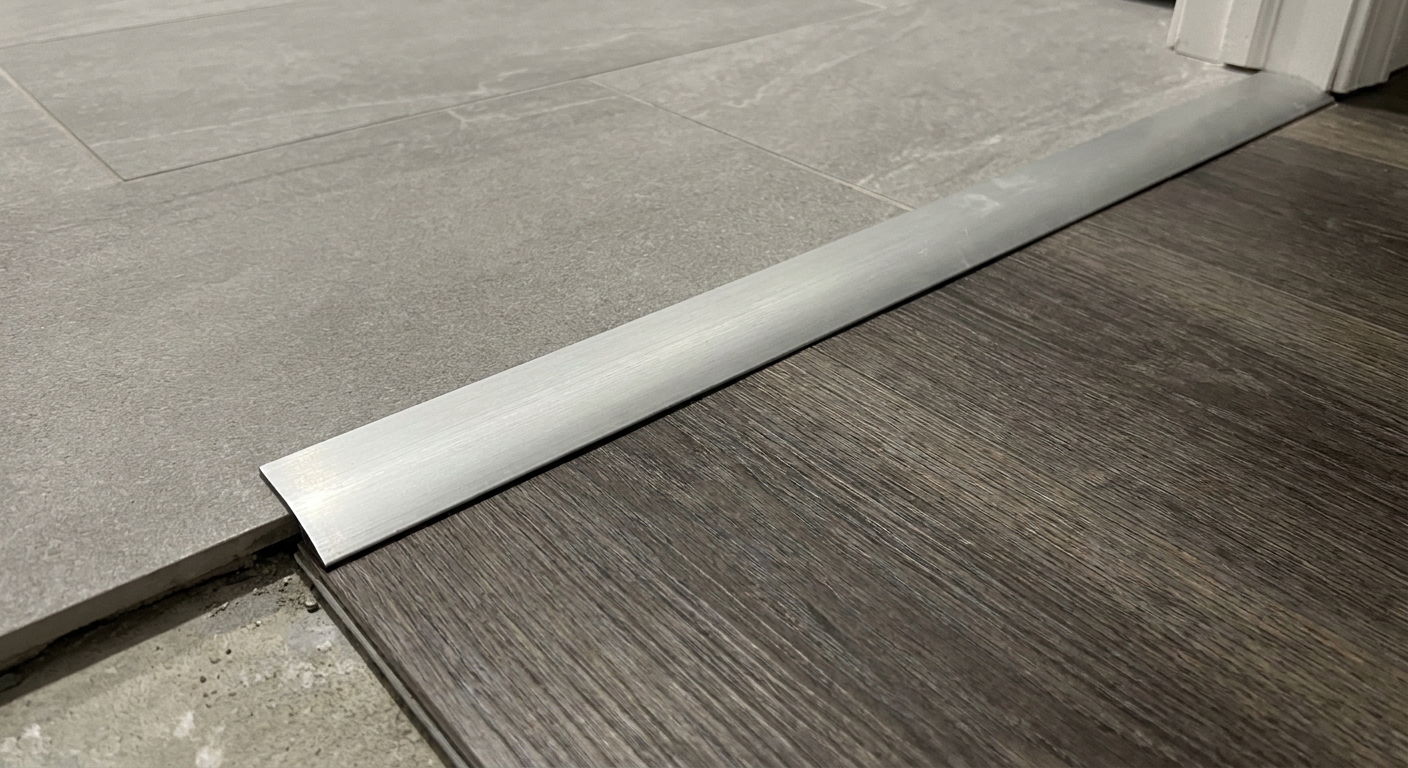
A T-molding bridges two surfaces that finish at the same level, like LVP meeting tile that was built up to match, or LVP meeting LVP in a different direction. The stem of the T sits in the gap, and the top covers the edges.
- Best for: LVP to tile (matched height), LVP to concrete if concrete is brought up flush with an underlayment system.
- Not great for: Carpet. Carpet compresses and frays at the edge without a proper carpet termination.
Use a reducer for different heights
A reducer ramps down from a higher surface to a lower one. This is what you use when tile sits higher than LVP, or LVP sits higher than stained concrete.
- Best for: Tile to LVP, LVP to concrete.
- Basement tip: If the reducer is tall, it becomes a speed bump in socks. In open areas, I would rather adjust height with underlayment or a thin self-leveling build-up than live with a chunky reducer.
If carpet is involved, think of the reducer as only half the solution. You still need a real carpet edge detail so the soft side is stretched and locked down.
Use a threshold when you need a hard stop
Threshold is a broad category. It can be a wood or stone saddle, a metal threshold, or a custom-milled piece that solves a weird height change. In basements, thresholds make sense when you need durability or when the transition line is long and visible.
- Best for: Carpet to tile, carpet to concrete, and anywhere you want a clean room edge without a doorway.
- Good to know: You can make a threshold look built-in if it aligns with a wall return or a cabinet end panel.
Carpet needs its own edge
When carpet is one side of the seam, you are not just bridging a gap. You are finishing a soft edge. Most carpet-to-hard-surface transitions use one of these strategies:
- Tack strip plus a metal edge (Z-bar style). Carpet hooks onto tack strip, then the metal lip clamps the edge for a crisp line.
- Tack strip tucked to a hard threshold. A wood or stone threshold gives you a firm edge to tuck to.
- Binder bar or cap. More common in commercial work, but it is a clean, durable option for long runs.
Details that prevent callbacks
Leave the right expansion gap
Floating LVP and laminate need room to move. The transition cannot pinch it. This is where DIY installs often go wrong because we want the seam tight.
- Follow the flooring manufacturer’s expansion gap requirement at all fixed objects.
- Make sure the transition profile covers the gap without compressing the floor edge.
- If you are running two large floating areas separated by a long transition, verify whether the manufacturer requires a break between fields.
If you are still choosing between products, here is my baseline comparison for basement installs: Luxury vinyl plank vs laminate for basements.
Do not fasten through a floating floor
This one is simple but easy to miss in the moment. A transition should usually be fastened to the subfloor or slab, not through the floating floor panel. Fastening through the floating floor can create buckling, squeaks, or a separated joint months later.
Many brand transition kits use a track you anchor to the slab, then the molding snaps in. Others are glue-down, overlap profiles, or multi-function pieces. Whatever system you use, the goal is the same: secure the transition to the substrate and let the floor field float.
Undercut trim and jambs so the floor can float
Long transitions often run near casing, posts, or a wrapped column. If the floor is pinched under a door jamb or tight to baseboard, it can push movement into the transition line instead. Leave the proper expansion space at vertical trim, then cover it with baseboard or shoe molding.
Avoid bare wood on concrete
If you are making a custom wood threshold, do not set bare wood right on the slab. Even a dry basement slab can pass moisture seasonally. Seal all faces of the wood (including the underside) or use a non-wood option.
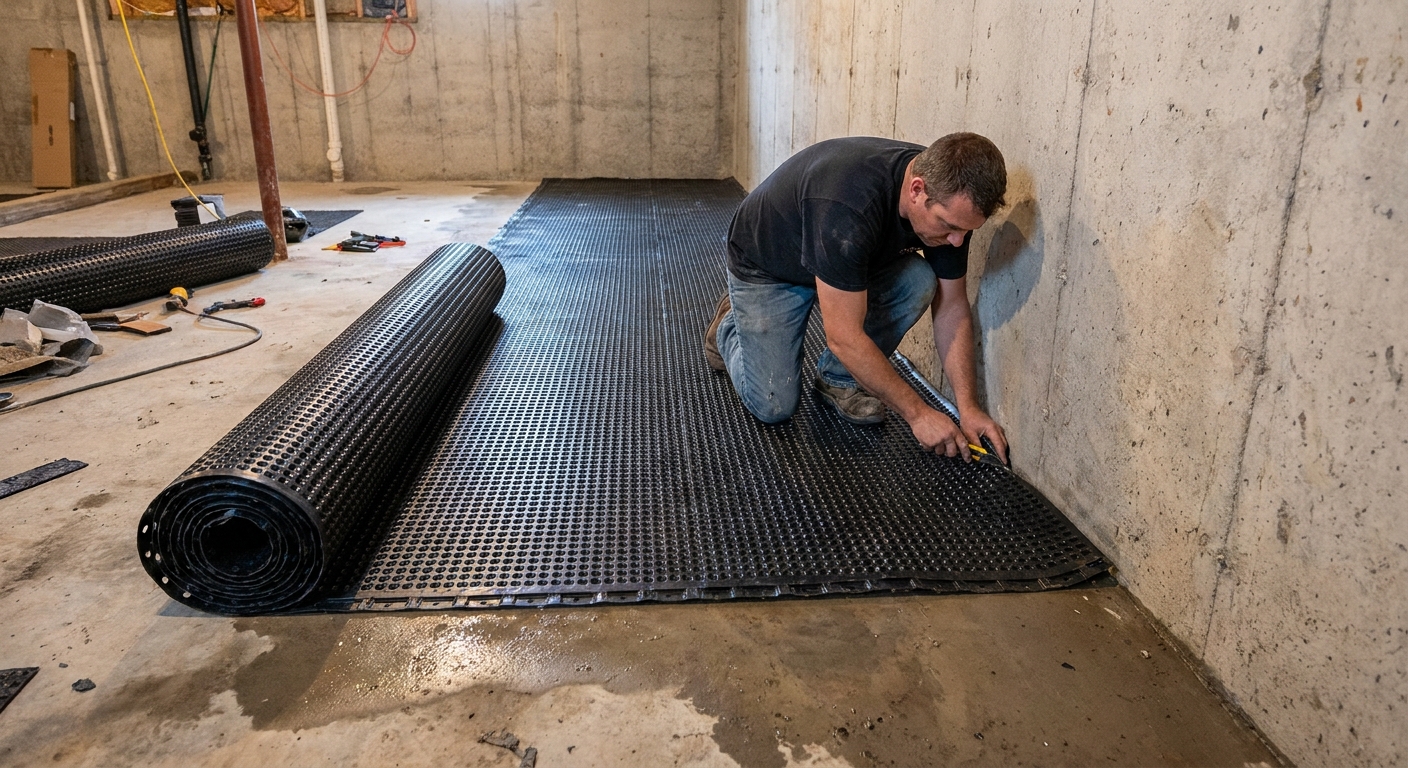
Sealing helps with normal seasonal moisture. If your slab is persistently damp, sealing alone is not the fix. You need a real vapor-control approach and often a raised subfloor system so the entire assembly can handle it.
If your slab is known to be damp, build your floor system accordingly. These two pages help you avoid the classic basement flooring trap where the transition is fine but the system underneath is not:
Plan for traffic and trip risk
Open-concept transitions take more abuse because they are not psychologically a doorway. People cut across them constantly.
- Low profile wins. Less toe-stub risk and less leverage to pry it up.
- Wider anchor points win. Tracks with multiple fasteners hold better on marginal concrete.
- Avoid tiny brad nails into concrete. If you are fastening to slab, use the right anchors.
- Keep height changes minimal. In a main path of travel, flatter and wider usually feels safer underfoot.
How to install transitions
T-molding between two hard floors
- Dry fit the transition line. Snap a chalk line or use a straightedge so the seam stays arrow-straight across the open area.
- Set the gap. Keep the expansion gap required by your flooring.
- Cut the track to length. Leave a tiny clearance at ends if it butts into trim.
- Anchor the track to the slab or subfloor. On concrete, predrill with a masonry bit and use appropriate screws or anchors. Keep the fasteners flat so the molding can snap in.
- Snap in the T-molding. Work from one end, tapping with a rubber mallet and a scrap block to avoid denting the finish.
- Check for pinch points. The floor should be able to move under the molding without binding.
Reducer from tile down to vinyl plank
- Measure the height difference. Tile height includes thinset and underlayment. Vinyl height includes underlayment if used.
- Choose the right slope. If the reducer feels steep, revisit the height build-up before you commit.
- Protect the tile edge. Use a tile edge profile at the tile side if needed so the tile is not left with a fragile raw edge.
- Anchor to the substrate, not the floating floor. Same rule as above.
- Seal only where it makes sense. If water might reach the joint (bath, laundry, bar sink area), use a compatible sealant at the hard-surface edge. In a dry living area, do not caulk the joint just to make it look tight. You can accidentally glue the system together or trap debris at the seam.
Carpet to vinyl plank with a crisp edge
This is the transition I get asked about the most, because it is common in basements: soft lounge area into a vinyl everything-else zone.
- Install the hard floor first. Get the vinyl plank locked in and flat near the transition line.
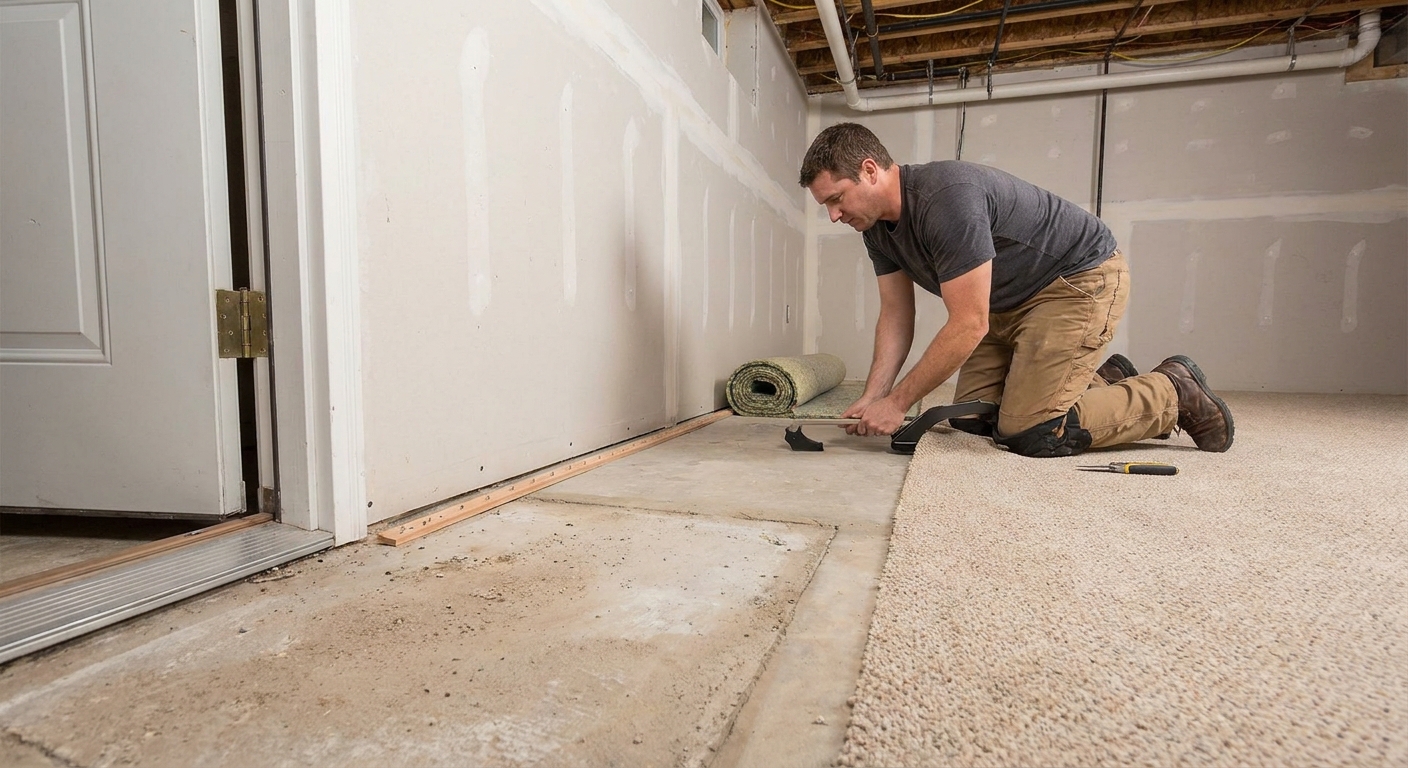
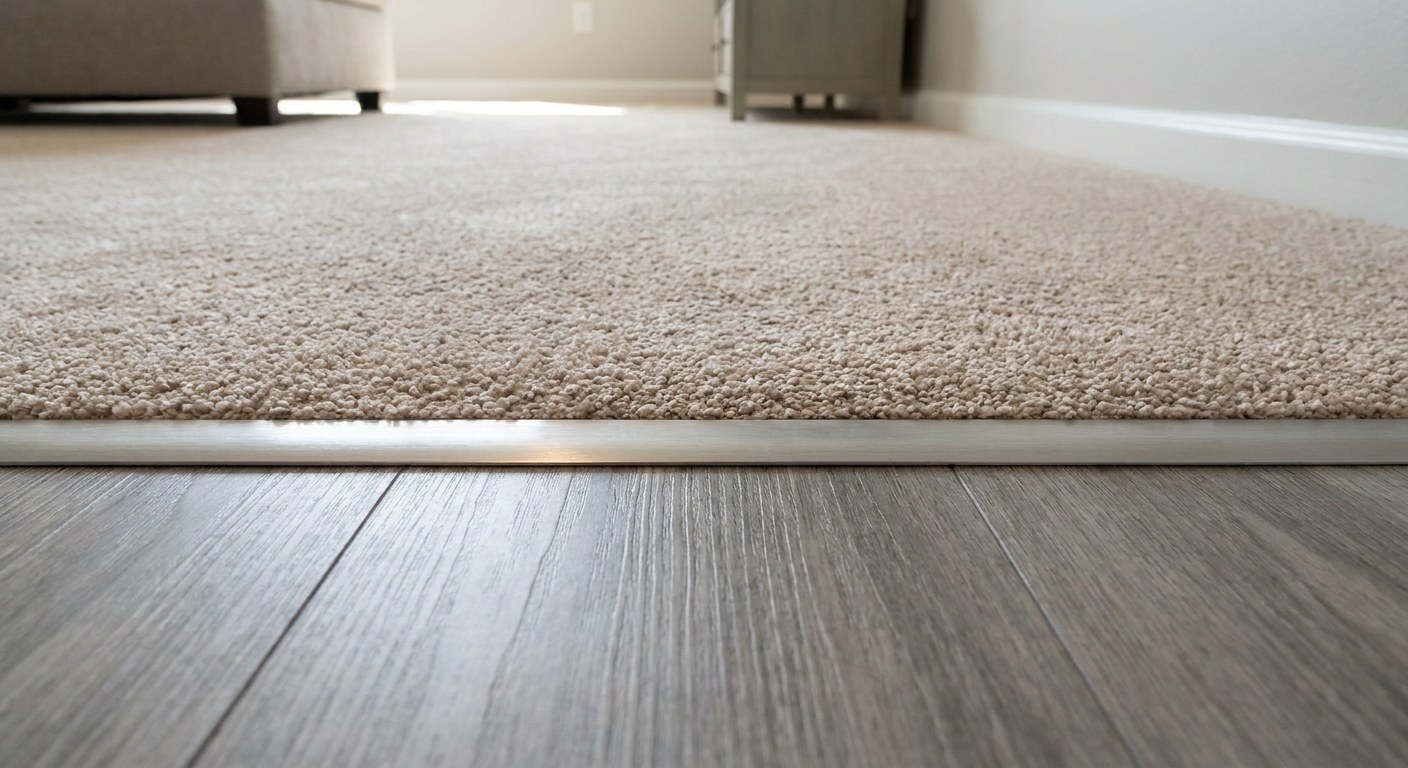
- Set your carpet termination piece. Use a metal carpet edge designed for carpet-to-LVP, or install a separate threshold that the carpet will tuck to.
- Place tack strip correctly. Tack strip should sit close enough to give a tight stretch and tuck, but not so close it interferes with the transition hardware.
- Stretch, tuck, and trim. A knee kicker can work for small basement areas, but a proper stretch is what keeps the edge from creeping back over time.
- Check the feel underfoot. You want the carpet edge supported, not hanging over a void.
Custom thresholds
When off-the-shelf pieces look too afterthought, I go custom. This is especially helpful when you have polished concrete on one side or a long, straight transition that reads like a design feature.
Option 1: Wood threshold with a bevel
A simple hardwood strip with a slight bevel on both sides can look clean and intentional. The important basement tweaks:
- Seal every face of the wood, including the underside and end grain.
- Use construction adhesive rated for concrete where appropriate, or anchor mechanically if you can do it without pinching a floating floor.
- Keep the top as low profile as possible so it does not feel like a speed bump.
Option 2: Stone saddle
Stone or porcelain saddles are great in wet-adjacent zones like a basement bathroom entrance or a bar area because they do not care about occasional splashes. They also add weight and stability at the seam.
If you are building a basement bathroom, plan these transitions early so your tile layout and door clearances stay sane: Framing a basement bathroom.
Option 3: Epoxy or polished concrete
If you have epoxy or polished concrete on one side, you can often skip bulky transitions and instead use a clean metal edge at the hard-floor side plus a proper carpet termination. Concrete floors can look fantastic in basements when done right. If you are exploring that route, this is my deep dive: Epoxy coating a basement concrete floor.
Common DIY mistakes
- Trying to hide an uneven slab with a tall molding. Fix the flatness first. The molding will not stay put.
- Pinching a floating floor. The floor needs to move. A tight transition creates buckling at the worst possible time.
- Skipping carpet edge hardware. Carpet needs to be clamped, tucked, or terminated properly or it will fray and loosen.
- Using a doorway mindset. Long transitions must be straight, durable, and intentional because they are always visible.
- Ignoring moisture at the seam. That is often where musty smells start, especially if carpet is involved.
Quick FAQs
Do I need a transition strip between vinyl plank and tile?
Usually yes, unless you design the heights to meet perfectly and use a clean edge detail that protects both materials. Even when the surfaces are close to flush, a T-molding or metal profile often makes the joint more durable and easier to keep clean.
How do I transition from carpet to polished concrete without it looking commercial?
A custom wood threshold or a slim metal carpet edge tends to look the most finished in a home setting. The key is making the line dead straight and making sure the carpet edge is supported and properly stretched.
Can I glue a transition strip to concrete?
Some can be glued, but I prefer mechanical fastening when possible because basements are moisture-variable and adhesives can let go. If you do use adhesive, choose one rated for concrete and compatible with the flooring and the transition material, and keep it away from floating floor edges that need to move unless the manufacturer specifically allows it.
What is the cleanest transition for an open basement?
If the floors are the same height, a properly installed low-profile T-molding is hard to beat. If heights differ, a gentle reducer or a custom threshold that looks intentional usually reads cleaner than a tall, narrow reducer strip.