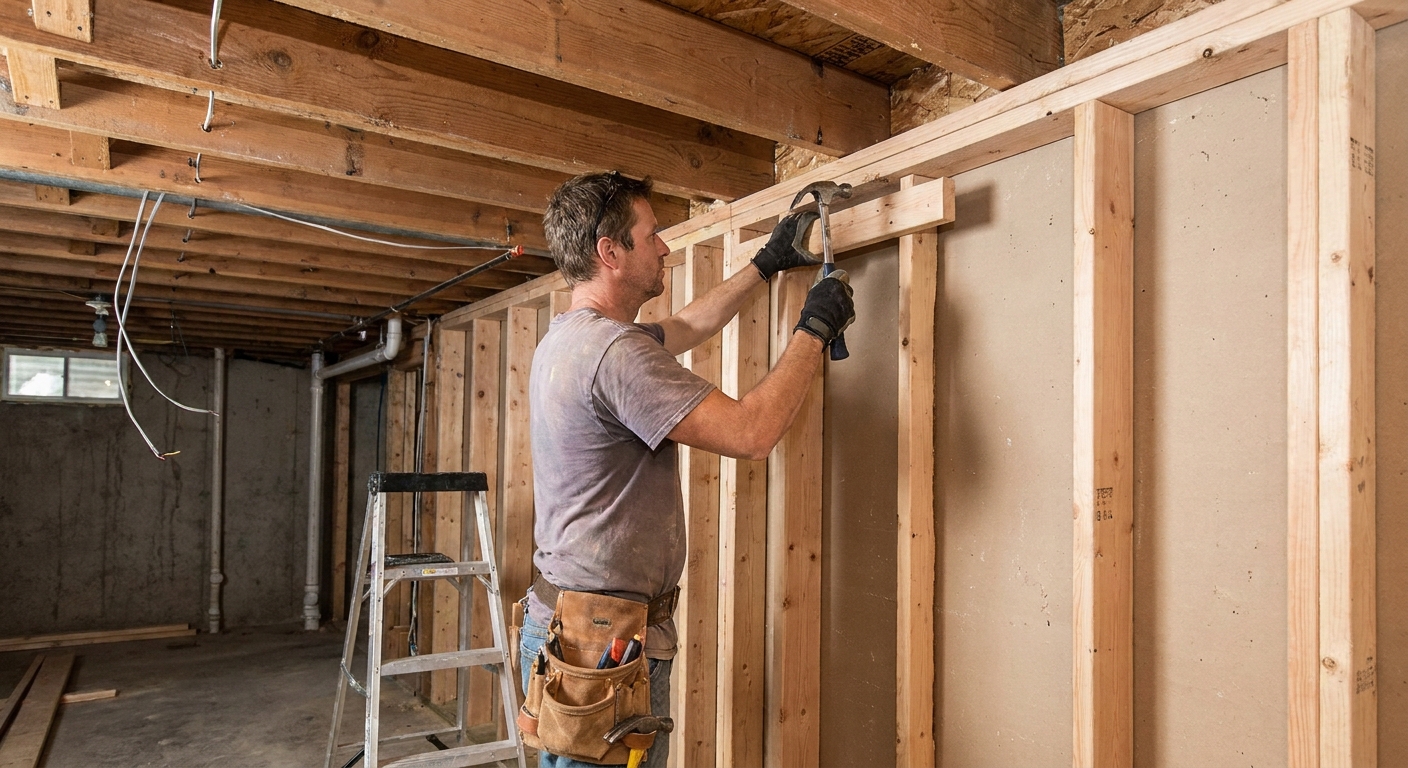
The first basement bathroom I framed looked great on paper, until I tried to swing a 3-inch drain through a 2x4 wall that also needed a vent, a shower valve, and a niche. I ended up with a wall that was fat in the wrong places, skinny where it mattered, and a bunch of last-minute compromises that would have been cheap to avoid with better framing decisions up front.
This article is how I frame basement bathrooms now: plan the wet wall, give pipes the space they actually need, and add blocking for the stuff you will be grateful you reinforced later, like grab bars, vanities, and towel bars.
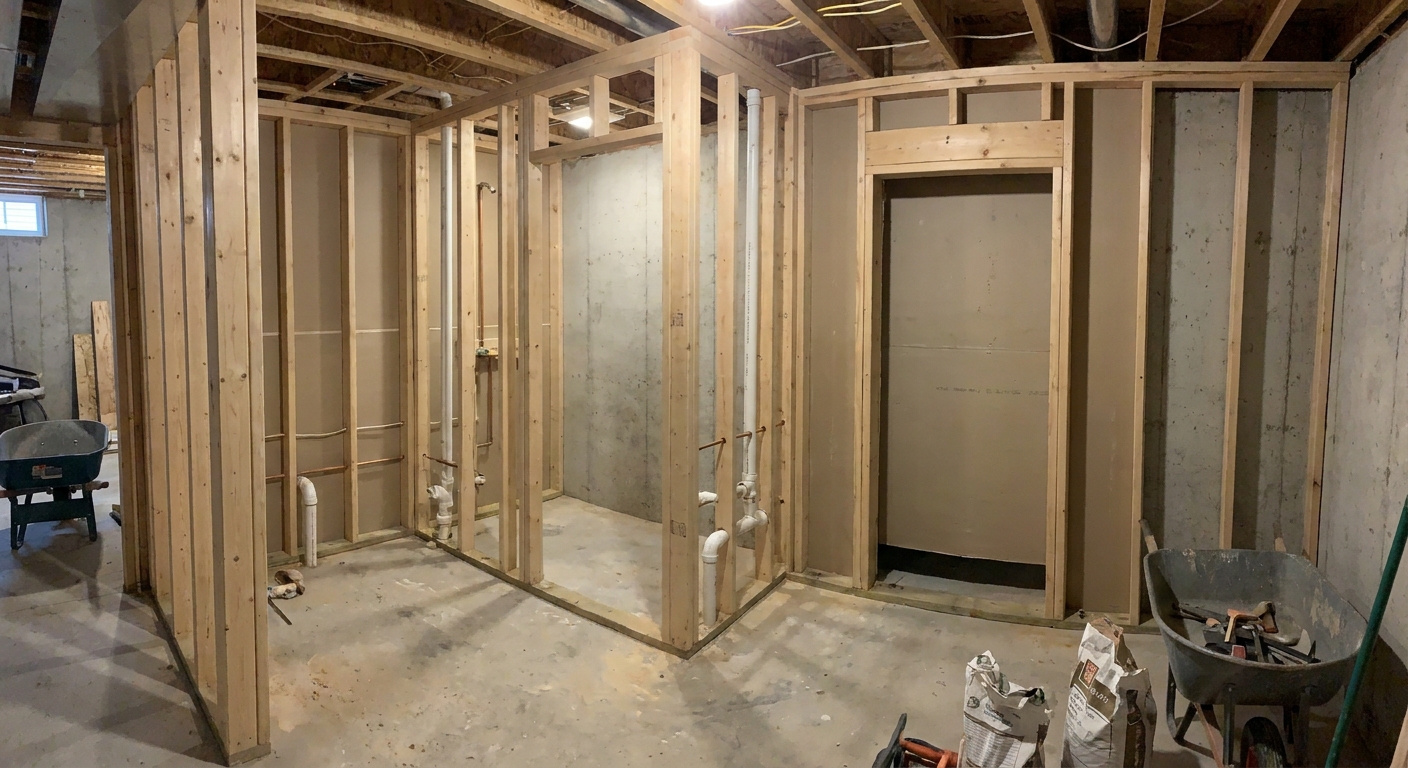
Start with a wet wall plan
A wet wall is simply the wall (or wall section) where most of your plumbing lives: toilet drain and vent, vanity drain and vent, shower valve, shower head riser, and sometimes a tub spout. In basements, a good wet wall plan does three things:
- Reduces slab cutting. One toilet and one shower is enough concrete work without rerouting everything across the room.
- Creates a straight vent path. Vents want to go up, and where horizontal runs are allowed they still need to be routed the way your local code requires. If your wet wall lines up with a joist bay and avoids beams and duct trunks, you save headaches.
- Keeps your finished space clean. The goal is fewer random soffits and fewer “why is this wall thicker here?” moments.
If you are still deciding where the bathroom goes, I like to rough in the layout first, then verify you can actually route plumbing and HVAC without sacrificing ceiling height. This ties directly into the same issues I cover in basement plumbing and HVAC without losing ceiling height.
Quick wet wall rule of thumb
Put the vanity back-to-back with the shower plumbing if you can. Put the toilet on the same wall run, or one stud bay over. Every time you spread fixtures apart, you increase the number of holes through studs, the amount of venting gymnastics, and the chance of needing a bulky chase.
2x4 vs 2x6: when deeper studs help
Most basement partition walls can be 2x4. Bathrooms are the exception, because drains and vents are big, and shower valves have a real depth requirement.
Use 2x6 studs when any of this is true
- You have a 3-inch soil stack or toilet drain line in the wall. Commonly this is 3-inch, but sizing can vary by design and local code. A large pipe and fittings eat wall depth fast, especially if you need to maintain slope or make turns.
- You need a 2-inch shower drain and vent routing in the same wall section. Often these runs are 2-inch, but confirm with your plumber and local code. Keeping both in a 2x4 wall can force notching or boring that pushes limits.
- You are installing a pressure-balanced shower valve with a tub spout drop. Many valves fit in 2x4, but add a tub spout, a diverter, or a hand shower drop and you can run out of room quickly.
- You want clean, code-friendly holes. Deeper studs mean you can bore centered holes and keep more wood around the pipe.
When 2x4 is usually fine
- A simple vanity wall with a 1-1/2 inch drain and a vent that rises in an adjacent chase.
- A toilet wall where the main drain runs under the slab and the wall is mainly for a vent. Vent sizing varies a lot by jurisdiction and fixture-unit calculations, so treat “2-inch” as common, not universal.
- Non-plumbing partitions like the wall between the toilet room and the rest of the basement.
If you are torn, I lean toward 2x6 for the wet wall portion only. Frame that run in 2x6, then transition to 2x4 as soon as the pipes are out of the wall. It is a small material cost for a big reduction in frustration.
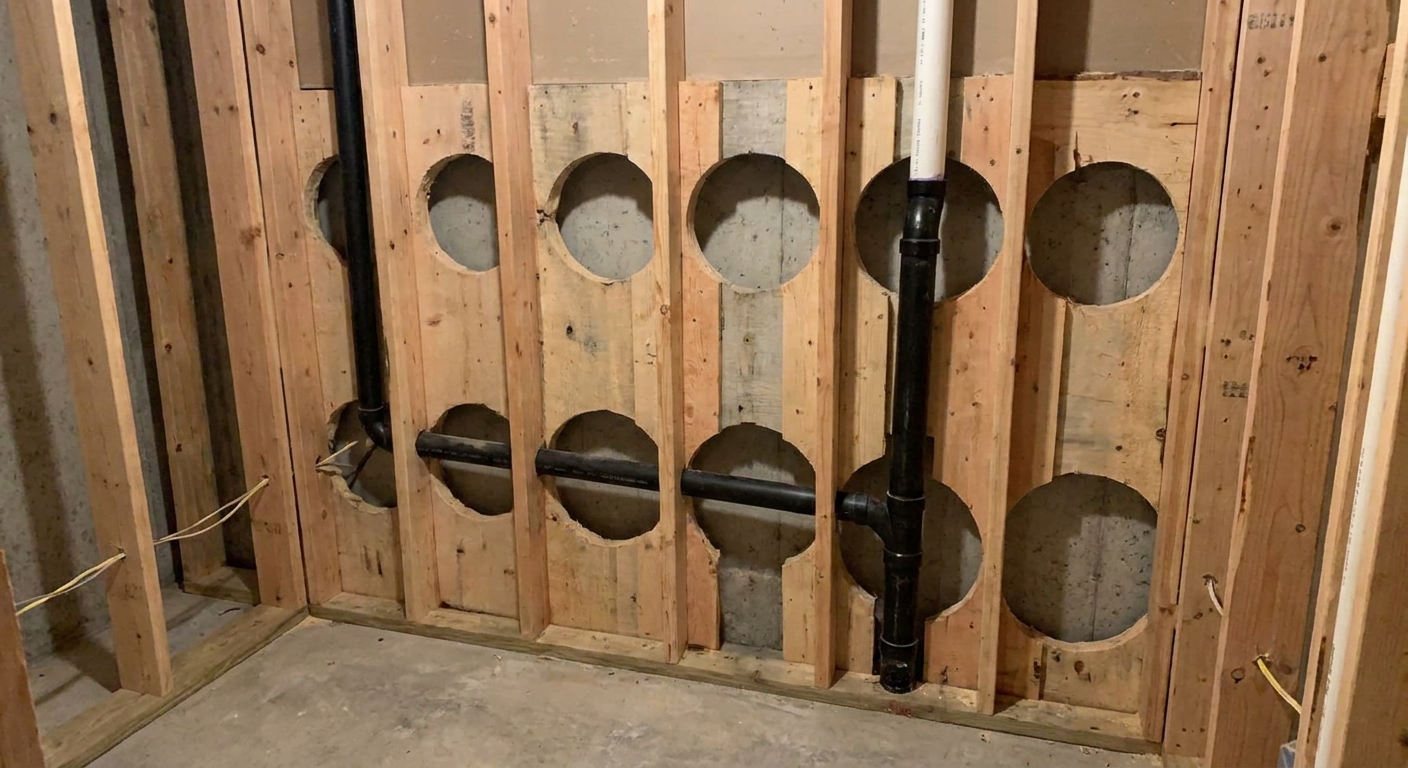
Pipe clearances and inspection basics
In a basement bathroom, your framing has two enemies: nails and drywall screws. Both love finding pipes.
Bore holes instead of notching
Bored holes keep strength in the stud and help you keep the pipe centered. Notches are sometimes allowed, but bathrooms tend to stack multiple changes in the same area, which is where things get sketchy fast. Follow local code for boring and notching limits, especially since the rules can differ for load-bearing vs non-load-bearing walls.
Center pipes and protect stud faces
A good target is to keep the pipe centered in the stud depth. Any time a pipe ends up close to the face of a stud, plan on using steel nail plates on the stud face so fasteners cannot hit the pipe. Nail plates are not optional when you are inside the code-required edge distance, so do not guess here.
Do not forget fittings
The fitting is usually the real problem, not the straight pipe. A 90-degree elbow or a sanitary tee needs extra room. When I am laying out studs on a wet wall, I think in terms of “fittings zones,” not just “pipe runs.” Sometimes the answer is as simple as shifting a stud bay a couple inches before you build.
Plan access points
If you have a shutoff, a cleanout, or a pump system involved, frame the wall so you can add an access panel without it looking like an afterthought. In basements, I would rather stare at a tidy access panel than open drywall later.
How I frame shower walls
Showers are where “close enough” framing comes back to bite you. You need rigid walls for tile, correct depth for the valve trim, and backing wherever something will be screwed later.
Set valve depth for the real wall build-up
The valve rough-in depth depends on what ends up on the studs:
- Backer board thickness
- Tile thickness
- Thinset thickness
- Any waterproofing layer system you are using
Do this once, carefully, and follow the valve manufacturer’s installation range and plaster guard. A valve set too deep is annoying. A valve set too shallow can prevent trim from seating and can look sloppy forever.
Add blocking for backer seams and doors
- Backer board edges should land on solid framing or blocking, especially in corners and at seams.
- Shower door hinges and tracks often need solid wood backing. If you even think a door might go there, block it now.
Frame niches like a small window
If you are adding a niche, frame it like a tiny window opening: add a header, sill, and jack studs so the perimeter is solid. Keep it out of exterior foundation walls whenever possible, because you do not want to compromise insulation or vapor control behind it. If your basement wall assembly needs a vapor strategy, read how to install a vapor barrier before basement framing before you start closing things in.
One more thing I will say out loud: do not rely on regular drywall in a shower or tile wet zone. Use a shower-appropriate backer and waterproofing system so your framing is not asked to survive chronic moisture.
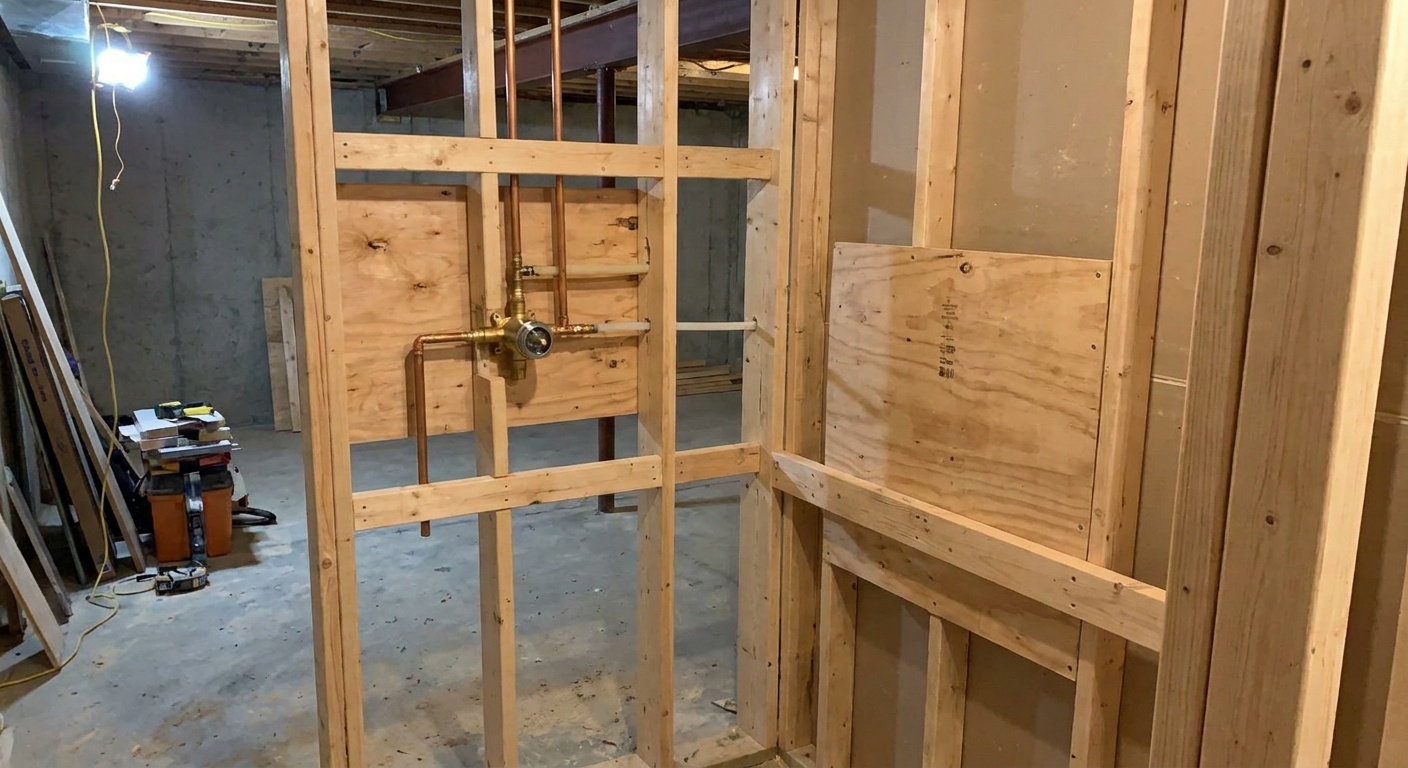
Blocking for grab bars and vanities
Blocking is one of those “future you” gifts. It costs a few scraps of lumber and saves you from relying on toggle bolts in a wet, high-use room.
Grab bars: block early, block wide
If there is any chance the bathroom will need grab bars now or later, add blocking during framing. I like to run continuous horizontal 2x blocking across the bays rather than little blocks at guessed screw locations.
- Typical height targets: Many installations land roughly in the 33 to 36 inch range above the finished floor, but every situation is different. The safest approach is continuous blocking across the likely zone.
- Toilet area: Consider blocking behind the toilet for a side bar and a rear bar if the layout allows.
- Shower or tub: Block the long wall, the valve wall, and any spot where a vertical entry bar could make sense.
If you need exact placement for an accessibility remodel, confirm requirements with your local building department or an ADA-based guideline resource. For general homeowner planning, continuous blocking gives you flexibility without guessing.
Vanity mounting: do not assume studs line up
Wall-hung vanities, heavy stone tops, and tall linen cabinets all benefit from extra backing.
- For a standard vanity, add horizontal blocking where the mounting rail or screws will land.
- For a wall-hung vanity, treat it like a piece of furniture hanging on the wall. Use generous blocking and follow the manufacturer requirements for fasteners.
- For a medicine cabinet, frame the opening or add blocking depending on recessed vs surface mount.
Towel bars and hooks
These are the worst offenders for “oops, missed the stud.” If you already know where they go, block them. If you do not, consider blocking a continuous strip behind the main towel bar wall. It is cheap insurance.
Framing drains and vents cleanly
The goal is to route pipes while keeping studs intact and the wall straight. Here are a few tricks that keep things clean.
Build a chase when the wet wall is overloaded
If your wet wall needs a big stack, multiple vents, and the shower valve, a shallow chase can be the cleanest solution. In practice that might look like:
- A short bump-out behind the toilet and vanity
- A 2x6 wet wall that returns to 2x4 on each side
- A framed column that hides a vertical stack cleanly
I would rather frame a deliberate chase than swiss-cheese a line of studs.
Use headers for short pipe portals
If you have to pass a large pipe through a stud location, sometimes the best move is to reframe a small section like a mini opening: add a header and trimmers so you are not relying on a heavily notched stud. This is a great trick in non-load-bearing partitions. If the wall is load-bearing, do not improvise. Get an engineered or approved plan.
Coordinate soffits early
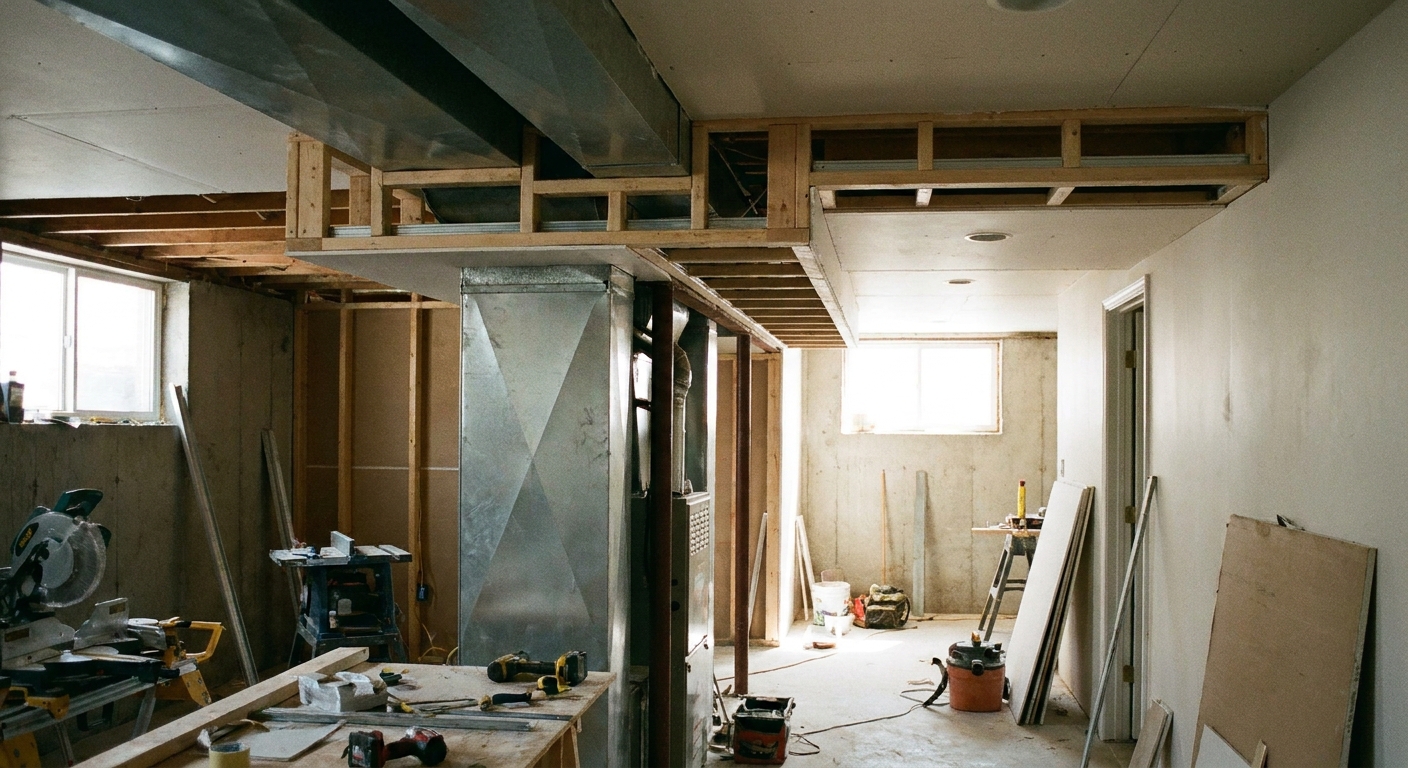
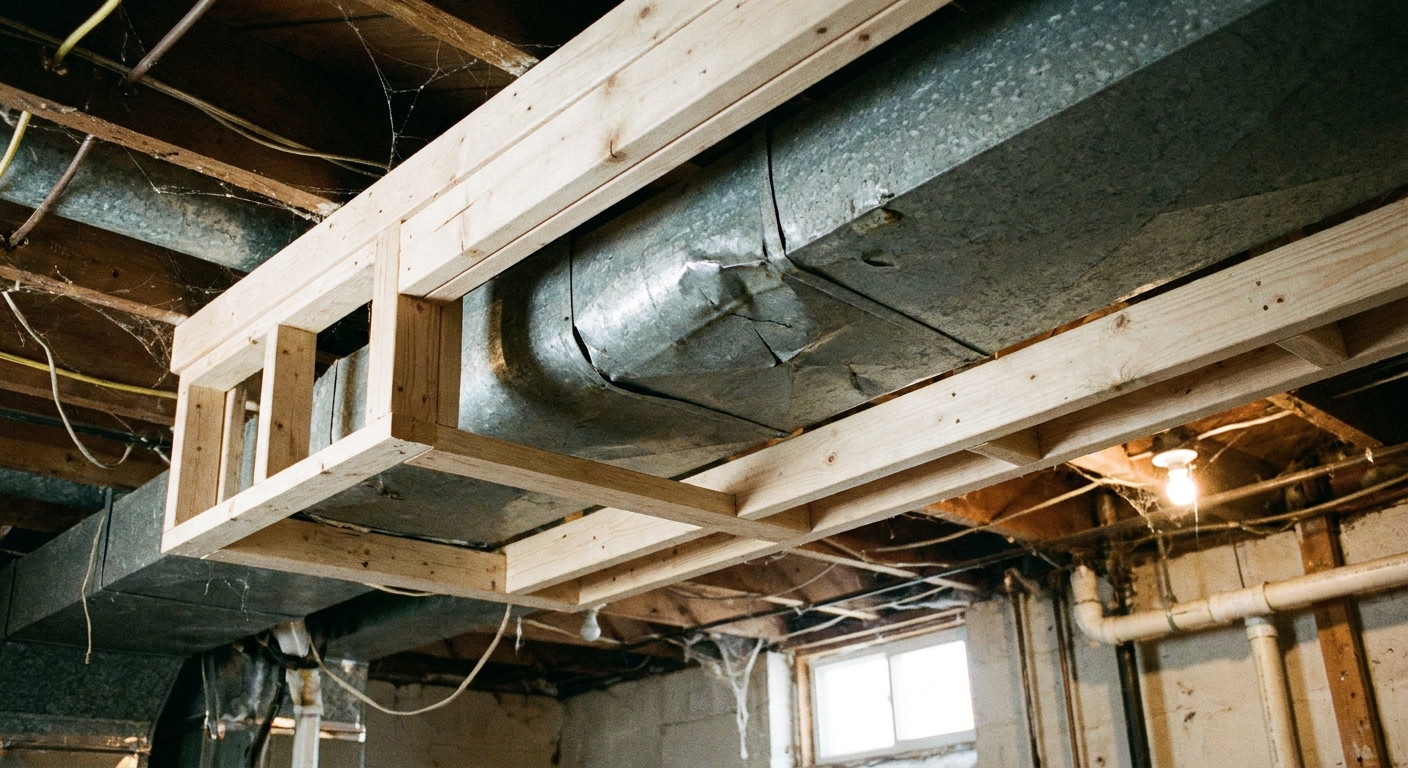
Vents and drains that run under joists often create soffits. Decide where those soffits will live before you frame walls that crash into them. I walk through soffit planning in how to frame basement soffits and bulkheads around ductwork and pipes.
Framing and moisture control
Bathrooms generate moisture. Basements already have moisture risk. Your framing choices should support drying and durability.
Use moisture-smart materials
In wet areas, use products designed for moisture exposure, especially behind tile and around the shower. If you are selecting materials for a basement environment, start with 7 mold-resistant materials for a basement remodel.
Keep wood off concrete
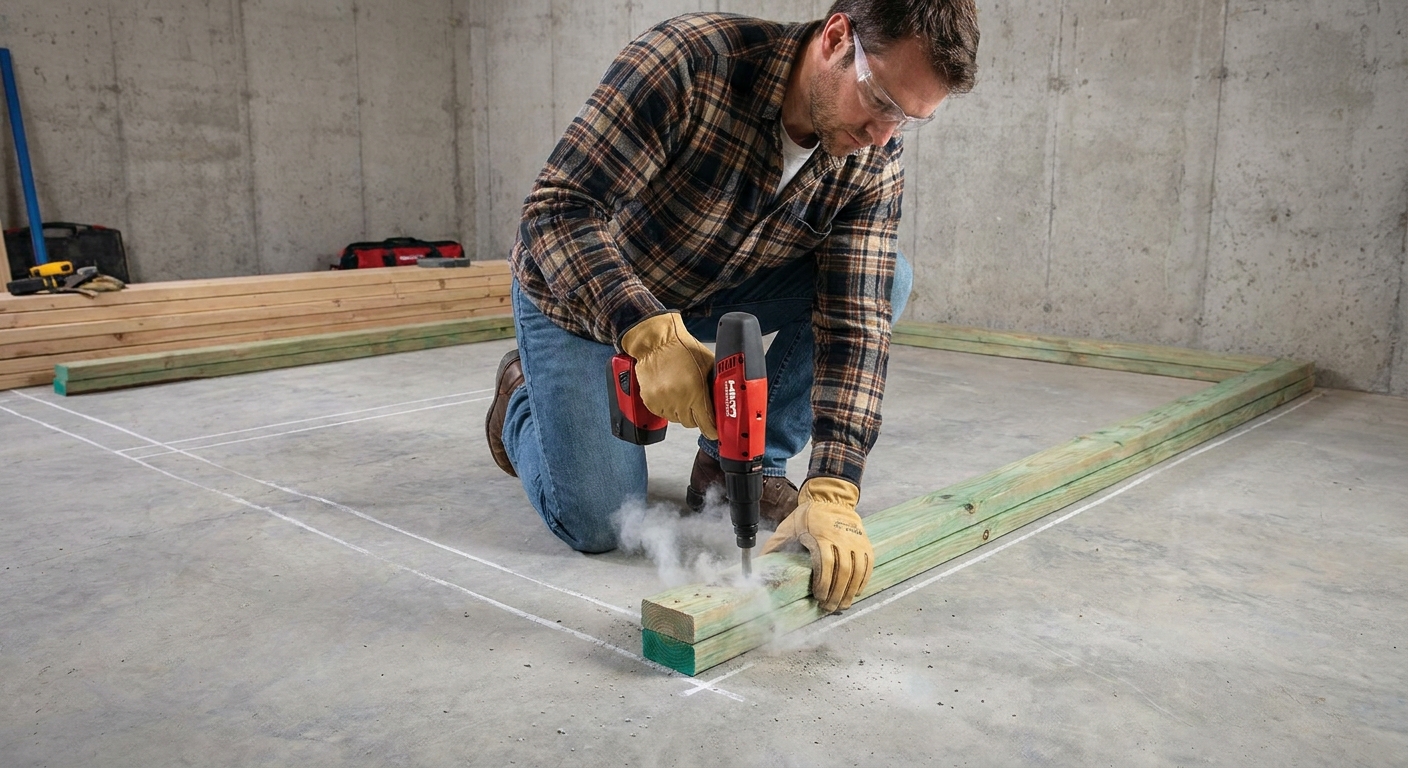
Bottom plates should be pressure-treated or otherwise code-approved for concrete contact, and a capillary break or sill gasket may be required depending on your jurisdiction. They also need to be fastened properly. If you are deciding between fastening methods, see Ramset vs masonry screws for bottom plates.
Ventilation is a framing decision
A great fan in the wrong location can still leave the shower corner damp. Plan the fan and duct route early so framing does not block it. I cover the bigger picture in basement ventilation strategies.
Quiet the wet wall
If you want the bathroom to feel less like a utility room, insulate the wet wall for sound. Mineral wool is my go-to because it stays put and handles incidental moisture exposure better than many fluffy batts.
Fireblocking to plan for
Basement bathrooms love concealed spaces: chases, soffits, and boxed-out corners. Those are also the spots inspectors focus on for fireblocking and draftstopping. Before you close anything up, walk the room and ask yourself where air could move vertically inside a wall or chase, then frame it so fireblocking is easy to add and inspect.
Basement bathroom framing checklist
- Wet wall location: shortest route to drains and a clean path for vents upward
- Stud depth: 2x6 where the wall carries multiple pipes or large lines
- Boring and notching: follow local limits and keep edge distance in mind
- Pipe protection: nail plates anywhere pipes get close to stud faces
- Valve depth: set using the real finished wall build-up and the plaster guard range
- Finished floor build-up: confirm subfloor, tile, and shower base heights before locking valve and flange heights
- Blocking: continuous blocking zones for grab bars, plus backing for vanity and shower door hardware
- Straight walls: crowned studs consistent, no bowed members in tile zones
- Access: framed space for any shutoffs, cleanouts, or service points
- Fireblocking: plan it for soffits and chases so inspection is painless
And one final reality check: bathroom framing is tightly tied to permitting and inspection in most areas. If you are pulling permits for your basement finish, it helps to know what inspectors want to see at rough framing and rough plumbing. I walk through the process in basement finishing permits: what you need and how to get them.
Common framing mistakes
Forcing a 2x4 wet wall to do a 2x6 job
It usually ends with over-bored studs, pipes too close to the drywall, or a wall that has to be rebuilt after plumbing rough-in.
Skipping blocking because “I will remember later”
You will not. Or you will change your mind after drywall. Add blocking while the wall is open.
Framing first and hoping the vent path works
Vents do not like beams, ducts, and tight joist pockets. Dry-fit the route mentally, and with your local code in mind, before you commit to wall locations.
Ignoring ceiling height and soffit collisions
A basement bathroom can get cramped fast. If your plan includes a shower, a fan duct, and a drain line under joists, a few inches of bad soffit placement can make the room feel like a cave.
When to bring in help
I love DIY, but I also like sleeping at night. If your bathroom needs an ejector pump, major slab cutting, or a complicated venting layout, it can be worth hiring out part of the plumbing while you handle framing, blocking, and finishes. If you are weighing that decision across the whole project, DIY vs hiring a contractor for basement finishing is a good gut-check.
Done right, a basement bathroom feels like it was always part of the house. The difference is almost always invisible, because it lives inside the walls: enough depth for the pipes, solid blocking where people will lean, and framing that respects the reality of water in a basement.