The first basement I ever framed, I was so proud of my crisp chalk lines that I rushed straight to fastening. Ten minutes later I had a wavy wall, a couple of “mystery” gaps under the plate, and one fastener that spun like it was set in butter. That was the day I learned that anchoring bottom plates to concrete is not the fun part of framing, but it is the part that decides whether the rest of your walls feel solid or fussy for the next twenty years.
This guide breaks down the two most common DIY-friendly options for securing bottom plates to a concrete slab: a Ramset-style powder-actuated tool and masonry screws (Tapcon is the brand most people use). I will cover which one to pick, how to do it safely, and the small details that keep walls straight and squeak-free.
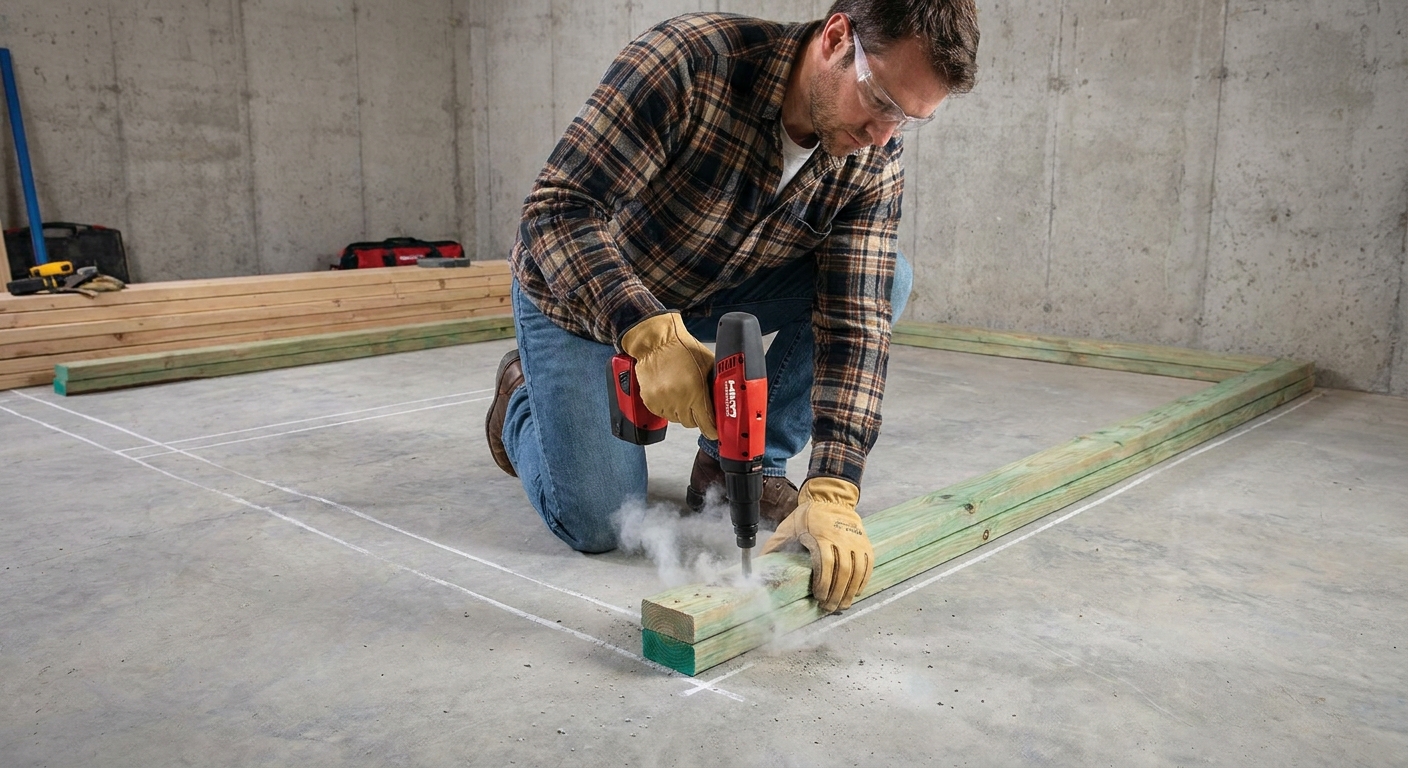
Before you fasten anything
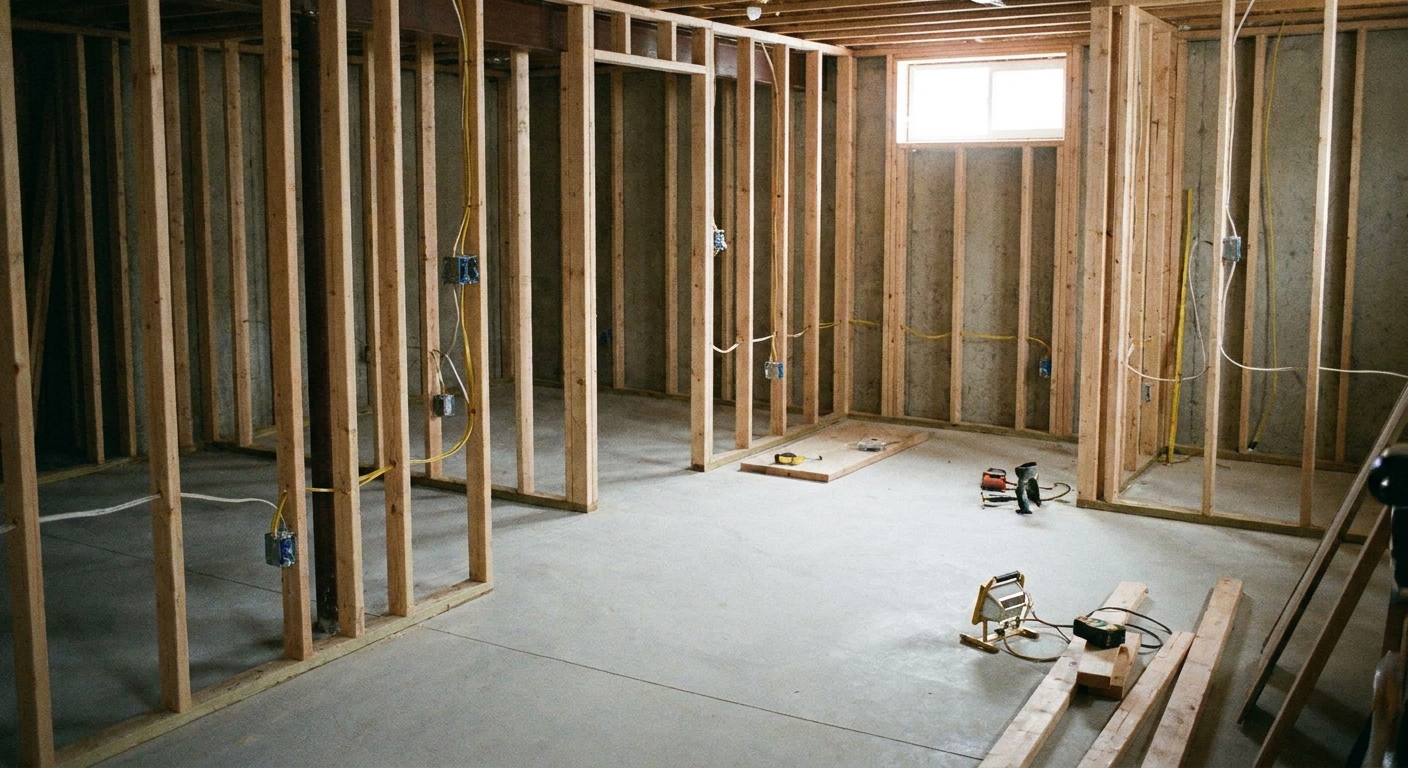
1) Make sure you are ready to frame
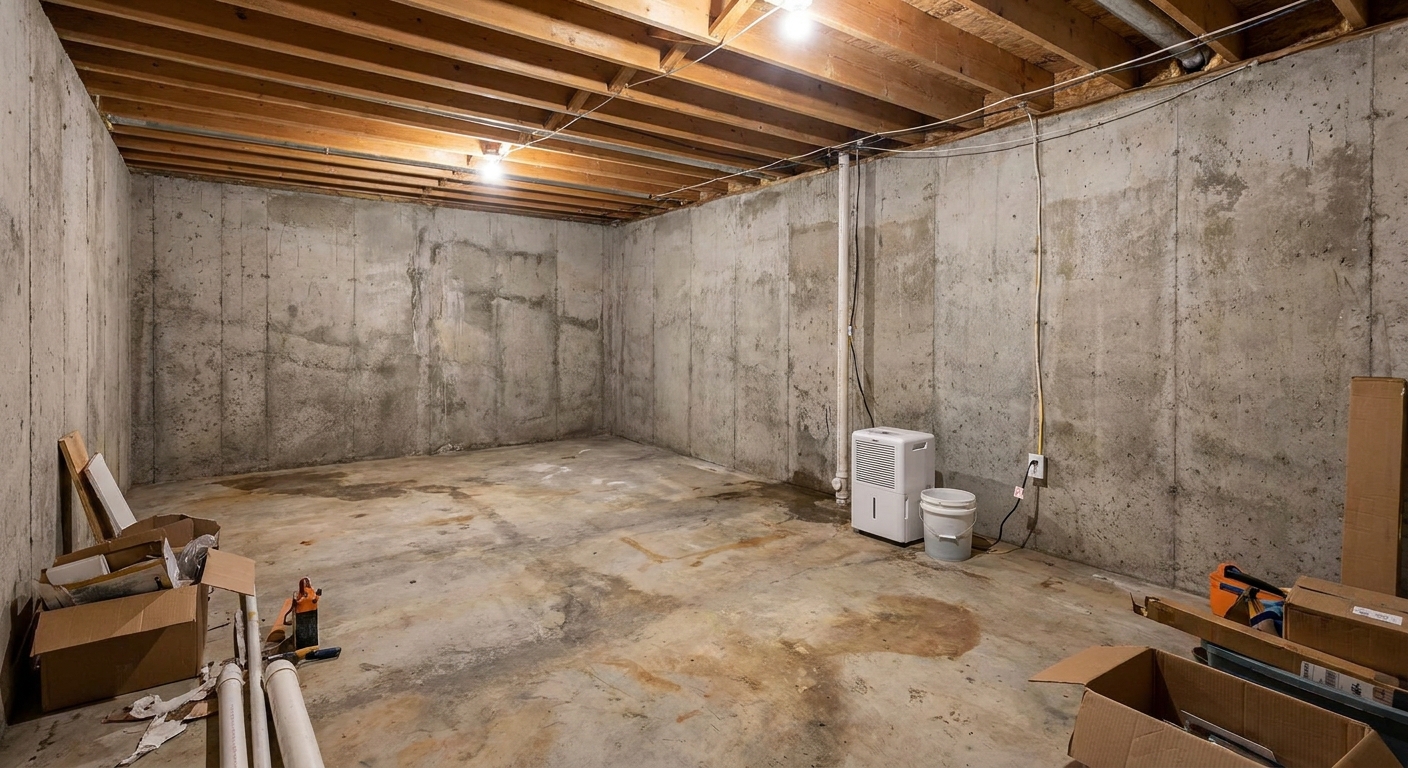
If you have moisture issues, anchoring plates is not the first domino you want to tip. Trapped moisture can rot wood, grow mold behind finished walls, and loosen fasteners over time if the slab is actively cycling dampness.
- If the slab gets wet after storms, handle drainage first. Start outside with grade and downspouts, then work inward if needed. See Exterior moisture control: yard grade and downspouts.
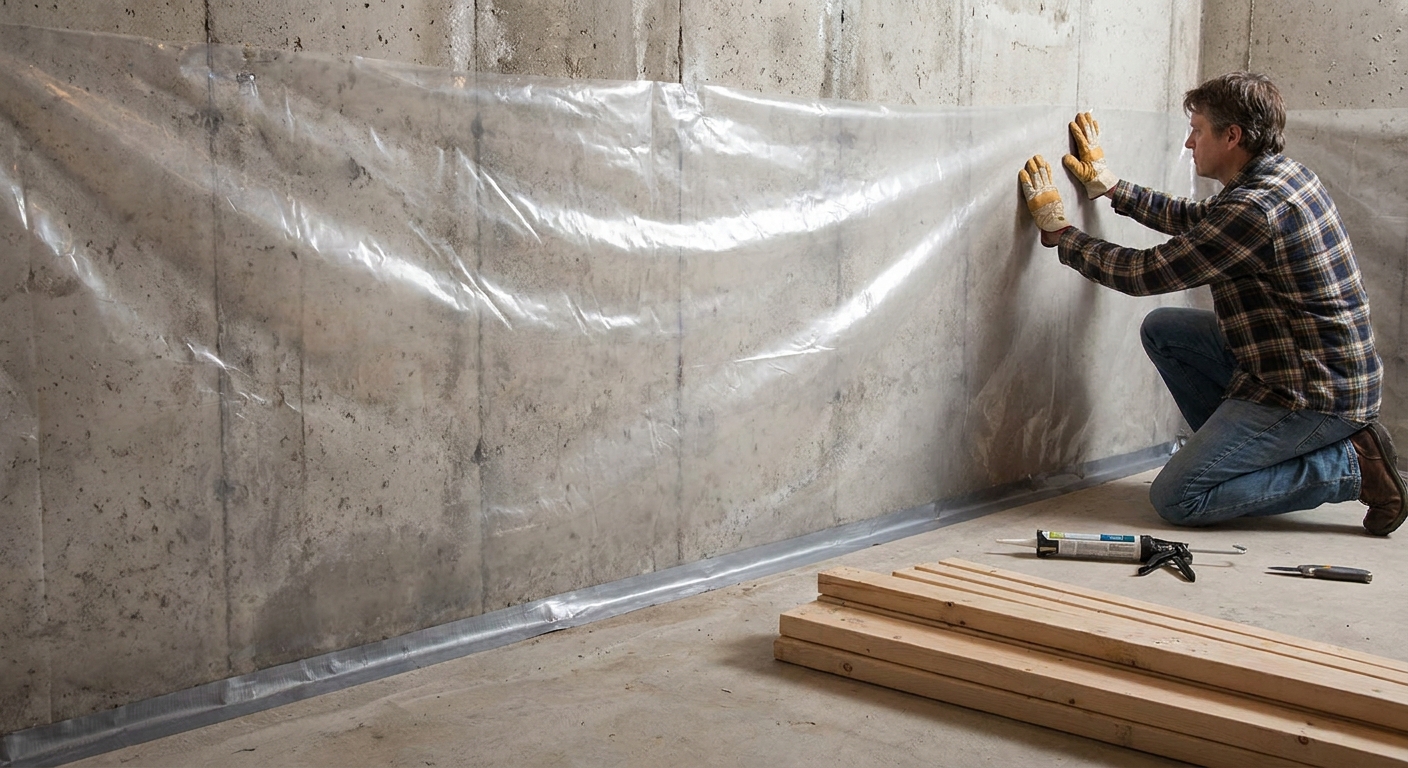
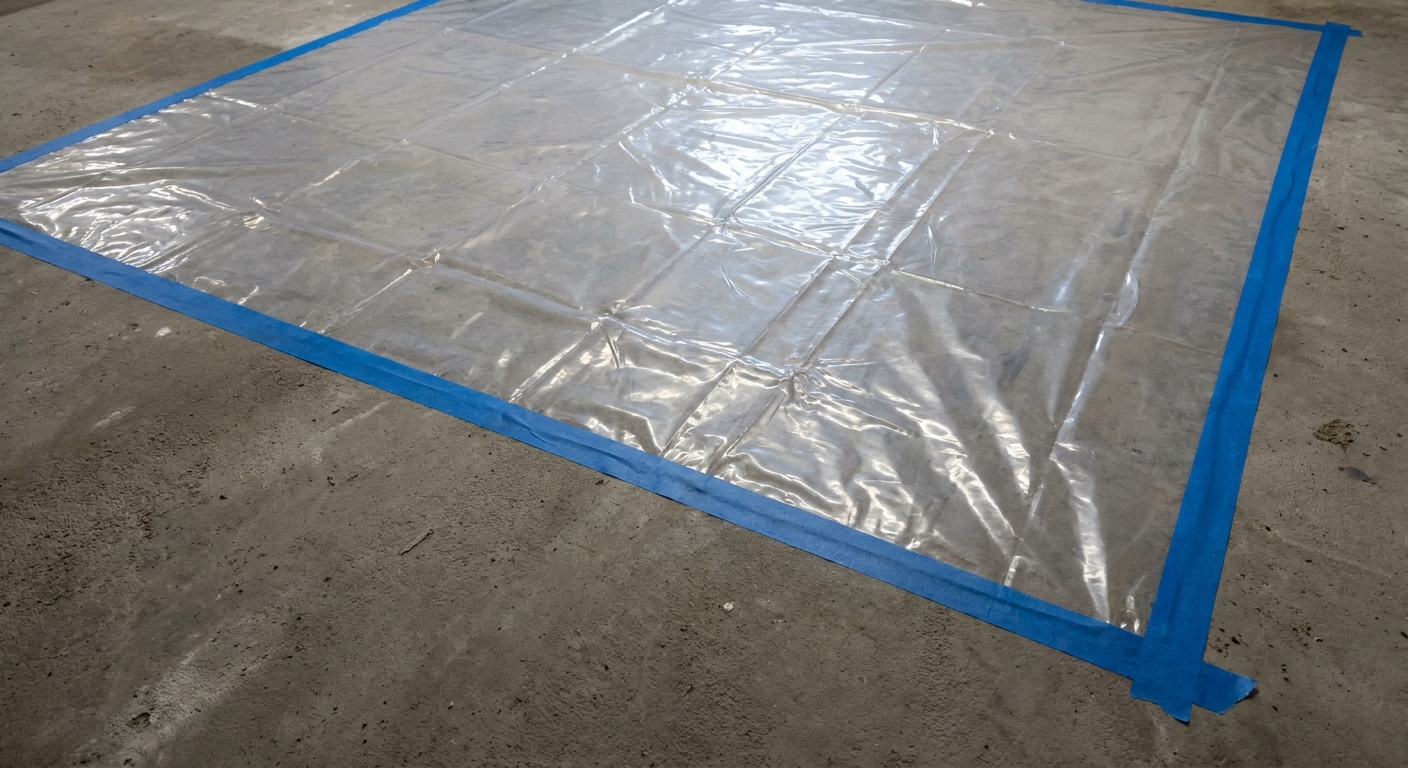
- If you are installing a vapor barrier or moisture layer behind stud walls, do that in the right order. See How to install a vapor barrier before basement framing.
- If you suspect foundation cracks or seepage, address it before walls go up. Seal foundation cracks with injection kits is a good starting point.
2) Use the right wood and gasket
In basements, it is commonly required (and almost always smart) to use pressure-treated lumber anywhere wood contacts concrete. Many building codes also want a capillary break between the plate and slab. Your local inspector gets the final vote, so check before you buy a whole stack.
- Bottom plate: pressure-treated 2x4 or 2x6.
- Between wood and concrete: sill sealer foam (thin roll foam) or an appropriate gasket. This helps with minor slab imperfections, reduces air leakage, and cuts down squeaks.
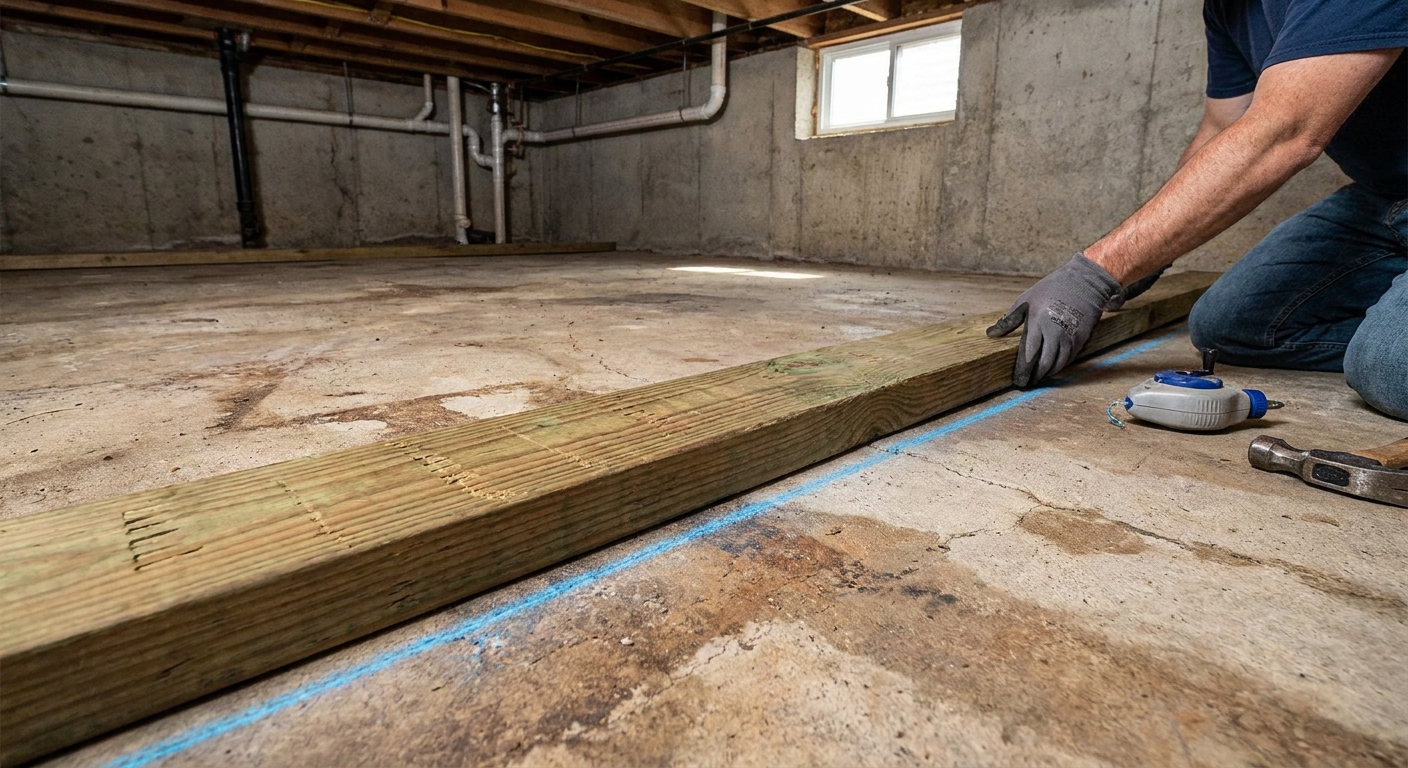
3) Snap lines and dry-fit the wall
Snap your wall layout lines, place the bottom plate on the line, and do a quick reality check. Is the slab crowned or dipped? Are there cracks or spalled spots right where fasteners should land? Adjust fastener locations now, not after holes are drilled.
Ramset vs. masonry screws
Both systems work. The best choice depends on slab condition, how close you are to edges, and your comfort level with the tool.
Option A: Powder-actuated fasteners
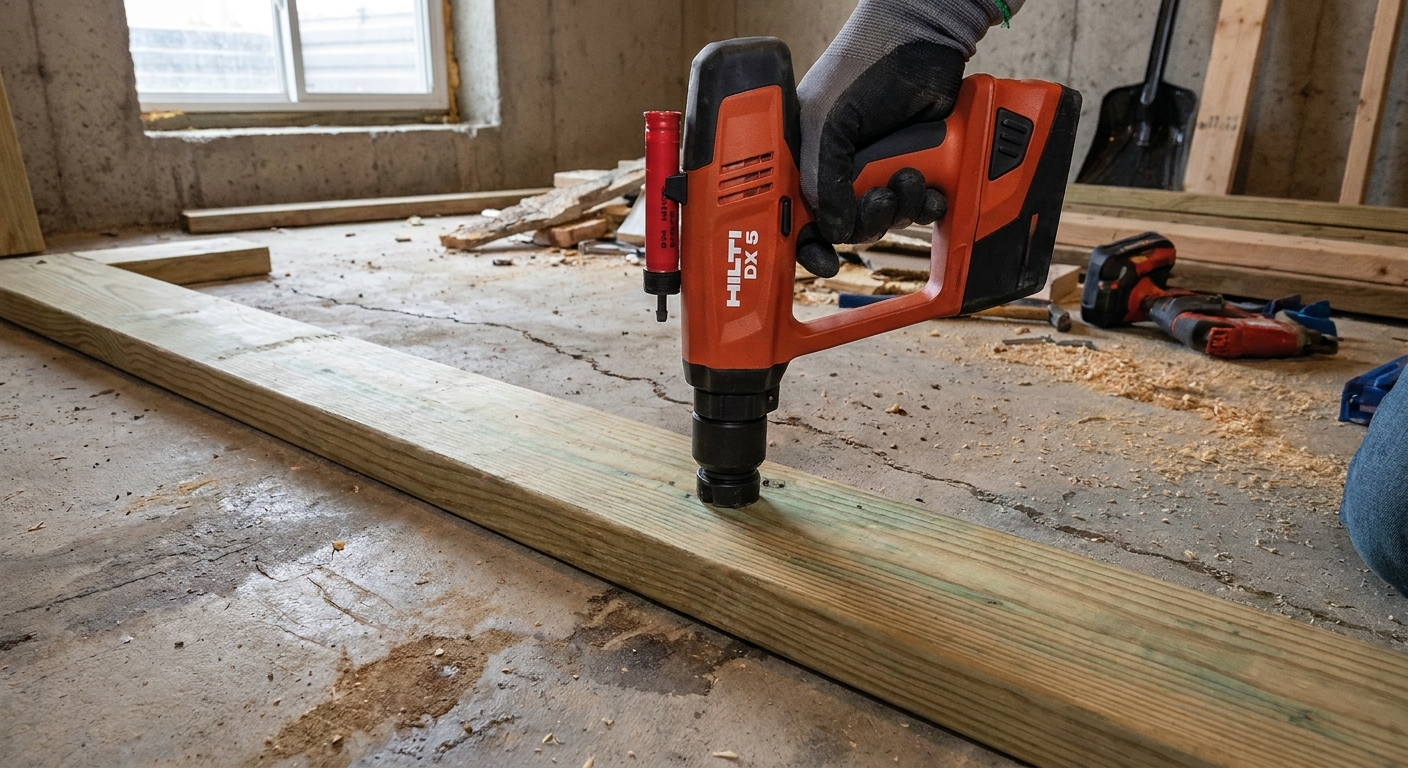
What it is: A powder-actuated tool uses a small powder load to drive a hardened pin through wood into concrete.
Why people love it: It is fast. For long basement walls with a clean slab, it can save a lot of time.
Where it struggles: Very hard, high-strength concrete, slabs with tough aggregate, brittle or poor concrete, cracked spots near edges, and situations where you need very precise pull-down without risk of overdriving.
My rule of thumb: If the slab is in good shape and you have long runs to anchor, powder-actuated is efficient. If the slab is questionable or you are close to an edge, I switch to masonry screws.
Option B: Masonry screws
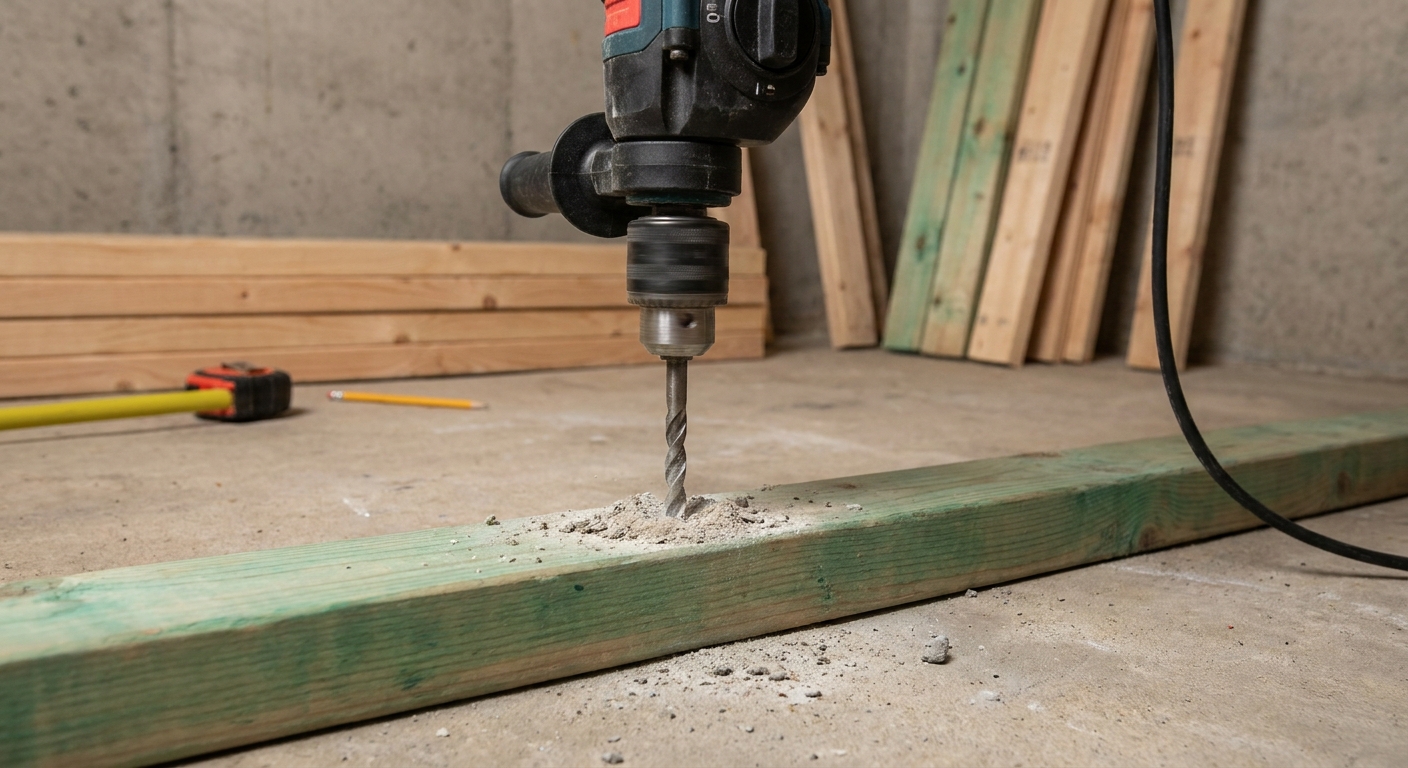
What it is: You drill a pilot hole with a hammer drill and then drive a masonry screw into the hole.
Why people love it: More control. If something is off, you can back it out and redo it. The connection feels predictable.
Where it struggles: It is slower, and drilling into a slab throws dust everywhere if you do not stay on top of cleanup.
My rule of thumb: If this is your first basement framing job, masonry screws are usually the calmer learning curve.
Quick comparison
| Factor | Powder-actuated (Ramset) | Masonry screws (Tapcon-style) |
|---|---|---|
| Speed | Fastest | Slower (drill, then drive) |
| Control and adjustability | Lower (once fired, it is set) | High (remove and reposition) |
| Works in very hard concrete | Sometimes (depends on slab and loads) | Often better if you use the right bit and patience |
| Risk of slab damage near edges | Higher | Lower if you respect edge distance |
| Tool cost | Tool plus loads and pins | Hammer drill plus bits and screws |
| DIY friendliness | Good, but demands strict safety habits | Excellent for beginners |
Spacing that keeps walls straight
Specific requirements vary by local code, wall height, and whether the wall is considered part of a braced or load path. For typical non-load-bearing basement partition walls, these habits are conservative and commonly accepted, but still confirm your local requirements.
- Start with a fastener within 6 to 12 inches of each end of a bottom plate section.
- Then every 16 to 24 inches on center along the run. In some situations you may see wider spacing used, but this range keeps plates tight to uneven slabs and avoids the “loose wall” feel.
- Add fasteners on both sides of door openings or where the wall gets bumped a lot (hallways, playrooms, stair landings).
Edge distance matters: Do not guess. Follow the minimum edge distance in your fastener and tool instructions. As a practical rule, I try to stay at least 3 inches from slab edges and stay clear of major cracks and spalled areas whenever layout allows.
Pick fastener length by embedment, not vibes: Whether you are using pins or screws, follow the manufacturer guidance for required embedment into solid concrete, and make sure your fastener is long enough to get it after going through the plate and sill sealer.
If you are building exterior stud walls (against foundation walls), you will often have additional details for insulation, vapor control, and spacing. The general wall assembly approach is covered in Framing & construction.
Masonry screw method
This is the method I recommend for most DIY basement finishes because it is controlled and forgiving.
Tools and materials
- Hammer drill (corded is nice, but a good cordless works)
- Carbide-tipped masonry bit sized to your screw (use the bit size the screw manufacturer specifies)
- Masonry screws (commonly 3/16 inch or 1/4 inch diameter)
- Impact driver or drill/driver with the correct bit
- Shop vacuum or compressed air for cleaning holes
- Pressure-treated bottom plate and sill sealer foam
- Hearing protection, eye protection, and a dust mask
Step-by-step
- Lay the sill sealer and plate on your chalk line. Tack the plate in place with a couple clamps or have a helper hold it tight to the line.
- Mark fastener locations. Avoid obvious cracks, spalled concrete, thin edges, and any suspect patches.
- Drill straight down through the wood into the slab. Let the hammer drill do the work. If you lean hard and wobble, you can wallow out the hole and reduce holding power.
- Drill to the correct depth. Use the manufacturer required embedment as your target. A simple trick is wrapping tape around the bit as a depth marker.
- Clean the hole. Concrete dust is the enemy of good bite. Vacuum it out, or blow it out carefully.
- Drive the screw snug, not crushed. Tighten until the plate is firmly seated. Stop before you strip the hole. If the screw spins, remove it and move over to a fresh location, or step up to a slightly larger diameter if appropriate.
Common problems and fixes
- Screw spins and will not tighten: hole is too big, too dusty, or you hit soft concrete. Clean the hole and try again. If it still spins, move the fastener location a few inches.
- Screw head snaps: often over-torquing or binding in a dirty hole. Drill straight, clean the hole, and drive with steady pressure.
- Plate lifts off the slab between screws: slab is uneven or fasteners are too far apart. Add a fastener, and make sure your sill sealer is continuous.
Powder-actuated method
Powder-actuated tools are effective, but they are not casual. Read and follow the specific manual for your tool, and treat it with the respect you would give any high-energy fastening system.
Important warnings first
- Do not shoot into cracked, spalled, or edge-fragile concrete. Switch to screws and move your fastening point to solid material.
- Do not shoot into post-tensioned or prestressed concrete. If you suspect a post-tension slab, stop and verify before drilling or shooting. The risk is not worth it.
- Watch for radiant heat. If your slab has in-floor heat (more common in some homes and additions), you need a plan that does not involve blindly drilling or shooting fasteners into tubing.
- Mind slab thickness. Your tool and fastener instructions will specify substrate limits. Thin slabs and unknown conditions are a good reason to choose masonry screws.
Tools and materials
- Powder-actuated tool (Ramset-style)
- Pins and washers designed for fastening wood to concrete
- Powder loads (start lighter than you think)
- Pressure-treated bottom plate and sill sealer foam
- Hearing protection, eye protection, and gloves
Step-by-step
- Start with the lowest power load likely to work. You can step up if the pin does not set. Overdriving can crush wood, blow out concrete, or make a mess fast.
- Keep the tool square to the slab. If you angle it, the pin can deflect, bend, or fail to seat properly.
- Press firmly before firing. Most tools have a safety interlock that requires compression. Use steady pressure.
- Check the set. You want the plate tight to the slab, with the fastener head and washer seated properly. If the fastener is proud, you may need a stronger load. If the wood is crushed or the pin is overdriven, step down in power.
- Work methodically down the line. Fasten near each end, then fill in spacing.
Where I avoid powder-actuated fastening
- Close to slab edges or near brittle, cracked concrete.
- When I need easy repositioning because layout is still being fine-tuned.
- When the slab is extremely hard and I am getting consistent shallow sets or bent pins.
Details that matter
Shim the right way
If your slab dips, do not try to “pull” the plate down with a fastener and hope it straightens itself. You can twist the plate and telegraph a curve into the wall. Instead:
- Use sill sealer everywhere.
- For bigger gaps, use composite shims in short sections, then fasten.
- Keep the top and bottom plates aligned so studs do not fight you later.
Think about the finished floor
If you are planning a subfloor system, the plate height and transitions matter. Some systems go down before framing, some after, and some require planning for door clearances. If you are still deciding, see Basement subfloor systems: dimpled mats vs. interlocking OSB panels and Flooring options.
Plan for permits
Even a “simple” basement finish often requires permits, and inspectors commonly look at treated lumber at the slab, proper fastening, and general framing practices. If you are unsure what applies in your area, read Basement finishing permits: what you need and how to get them.
FAQ
Do I have to use pressure-treated wood for bottom plates on concrete?
It is commonly required, and it is a smart default. Concrete can wick moisture even when it looks dry. In some areas or assemblies, a capillary break and approved materials can change what is acceptable, so verify with your local code office or inspector.
Can I use construction adhesive instead of fasteners?
I do not rely on adhesive alone for bottom plates. Adhesive can help reduce squeaks, but you still want mechanical fasteners to keep walls anchored and straight. Also, be thoughtful about products that could trap moisture in the wrong assembly.
What if my slab is cracked?
Hairline shrinkage cracks are common. Avoid placing fasteners directly in a crack. If you have active water seepage or widening cracks, handle that before finishing. Start with Moisture control and then move to targeted fixes like crack injection when appropriate.
Which method is quieter and cleaner?
Masonry screws are usually less intense, but they create concrete dust. Powder-actuated tools are louder and can be startling indoors. Either way, wear hearing and eye protection and keep the workspace clear.
My recommendation
If you want the simplest path to a solid, inspection-friendly wall, use masonry screws with a hammer drill. It is slower, but it is controlled and easy to correct if something is off.
If you are framing a big open basement, the slab is in good condition, and you are comfortable following strict tool safety and substrate rules, a powder-actuated tool can save a lot of time.
Whichever route you pick, the goal is the same: a straight plate pulled tight to the slab, fastened often enough that the wall does not creep, rock, or squeak once drywall and doors are in. That is the boring foundation that makes the fun parts of finishing a basement go smoothly.