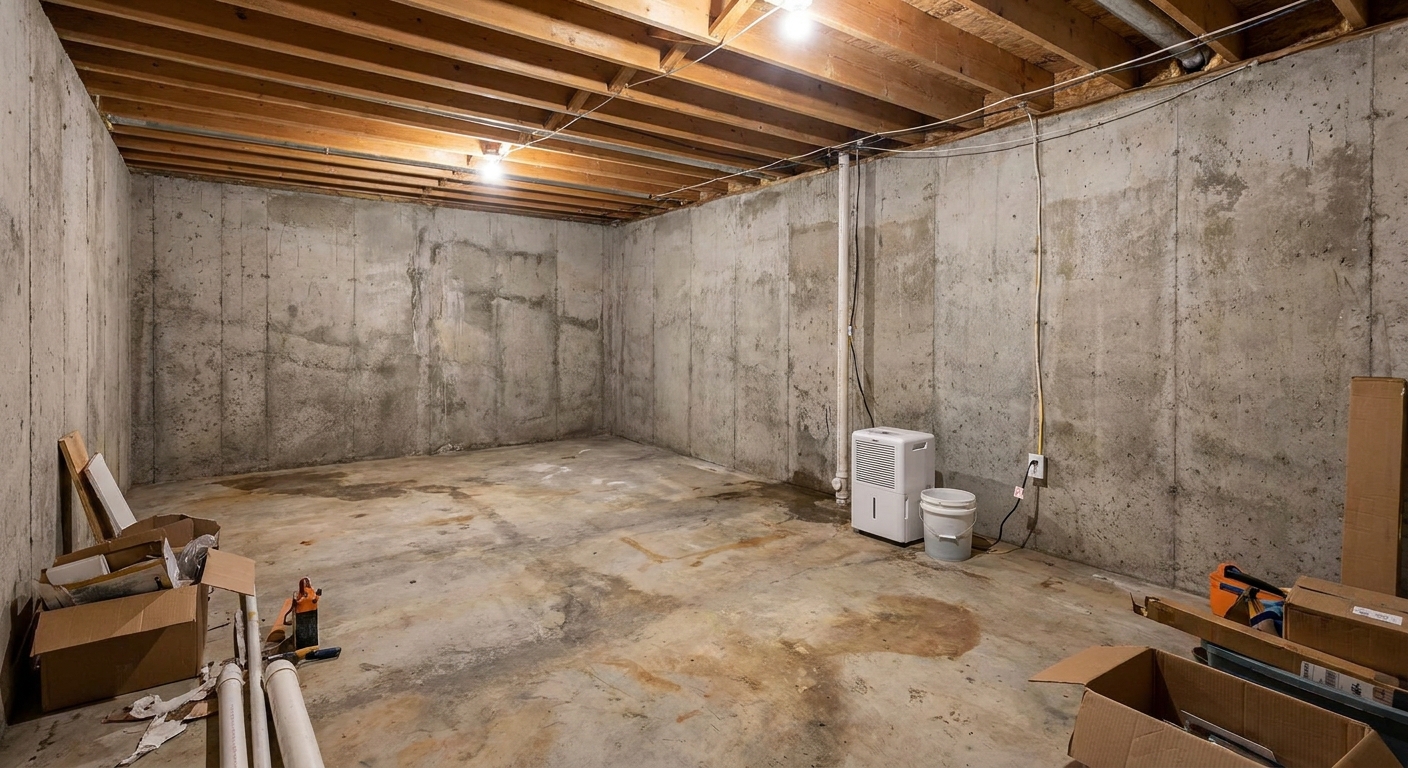
The first time I heard the term floating basement wall, I pictured a wall that literally moved around like a raft. Then a buddy showed me his “finished” basement after a wet spring. The slab moved, the wall system did not have anywhere to give, and the drywall split like a zipper all the way up the corner. That is the whole point of a floating wall: your basement slab is allowed to rise and fall without forcing your finished walls and ceiling to take the hit.
If you live in an area with expansive clay soils, high seasonal moisture swings, or a history of slab heave, floating walls are one of those unsexy framing details that can save you thousands and a ton of frustration.
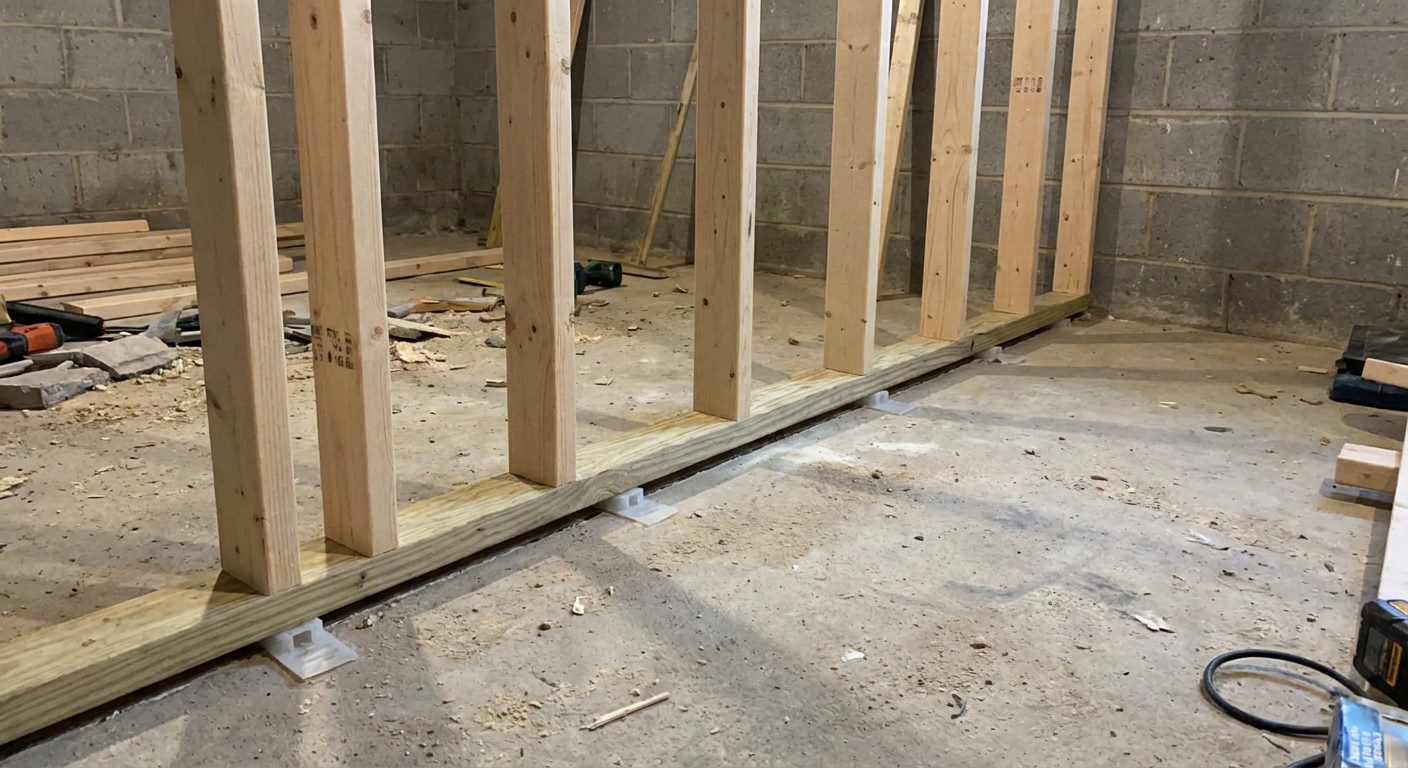
What a floating wall does
A conventional basement partition wall is usually framed like this: bottom plate anchored to the slab, studs nailed to the plates, top plate attached tight to the joists above. If the slab heaves, it can push up into that wall. If the wall is pinned top and bottom with no deflection capacity, your drywall, ceiling finish, doors, and trim become the “shock absorbers.” They lose that argument.
A floating wall changes one key thing: it keeps the wall laterally stable while allowing vertical slip. The slab can lift, and instead of lifting the whole wall assembly, the movement is absorbed by an intentional gap, a slotted connector, a slip track, or another deflection detail. The exact hardware varies, but the goal is consistent: movement happens without wrecking your finish work.
When you need floating walls
Good reasons to float
- Expansive clay soils are common in your area, and heave is a known issue.
- You have signs of past movement: cracked slab patches, stair-step cracks in unfinished masonry, doors that go out of square seasonally, or gaps opening and closing at baseboards.
- Your slab is uninsulated and exposed to moisture swings from below and around the foundation.
- You are finishing a basement where the floor has a history of lifting after wet seasons.
When they may be unnecessary
- Your basement has a long track record of staying flat and stable through multiple wet years.
- You are framing walls that must carry load or provide a designed load path. Floating details are typically for non-load-bearing partitions unless an engineer says otherwise.
- You are not actually on expansive soil and slab movement is not part of your local building reality.
If you are on the fence, ask your local building department what they expect in finished basements in your soil conditions. If you are already pulling permits, start with Basement Finishing Permits: What You Need and How to Get Them.
Fix water first
A floating wall is not a waterproofing system. If bulk water is getting in, you still have to fix that first. Otherwise you are building a nicer place for mold to live.
- Start outside with drainage and grading. I walk through the priorities in Exterior Moisture Control: Yard Grade and Downspouts.
- If you have active seepage at the slab edge or wall, deal with it before framing. See Interior French Drains and Sump Pumps Before Basement Finishing.
- If you are unsure whether your slab is emitting moisture, test it. Test a Basement Slab for Moisture Emissions is the exact process I use.
Key details
1) Plan for movement
The system relies on vertical deflection capacity somewhere in the wall. Sometimes that is a clear gap under studs. Sometimes the slab can contact the bottom plate or track first, and the studs still have room to slip. Either way, the wall needs a place for movement to go that is not your drywall.
2) Keep the bottom stable, not rigid
This is where a lot of DIY descriptions go off the rails. In many areas, the bottom plate is still anchored to the slab for lateral restraint. The “float” comes from the studs being decoupled with slotted clips, slip track, or a double-plate style detail. In other regions, inspectors are fine with a bottom detail that is not conventionally anchored, as long as the wall is stable and meets local requirements. The right answer is regional, and your inspector is the final boss.
3) Secure the top
Floating walls still need to be straight and solid. The top plate or top track gets fastened to the floor framing above so the wall stays where you put it. The important nuance is this: secure at the top does not mean you are allowed to pin everything so tight that nothing can move.
Common assemblies
Here are a few code-neutral, real-world ways floating basement partition walls are commonly built. These are not the only options, and you should verify your chosen detail with your local building department before you buy hardware.
Anchored plate with slip clips
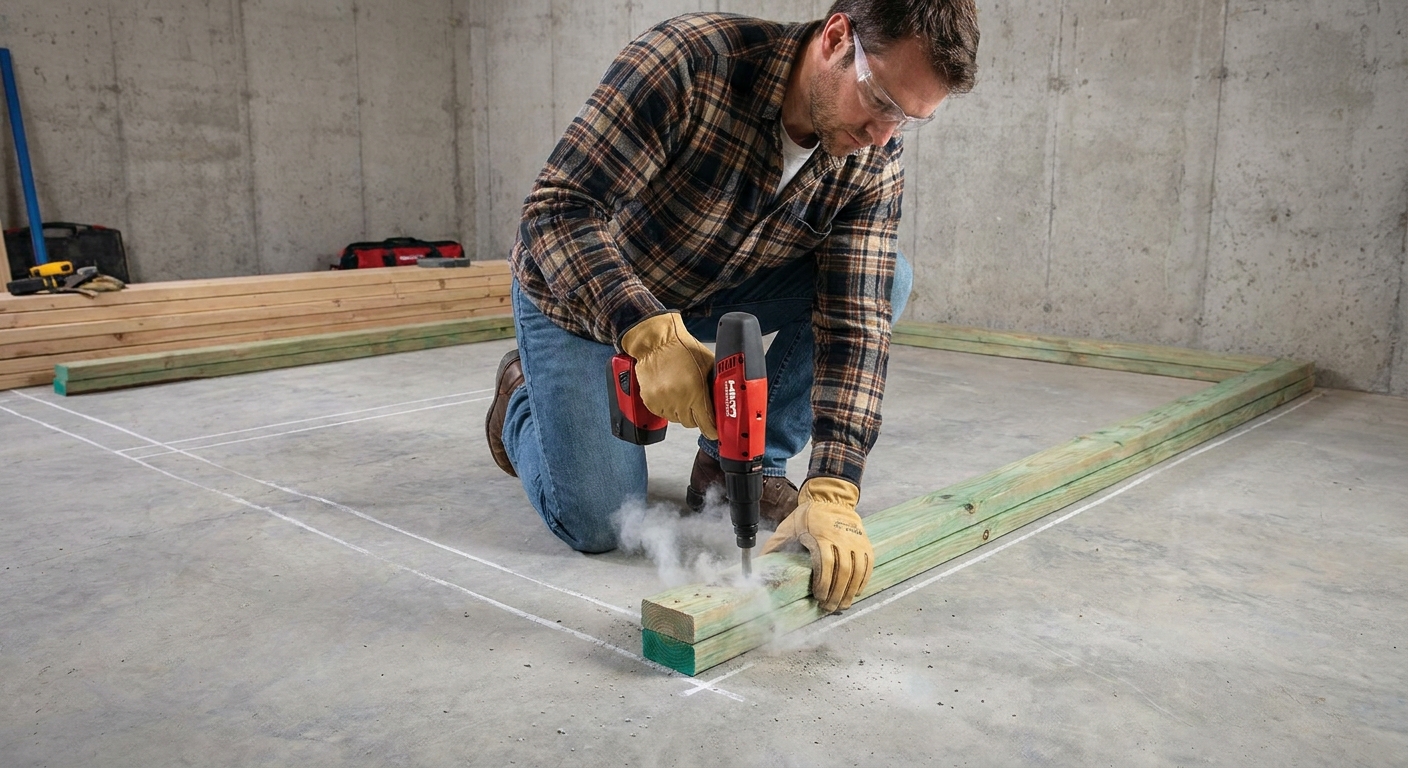
The bottom plate is anchored to the slab for lateral control. Studs are attached to the bottom plate using slotted clips or slip connectors that allow vertical travel. This is a common “best of both worlds” approach where movement is expected but inspectors still want positive anchorage at the slab.
Deflection track
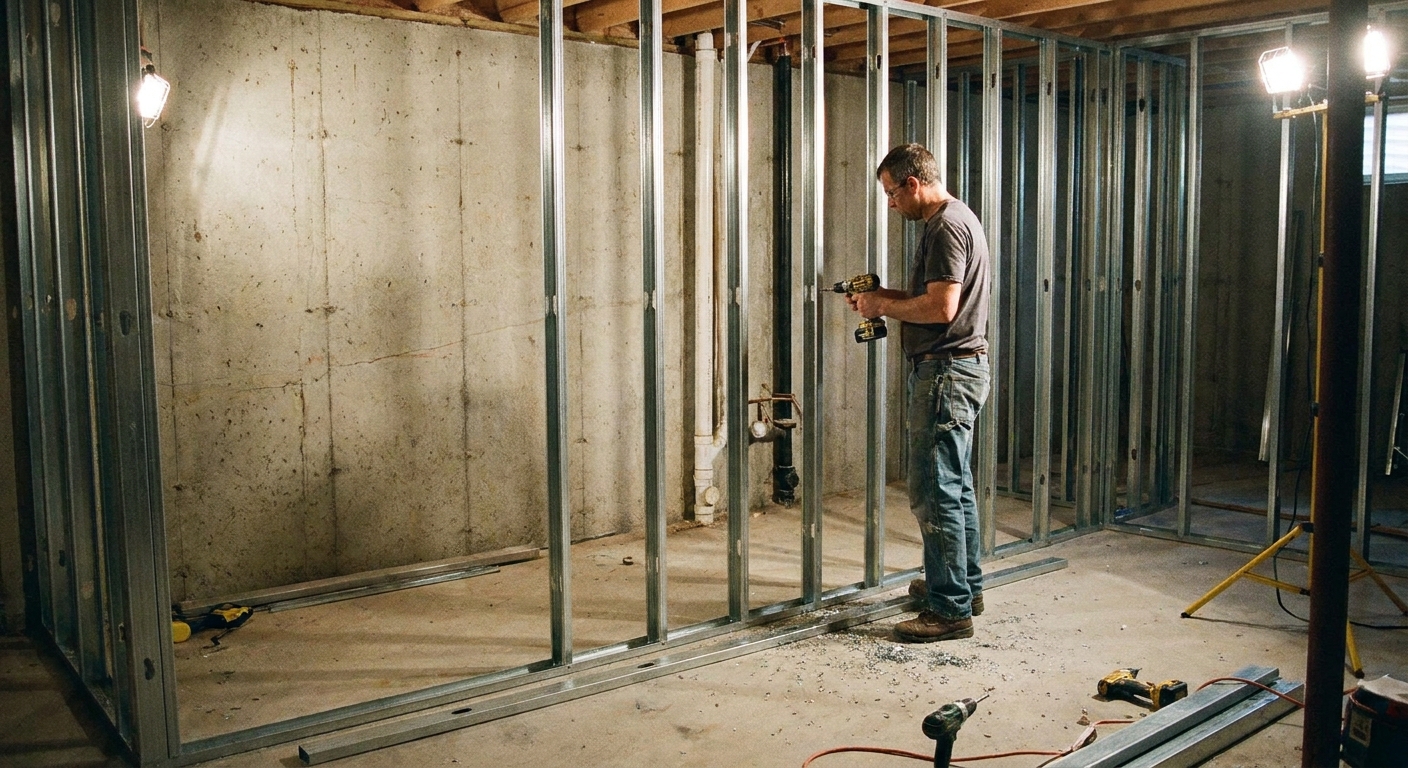
Often done with steel studs, but variations exist in wood framing too. A deflection track or slip track provides a controlled pocket that allows studs to move vertically without racking the wall. This is also a clean way to keep the wall straight over time.
Double-plate style gap
You will also see versions where the wall is framed with an intentional gap or spacer strategy so the studs are not bearing on the slab. The key is that the wall cannot be accidentally turned into a jack point by rigidly tying everything together at the bottom.
How much gap is enough
This is not a universal number. In heave-prone regions, I have seen builders plan anywhere from about 3/4 inch to 2 inches or more, depending on local history, soil behavior, and the connector system being used. The safest way to pick the number is boring but effective: ask what your local inspectors expect and what local builders typically pass with.
Materials and tools
- Lumber: kiln-dried 2x4s are typical. Use straight stock. It matters more than you think when you are hanging drywall later.
- Pressure-treated bottom plate: many jurisdictions require PT wherever wood contacts concrete. Even when there is deflection built in, the bottom of the wall lives in the most humid zone of the basement. Check local code.
- Composite shims or treated shims: for temporary spacing and leveling.
- Fasteners: framing nails or structural screws for studs to plates, plus appropriate fasteners for attachment to joists or blocking.
- Connectors: slotted clips, slip connectors, or deflection track components, depending on the assembly you choose.
- Foam sill gasket or capillary break: when a plate is near concrete, I like having a break between materials.
- Laser or long level, chalk line, and a good tape measure.
If you are still planning the whole framing package, it helps to price everything in one pass. I put my approach in Calculate Materials for Basement Framing and Drywall.
How to frame it
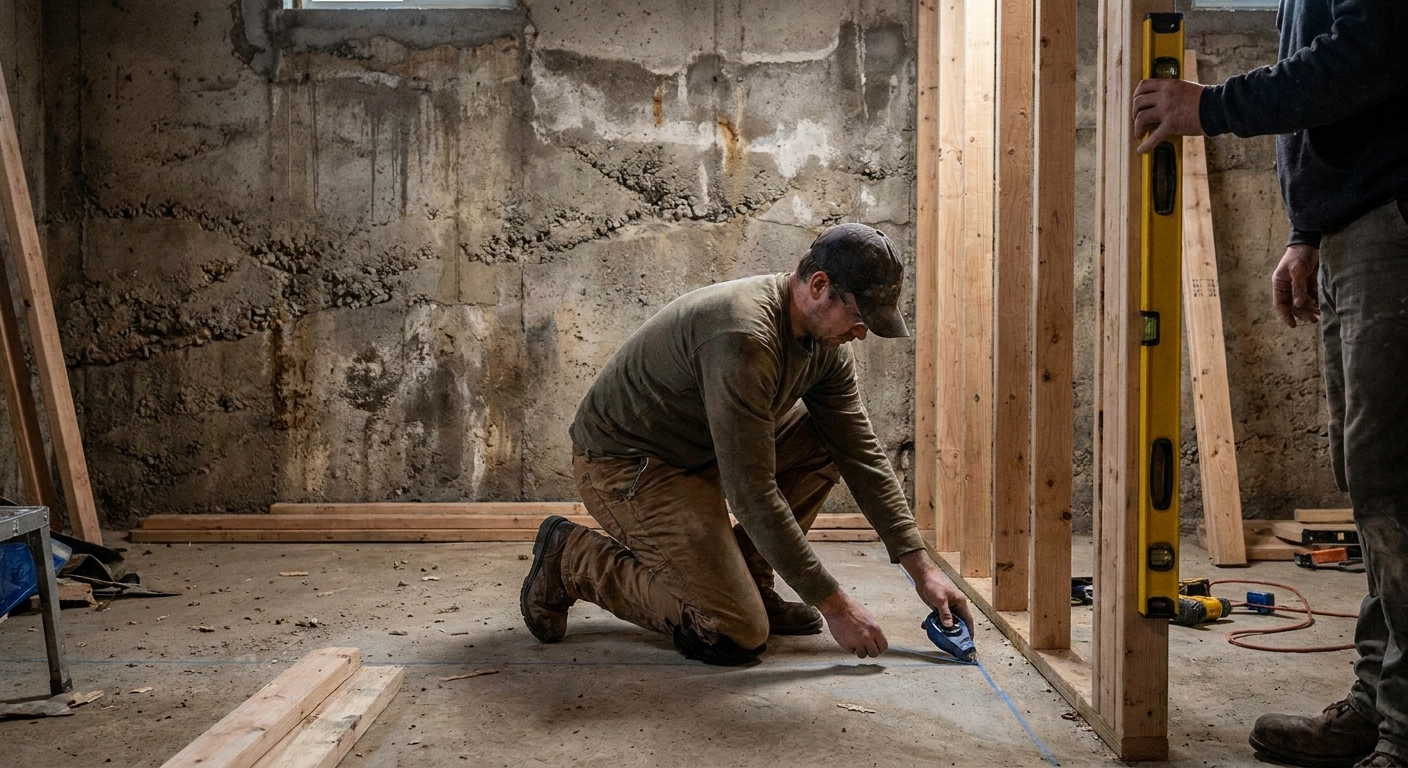
Step 1: Lay out the wall
Snap a chalk line for the wall on the slab. Then plumb up to the ceiling and mark the top location on the joists. Take your time here. A wall that starts crooked becomes a drywall headache later.
Step 2: Get solid backing above
If you are running parallel to joists, add blocking so you have solid fastening. Whether you install the top plate first or after assembling the wall, the goal is the same: a straight, well-supported top connection.
Step 3: Build the wall with deflection built in
Choose the assembly that matches your local norms. Depending on the approach, that may mean studs cut short to maintain a gap, studs captured in slip track, or studs attached with slotted clips. Measure twice. The whole point is that the wall has planned vertical travel.
Step 4: Control lateral movement at the bottom
A floating wall still needs to resist getting kicked sideways. The trick is stability without creating a rigid lift point. This is where anchored bottom plates plus slip connectors are common, but again, local requirements vary. Confirm the detail before you commit.
Step 5: Add blocking
Before insulation and drywall, install blocking for heavy loads and for anything that hates movement:
- Handrails
- Wall-mounted TVs
- Cabinets
- Bath accessories
- Door hardware where extra stiff framing helps
Step 6: Frame doors with reality in mind
Doors are the first thing to show seasonal changes. Keep openings square and plumb, and avoid details that effectively pin the wall to the slab. In basements that move, minor hinge tweaks over the years are not a moral failure. It is just physics.
Do not bridge the movement
Drywall clearance
If drywall runs tight to the slab, the slab can lift and crush it. Leave clearance at the bottom edge of drywall and let trim cover it. This is standard good practice in basements even without heave risk.
Baseboard and trim
Fasten baseboard to the wall, not to the floor. If you pin trim to the slab, you can end up with cracking or squeaks when the slab moves.
Flooring and subfloor
Floating floors (like many LVP systems) can be a good match for basements, but pay attention to expansion gaps and transitions so the floor can move independently. If you are still choosing materials, I break down practical basement-friendly options in Flooring Options and subfloor systems in Basement Subfloor Systems: Dimpled Mats vs Interlocking OSB Panels.
Plumbing and electrical
Rigid penetrations can defeat a floating detail the same way drywall can. Plumbing stacks, conduit, and rigid duct runs need a plan so they do not accidentally become the thing that ties slab movement into the wall or ceiling. If you are trying to route systems cleanly in a basement, Basement Plumbing and HVAC Without Losing Ceiling Height helps you think through the layout before you frame yourself into a corner.
Insulation and vapor control
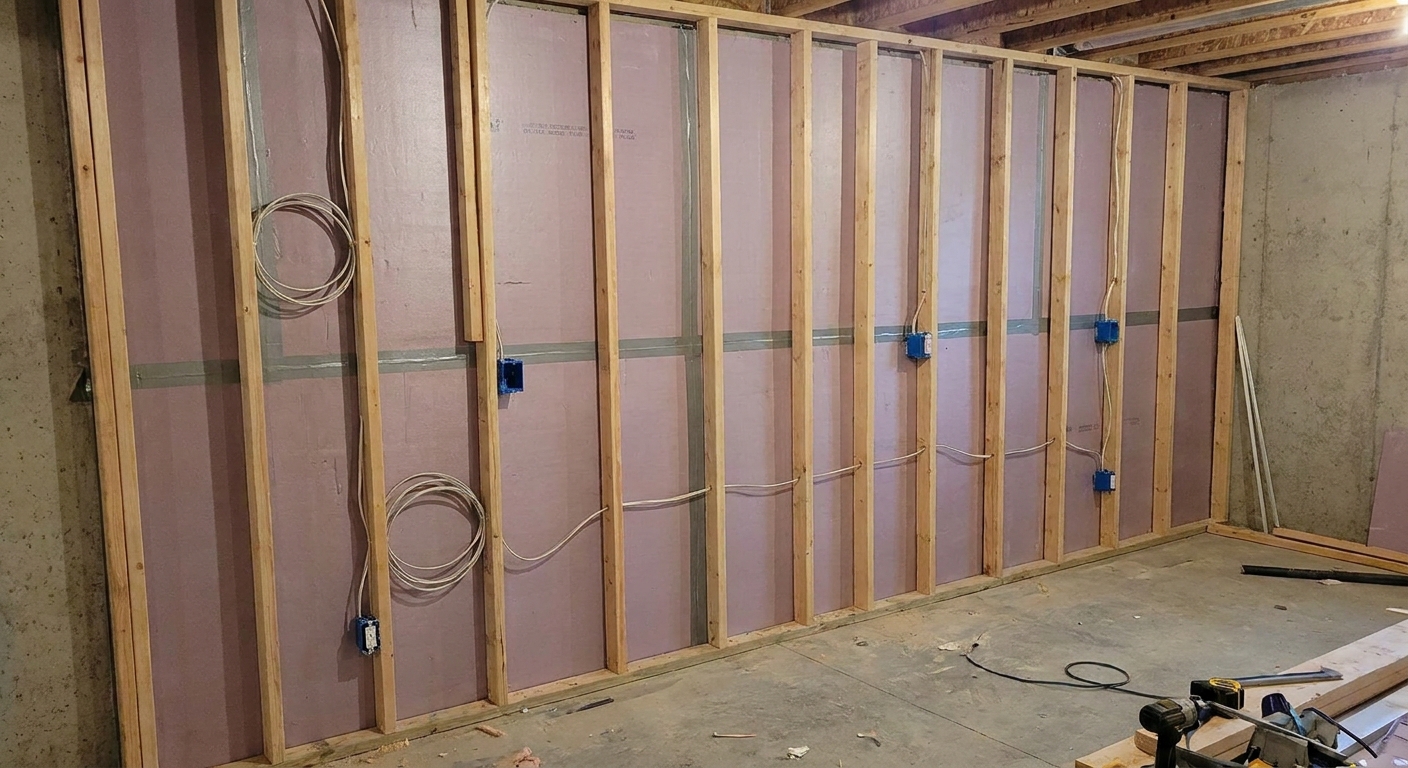
Floating walls solve a movement problem, not a moisture problem. You still need an insulation approach that does not trap dampness against cold concrete.
- If you are deciding between foam options, start with Rigid Foam vs Spray Foam Basement Insulation for Moisture Control.
- If you plan to use a vapor barrier as part of your system, install it correctly before framing and sealing. How to Install a Vapor Barrier Before Basement Framing covers the order and the common mistakes.
Fire and safety basics
That nice little movement gap you created can also create a pathway for fire and smoke if you do not handle it correctly. Finished basements commonly require fireblocking and draftstopping details at specific locations, and your floating wall assembly still has to meet those rules. The right approach depends on your layout and your local code interpretation, so this is another place to confirm expectations with your inspector before you close the walls.
Common mistakes
- No real deflection: if the studs are effectively bearing on the slab and everything is pinned tight, you built a standard wall that will ride the heave.
- Over-anchoring without slip: lots of concrete fasteners are not the problem by themselves. The problem is anchoring the bottom and then also removing any way for the studs to slip vertically.
- Drywall tight to the floor: bridging defeats the whole idea and often shows up as crumbling drywall at the bottom edge.
- Ignoring water: floating walls will not fix seepage, hydrostatic pressure, or wet concrete.
- Thinking it cannot happen here: expansive soils can behave for a long time and then act up after an unusually wet cycle. Not always, but often enough that I do not like gambling on it.
FAQ
Are floating walls required?
Sometimes, in the sense that certain regions with expansive soils have local amendments or common inspection expectations. Many places do not explicitly require them, but inspectors may expect a movement detail if slab heave is common locally. When in doubt, ask before you frame.
Can I build one on a subfloor?
Yes, but think it through. If your subfloor is also floating (not mechanically anchored), you do not want the wall pinning it down in a way that causes buckling. In heave-prone basements, plan the whole assembly as a system: slab movement, subfloor movement, wall movement, and trim clearances.
Do I still need pressure-treated lumber?
Often yes. Many jurisdictions require PT for any lumber in contact with concrete. Even when there is a deflection detail, the lower wall area is humid and close to concrete. PT plus good moisture control is cheap insurance.
What if I already framed standard walls?
If your area is known for heave and you have not drywalled yet, it can be worth reworking the movement detail now. Once drywall, doors, and trim are in, the cost and disruption go way up. If you are unsure, a local pro can help you gauge the risk before you commit either way.
My rule of thumb
If your basement slab is in a region where it is allowed to misbehave, build your walls so they can tolerate it. A floating wall is not flashy, but it is exactly the kind of foundational detail that keeps a basement finish looking like it was done by a pro five years from now, not just on move-in day.
If you want a sanity-check on the overall sequence so you do not paint yourself into a corner, follow Basement Remodel Timeline: Correct Order of Operations before you start hauling lumber downstairs.