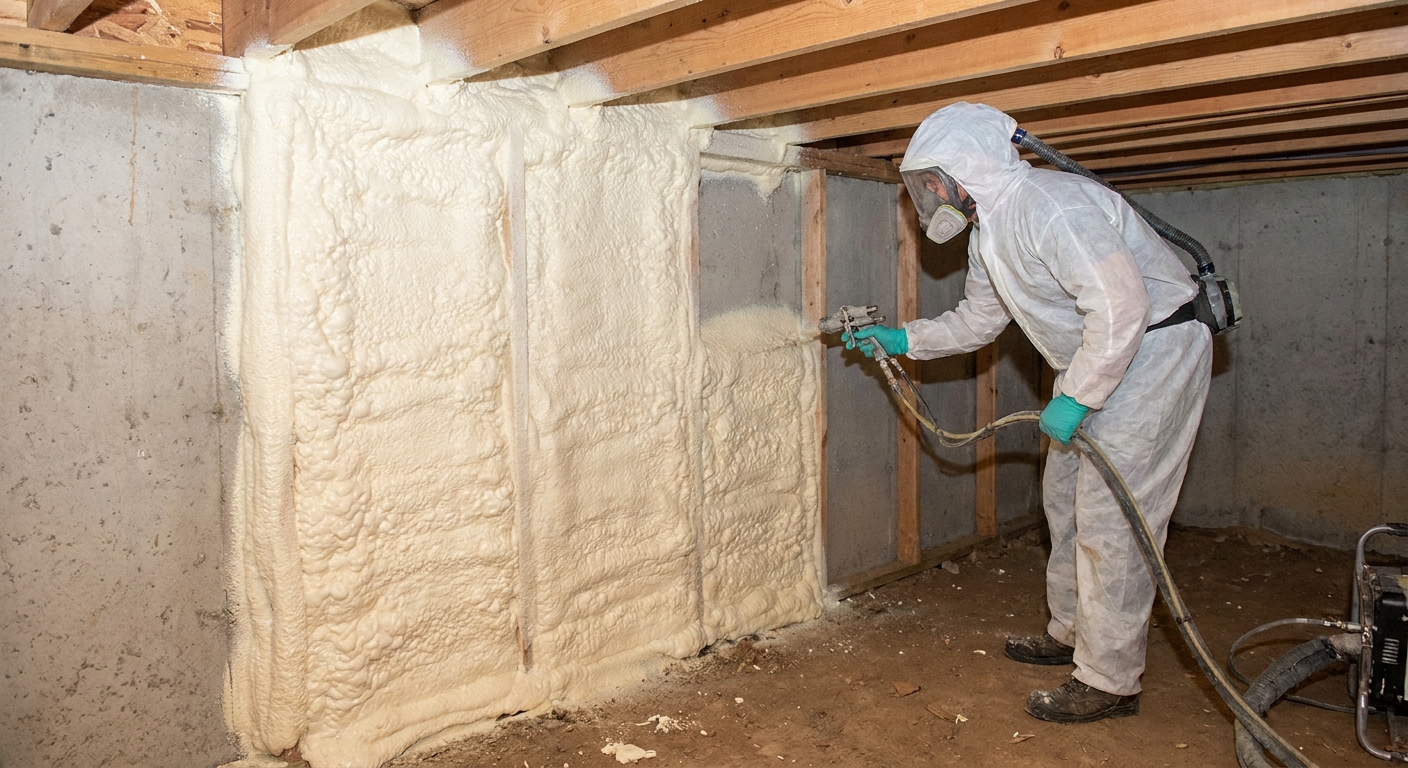
The first basement I ever framed looked great on day one. Then I started hanging drywall and realized the truth: the concrete wall behind it was doing its own thing. It bowed in, kicked out, and leaned just enough that my “perfect” wall wasn’t actually straight, plumb, or easy to finish.
If your basement foundation walls are uneven (and in many older basements, they are), the goal is not to follow the concrete. The goal is to build a new interior wall that is plumb and straight, stays dry, and leaves you with clean corners and flat drywall. Here is the carpentry playbook I use now.
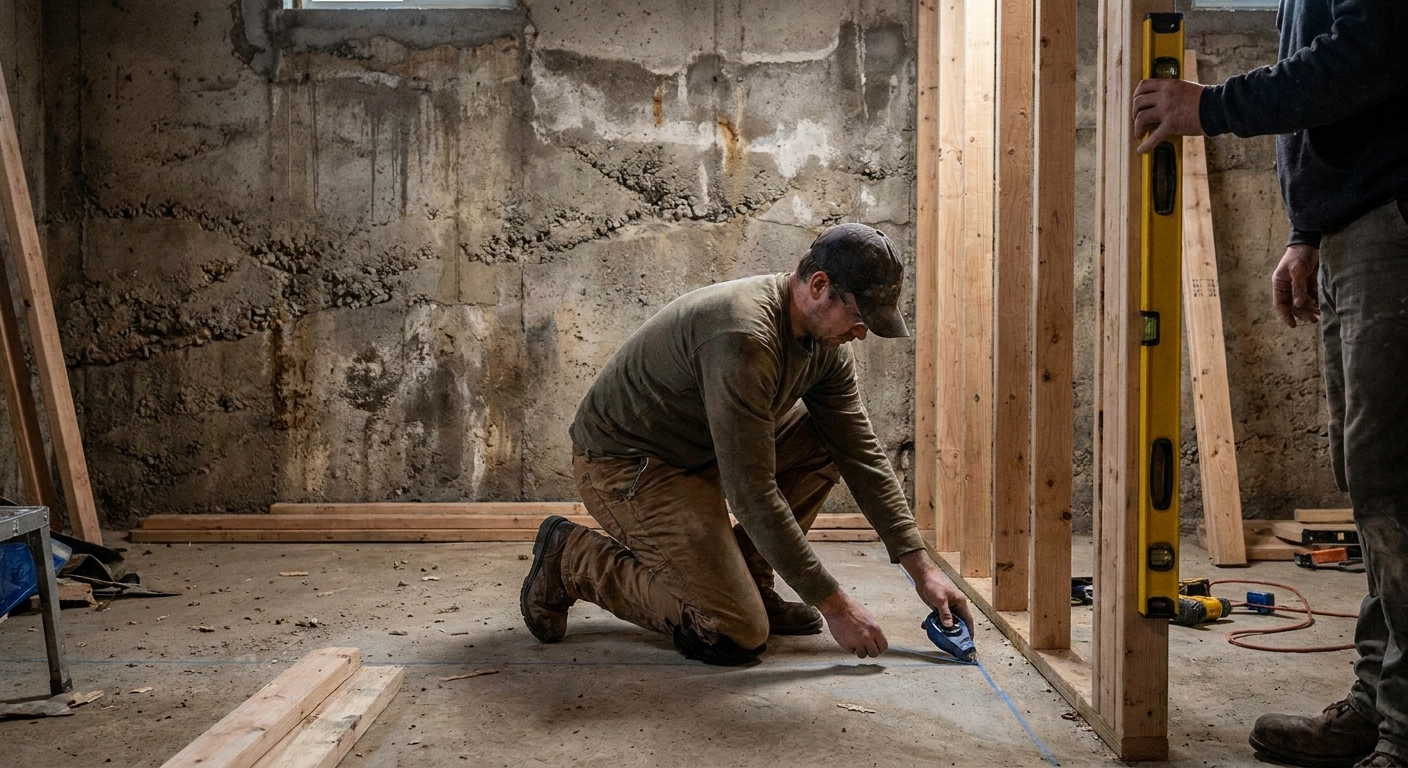
Start with the right mindset: build a new plane
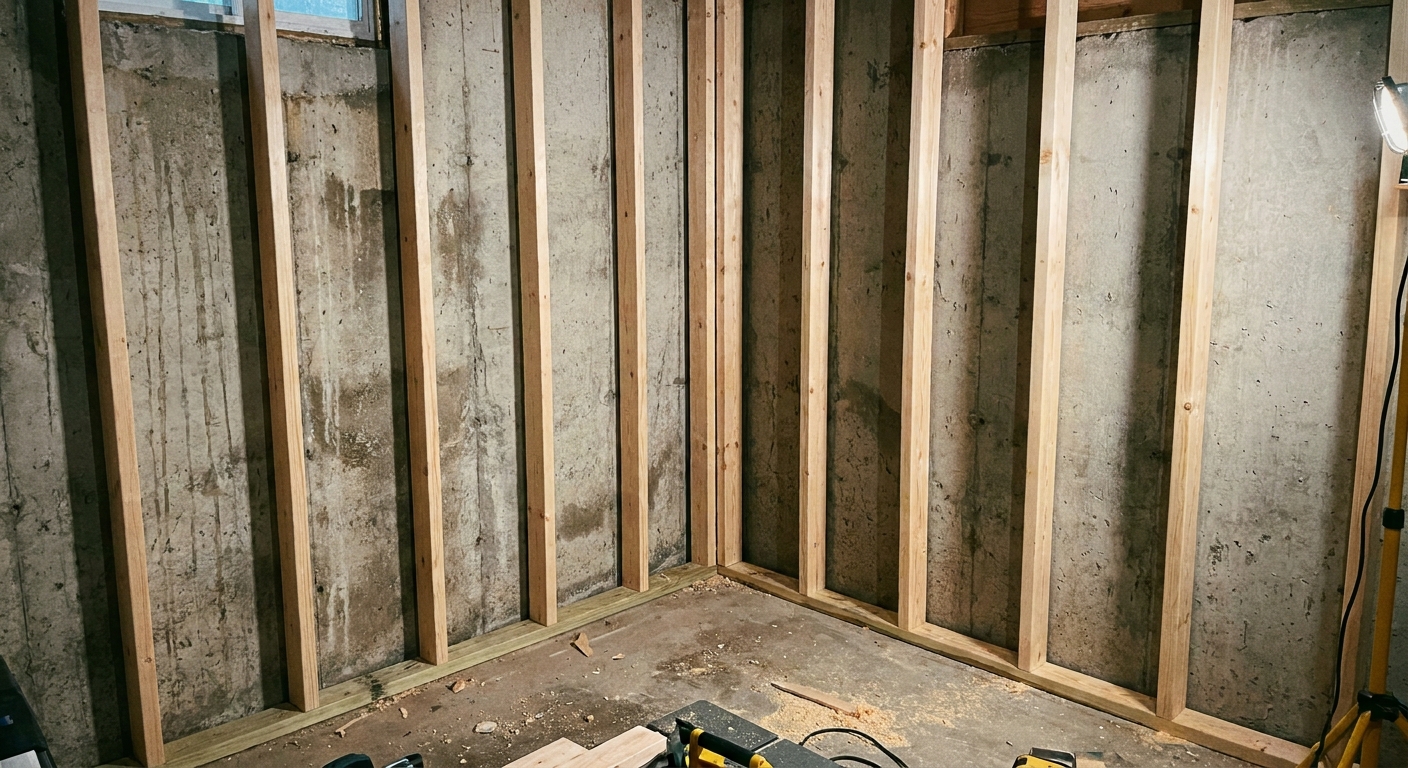
In a basement, the concrete wall is rarely a reliable reference. If you frame tight to it, you inherit every bump and lean, and you also risk moisture wicking into lumber.
Instead, think of your framed wall as a separate, straight plane that runs parallel to the room layout, not parallel to every wave in the foundation.
- Plumb means vertical.
- Straight means the wall does not snake in and out.
- Square means corners are 90 degrees so trim and drywall behave.
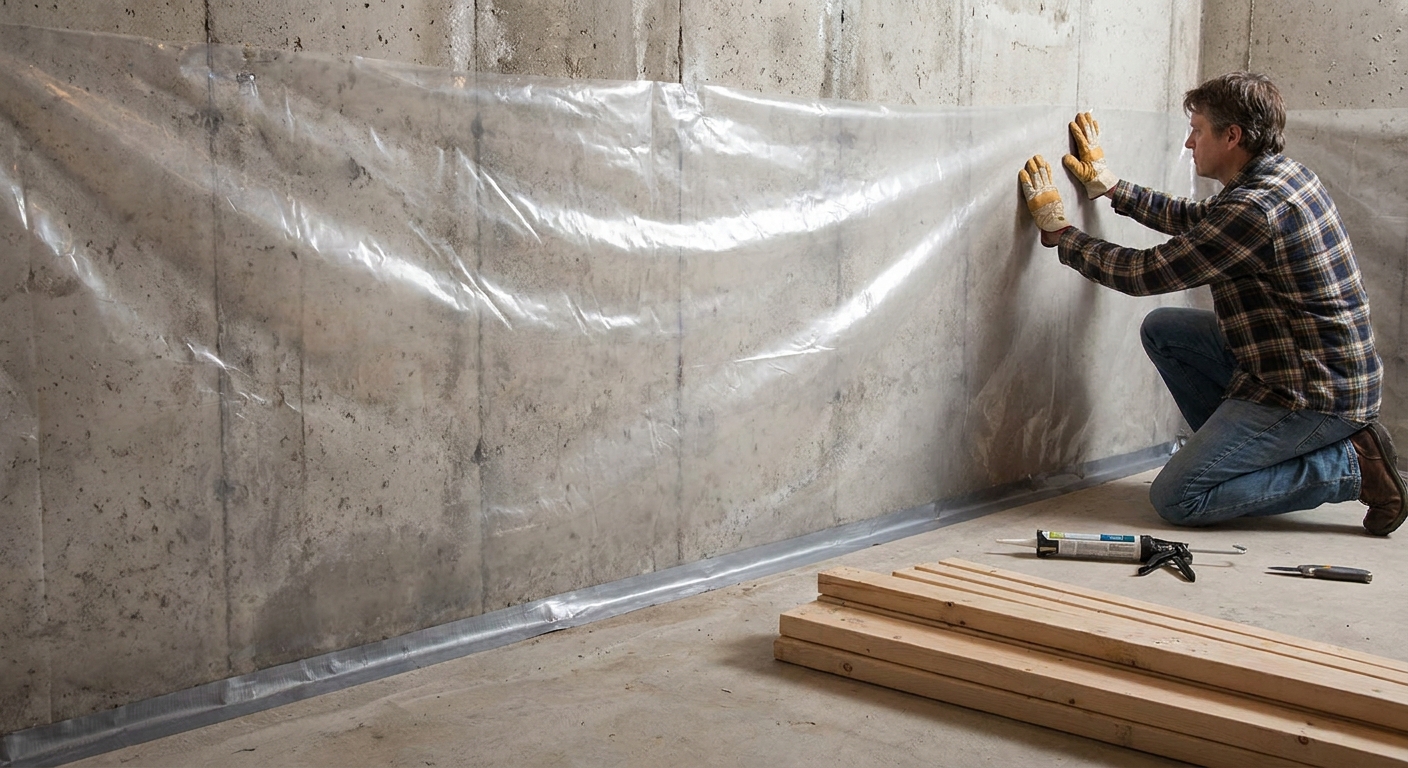
If you are still early in the project, take five minutes to sanity-check moisture conditions before you trap anything behind framing. If you have active seepage or damp walls, fix that first. Start with the moisture basics in Moisture Control.
Tools that make this easier
- Laser level (cross-line is great) or a plumb bob
- 6 ft level (or a 4 ft plus a straight stud)
- Chalk line
- Tape measure
- Framing square or speed square
- Shims (composite are nice in basements)
- Bottom plate material that matches code in your area (often treated), plus sill gasket or foam tape
- Construction adhesive (optional) and concrete anchors
A laser is not mandatory, but it turns basement framing from “fussy” into “repeatable,” especially when the slab is uneven too.
Step 1: Pick the wall location from the worst bulge
This is the step most DIYers skip, and it is the one that causes walls to end up crooked or too tight to the foundation.
Find the high spots
Hold a long straightedge (or a straight 2x4) vertically against the concrete at several points. You are looking for the spots where the wall sticks out the farthest into the room.
Those high spots determine your minimum safe clearance.
Decide your clearance
In many basements, I aim for a small, consistent gap between the back of studs and the concrete, often in the 1/2 inch to 1 inch range. Treat that as a rule of thumb, not a universal number. Your real spacing depends on:
- How wavy the foundation is
- Your insulation approach (for example, continuous rigid foam against concrete changes the whole assembly)
- Any drainage or moisture details behind the wall
- Local code and inspection expectations
If you plan to insulate, make sure your insulation approach matches your moisture strategy. Spray foam and rigid foam behave differently in basements. See Rigid Foam vs. Spray Foam Basement Insulation for Moisture Control for the practical tradeoffs.
Step 2: Snap a straight line on the slab
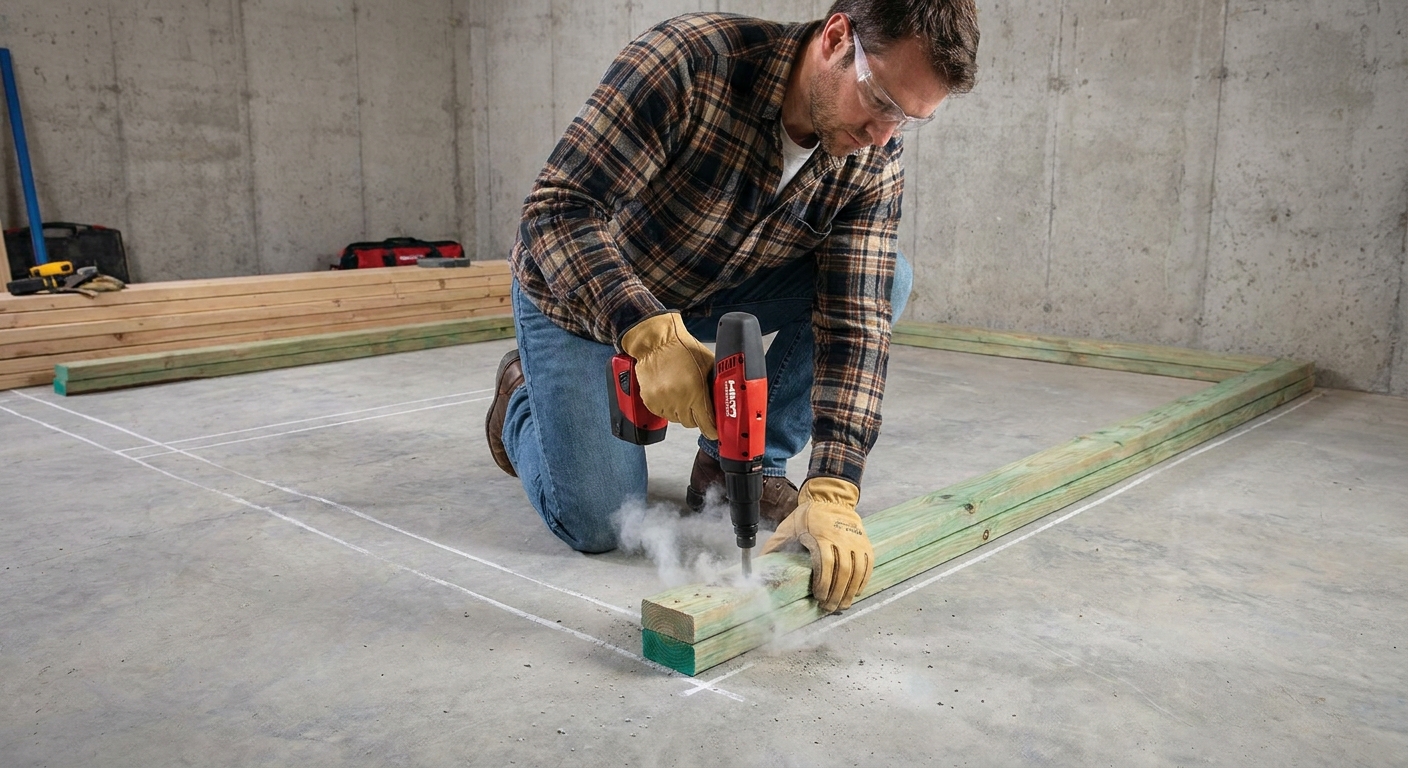
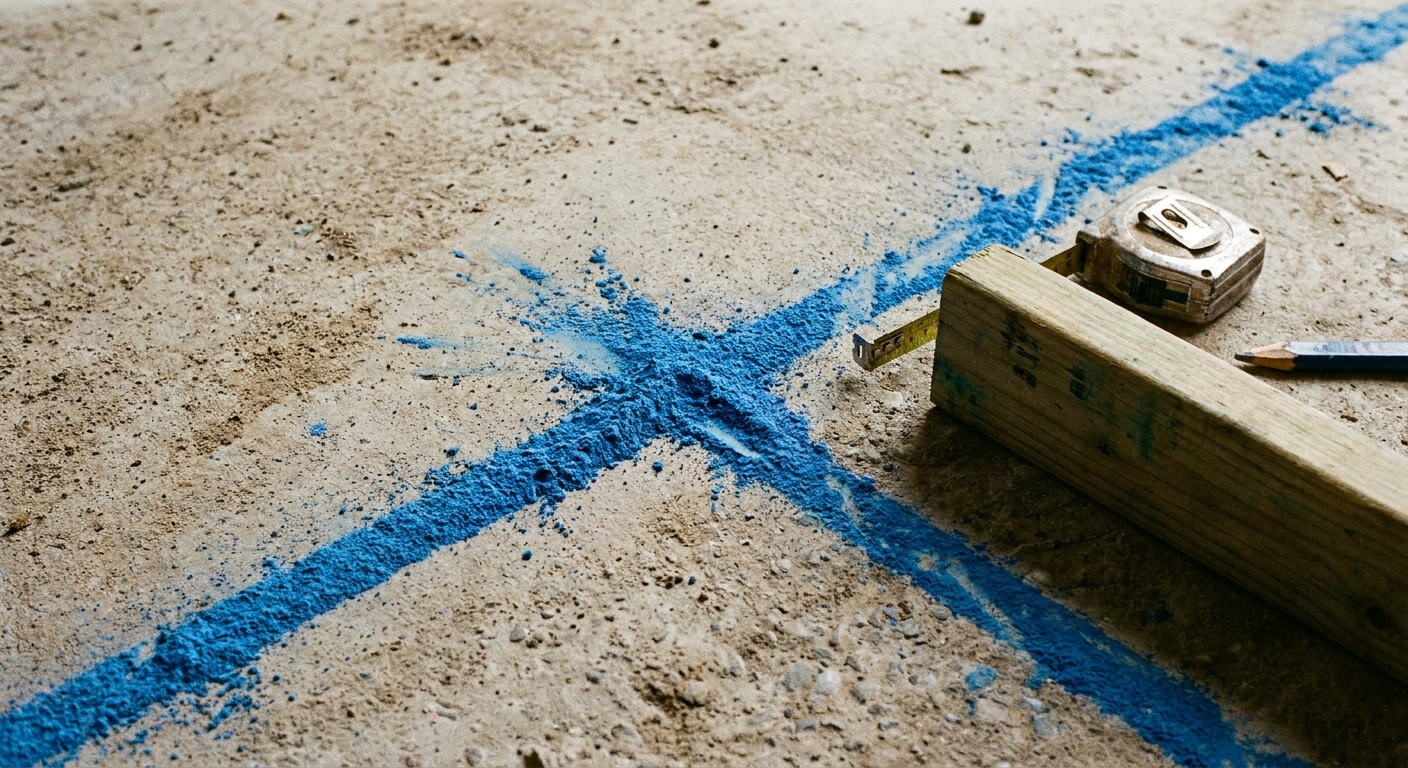
Once you know where the wall needs to sit, snap a chalk line for the inside edge (or centerline) of your bottom plate. Use the room layout as your reference, not the concrete.
Keep layout square
- Use a framing square for short walls and corners.
- For larger spaces, use the 3-4-5 method (or multiples like 6-8-10) to establish a true 90 degree corner.
- If you have a laser, project a line and measure off it at a couple of points to confirm you are not drifting.
This is also the moment to think through soffits, ductwork, and where a straight wall might steal headroom. I walk through practical duct and plumbing workarounds here: Basement Plumbing and HVAC Without Losing Ceiling Height.
Step 3: Build the wall on the floor
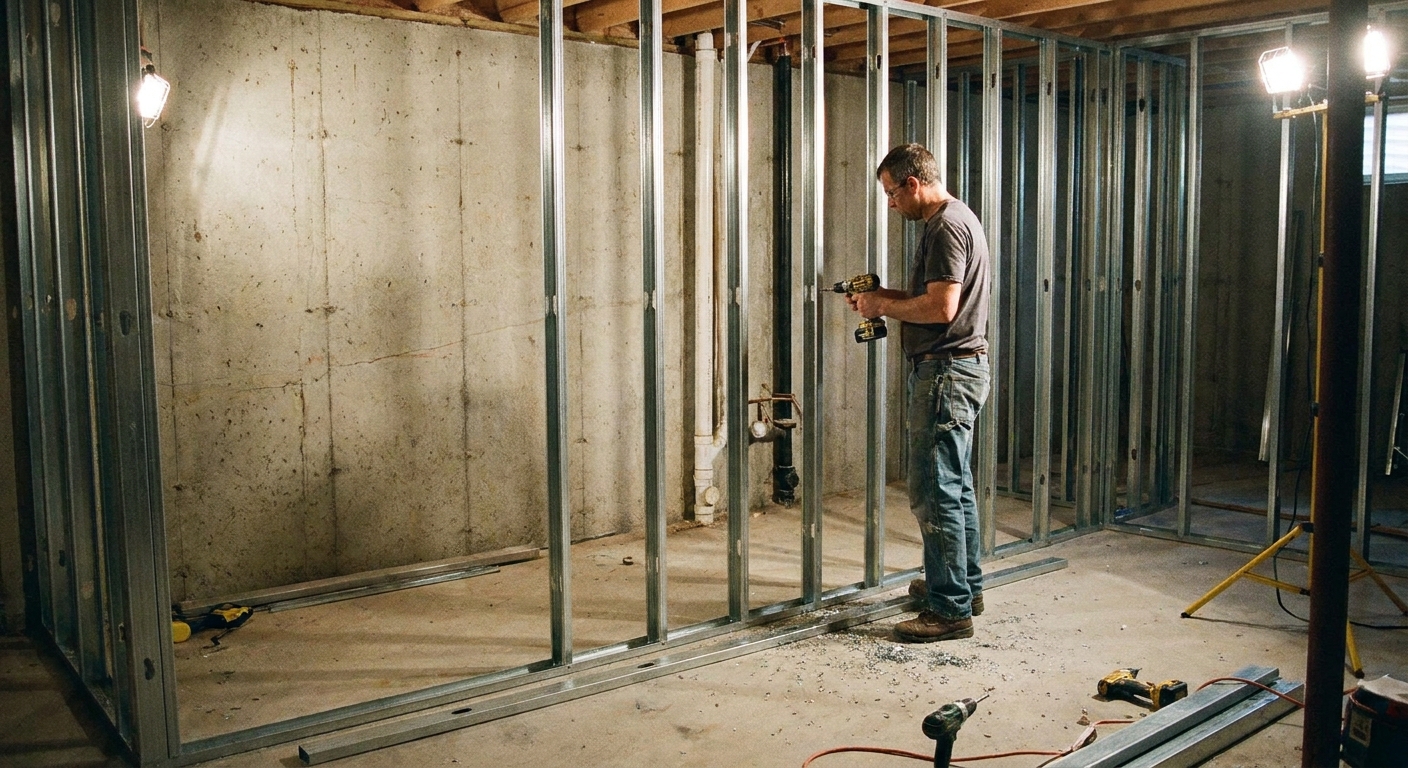
For a standard stud wall, the cleanest method is to assemble it flat on the slab, then tilt it up into position.
Why this works in basements
- Your studs stay aligned because the plates control straightness.
- You can crown studs consistently and keep the wall plane flat.
- You can pre-plan stud locations for outlets, backing, and drywall seams.
Once the wall is stood up, you will make it plumb with shims and fasteners, even if the concrete behind it is leaning.
Step 4: Plumb it without chasing the concrete
After you tip the wall up and roughly align the bottom plate to your chalk line, focus on plumb.
Method A: Plumb the wall by nudging the top
- Temporarily tack the bottom plate so it cannot slide.
- At one end of the wall, place a level on a stud and push or pull the top until that stud is plumb.
- Brace it temporarily (a scrap 2x4 works fine).
- Move down the wall, plumbing a stud every 4 to 6 feet, adding temporary braces as needed.
- Once you are happy, anchor the bottom plate and fasten the top plate permanently.
If the ceiling joists are uneven, do not assume the top plate automatically lands in a level plane. You are chasing plumb, not level. Drywall cares more about a consistent plane than whether the plate is perfectly level across the whole basement.
Method B: Use a laser line as your reference
Set a laser to project a vertical line and use it as a consistent reference as you align stud faces. You are not trying to match the concrete. You are trying to keep all stud faces in the same plane so drywall stays flat. This is especially handy when the foundation wall bows in and out, because you stop re-measuring the gap to concrete and start building to your own straight reference.
Shimming tips that prevent wavy drywall
- Shim at plates, not randomly behind the middle of studs. Shimming mid-stud can create a hinge point that telegraphs through drywall.
- Use solid shims that will not compress.
- If you need more than about 3/8 inch of shim at a point, that is a good rule of thumb that you are better off ripping a tapered filler strip or adjusting the wall position. Big shim stacks are prone to movement.
Step 5: Handle a bowed foundation wall
Basement walls commonly have a gentle bow. Sometimes it is old settling. Sometimes it is backfill pressure. Either way, your framing plan should not make it worse.
Approach 1: Keep the wall straight and let the gap vary
This is my default. Your framed wall stays straight. The space behind it increases where the concrete bows inward. That is fine, as long as you are not depending on the studs touching the concrete for stability (you should not).
Approach 2: Fur out locally where you must hit a plane
If you have to hit a specific plane for a doorway return, cabinet run, or stair wall, you can fur out a short section. Do it deliberately and keep the furring continuous so drywall still has a flat backing.
Approach 3: Build a deeper service wall
In problem basements, a slightly deeper wall can be a blessing. A 2x4 wall set an inch or two farther into the room gives you:
- More insulation options
- Cleaner routing for wiring and plumbing
- Less time fighting concrete waves
Yes, you lose a little space. But you gain a lot of sanity and finish quality.
Keep corners square
Uneven concrete loves to pull corners out of square, especially when one wall is framed “near” the foundation and the next wall is framed “near-ish.” The fix is to establish your room geometry first, then build to it.
Build from a control line
Pick one long wall as your baseline, snap it straight, and treat it as the control line for the room. Then square the adjoining walls off that line using 3-4-5 measurements.
Check for square before you anchor
- Measure diagonals of the rectangular area. If the diagonals match, you are square.
- Dry-fit the adjacent wall location and confirm you will not pinch yourself against a foundation bulge.
Use corner framing that backs drywall
In basements, I like corners that leave room for insulation and drywall backing without creating a big cold, uninsulated wood mass. Your insulation strategy will influence the “best” corner build, but the big rule is simple: make sure both drywall edges have solid backing.
Fastening without creating new problems
Bottom plate to slab
Use anchors that match your local code and slab condition. Many DIYers use concrete screws because they are straightforward.
- Use a sill gasket or foam tape under the bottom plate to reduce moisture wicking and to help with minor slab irregularities.
- Bottom-plate requirements vary. In many jurisdictions, pressure-treated lumber is required on concrete, but not everywhere and not in every assembly. Frame it the way your inspector expects, not the way a stranger on the internet prefers.
- Keep the wall where you laid it out. If you anchor first and “adjust later,” you usually end up with a subtle curve.
Top plate to structure
Fasten to joists above. If your wall runs parallel to joists and there is no joist directly above, add blocking between joists so the top plate can be attached properly.
Do not automatically fasten studs to the foundation
Most basement finish walls are non-load-bearing partitions, and once they are anchored at the floor and tied to the framing above, they do not need studs pinned into wavy concrete to feel solid after drywall.
That said, there are real exceptions. Tall walls, specific seismic or bracing requirements, and areas that take abuse (for example, stair walls, long hallway runs, or places where you are mounting heavy cabinets) may call for extra attachment or blocking details. When in doubt, follow local code and build for the loads in that spot.
Don’t forget fire blocking
One of the most common basement inspection issues is missing fire-blocking or draft-stopping. Depending on your wall and ceiling assembly, you may need to block concealed vertical and horizontal cavities (and sometimes seal gaps) so fire and smoke do not have an open path.
This is one of those details that is very local. Do not assume your basement “doesn’t need it.” If you are pulling permits, it will come up. If you are not pulling permits, it still matters.
If you are still planning the project sequence, it helps to read Basement Finishing Permits: What You Need and How to Get Them and map this into your order of operations.
Common mistakes to avoid
- Measuring off the concrete for every stud. You end up building a wavy wall. Use a straight chalk line and keep the wall in a plane.
- Forgetting the worst bulge. You frame comfortably for 20 feet, then hit one proud spot of concrete and have to notch studs or move the whole wall.
- Shimming randomly behind studs. Shim at plates or use continuous furring so drywall stays flat.
- Ignoring moisture. A perfectly framed wall can still be a mold problem if the foundation stays wet. If you have dampness, tackle it before finishing. Start with yard-side fixes in Exterior Moisture Control: Yard Grade and Downspouts.
- Assuming the slab is flat. Slabs often slope to a drain or settle. Your wall can be plumb even if the bottom plate is not level. That is normal.
Quick checklist
- Straight: bottom plate sits on a snapped chalk line, no drifting.
- Plumb: multiple studs read plumb, not just one.
- In plane: run a straightedge across stud faces, no proud studs.
- Square: corners verified with 3-4-5 or matching diagonals.
- Dry: wood isolated from concrete where appropriate, and moisture issues handled first.
When uneven is a structural red flag
Lots of foundation walls are cosmetically uneven. That is common. But if you see active water entry, fresh cracks, significant bowing, or movement you can document over time, that is beyond “framing tricks.” In those cases, pause finishing and get the foundation evaluated.
Also, if your “wall” is actually doing a structural job (supporting a beam, posts, or floor loads), treat it differently. The layout concepts are similar, but the attachment details and sizing need to match the loads and, in some cases, an engineer’s plan.
For smaller, non-structural crack repairs (after you have confirmed the foundation is stable), this overview can help you understand one common DIY option: Seal Foundation Cracks With Injection Kits.
FAQ
Should my framed wall touch the concrete foundation?
Usually, no. I prefer leaving a small gap so the wall stays straight and wood is less likely to pick up moisture. Specific insulation systems and local code details can change the right answer, especially if you are installing continuous foam against the concrete.
What if my foundation wall leans in at the top?
Frame your wall plumb and let the gap vary. If the lean is severe or looks like active bowing, stop and have it evaluated before you finish the space.
How do I straighten a wall if my chalk line is straight but the wall bows after standing it up?
That is usually plate movement. Loosen temporary fasteners, pull the bottom plate back to the line, then anchor it while it is held straight. After the bottom is fixed, plumb and brace the wall before locking in the top.
Do I need a laser to do this right?
No. A chalk line, level, and patience will get you there. A laser just speeds up the “keep everything in the same plane” part, which is where basements fight you.