The first time I set up a home gym in a basement, I thought, "Rubber is rubber." I bought the cheapest interlocking tiles I could find, snapped them together, and called it good. A month later, the tiles had drifted apart, my rack feet had left permanent dents, and I discovered a musty smell hiding underneath where sweat and humidity had been trapped.
Interlocking rubber flooring can be a great basement gym solution, but you have to treat it like a real flooring system. That means picking the right thickness for your training, confirming your slab is dry enough, and laying the tiles so they stay locked and flat when you drop a bar or drag a bench.
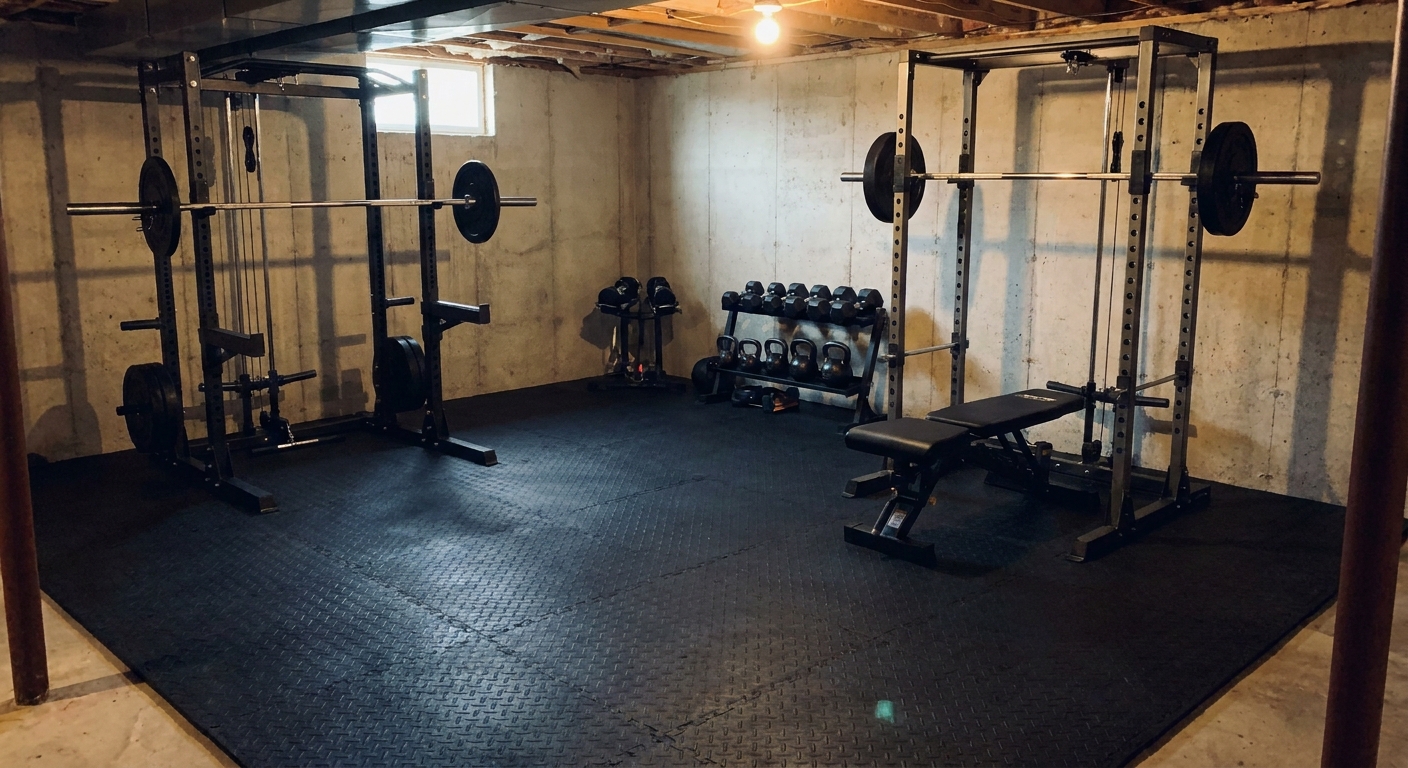
Start with basement reality: moisture and flatness
Basements are different than garages or spare bedrooms because the concrete slab is directly connected to ground moisture. Rubber tiles are tough, but they can trap moisture against the slab if you install them over a damp floor. That can lead to odor, mildew feeding on dust and lint underneath, and in some cases damage to nearby baseboards or bottom plates.
Do a quick moisture check
If your basement ever takes on water, fix that first. Flooring is not a waterproofing system. Before you commit to any gym floor, I like to do a simple moisture emissions check and also pay attention to seasonal changes.
- If you see darkened concrete, efflorescence, or peeling paint, pause and deal with moisture before covering the slab.
- If the basement smells musty now, rubber tiles will usually make that smell more concentrated, not less.
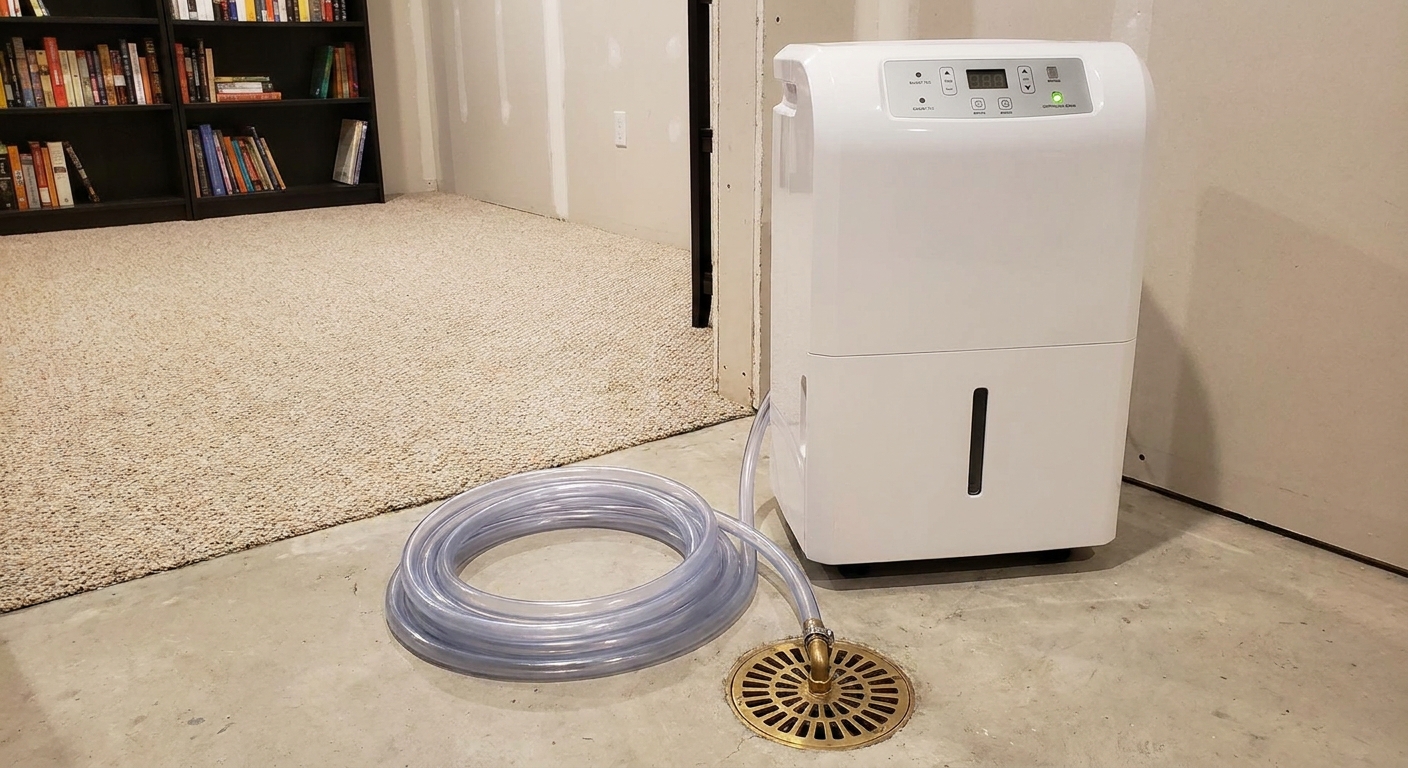
- In humid climates, plan on running a dehumidifier once the gym is in use.
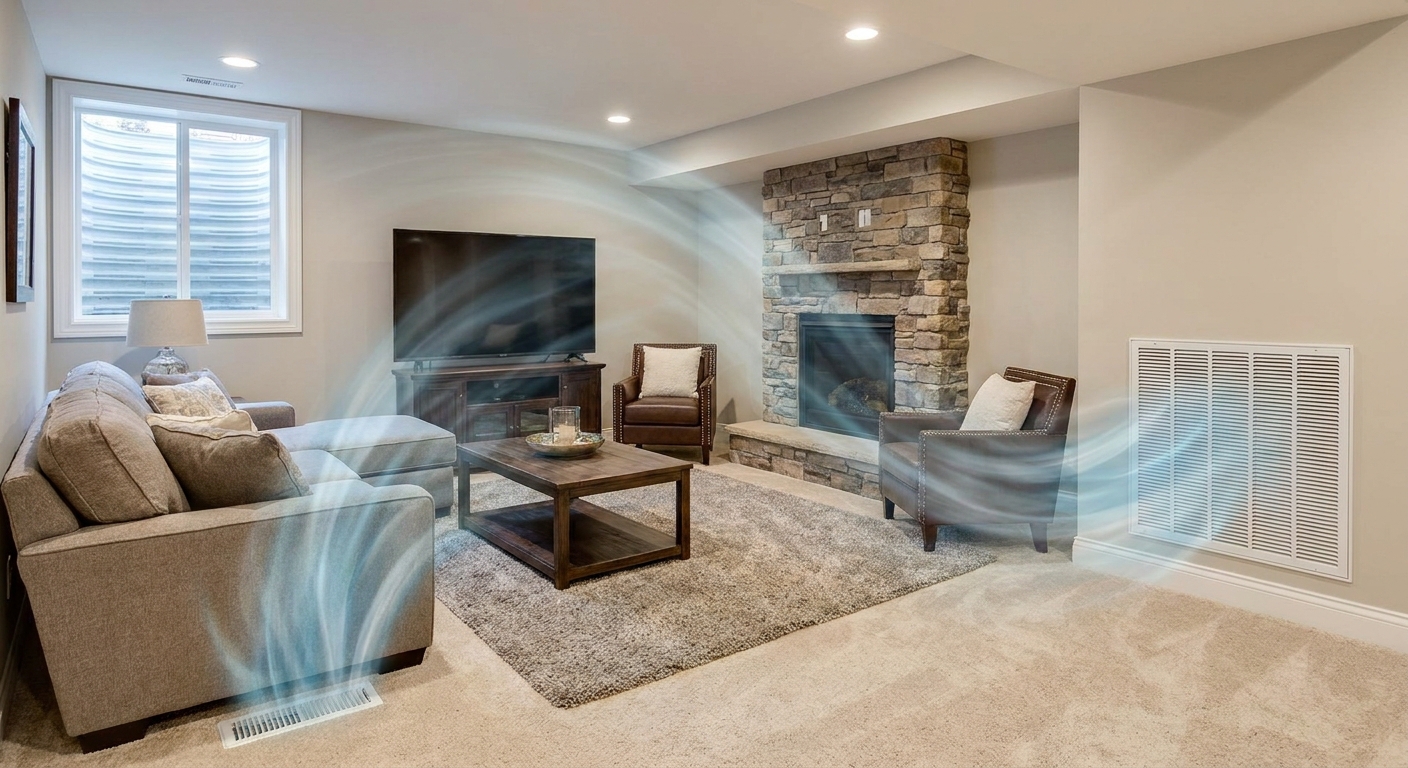
If you want a step-by-step approach, start here: test a basement slab for moisture emissions. For humidity control that keeps rubber flooring from getting funky, see basement dehumidifier sizing and system options and basement ventilation strategies for fresh, odor-free air.
Check flatness where your rack will sit
Interlocking tiles follow the slab. If the concrete has a ridge or a dip, your squat rack can rock, and that is both annoying and unsafe. Use a 6 to 8 foot straightedge (or a long level) and check the rack footprint area.
- Minor texture is fine. Trowel marks and small pits do not matter much.
- Look for gaps under the straightedge. If you can slide a 1/8 to 1/4 inch shim under the straightedge over 6 to 8 feet in the rack zone, I treat that as a sign to level or at least spot-fix.
- Lippage matters. If one tile edge sits higher than its neighbor, you will feel it during sled drags, farmer carries, and when rolling equipment.
- Fix bigger dips first. This guide can help: level an uneven basement concrete floor.
Choosing rubber tile thickness
The thickness you need depends less on your bodyweight and more on your training style and your heaviest impact points. In most basement gyms, the impact points are rack feet, dumbbell heads, and barbell plates when you set them down.
Common thicknesses and best uses
- 3/8 inch (about 10 mm): Light dumbbells, bands, yoga, cardio machines, and a general workout area. Fine for walking and basic lifting if you are gentle with weights.
- 1/2 inch (about 13 mm): My general recommendation for a basement home gym. It helps with noise and minor impacts and it holds up well for day-to-day lifting, but repeated hard drops can still damage concrete without a platform or pads.
- 3/4 inch (about 19 mm): Better for frequent dumbbell drops, kettlebell work, and heavier training. Also helpful if your slab is a little imperfect and you want more forgiveness.
- 1 inch (about 25 mm) and up: Usually overkill for interlocking tiles unless you are doing Olympic lifting or repeatedly dropping loaded barbells. At this point I often prefer a dedicated platform setup instead of relying on puzzle edges.
My rule of thumb for basement slabs
If you are building a basement gym that includes a power rack and free weights, start at 1/2 inch tiles and go thicker in the heavy drop zones. Rubber tiles protect concrete from chipping and spalling, but they are not magic. A loaded bar dropped from overhead can still transmit a ton of force through any tile.
Interlocking tiles vs. rolled rubber
Interlocking tiles are DIY-friendly, easy to carry downstairs, and simple to replace if one gets damaged. Rolled rubber tends to lay flatter and shift less over time, but it can be a wrestling match in tight basements.
If you are deciding between several basement-friendly floors, you can browse the broader options here: Flooring Options.
Tile features that matter
Material: dense rubber beats soft blends
For a gym, I prefer rubber that feels dense and heavy, not spongy. Some budget "gym tiles" are rubber-foam blends that compress too easily under rack feet. Dense rubber is more stable and often has a less intense smell after airing out, but odor varies a lot by rubber type and recycled content.
Edge quality and lock design
The interlock is the weak point. Look for tiles with crisp, consistent puzzle edges. Sloppy edges lead to gaps and curling corners, especially if you drag equipment across the floor.
Surface texture and cleanability
- Smooth, lightly textured: easiest to mop and vacuum. Great for general gyms.
- Deep pebble texture: hides scuffs but catches chalk dust and pet hair.
Smell and off-gassing
Most rubber smells at first. In a basement, that smell can linger because there is less airflow. My approach is simple: unbox the tiles, spread them out, and let them air out for a few days if you can. Then keep basement humidity under control so the odor does not get trapped.
Plan your layout so tiles do not drift
Interlocking floors fail when they are treated like floating islands. A tight layout uses the room geometry to your advantage and reduces the directions the floor can move.
Measure the gym footprint
Decide what you are flooring:
- Whole room coverage looks finished and helps keep edges from lifting.
- Gym zone coverage (just under rack and free-weight area) is cheaper, but it needs clean borders so the outside edges do not become trip points.
Leave a small gap at walls
Rubber expands and contracts slightly with temperature. Basements can swing seasonally, especially if you are not conditioning the space. Leave about 1/4 inch gap at the perimeter and hide it with baseboard or shoe molding if the gym is part of a finished space.
Stagger seams when you can
If your tiles allow it, stagger joints so you do not end up with long continuous seam lines. It makes the floor feel more monolithic and reduces the chance of a seam opening up where you pivot or drag equipment.
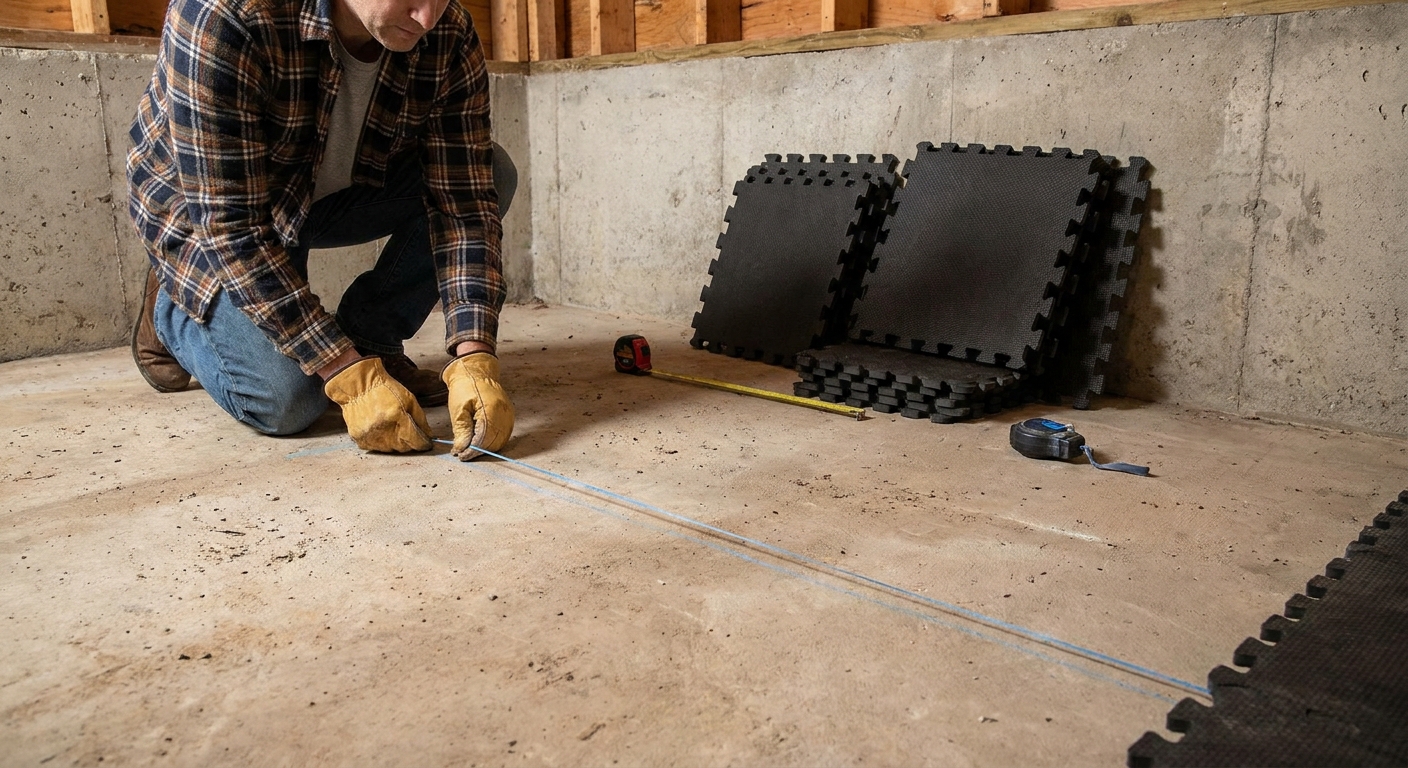
Installation steps
Tools and supplies
- Broom and shop vac
- Long straightedge or level
- Chalk line
- Sharp utility knife with extra blades
- Metal straightedge or framing square
- Painter's tape (optional for labeling rows)
0) Let the tiles relax
If the tiles came rolled tight in a box or they feel slightly warped, give them time to acclimate to basement temperature. I like to lay them out flat for a day if possible. It reduces corner curl and makes the locks fit cleaner.
1) Clean the slab like you mean it
Grit under rubber becomes a tiny pressure point. Over time it can print through or keep a tile corner from laying flat. Vacuum thoroughly. If you have paint overspray, drywall mud, or old adhesive, scrape it now.
2) Square up your first row
Most basements are not perfectly square. If you start tight to two walls without checking, you can end up with an ugly wedge gap at the far end.
- Pick the wall that will be most visible as your reference.
- Snap a chalk line parallel to that wall, one tile width off the wall, so your first row stays straight even if the wall is not.
- Build your first row along the line so the whole field stays straight.
3) Build rows, not random islands
Interlocking tiles go together best when you assemble in a consistent direction. I like to complete a full row, then the next row, so the locks engage cleanly. If you bounce around, you end up forcing pieces in and damaging the puzzle edges.
4) Cut edges cleanly
For cuts, flip the tile upside down (usually easier to mark), score with a sharp blade, then bend and finish the cut. Change blades often. Dull blades tear rubber and leave jagged edges that never look tight.
5) Keep the perimeter strong
If your layout leaves a perimeter strip that is only 1 to 2 inches wide, rethink the grid. Thin strips curl and creep. It is better to shift the whole layout so you end with larger cut pieces on both sides.
Protect the slab under heavy weights
If your goal is to protect the concrete from heavy weight training, your plan should focus on point loads and impact, not just comfort.
Under a power rack
- Use thicker rubber if you can. Rack feet concentrate a lot of weight into a small area.
- Check for rocking. If the rack wobbles on rubber, it will chew up the interlocks over time. Shim the rack or address the slab flatness.
- If you plan to bolt it down, bolt through the rubber. Rubber compresses. For a clean install, cut neat holes where the feet land so the rack can bear on the concrete and the anchors can be properly tightened.
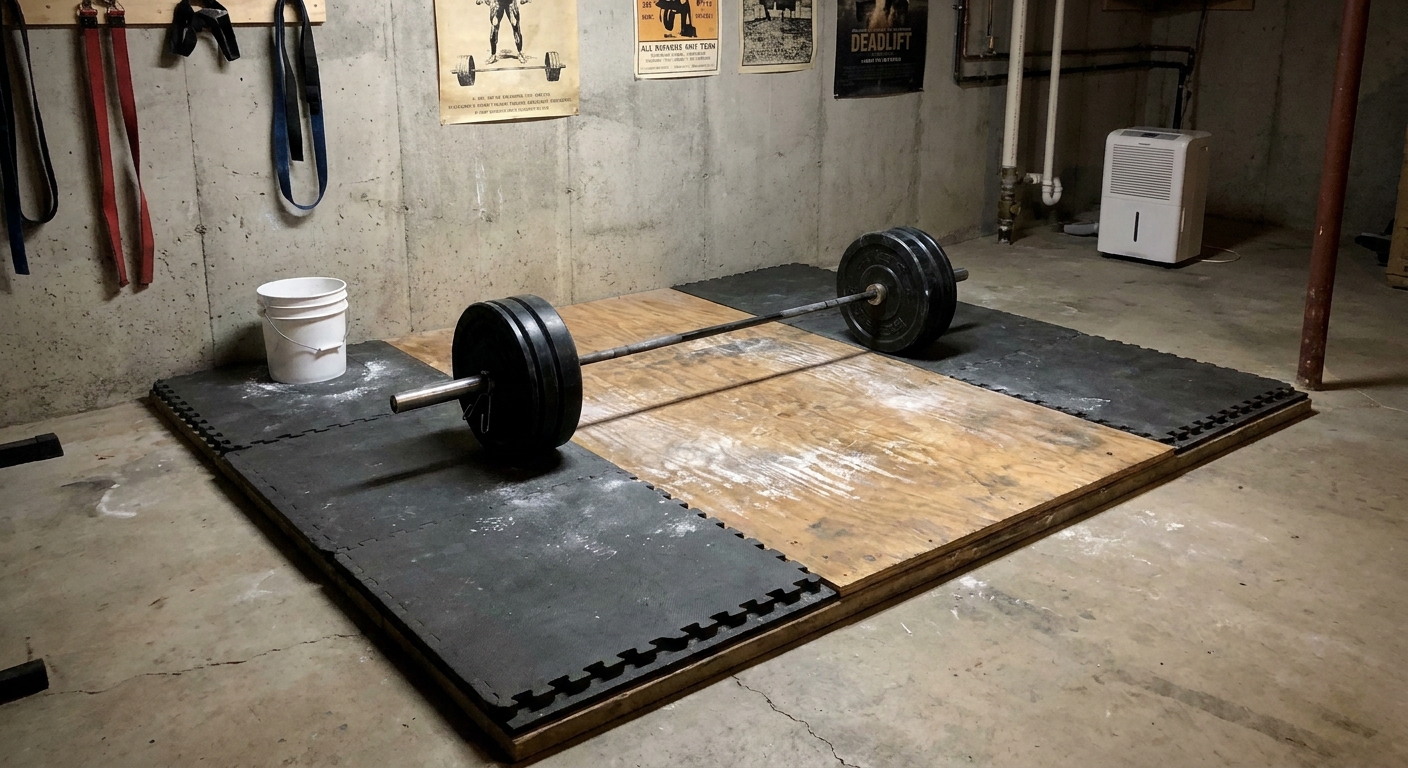
- Consider a dedicated platform area. Even a simple plywood and rubber sandwich in the lifting zone can spread impact better than puzzle edges alone.
For deadlifts and dumbbell drops
If you deadlift heavy or you drop dumbbells, build sacrificial zones.
- Rubber over plywood in the drop zone helps spread force across the slab.
- Crash pads are not just for apartments. They dramatically reduce impact and noise in basements too.
- Do not rely on thin tiles to protect concrete from repeated hard drops. They will compress and the slab takes the beating.
Moisture barriers under rubber tiles
In a basement, this question comes up a lot. Here is how I think about it.
Why plastic can backfire
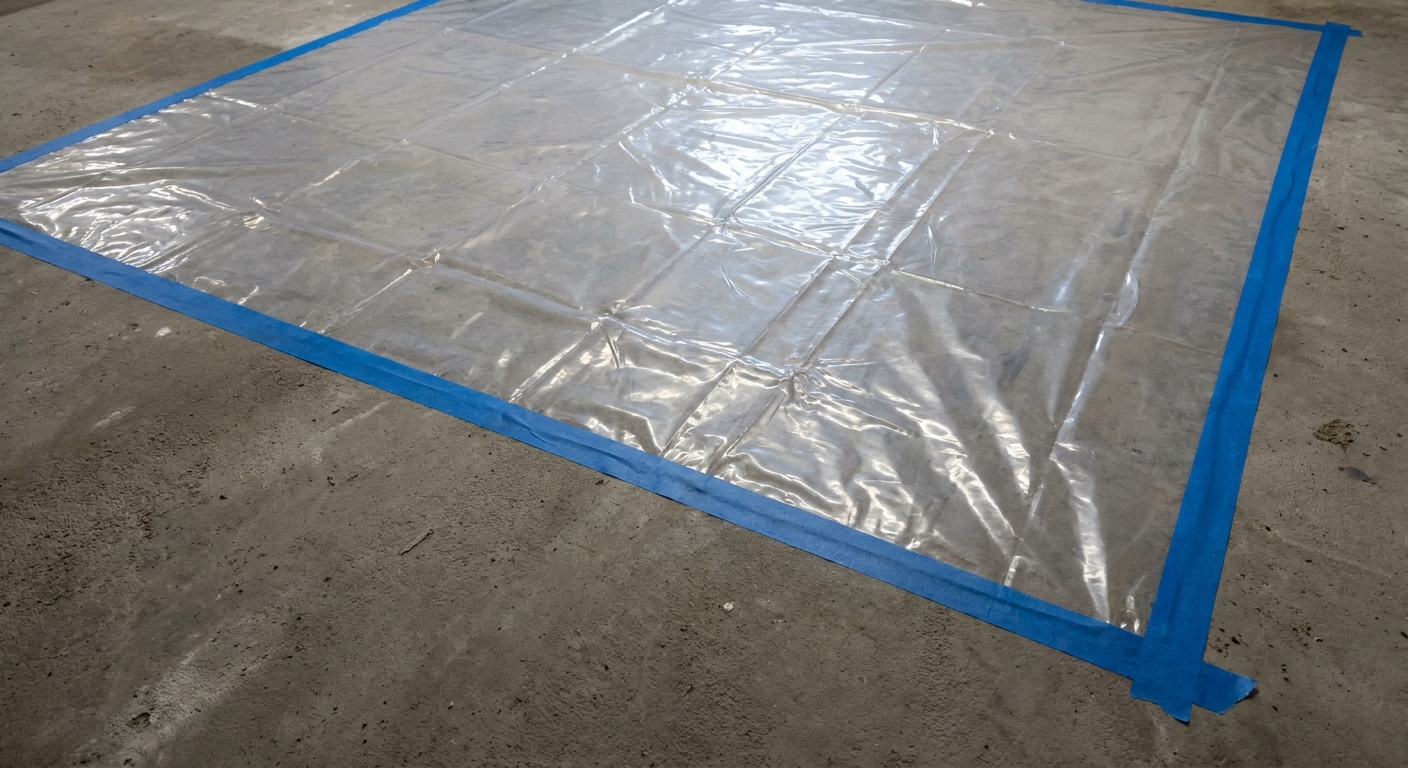
Plastic sheeting can trap moisture and odor at the slab surface if water vapor is coming up through the concrete. If the slab is damp, sealing it up under rubber often makes the basement smell worse.
When separation can help
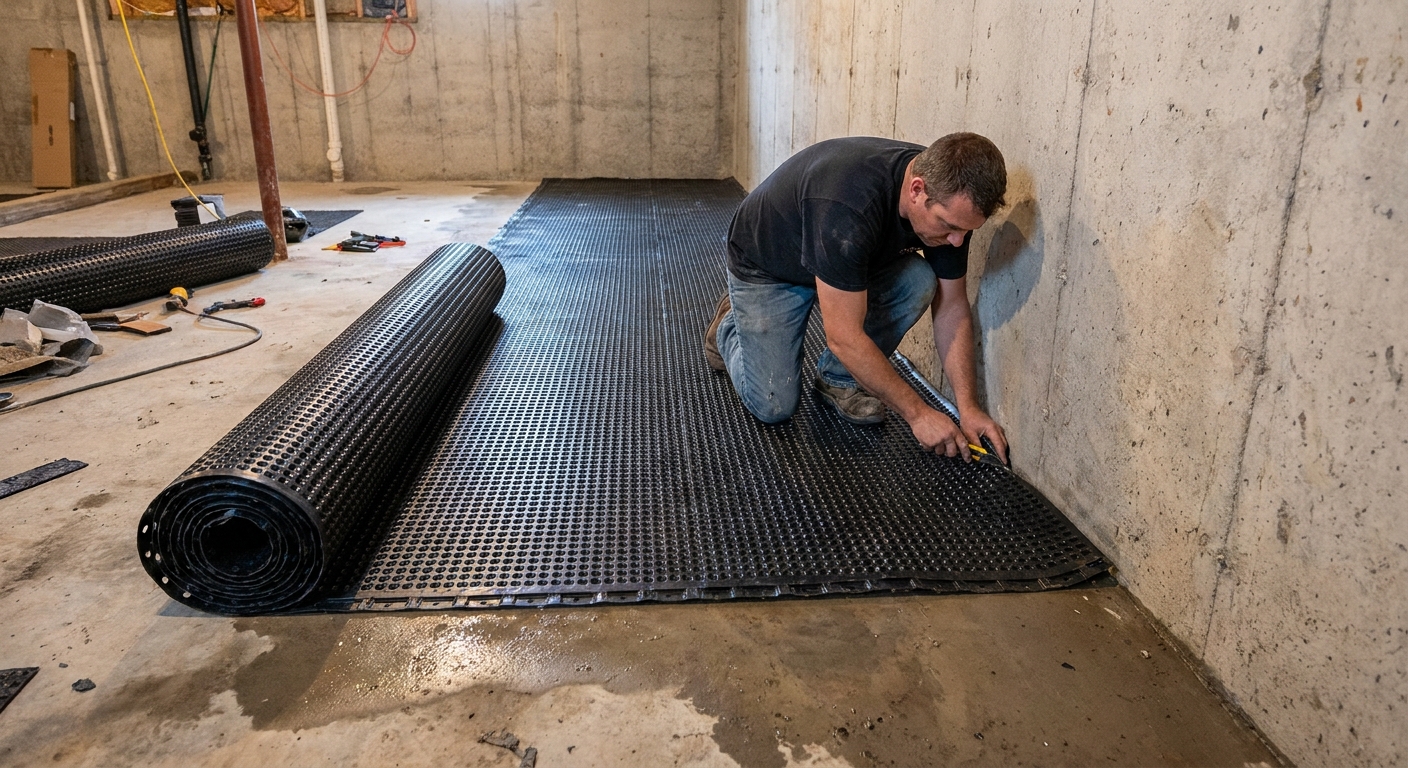
In some setups, a vapor retarder can be part of a bigger plan, but it starts with testing the slab and understanding where the moisture is coming from. If you want a buffer between rubber and concrete, I prefer a system that allows a little airflow and drying potential rather than a perfectly sealed layer.
Some basement subfloor approaches are designed for that purpose. If you are finishing the basement beyond the gym, this is worth reading: basement subfloor systems: dimpled mats vs. interlocking OSB panels.
For a dedicated gym area, plenty of homeowners install rubber directly on a dry slab and do just fine, as long as they control humidity and occasionally lift a few tiles to check underneath.
Details that get overlooked
Doorways and transitions
If rubber meets another floor (vinyl plank, carpet, tile), use a proper transition strip sized for the height difference. The goal is to prevent the rubber edge from catching a toe or a vacuum head.
Baseboards
In a finished basement, install baseboards after the rubber is down if you are doing wall-to-wall rubber. That way the baseboard hides the expansion gap and protects the tile edge from lifting.
Floor drains and utility areas
If your basement has a floor drain, do not cover it with tiles and forget about it. Keep it accessible. Also, rubber flooring in a utility space should respect clearance rules around furnaces and water heaters. Rubber can burn and it can make a bad situation worse in a fire, so keep it away from ignition sources and follow local requirements.
Stopping tile creep
- Weight helps. A rack, storage, or heavy machine sitting on the field reduces movement.
- Perimeter restraint helps more. Wall-to-wall installs with proper gaps drift less than floating islands.
- Avoid frequent dragging. Put furniture sliders under heavy benches if you move them a lot.
Cleaning and maintenance
Rubber gym floors in basements fail quietly. Not because they rip, but because they start to smell and you stop wanting to use the space. A little routine goes a long way.
- Vacuum regularly. Chalk, rubber dust, and hair hold odor.
- Damp mop, not soak. Use a lightly damp mop and a mild cleaner. Standing water finds seams.
- Control humidity. Aim for about 45 to 55 percent RH if you can, and try to stay under 60 percent for long periods. Basements that run humid tend to get funky under rubber.
- Do a seasonal check. Once or twice a year, lift a corner tile in a low-traffic area and make sure the slab smells clean.
Quick thickness picks
- Treadmill, bike, light dumbbells: 3/8 inch to 1/2 inch
- Bench, adjustable dumbbells, moderate lifting: 1/2 inch
- Power rack, heavy dumbbells, kettlebells: 1/2 inch minimum, consider 3/4 inch in heavy zones
- Olympic lifting or frequent drops: Use a platform or crash pads in addition to rubber tiles
Mistakes I see
- Installing over an actively damp slab. Fix water first. Start with moisture control basics if needed: Moisture Control.
- Buying thin tiles for heavy training. They feel fine for a week, then you get dents and separating seams.
- Not squaring the first row. The whole field follows your first line.
- Ending with skinny perimeter strips. Those strips curl, every time.
- Expecting puzzle edges to handle barbell drops. Use platforms or pads for repeated impacts.
FAQ
Will rubber tiles trap moisture and grow mold underneath?
They can trap moisture and create odor if your slab emits a lot of vapor or if basement humidity stays high. If the slab is reasonably dry and you control humidity with a dehumidifier and ventilation, most basement gyms do fine. Testing the slab first is the smart move: test for moisture emissions.
Do I need to glue interlocking rubber tiles down?
Most interlocking tiles are designed to float. In basements, I usually avoid full-spread glue because you are giving up the ability to inspect or dry the slab later. Instead, I focus on a tight layout, good perimeter restraint, and heavier equipment anchoring the field.
Can I put a squat rack directly on interlocking tiles?
Yes, but use thicker tiles, confirm the slab is flat in that area, and make sure the rack does not rock. If you are lifting heavy, add a platform or reinforcement under the rack footprint to spread loads. If you are bolting the rack down, cut clean holes so the feet and anchors bear on the concrete, not on compressed rubber.
What if my basement floor is cold?
Rubber helps underfoot comfort, but it is not insulation. If your basement is unfinished and chilly, your best comfort upgrade is usually addressing overall basement insulation and humidity, not just adding thicker rubber.