The first basement I finished had two things going against it: a low ceiling and a layout full of ductwork I could not move without spending real money. My early instinct was to hang the brightest fixtures I could find and call it good. That was a mistake. In a low basement, the wrong fixture makes the ceiling feel even closer, creates glare off the TV, and highlights every soffit edge.
The good news is you can make a low ceiling feel taller and brighter without building a Swiss-cheese ceiling full of cans or sacrificing headroom. The trick is to pick the right low-profile fixtures and then light the room in layers: down light, wall light, and a little bit of accent.
Start with what steals headroom
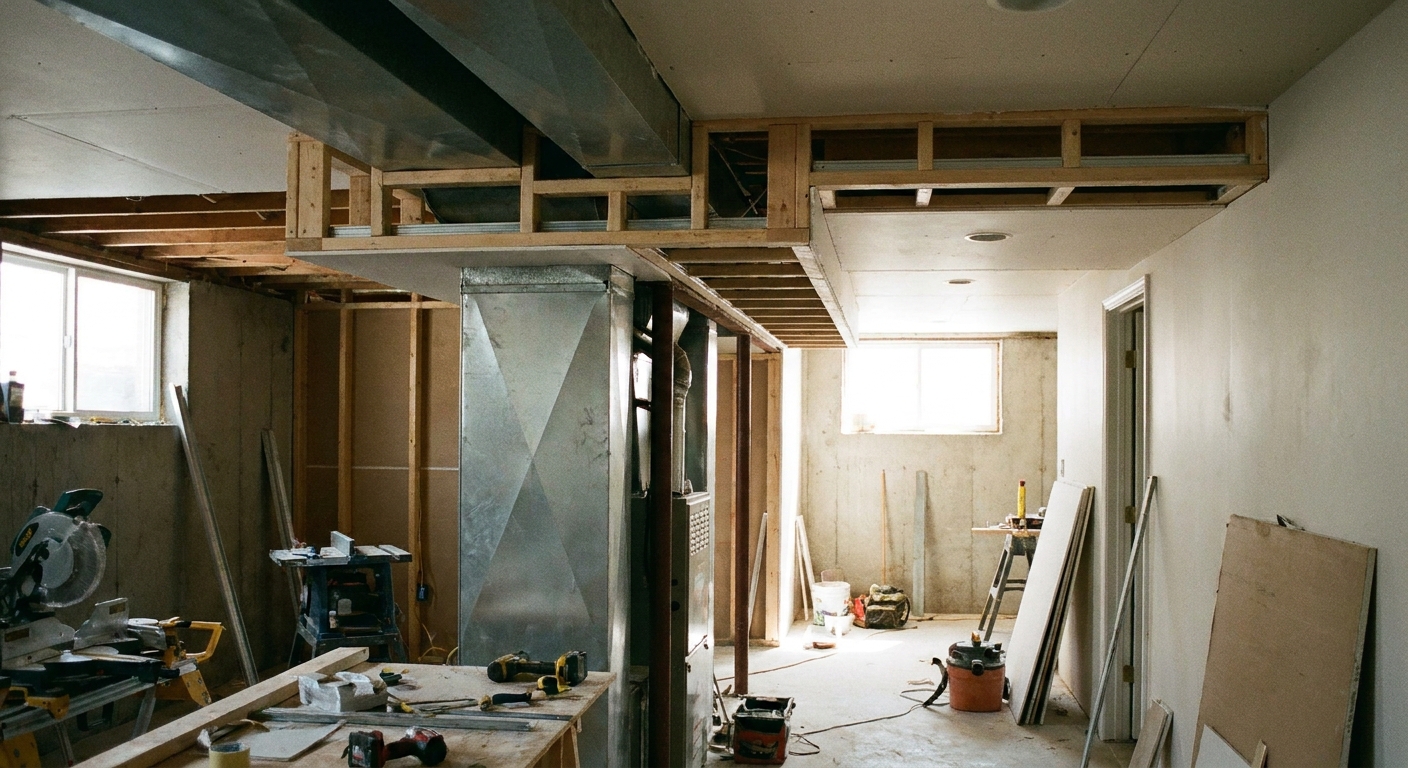
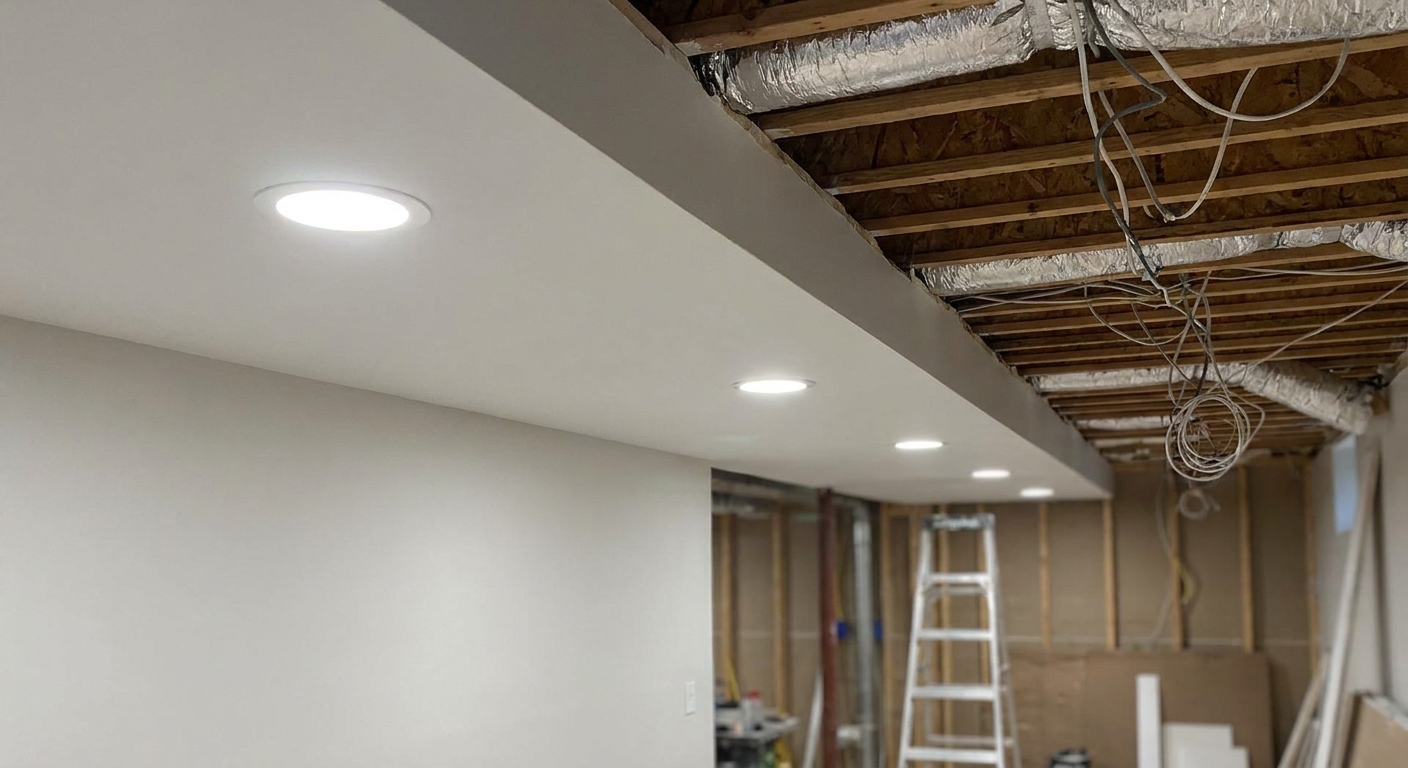
Before you pick fixtures, take five minutes and map the things that actually define your ceiling height. In most basements it is not the joists, it is the obstacles: beams, ducts, plumbing, and soffits. Your lighting plan should work with those elements, not fight them.
- Main open areas: Use the flattest general lighting you can, so the ceiling plane stays visually clean.
- Soffits and duct runs: Use wall light or directional light to pull attention away from the lowest spots.
- Stair landings and hallways: Usually avoid hanging fixtures. These are head-bonk zones unless you have plenty of clearance and a fixture that stays out of the path.
If you are still designing your duct and plumbing routes, read this before you frame anything: Basement plumbing and HVAC without losing ceiling height. A smart mechanical layout makes every lighting decision easier.
The best fixtures for low ceilings
Ultra-thin LED wafer lights (the low-ceiling MVP)
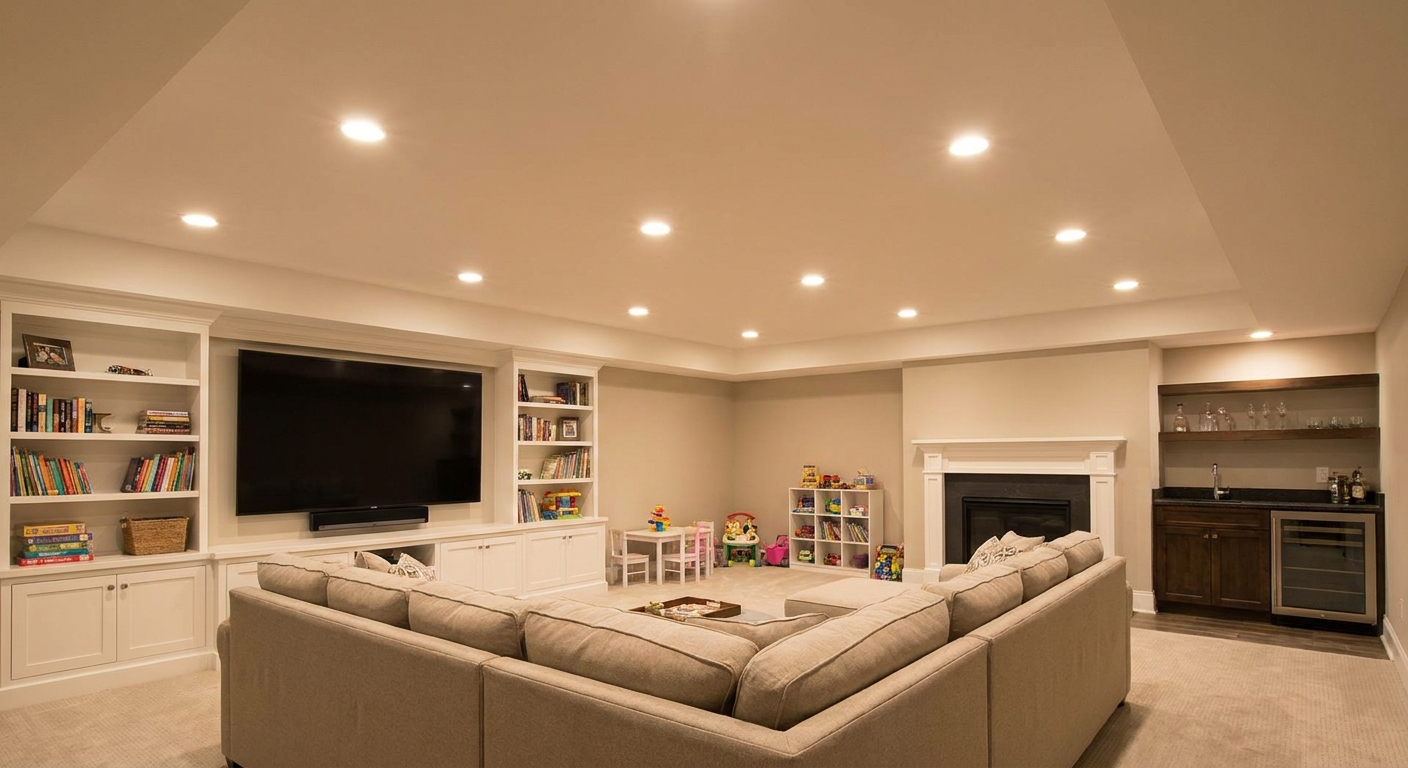
If you only take one idea from this article, take this: ultra-thin LED wafers give you the look of recessed lighting with almost no depth.
A “wafer” is basically a slim, canless recessed LED that clips into a hole in the drywall. Instead of a big metal can housing above the ceiling, you typically have a small listed junction box and driver that connects to the light with a cable.
Traditional recessed cans need a housing above the drywall. In a basement with joists, ducts, and pipes, that can push you into extra soffits or a lower ceiling. Wafers avoid that. And to be fair, there are shallow and remodel-style recessed housings that can work when you have the clearance. I just find wafers solve more basement problems with less fuss.
Why wafers work so well in basements
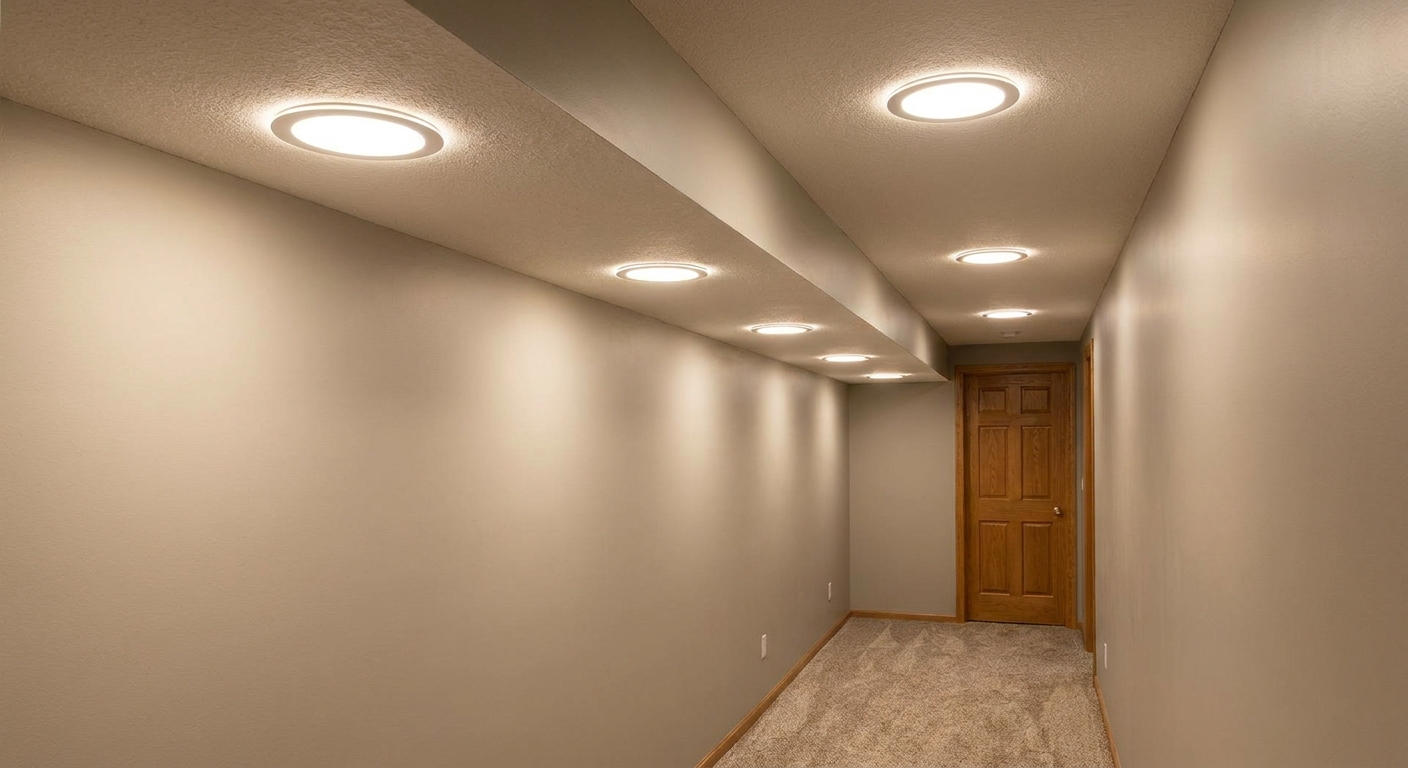
- Minimal drop: They sit flush to the drywall, which helps the ceiling feel higher.
- Flexible placement: Easier to tuck between joists and around obstacles.
- Clean look: A flat, uniform ceiling reads taller than one with protruding fixtures.
My wafer-light tips (the stuff that avoids headaches)
- Buy lights with selectable color temperature if you are unsure. Many let you choose 2700K, 3000K, 4000K, etc. I lean warm in living areas and slightly cooler in utility or workout zones.
- Put them on dimmers. Basements love dimmers. You want bright for cleaning and projects, softer for movie night.
- Keep splices accessible. Any splices and junctions need to remain accessible. Many wafer “driver boxes” are actually a listed junction box for the fixture. Follow the fixture instructions and your local electrical code, and do not bury boxes behind finished surfaces with no access.
- Plan for joist bays and blocking. If you are soundproofing the ceiling, coordinate your light placement first so you are not cutting through work you just paid for or spent all weekend installing.
Glare control (especially near TVs)
If you are lighting a TV wall or a theater zone, glare control matters as much as brightness. I like fixtures with a good diffuser or a slightly regressed lens, and I avoid aiming strong downlight directly in front of or behind the screen. Wider, softer light usually feels better than a few narrow “spot” beams that create bright circles.
Low-profile flush mount and “disk” LED fixtures
Not every area needs wafers. In small rooms, closets, and mechanical areas, a low-profile flush mount can be perfect, as long as it stays tight to the ceiling. Look for fixtures that are truly low-profile, not a decorative dome that hangs down and makes the room feel shorter.
- Best uses: Bedrooms, storage rooms, laundry, utility rooms, closets.
- What to avoid: Anything with a deep bowl or a fixture that drops noticeably. My personal rule is that once something hangs down around 6 inches, you start feeling it in a low basement, but treat that as a rule of thumb, not a magic number.
Wall sconces (the height cheat code)
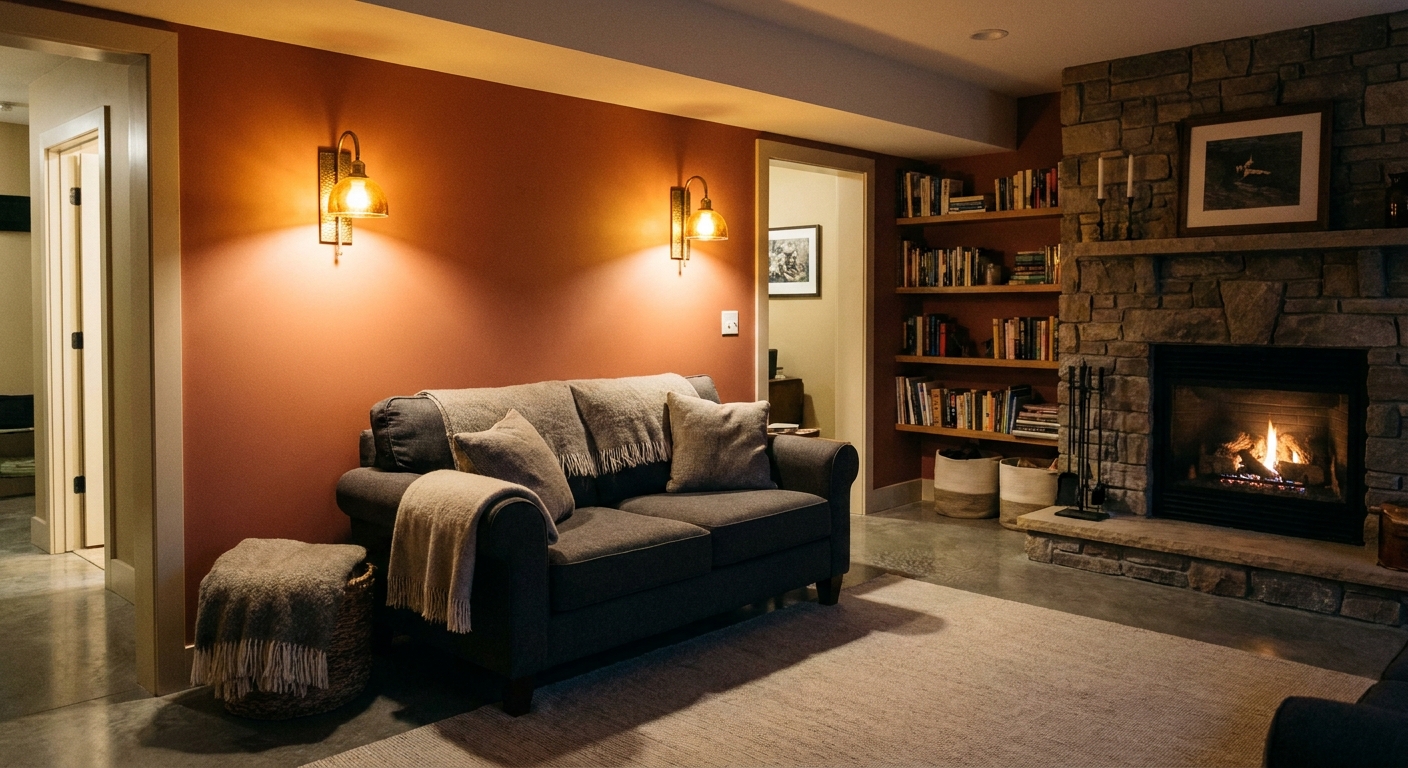
When ceilings are low, adding light to the walls is one of the fastest ways to make the whole space feel bigger. The human eye reads bright walls as “open.” A few well-placed sconces can also reduce the number of ceiling lights you need, which keeps the ceiling plane calmer.
Where sconces shine
- TV and theater zones: Soft wall light reduces screen glare compared to lots of overhead light.
- Hallways: You get safe, even light without headroom problems.
- Stairways: Great for safety, especially when paired with a dimmer.
If you only have one switch leg or limited wiring options, consider plug-in sconces with a cord channel. They are not as clean as hardwired, but they can be a very practical retrofit.
Track lighting and short monorails (use with restraint)
Track lighting can be a lifesaver when you cannot place ceiling lights exactly where you want them because of ducts or beams. That said, track usually drops farther than wafers or disk lights, so I only use it when the flexibility is worth the trade.
- Best uses: Workshop areas, art walls, or awkward spaces where you need adjustable heads.
- Low-ceiling rule: Pick the lowest-profile track you can and keep it out of walk paths.
Lighting to skip in most low basements
- Pendants and chandeliers: They visually lower the ceiling and create head-bonk zones.
- Large ceiling fans: In a low basement they dominate the room. If you need air movement, look at ventilation and dehumidification first.
- Builder-grade dome lights: They tend to hang down, throw harsh light, and make the ceiling feel closer than it is.
Use layered light so the ceiling does not do all the work
A bright basement is rarely the result of one monster fixture. It is the result of layers. Here is the simple stack I use in most finished basements:
- Ambient (general) light: Wafers or low-profile flush mounts to evenly fill the space.
- Task light: Under-cabinet strips, a desk lamp, a reading lamp, or track heads where you need focused brightness.
- Accent light: Wall sconces, toe-kick LED strips, or a picture light to add depth and make the room feel finished.
Layering matters even more in basements because you typically have fewer windows and more dark corners. If you want the air to feel fresher too, lighting is only part of the comfort equation. This pairs well with: Basement ventilation strategies for fresh, odor-free air.
Placement strategies for low ceilings
1) Keep lights out of the low spots
If a soffit is already the lowest point, putting a bright ceiling light right next to it highlights the height change. Instead, light away from the soffit. Use wafers in the main field of the ceiling, then use sconces or a floor lamp near the soffit edge to keep the area from feeling cave-like.
2) Use perimeter light to open the room
In low rooms, a grid of lights can feel like a drop-ceiling office. I usually do a slightly wider spacing and bring some light to the perimeter with sconces or lamps. Bright walls make the ceiling feel less oppressive.
3) Align fixtures with the room, not the joists
This is a classic DIY trap: you place lights based on what is easiest between joists, and you end up with a crooked-looking pattern when you stand in the room. Before drywall goes up, snap chalk lines for the room centerlines and major furniture zones. Then adjust your light locations to look intentional.
4) Treat stairs as their own zone
Stairs and landings need even light, no glare, and no hanging fixtures in the way. Wafers, low-profile flush mounts, and wall lights are your friends here. If your stair area ties into a hallway, consider putting them on the same dimmer zone so you can keep the pathway lit without lighting up the whole basement.
Color temperature and brightness
Pick a consistent color temperature per zone
Basements can feel weird fast if half the lights are cool white and the other half are warm. Here is how I usually break it down:
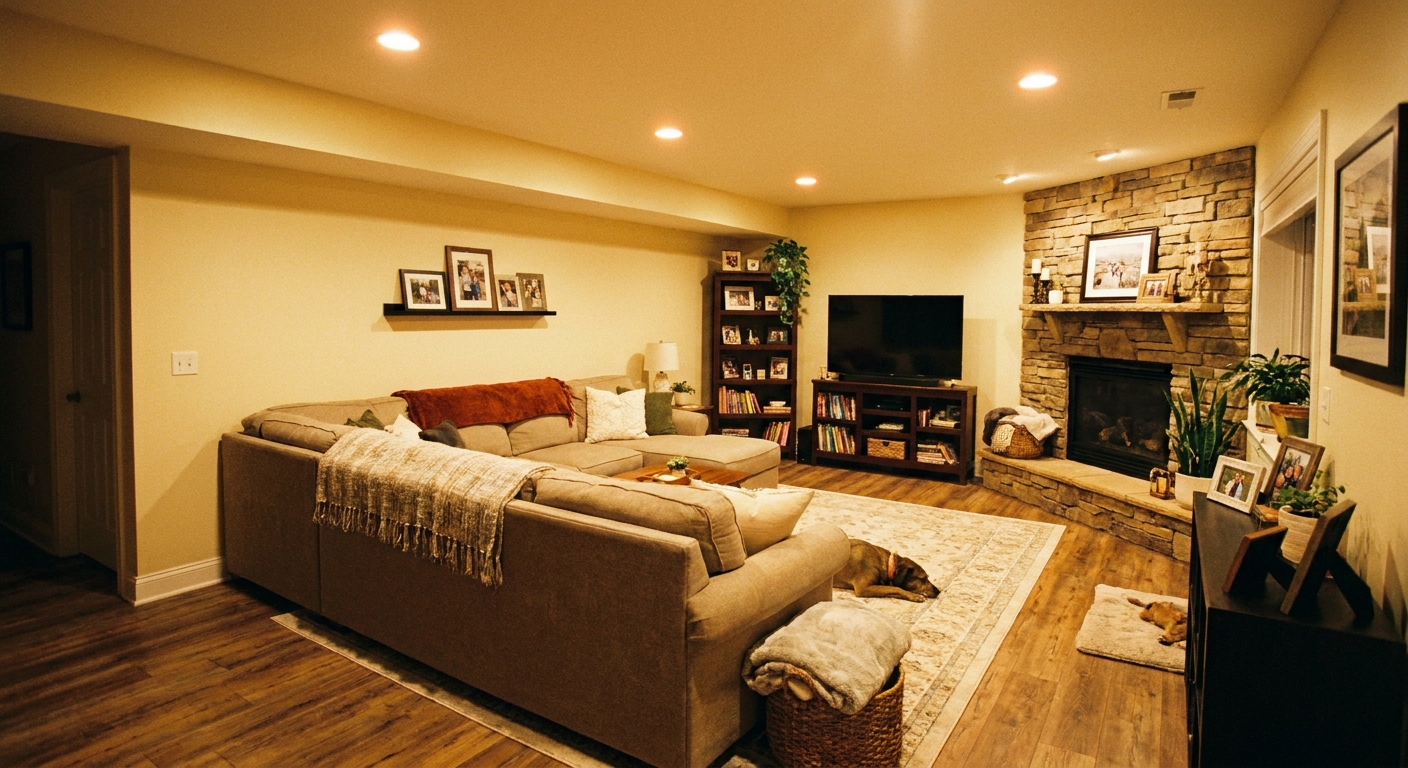
- Living spaces (family room, theater, guest suite): 2700K to 3000K for a warm, cozy feel.
- Workout rooms, laundry, workshop: 3500K to 4000K for a cleaner, more alert feel.
- Hallways and stairs: Usually match the adjacent living area so it flows.
How much light do you need?
Instead of obsessing over a single “lumens per square foot” number, think in goals:
- General living area: Enough ambient light that you can walk around safely with the dimmer at 70 to 80 percent.
- Task areas: Add dedicated task lighting so you are not forced to blast the whole basement bright just to fold laundry or work at a desk.
- Theater/TV: You want multiple low-level options, like sconces on a dimmer, so you can avoid glare.
If you want one practical anchor, many common 6-inch wafer lights land roughly in the 700 to 1,000 lumen range per fixture. How many you need depends on ceiling height, wall color, and how much light you lose to dark finishes. That is why I like dimmers. You can install enough fixtures to make the space usable, then run them softer most of the time.
Wiring and ceiling details
Plan lighting before you close up the ceiling
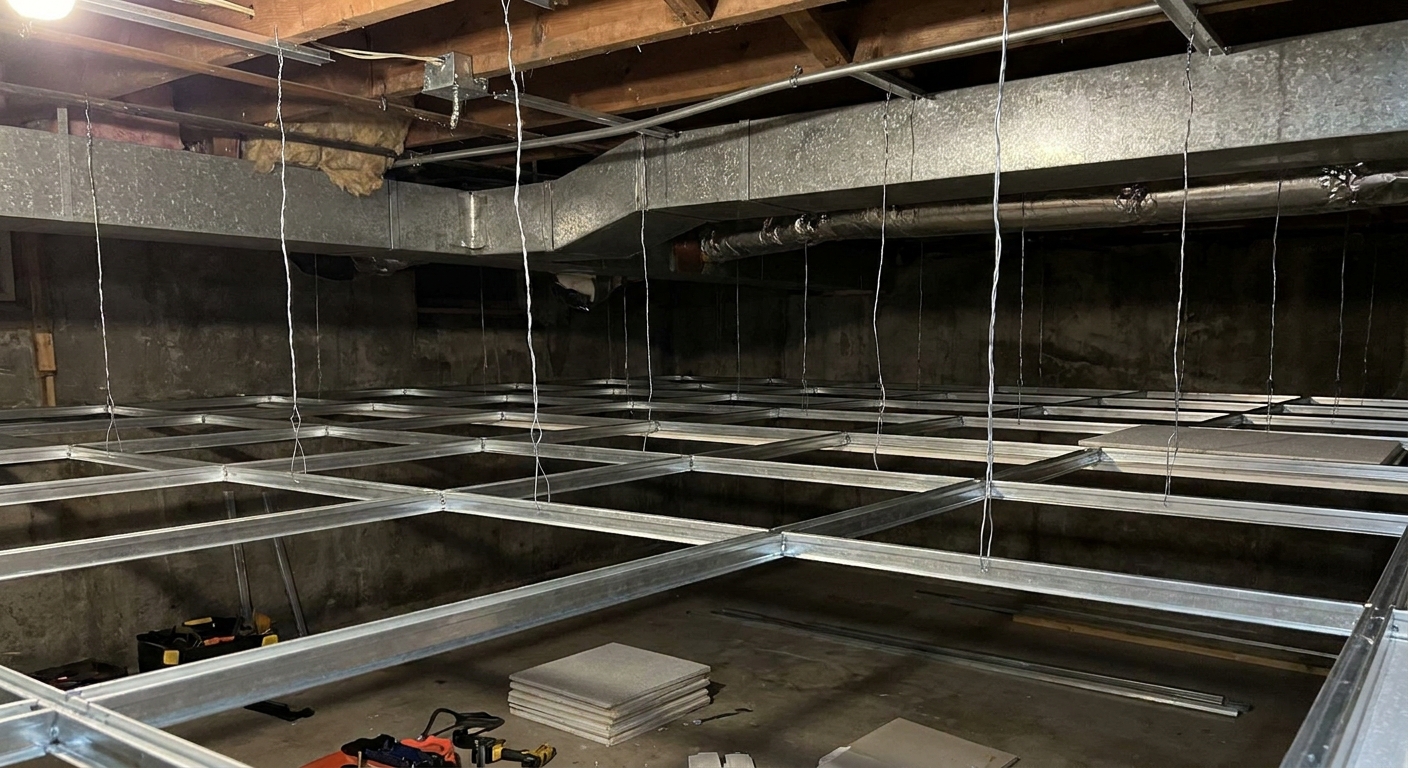
This sounds obvious, but it is worth saying: your lighting plan should be finalized before drywall, resilient channel, or any ceiling system goes in. Moving a light 12 inches after the fact is the kind of “little change” that turns into a patching marathon.
If your remodel is still in the planning stage, follow a real order of operations so lighting does not get squeezed in at the end: Basement remodel timeline and correct order of operations.
Electrical boxes and fire details
Most DIYers get tripped up by two things: box accessibility and fire details around penetrations. Your exact requirements depend on your location, but the general principles are consistent.
- Do not bury electrical boxes. Splices and junctions need to remain accessible. Follow the fixture’s instructions, especially for canless wafer lights with remote boxes.
- Do not mix up fireblocking and firestopping. Fireblocking is about limiting air movement in concealed framing cavities. Firestopping is about sealing a penetration through a rated assembly with a tested method. If you are not sure what you are dealing with, slow down and get guidance before you start packing holes with random foam.
When you start framing and running wires through cavities, make sure you understand the basics of fireblocking: Fireblocking basement framing.
Humidity is real, so buy the right ratings
Even a “dry” basement can be humid in summer. That matters for lighting, especially in laundry areas or bathrooms. Use fixtures rated for damp locations where appropriate, and if you are lighting a shower or a truly wet area, use fixtures rated for wet locations. In some situations you may also need specific ratings like IC or airtight, depending on the ceiling assembly and local requirements, so read the label and the installation instructions.
If you are still fighting that clammy basement feel, start here: Basement dehumidifier sizing and system options.
Room-by-room recipes
Family room or TV area
- Ambient: LED wafers spaced for even coverage, all on a dimmer.
- Wall light: Sconces behind or beside seating, also on a dimmer.
- Accent: A floor lamp or a small table lamp near the seating area for cozy light.
- Glare tip: Keep the brightest downlights from landing directly on the screen or directly behind the main seating where they can reflect into the TV.
Home office nook
- Ambient: One or two wafers centered over the work zone.
- Task: A real desk lamp aimed at the work surface.
- Tip: Avoid placing a bright downlight directly behind you. It throws shadows onto your desk.
Basement bedroom
- Ambient: Low-profile flush mount or wafers.
- Bedside: Wall-mounted reading lights or plug-in sconces to keep surfaces clear.
- Tip: Warm color temperature (2700K to 3000K) goes a long way for comfort.
- Safety note: If this is a legal bedroom, coordinate your lighting plan with the egress window and escape path so nothing ends up awkward or shadowy.
Workout room
- Ambient: More even, brighter light, often 3500K to 4000K.
- Tip: Put lights on two switches so you can run half the room for stretching and all of it for training.
Hallway and stairs
- Ceiling: Wafers or low-profile flush mounts.
- Wall: Sconces can be great if you have wall space.
- Tip: Consider a dimmer so you can leave a gentle pathway light on at night.
Quick checklist
- Where are the lowest soffits and obstructions, and how do I keep attention away from them?
- Which zones need dimmers (almost always: TV area, main living area, stairs)?
- What color temperature am I using in each zone, and will it match from room to room?
- Am I using at least two layers of light in the main living space (ceiling plus wall or lamps)?
- Do any rooms need damp-location or wet-location rated fixtures (bath, laundry, shower)?
- Are all splices and junctions accessible and planned before drywall?
If you treat lighting like part of the ceiling plan, not an afterthought, a low basement stops feeling like a compromise. It starts feeling like a finished floor of the house that just happens to be downstairs.