The first basement ceiling I ever finished taught me a lesson I now repeat like a broken record: whatever you put up there, you will eventually need to get above it. Maybe it is a shutoff valve that starts weeping. Maybe it is a bath fan duct that comes loose. Maybe you decide to add a recessed light after living in the space for a month. Basements love to surprise you.
That is why the “drop ceiling vs. drywall” decision is not just about looks. It is also about access, headroom, sound, moisture, and how much you want to commit to a layout that might change once you start using the space.
Below is how I think through it, with the tradeoffs I see most often in real DIY basements.
The quick answer
- Choose a drop ceiling if you want easy access to plumbing and HVAC, you have lots of valves or junctions overhead, or you are finishing a basement that is still evolving.
- Choose drywall if you want the most “upstairs” look, you are tight on headroom, you plan recessed lighting, and you are confident your mechanical layout will stay put.
And yes, a hybrid is often the smartest option: drywall most of the ceiling, then use a small drop ceiling area or access panels where you know you will need entry later.
What each ceiling is
Drop ceiling (suspended/acoustic)
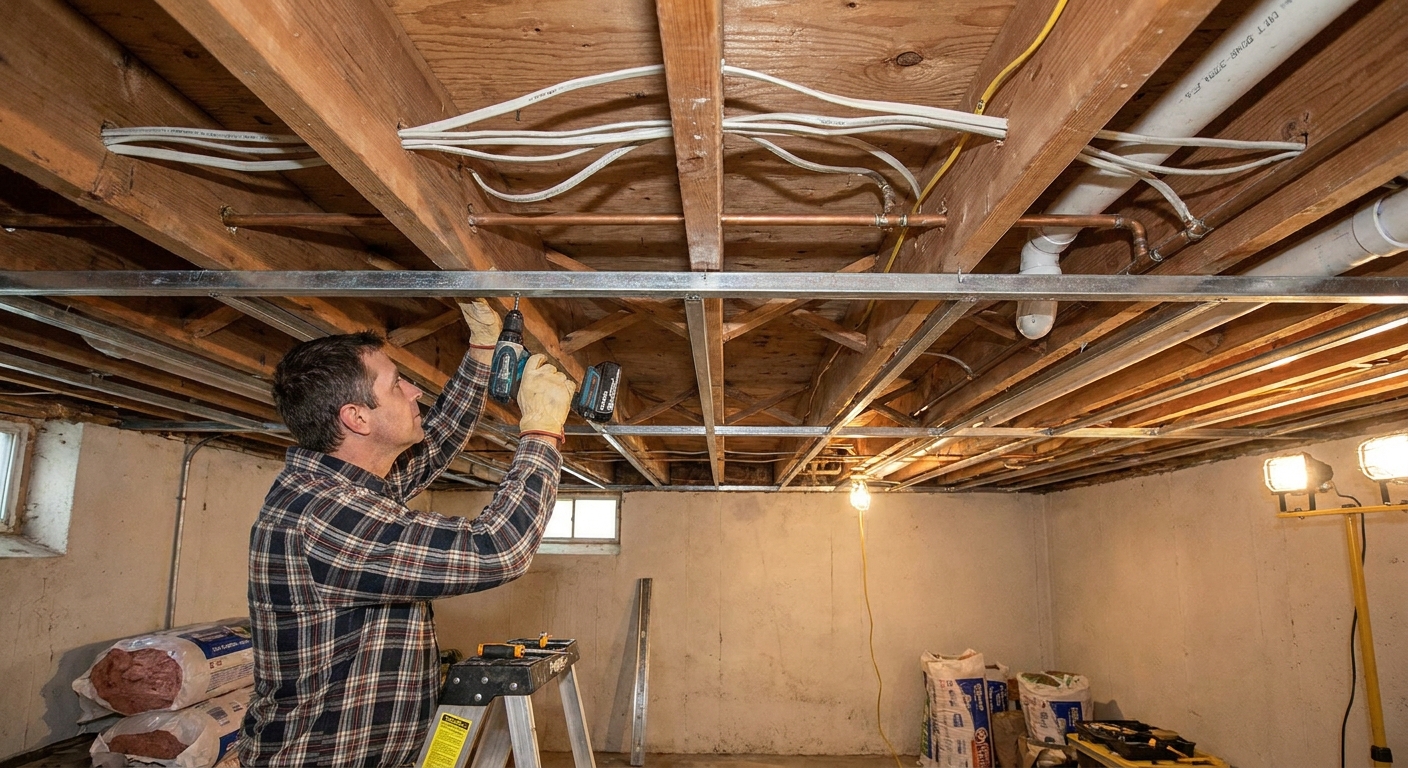
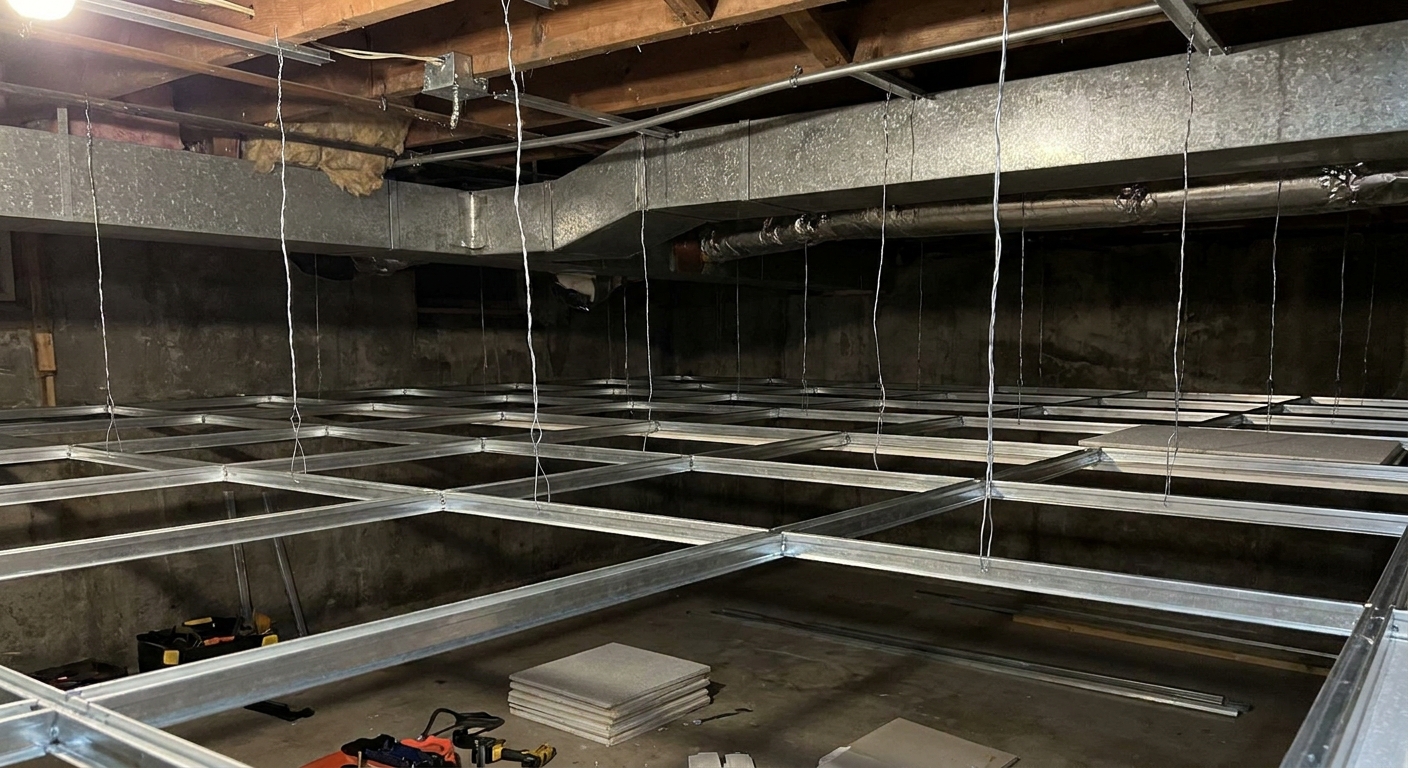
A drop ceiling uses a metal grid suspended from the joists above with wires. Lightweight panels (often 2x2 or 2x4) sit in the grid. You can lift a panel to access pipes, ducts, wiring, and junction boxes, as long as you plan the grid layout so the access point is not trapped above a main tee, tight ductwork, or other obstructions.
Drywall ceiling
Drywall is screwed to the framing above (joists or furring), taped, mudded, sanded, and painted. It is permanent and seamless. Access later usually means cutting and patching, or planning access panels in advance.
Cost: materials and time
Basement ceiling cost is tricky because the “price per square foot” is not the whole story. The ceiling is where you pay for obstacles: ducts, beams, pipes, soffits, bulkheads, and low areas that force creative framing. One main trunk line can turn into a wide soffit that changes the whole room and eats perceived height.
Drop ceiling cost factors
- Grid system (main tees, cross tees, wall angle, hanging wire).
- Tiles/panels (basic fissured panels cost less than smooth, textured, or specialty panels).
- Edge details around beams, posts, and odd-shaped rooms.
- Lighting integration (can lights need tile bridges or special housings, and surface lights often need backing).
DIY-friendly drop ceilings can be cost-effective when you consider time. The install is usually faster than finishing drywall to a paint-ready level, and you skip days of mudding and sanding overhead.
Drywall ceiling cost factors
- Drywall sheets plus screws, tape, compound, corner bead.
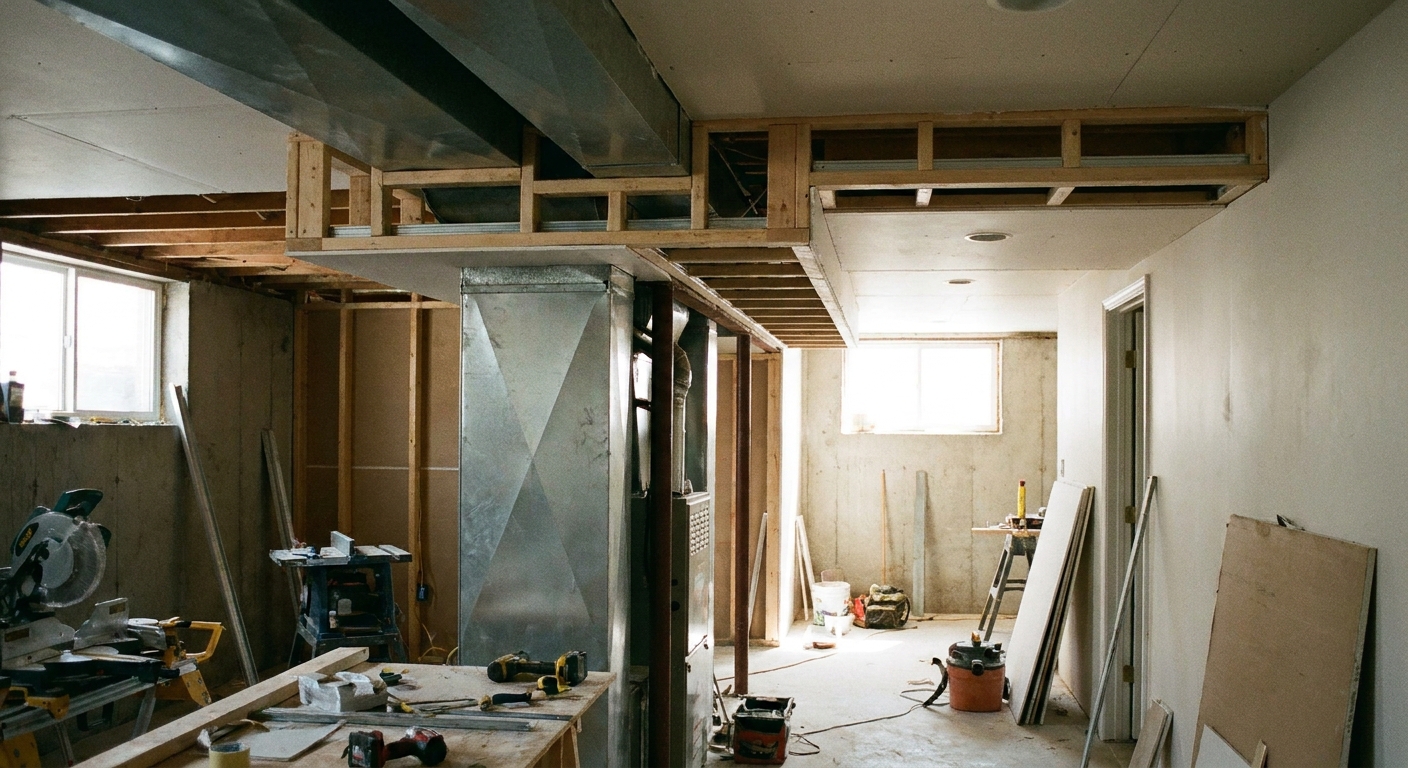
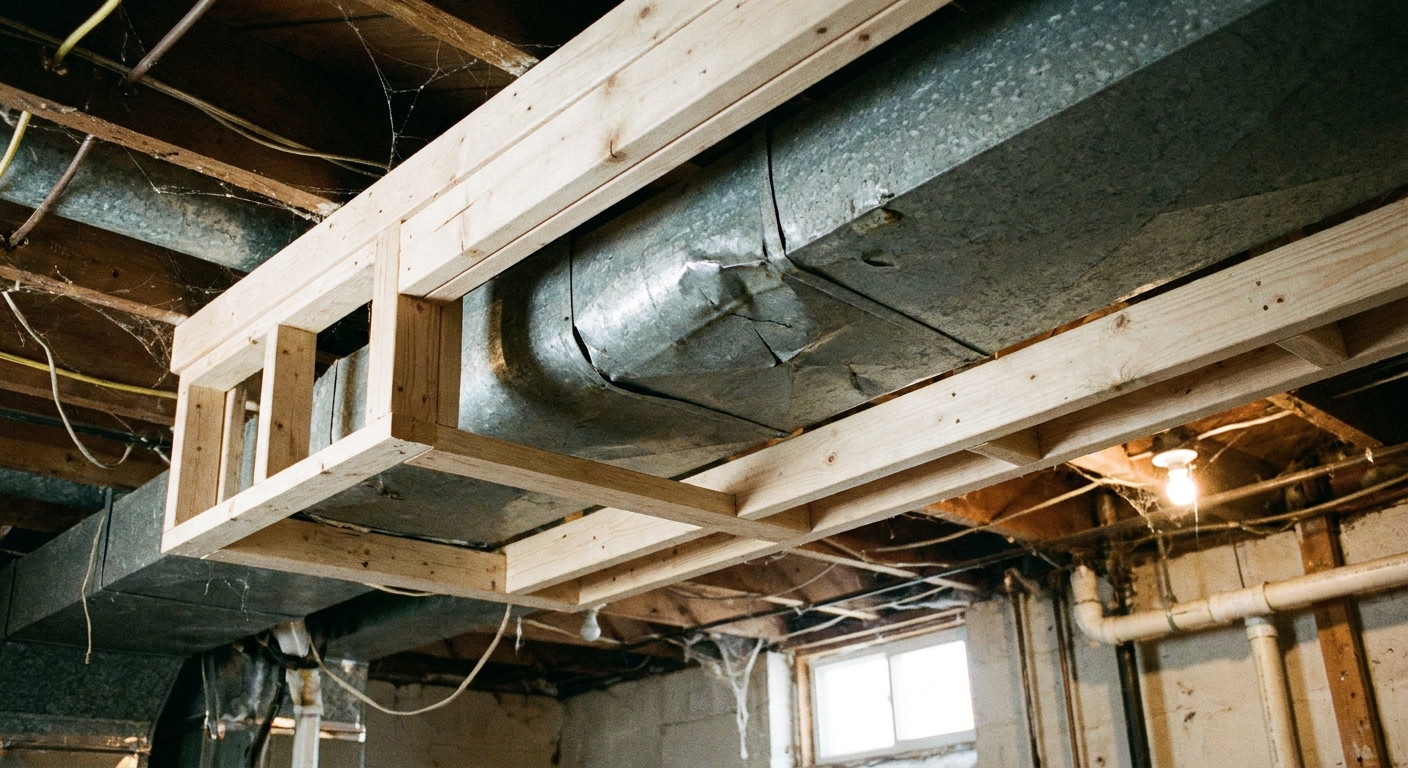
- Soffits/bulkheads to hide ductwork and trunk lines.
- Finish level (a basement ceiling with lots of light demands better finishing).
- Labor intensity if you hire it out. Ceilings are usually one of the more labor-heavy parts of a basement because everything happens overhead.
If you want a deeper budgeting view for a whole basement, I break costs down here: Basement finishing cost breakdown per square foot. Also worth a skim before committing is 7 hidden costs of finishing a basement, because ceilings tend to trigger a few of them (lighting changes, HVAC tweaks, and unexpected access needs).
Looks: which feels finished
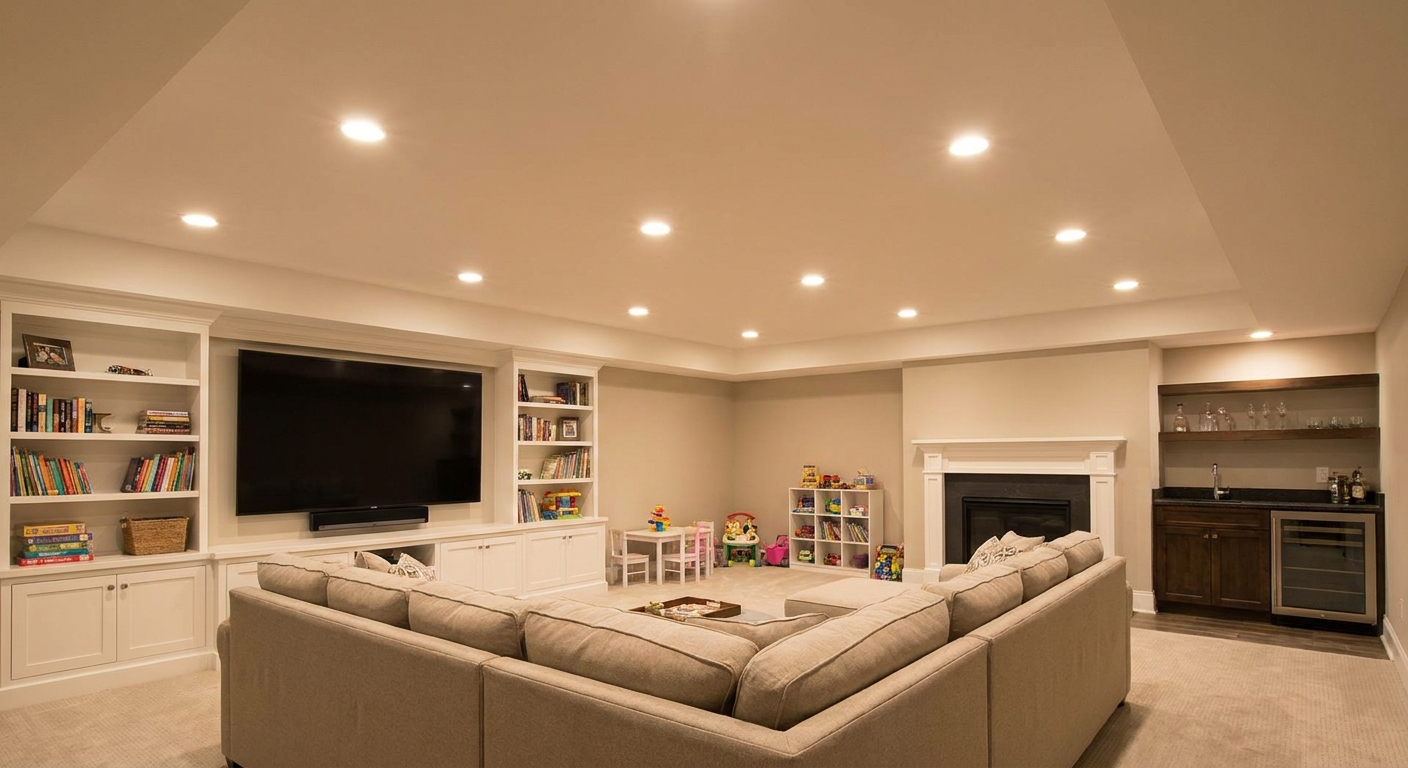
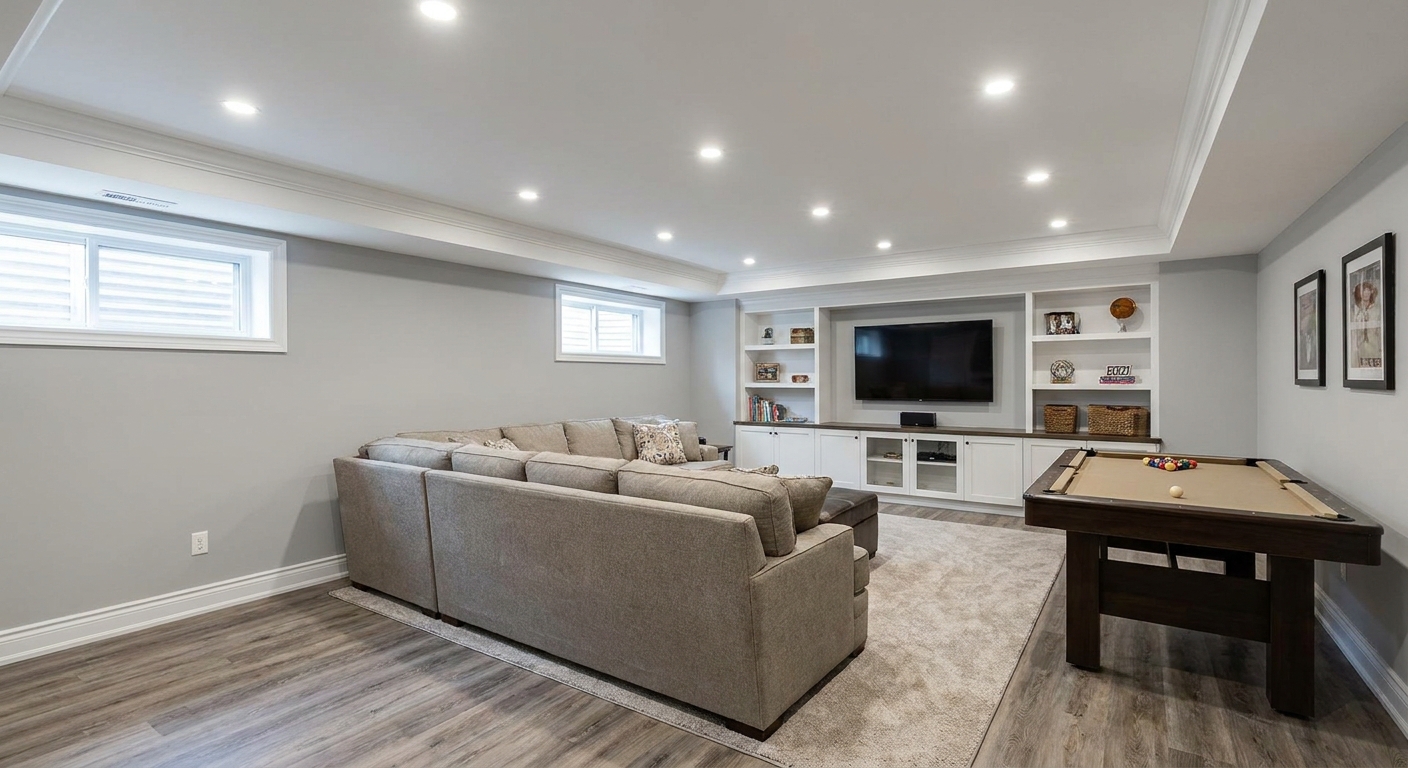
If you are chasing that “I forgot I was in the basement” vibe, drywall still wins most of the time. It reads like the rest of the house. You get clean planes, consistent paint sheen, and easy integration with crown molding or simple trim.
Drop ceilings have come a long way, but the grid lines are still visible unless you choose specialty systems. In some rooms that is totally fine, especially a gym, playroom, workshop, laundry zone, or utility-forward media room. In a guest suite or high-end family room, those grid lines can feel a little commercial.
How to make a drop ceiling look better
- Use smaller panels (2x2) for a tighter pattern that can feel more intentional in smaller rooms.
- Choose smoother tiles over heavily fissured office-style panels.
- Keep the grid straight and tight. Sloppy grid layout is what makes drop ceilings look cheap.
- Lock in your lighting plan early so you are not peppering the ceiling with last-minute oddities.
Access: pipes, ducts, and future changes
This is the big one. Basements are mechanical spaces, even after you dress them up.
Drop ceiling access
Drop ceiling access is as simple as pushing up a tile, assuming the tile lands where you need it and there is clearance to lift it out. That matters for:
- Plumbing shutoff valves and cleanouts
- HVAC dampers, duct connections, and balancing
- Low-voltage wiring and future cable runs
- Electrical junction boxes (which must remain accessible)
If you are planning a bathroom, bar sink, or wet bar, think hard about ceiling access before you close anything in. This ties directly into your mechanical layout: Basement plumbing and HVAC without losing ceiling height.
Drywall access
Drywall can absolutely work with mechanicals overhead, but you need a plan:
- Move what you can before finishing. Reroute lines, add shutoffs where you want them, strap and support ducts properly.
- Build smart soffits so you are hiding predictable bulk, not boxing in random future problem spots. If soffits are in your future, this helps: How to frame soffits and bulkheads around ductwork and pipes.
- Add access panels at key valves, cleanouts, and junctions. They are not invisible, but they beat cutting holes later.
Ceiling height: protect your inches
In many basements, your “ceiling height” is already defined by the lowest duct or beam. The finish you choose should work with that reality, not fight it.
Drop ceilings and height
A suspended grid needs space. In a perfect world you have roughly 3 to 6 inches of room below joists for the grid and for lifting tiles up and out, and you need more if you have pipes and ducts crowding the plenum. In a basement with tight headroom or big duct trunks, those inches hurt.
There are low-profile drop ceiling systems and creative layouts that tuck the grid up tight, but you still need enough clearance to function. If the basement is already borderline on headroom, drywall or a drywall-plus-soffit approach usually preserves more usable height.
Drywall and height
Drywall can be attached directly to the bottom of the joists, or to furring strips if needed. It is usually the thinner finish. The catch is that once you drywall, you often need soffits to hide ducts and pipes, and those soffits create localized low areas. Done well, that looks intentional. Done poorly, it feels like a maze.
Lighting: place it once
Ceilings and lighting are married. Make your lighting plan first, then pick the ceiling finish that supports it.
Drywall lighting
- Best for recessed lights (especially slim LED wafers), because you can place them exactly where you want with clean trim.
- Easy to air seal around penetrations if you are detail-oriented.
- Changes later mean patching. Even small lighting layout changes become a drywall repair project.
Drop ceiling lighting
- Great for flexibility. Want to shift a light over a sofa? Often you can adjust without touching drywall.
- Many fixture options exist, but they may dictate tile size and grid layout.
- Plan support. Heavier fixtures and ceiling fans typically need framing support above the grid. Do not assume the grid carries weight.
If you are still planning the room layout, start here before you lock in lighting locations: How to design a basement floor plan.
Sound: footsteps and movie nights
Neither drywall nor a standard drop ceiling magically soundproofs a basement. The real sound control comes from what is above the finished surface: insulation in joist bays, decoupling, and sealing air gaps.
Drywall for sound
Drywall tends to perform better as a solid barrier, especially if you add mass (thicker drywall or double layers) and take air sealing seriously. If sound control is a priority, I look at decoupling methods too: Soundproofing a basement ceiling with resilient channel and clips.
Drop ceiling for sound
Basic acoustic panels can help with echo inside the basement room, but sound can still travel through gaps at the perimeter and through the plenum space. Performance varies a lot by tile type and details like insulated joist bays and sealed edges. If your goal is “quiet basement theater,” a standard grid ceiling is usually not my first pick unless you are pairing it with serious sound measures above and you need access.
Moisture: what basements do best
A ceiling finish does not fix moisture problems, but it can make them easier or harder to deal with.
Drop ceiling moisture pros and cons
- Pro: easier to inspect. If you ever have a small leak, you can pull tiles and see what is going on quickly.
- Con: many mineral-fiber tiles can stain, sag, or hold odors if the basement humidity is not controlled.
Drywall moisture pros and cons
- Pro: a properly finished drywall ceiling feels tight and clean, and it is generally less prone to sagging or showing humidity-related staining than many standard ceiling tiles.
- Con: drywall is still paper-faced and can be damaged by high humidity or leaks. A hidden leak can also go unnoticed longer and soak insulation and framing before you spot the first stain.
Tile types: a quick reality check
If you are leaning drop ceiling in a damp-prone basement, do not treat all tiles the same. Basic mineral-fiber panels are common and affordable, but they are the first to show stains and sagging if humidity runs high. Humidity-resistant, washable, or vinyl-faced panels tend to hold up better, and there are also higher sound-rated tiles if noise is a major concern. The right tile will not fix a wet basement, but it can make the ceiling less fussy to live with.
Whichever way you go, get humidity under control first. I like to start with the basics (outside water management and drainage), then dial in indoor humidity control. These two pieces will save your finishes: Exterior moisture control: yard grade and downspouts and Basement dehumidifier sizing and system options.
If you are choosing materials with moisture in mind, this roundup is helpful: 7 mold-resistant materials for a basement remodel.
DIY difficulty: overhead work
Drop ceiling DIY reality
Drop ceilings are fussy but not hard. The challenge is layout and patience. If the first row is out of square, you will see it forever. I like starting layout from the most visible wall or the main hallway line, and I trust a laser level more than my eyes.
Expect to:
- Find the lowest obstruction and set your ceiling height from that point
- Snap level lines around the room
- Hang the grid flat without waves
- Cut tiles cleanly at walls and around posts
Drywall DIY reality
Drywalling a ceiling is physically harder. It is also a finishing project, not just an installation project. Hanging sheets overhead is a workout. Taping and mudding overhead is a patience test. If you hate sanding, drywall will find you.
If you are on the fence about DIY versus hiring out parts of the job, this is how I break it down: DIY vs. hiring a contractor for basement finishing.
Other option: paint it out
I would be lying if I did not mention the third option: an open ceiling painted black or white. It is popular in industrial-style basements and it saves headroom. The tradeoff is that you are committing to seeing everything, and you still need to do the work to make the mechanicals look intentional (neat wiring, tight straps, clean duct runs, and a plan for lighting). It is not for everyone, but in low basements it can be the difference between cramped and comfortable.
Permits and code basics
Ceilings are also where “nice finish” meets real-world code. Junction boxes must stay accessible, and many basements trigger permit requirements once you add electrical, plumbing, or new finished rooms. Depending on your layout, you may also run into rules around fireblocking and draftstopping, smoke and CO alarms, and egress requirements. Before you close the ceiling, make sure your plan matches what your inspector expects: Basement finishing permits: what you need and how to get them. If you are doing framing changes, this also matters: Fireblocking basement framing.
Decision guide
Pick a drop ceiling if:
- You have lots of shutoffs, cleanouts, or junctions overhead
- Your HVAC layout is complex or you expect changes
- You want easy access for future wiring and networking
- You are prioritizing speed and serviceability over a seamless look
Pick drywall if:
- You want the most finished, upstairs-like appearance
- You are tight on headroom and every inch matters
- You want recessed lighting laid out precisely
- You are willing to plan soffits and access points intentionally
Consider a hybrid if:
- You want drywall in the main living area, but you need access over a bathroom, bar, or mechanical run
- You have one section with a mess of ducts that would be painful to soffit cleanly
- You want a clean look plus practical access at known trouble spots
Common mistakes
1) Drywalling over “must stay accessible” items
Junction boxes need to stay accessible. So do many plumbing cleanouts. If you are not sure what you have, slow down and map it before you close the ceiling. If access is required, plan a drop-ceiling section or an access panel that you can actually reach later.
2) Setting a drop ceiling height without tile clearance
A grid can be perfectly level and still be a headache if tiles cannot lift and angle out. Check clearances near ducts and beams before you lock in the height.
3) Treating soffits like an afterthought
With drywall, soffits are part of the design. Plan them early so your room does not end up with random bumps and jogs.
4) Closing the ceiling before the plan is real
If the basement is still a question mark, a ceiling that allows change is your friend. This is also why I like to follow a clear build order: Basement remodel timeline and order of operations.
FAQ
Is a drop ceiling cheaper than drywall in a basement?
It can be, especially if you value time and DIY labor. Material costs vary widely based on tile and grid quality. Drywall materials can be cheaper, but finishing labor is real, whether you pay for it or do it yourself on nights and weekends.
Do drop ceilings reduce basement height a lot?
Usually yes, at least some. The grid needs space below joists, and you need room to lift tiles. In basements with low ducts, those inches can be the difference between comfortable and cramped.
Can I put recessed lights in a drop ceiling?
Yes, but plan the layout with the grid. Many recessed fixtures need supports above the tile, and you want to avoid awkward placements where a light lands on a tile seam.
What looks better in a basement, drywall or drop ceiling?
Drywall, in most living spaces. A well-installed drop ceiling can still look clean and intentional, but it rarely disappears the way a smooth drywall ceiling does.
My rule of thumb
If your basement ceiling hides a lot of “systems you will touch again,” I lean drop ceiling or a hybrid. If the basement ceiling hides “systems you fixed once and will not mess with,” I lean drywall.
Either way, the best ceiling finish is the one you can live with when the first repair day comes. Because in a basement, it always comes.