The first basement I finished had what I thought was “plenty” of recessed lights. Then we moved the couch in and every seat was in its own little cave, with dark pockets between cans and harsh glare on the TV. I learned two lessons fast: (1) basements eat light, and (2) a good recessed layout is not a guess. It is a simple set of measurements and a couple of reality checks.
This guide walks you through spacing, grid patterns, and lumen math so your new space feels bright and even, not spotty and shadowy.
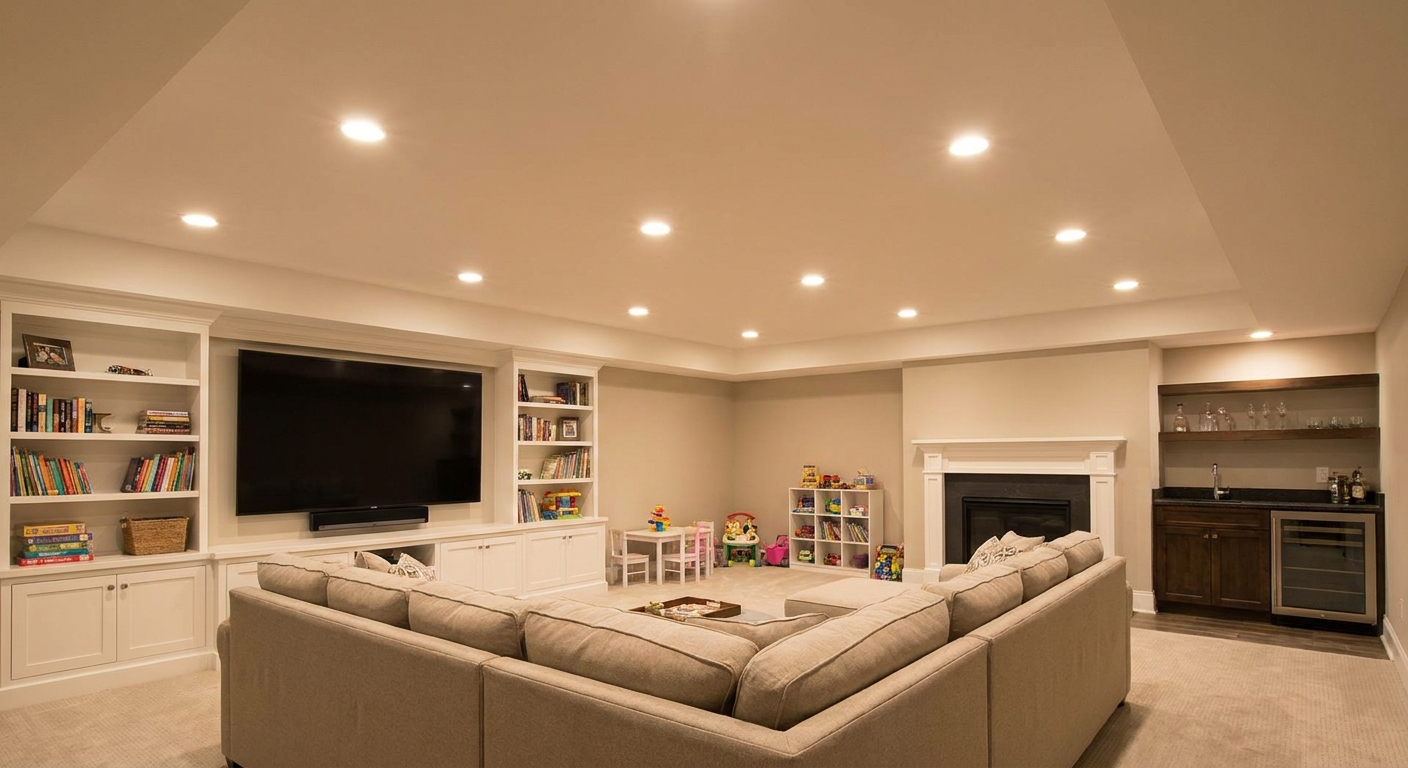
Step 1: Start with the ceiling and the obstacles
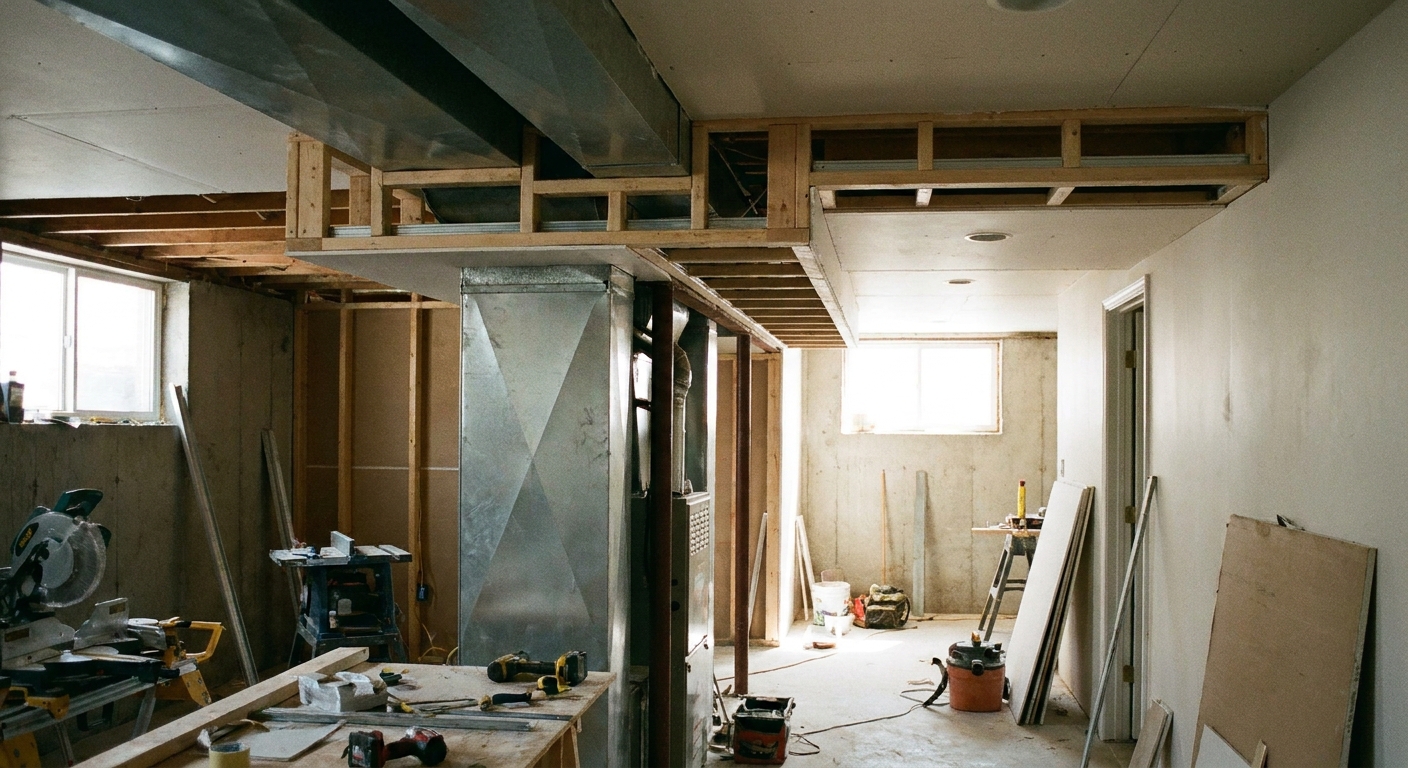
Before we talk spacing, you need to know what you are working around. Basements are notorious for ductwork soffits, beams, and odd ceiling heights. Recessed lights also have real installation constraints depending on the fixture type and what is above the ceiling.
Measure these three things
- Finished ceiling height (not the joist height). A 7 ft 2 in finished ceiling needs a different approach than 8 ft 6 in.
- Obstacles and dead zones: ducts, steel beams, plumbing, bulkheads, and any area you already know will be a soffit. If you are planning around HVAC, this can help: /basement-plumbing-and-hvac-without-losing-ceiling-height/.
- Joist direction (if you are not doing a dropped ceiling). It affects how easily you can position housings or canless drivers.
Basement-specific fixture constraints to keep in mind
- IC and airtight ratings: If there is insulation above the ceiling (now or later), use fixtures rated for insulation contact (IC). Airtight matters too, especially if you are trying to keep warm, moist basement air from leaking into cold cavities.
- Canless “wafer” vs traditional cans: Canless fixtures fit tight joist bays and around ductwork more easily, but the driver and junction box still need space and access. Traditional housings take more room, but can offer better glare control with deeper regress trims.
- Fireblocking around soffits and chases: If you are building bulkheads, treat them like the concealed spaces they are. This is the kind of detail that is painful to redo after drywall. Related: /fireblocking-basement-framing/ and /how-to-frame-basement-soffits-and-bulkheads-around-ductwork-and-pipes/.
Tip: If moisture is still an open question, solve that first. No lighting layout is fun to redo after you discover you need ventilation or dehumidification. Two good starting points are /basement-ventilation-strategies-for-fresh-odor-free-air/ and /basement-dehumidifier-sizing-and-system-options/.
Step 2: Pick a target spacing
If you only remember one layout idea, make it this: recessed lights need to overlap their light cones. In basements, I would rather start slightly tighter on spacing than end up with dark stripes that make the ceiling feel lower.
A reliable starting point for most basements
Start with spacing at about 1/2 of the ceiling height. It is a solid baseline, then you adjust for beam angle, delivered lumens, and wall and ceiling reflectivity.
- 7 ft ceiling (84 in): start around 3.5 ft to 4 ft spacing.
- 8 ft ceiling (96 in): start around 4 ft to 5 ft spacing.
- 9 ft ceiling (108 in): start around 5 ft to 6 ft spacing.
Wide-beam 5 inch or 6 inch LED retrofits often tolerate the wider end of these ranges. Narrow beams, deep baffles, and dark finishes usually push you tighter.
Distance from walls (do not leave the perimeter dark)
A good default is:
- First row of lights: 24 in to 36 in off the wall.
- Go closer (around 24 in) if the room is narrow or the ceiling is low.
- Go farther (up to 36 in) if you are using a wider beam and you want less wall brightness.
If you see scallops (bright ovals marching down the wall), you have a few easy fixes: move that first row out a bit, choose a wider beam, or pick a trim with better glare control (baffle or deeper regress).
Step 3: Choose a pattern that fits the room
In a basement, I almost never treat the whole floor as one big open room, even if it is “open concept.” I treat it like zones: TV area, play area, bar, hallway, storage door, stairs, bathroom entry.
Pattern A: Simple grid (best for general lighting)
A grid is the easiest way to kill shadows in multi use spaces.
- Pick your wall offset (say 30 in).
- Pick your spacing (say 4.5 ft).
- Run rows in both directions like graph paper.
To make a grid feel intentional, I usually keep rows parallel to the longest wall or the main sightline when you walk downstairs. If your rows skew off that axis, the whole ceiling can feel “off,” even if the math is perfect.
Grids work especially well when you plan to use dimmers, because you can go bright for cleaning and soft for movie night without having dark corners.
Pattern B: Rows (best for long, narrow rooms)
If your basement has a long rec room or a bowling alley layout, do two rows down the length, evenly spaced. Keep the wall offset tighter so the walls do not fall into shadow.
Pattern C: Perimeter plus task lighting (best for TV rooms)
If you hate glare on screens, you can intentionally keep recessed lights away from the TV wall and rely on:
- Perimeter recessed lights (on a dimmer)
- Wall sconces or step lights
- Lamps
This is also where using fewer cans but better layering can look more “finished.”
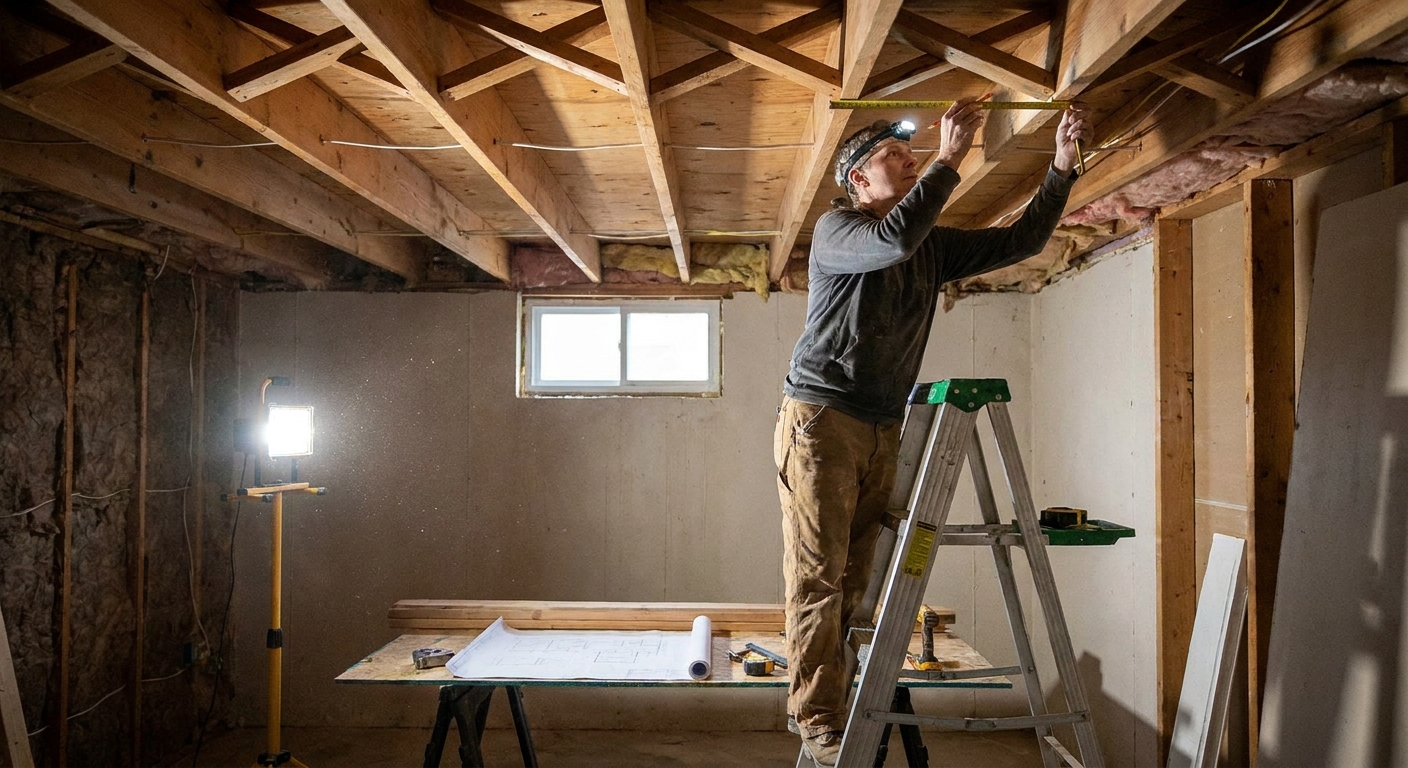
Step 4: Do the lumen math
Spacing gets you even coverage. Lumen math tells you if the room will feel bright enough.
The quick formula
Total lumens needed = room square footage × target lumens per square foot
Common rule-of-thumb targets for a finished basement (approximate):
- General family room: 15 to 25 lumens per sq ft (about 15 to 25 foot-candles)
- Play area: 20 to 30 lumens per sq ft (about 20 to 30 foot-candles)
- Home gym: 30 to 50 lumens per sq ft (about 30 to 50 foot-candles)
- Workshop or craft area: 40 to 60 lumens per sq ft (about 40 to 60 foot-candles)
- Hallways: 10 to 20 lumens per sq ft (about 10 to 20 foot-candles)
Then:
Number of recessed lights = total lumens needed ÷ lumens per fixture
Example: 400 sq ft basement living area
- 400 sq ft × 20 lumens/sq ft = 8,000 lumens
- If each recessed LED is 750 lumens: 8,000 ÷ 750 = 10.7
- Round to 10 to 12 lights, then confirm with spacing and obstacles.
Reality check: Basements with dark paint, dark carpet, or lots of black furniture often need to be closer to the top end of the range. White ceilings and light walls make everything easier.
Use fixture specs, not guesses
Many 4 inch recessed LEDs land in the rough 600 to 900 lumen range, and many 6 inch options are 900 to 1,200+ lumens, but the only number that counts is the one on the spec sheet. If the manufacturer lists “delivered lumens,” use that.
My approach is simple: design so you have enough light, then put the main zones on dimmers so you can dial it back.
Step 5: Turn the math into a clean layout
Once you have a rough count and a rough spacing, you make it look like it belongs in the room.
How I lay it out in 20 minutes
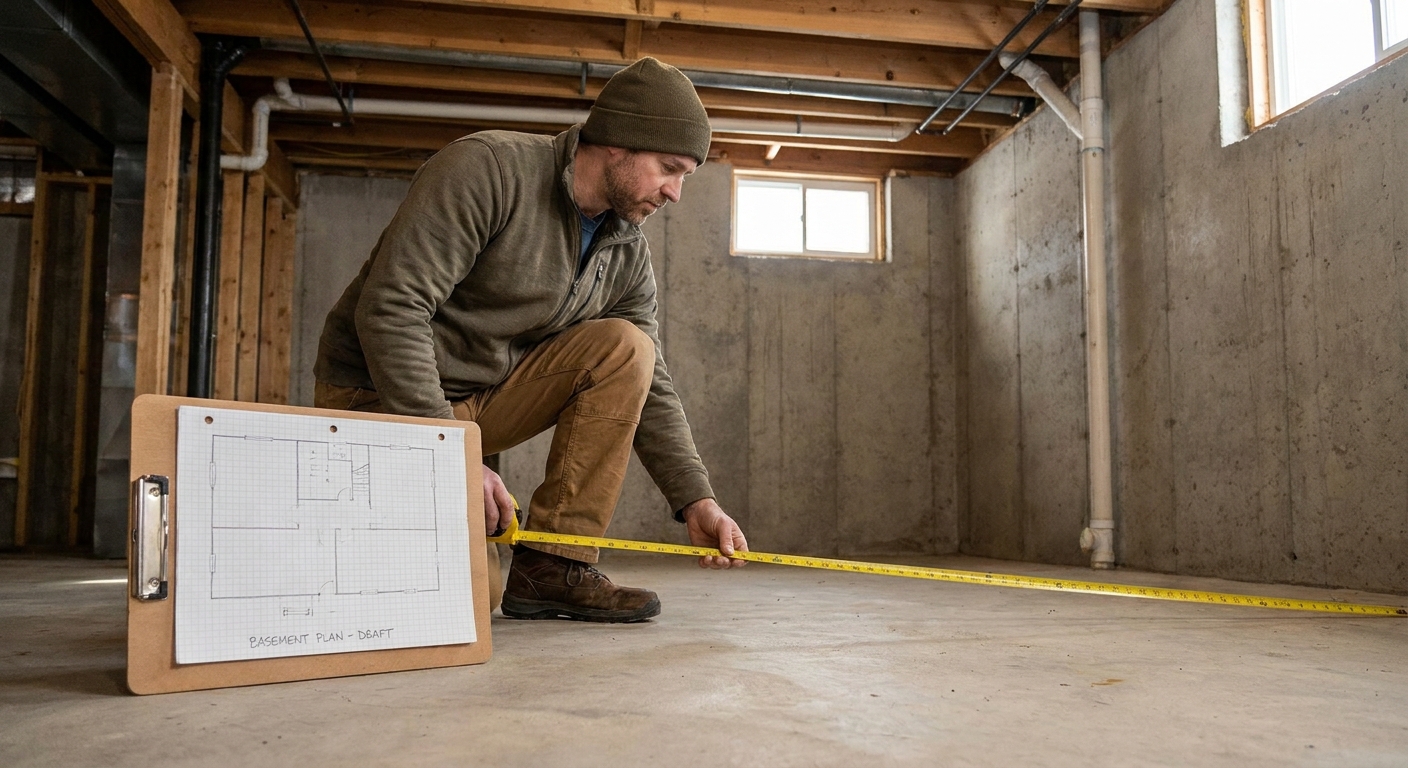
- Draw the room with accurate dimensions, including soffits and stair openings.
- Mark the “no can” zones: beams, duct chases, bath fan locations, anything that will conflict.
- Place the first row 24 to 36 inches off each main wall.
- Fill in the grid at your target spacing.
- Center the pattern visually: adjust spacing slightly so edge gaps match. A layout with 52 in on one side and 18 in on the other looks like a mistake, even if the average spacing is correct.
- Shift lights to match features: align with a hallway centerline, center over a bar, keep symmetry where the eye naturally looks.
Small spacing changes are fine. An extra 6 inches between two lights will not ruin the lighting. A layout that ignores the room’s geometry will.
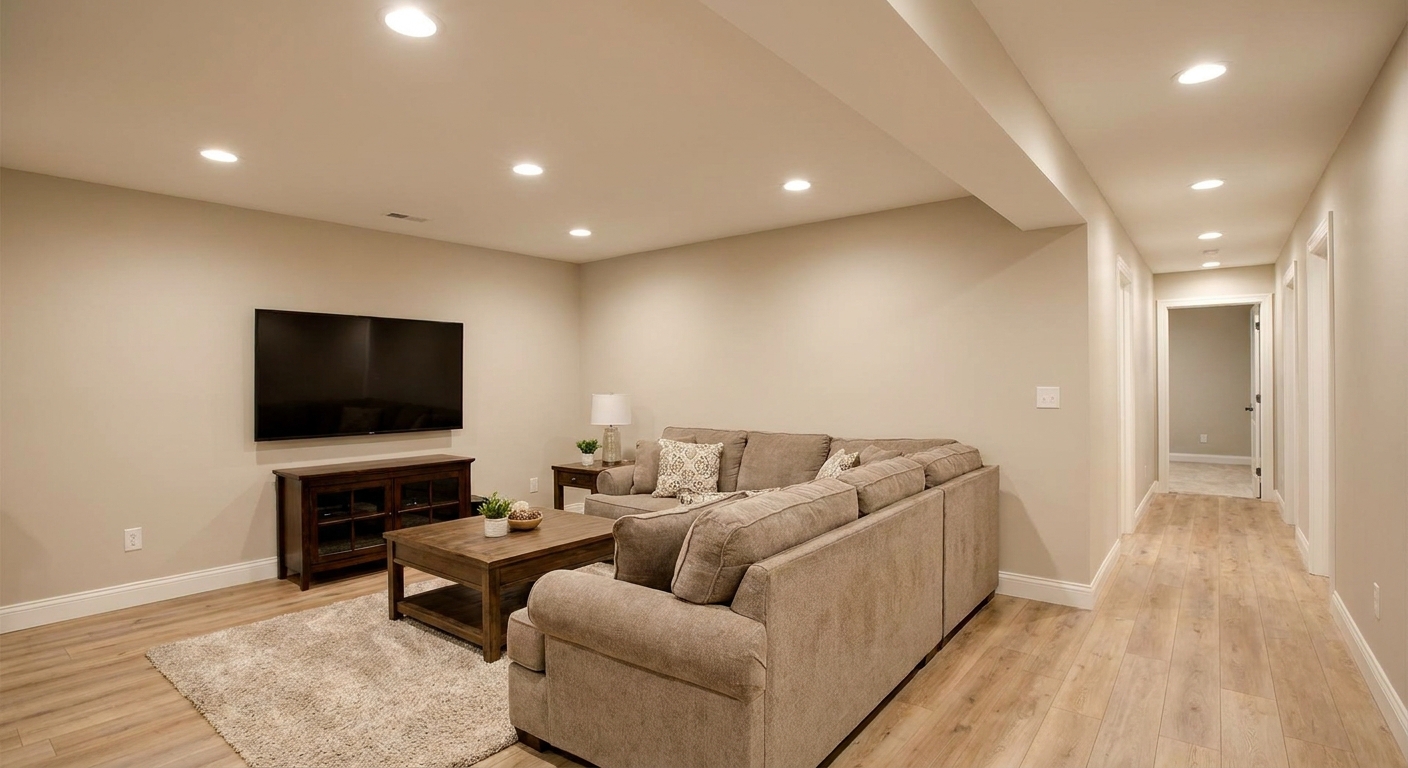
Basement spacing tweaks
Low ceilings (under 7 ft 6 in)
- Tighter spacing: 3.5 ft to 4.5 ft is common.
- Use smaller aperture recessed lights (often 4 inch) to reduce glare.
- Consider more, lower output fixtures rather than fewer, higher output fixtures.
Soffits and bulkheads
Bulkheads create shadow lines. Two tricks that help:
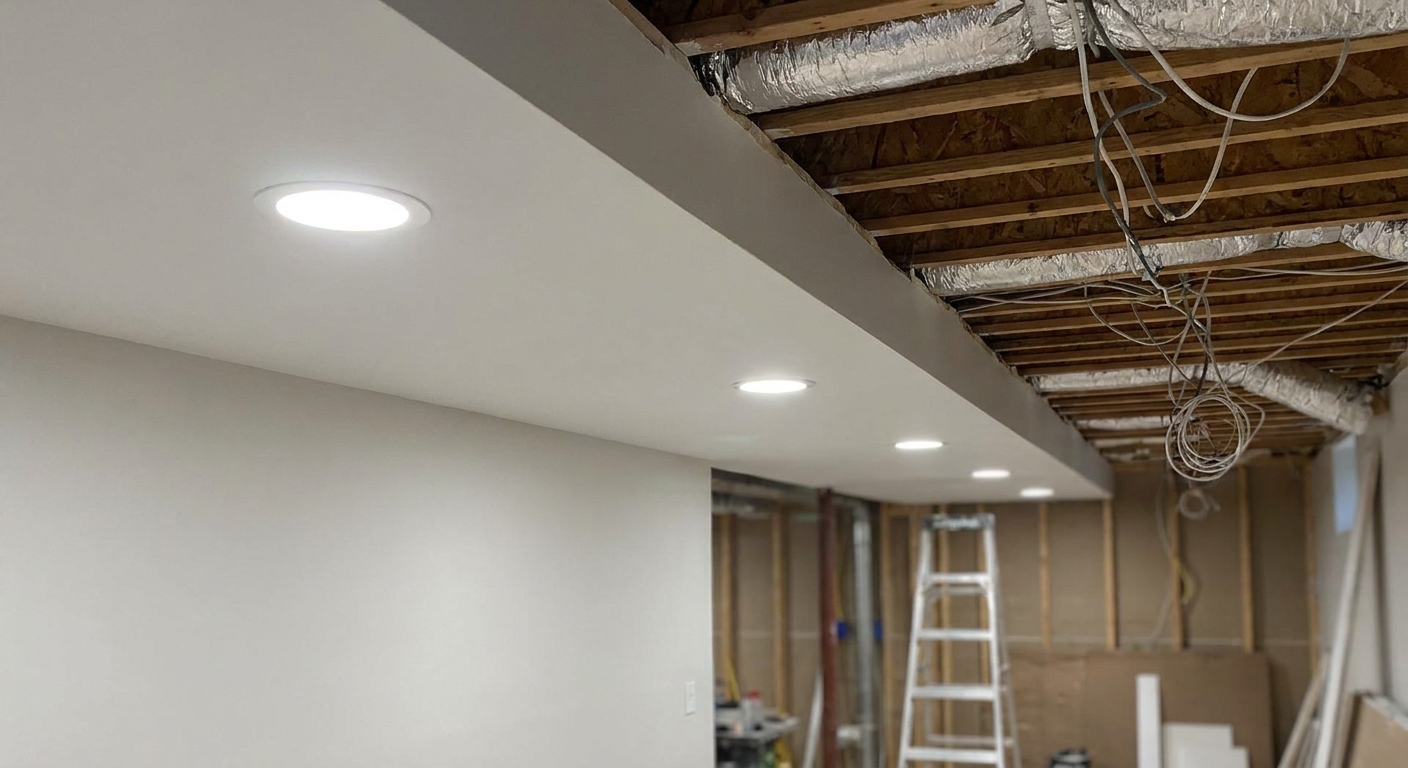
- Put a can near the edge of the soffit on the lower side to keep the drop from feeling like a cave.
- Keep rows consistent across the room where possible so the ceiling still reads as organized.
Open stairs and landings
Stairs often need their own lighting zone for safety. Do not rely on spill light from the main room. Plan a switch location and a couple of fixtures that specifically cover the treads and landing.
Beam angle and trim choice
If you have ever stood under a recessed light and felt like you were in an interrogation room, that is usually beam control and glare, not “too many lights.”
How beam angle changes spacing
- Wide beams (often around 80 to 100 degrees) spread light and support wider spacing.
- Narrow beams (often 35 to 60 degrees) create hot spots and shadowy gaps unless you add more fixtures or tighten spacing.
If you are torn, wide beam is usually the safer choice for general basement lighting. Save narrow or adjustable trims for accents.
Quick guidance
- Wide beam (flood) spreads light and supports wider spacing. Great for general basements.
- Narrow beam (spot) creates hot spots and shadowy gaps unless you add more fixtures.
- Gimbal or adjustable trims are helpful for accenting a wall, art, or a bar top, but they can create uneven general lighting if you use them everywhere.
- Choose warm or neutral color temperature based on vibe. Many basements feel best around 2700K to 3000K for living areas, and 3500K to 4000K for gyms and work areas. Mixing temperatures in the same sightline looks odd.
If you are planning other finishes at the same time, keep lighting decisions in the same bucket as paint sheen, flooring reflectivity, and ceiling color. They all play together. You can browse related finishing choices here: /lighting-finishes/.
Worked layouts
Example 1: 12 ft × 20 ft rec room, 8 ft ceiling
- Wall offset: 30 in
- Spacing target: 5 ft
- Layout: 2 rows of 4 lights each = 8 lights
Lumen reality check: if your fixtures are 700 to 900 lumens each, that is roughly 5,600 to 7,200 lumens total. If you want a brighter, cleaner “daylight” feel, bump the fixture count or choose higher-lumen units and use dimmers.
Example 2: 14 ft × 28 ft open area with a soffit, 7 ft 4 in ceiling
- Wall offset: 24 in to 30 in
- Spacing target: 4 ft
- Layout: typically 12 to 16 lights depending on soffit size and how many zones you want
In this ceiling height, tighter spacing keeps the room from feeling patchy and helps the soffit disappear visually.
Example 3: Basement gym, 10 ft × 18 ft, 8 ft ceiling
- Target brightness: 30 to 50 lumens/sq ft (rule-of-thumb range)
- Area: 180 sq ft, target 7,200 lumens at 40 lumens/sq ft
- With 900 lumen fixtures: 7,200 ÷ 900 = 8 lights
Keep the layout symmetrical. Good gym lighting is about eliminating shadows so you can actually see form and footing.
TV glare tips
Glare problems in basements usually come from one thing: a bright source in the wrong place, reflecting off the screen.
- Do not put a recessed light directly in front of the TV (from the viewing position). If you can see the light in the screen when it is off, you will definitely see it when it is on.
- Keep fixtures behind the seating area when you can, or shift them to the sides.
- Use a separate dimmer zone for the TV area so you can run the rest of the room brighter if needed.
- Pick glare-friendly trims: deeper regress and baffles tend to feel softer than flat, wide-open lenses.
Switching and zones
Even a perfect grid can feel wrong if everything is on one switch. Basements are used in pockets, and lighting should match that.
Common zones worth separating
- Main rec room cans
- TV or theater area
- Bar or kitchenette
- Hallway
- Stairs
- Bedroom or guest area
- Bathroom vanity and shower
When I am DIYing, I would rather run a little extra wire now than regret it later. Zones plus dimmers give you options without changing the fixture layout.
Mistakes to avoid
“I centered the lights and ignored the walls”
That leaves the perimeter dark, which makes the room feel smaller and lower. Keep that first row 24 to 36 inches off the walls.
“I used too few lights because I planned for max brightness all the time”
Design for enough light, then dim it. Under-lighting is harder to fix than over-lighting with dimmers.
“I followed a spacing rule without checking lumens”
A tight grid with low-lumen fixtures can still feel gloomy. Do both checks: spacing and total lumens.
“I did not account for soffits”
Soffits create shadows and awkward gaps. Draw them first, then lay out lights.
Checklist before you cut
- Confirm your final ceiling height and soffit locations.
- Lay out the pattern on a scaled sketch, then mark it on the ceiling.
- Count fixtures and verify total lumens for the room’s purpose.
- Decide zones and dimmers (and confirm dimmer compatibility with your LED fixtures).
- Double-check conflicts with ducts, pipes, bath fans, and joists.
- If you are doing a full basement plan, make sure lighting matches the floor plan flow. This helps: /how-to-design-a-basement-floor-plan/.
FAQ
How far apart should 4-inch recessed lights be in a basement?
In most basements with 7 to 8 ft ceilings, I start around 4 ft to 5 ft apart for 4-inch recessed LEDs, then adjust based on lumen output, beam angle, and room use. Low ceilings and narrower beams usually need tighter spacing.
How many lumens do I need for a basement room?
A useful baseline is 15 to 25 lumens per square foot for general living space, and more for gyms and workshops. Multiply by square footage to estimate total lumens, then divide by the lumens per fixture on the spec sheet.
Is it better to do a grid or perimeter lighting?
If you want even, shadow-free general lighting, a grid wins. If your priority is screen glare control and mood, a perimeter approach plus lamps and accents can feel better, especially with dimmers and separate zones.