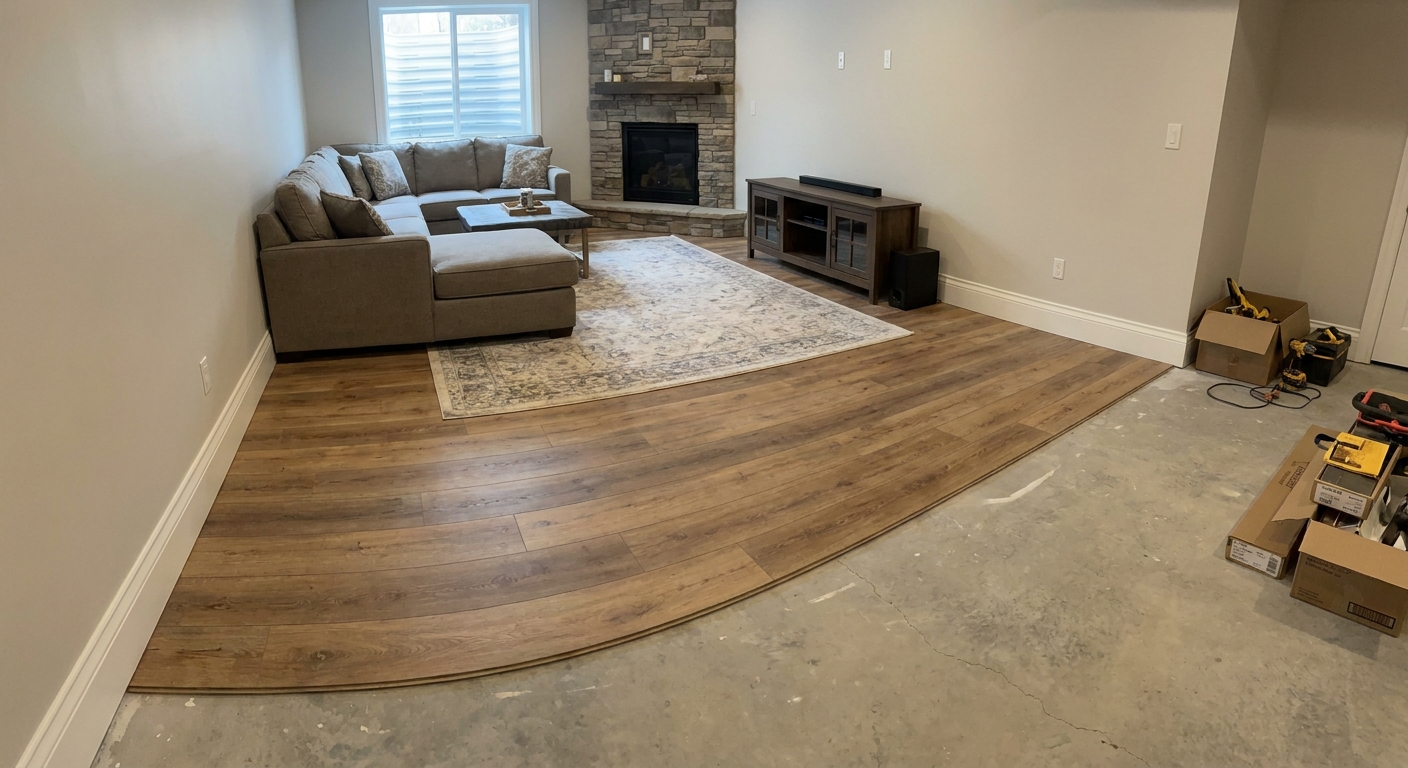
The first time I installed a floating floor in my basement, I made the classic rookie mistake: I got excited, nailed the shoe molding a little too “confidently”… and basically stapled the floor to the subfloor in a few spots. A month later, the floor started talking back with little pops and tight spots along one wall.
Floating floors (LVP, laminate, engineered click, and many floating subfloor systems) need room to expand and contract. The trim job is not just cosmetic. It is the part that hides the expansion gap while still letting the floor move.
This guide is the basement-specific way to do it right: baseboards and shoe molding installed so they are attached to the wall, not the floor.
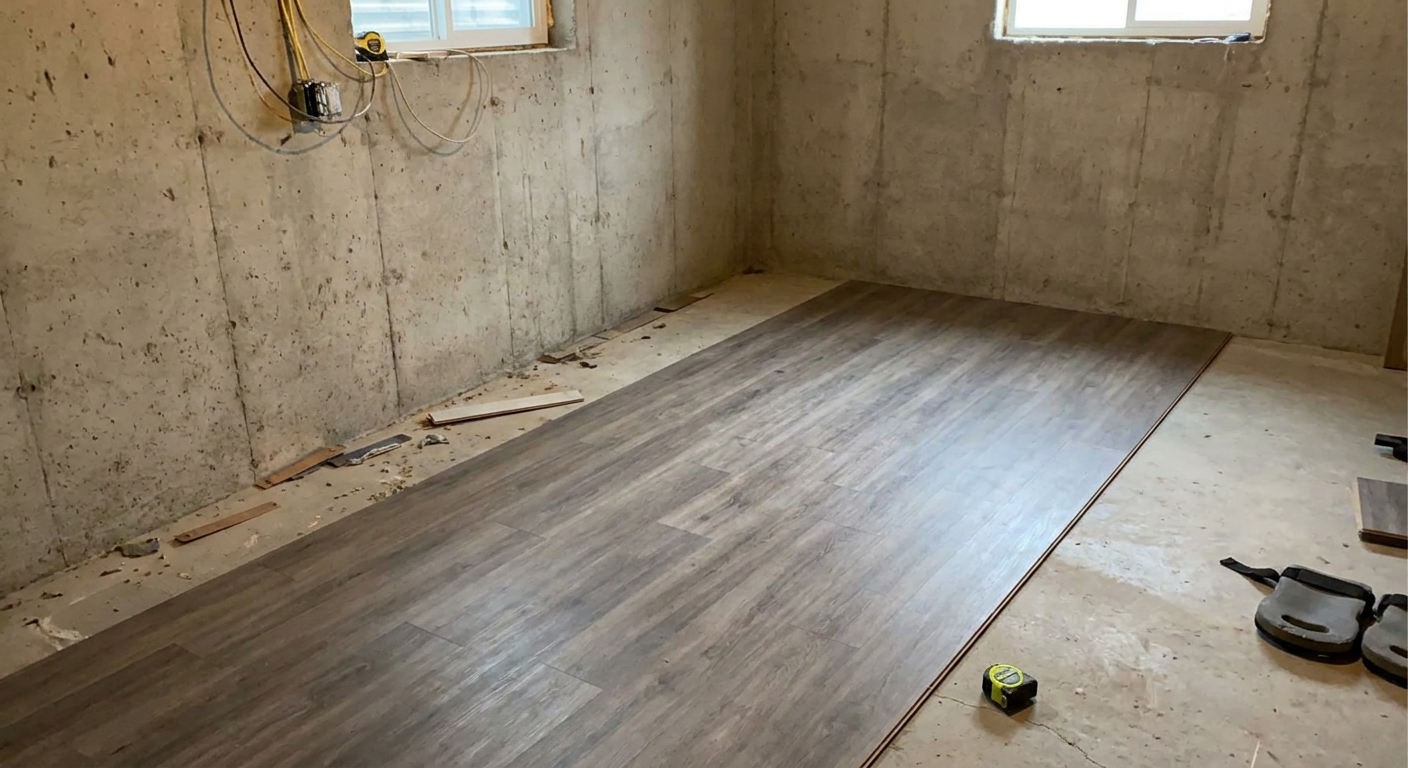
What is different in a basement
In a main-floor living room, minor seasonal movement can be forgiving. In a basement, moisture and temperature swings are more common, especially in shoulder seasons when you are not heating or cooling as consistently. That movement is exactly why you do not want trim fasteners going into a floating floor.
Basements also tend to have:
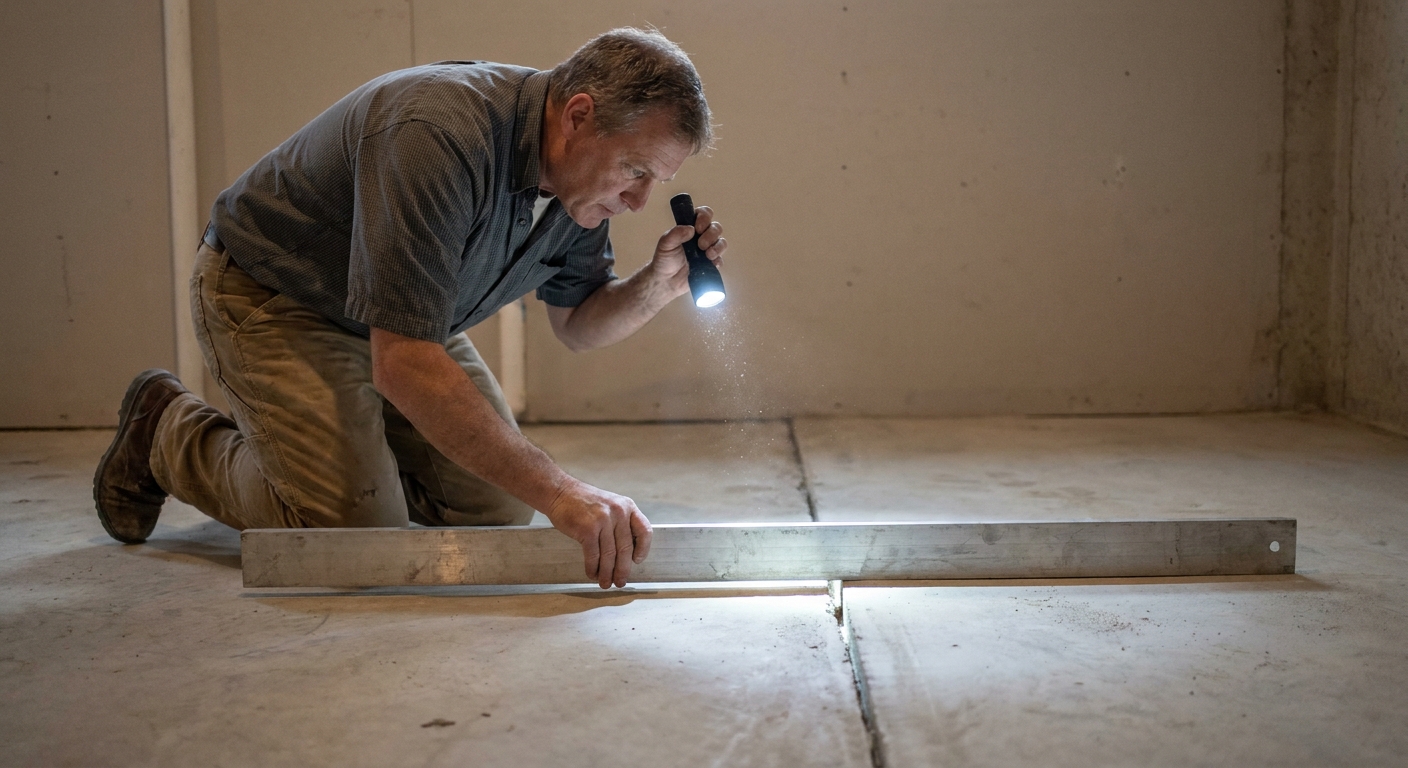
- Concrete slabs that are not perfectly flat, which can telegraph into small floor height changes.
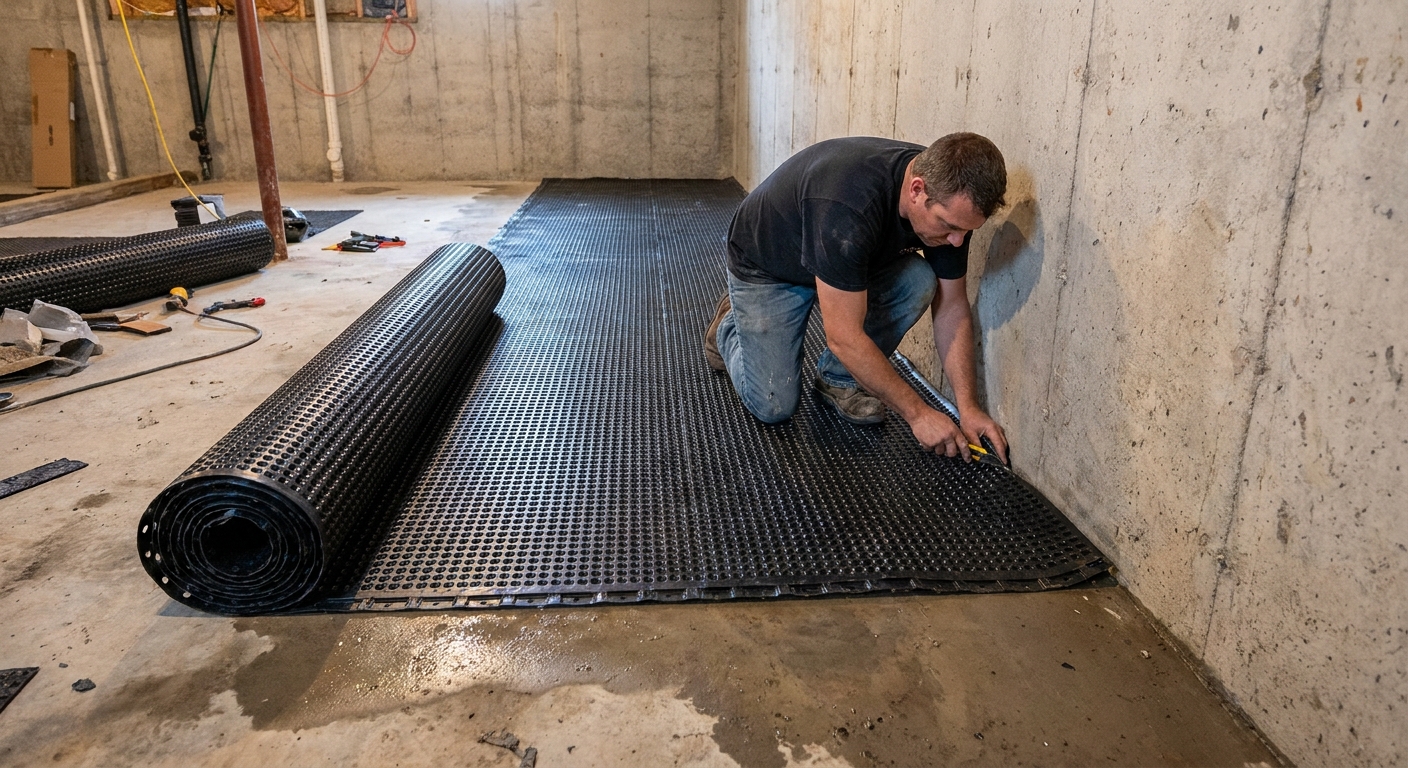
- Moisture management layers like dimple mats or underlayments that add thickness and bounce.
- Framing over masonry walls where studs might not be perfectly straight, making scribing and light caulk more important.
If you are still choosing the floor build-up, it is worth reading Basement Subfloor Systems: Dimpled Mats vs Interlocking OSB Panels because trim details get easier when your subfloor is flat and consistent.
The rule that matters
Here is the guiding principle I follow on every floating basement floor:
Baseboard and shoe molding can touch the floor, but they cannot be fastened to the floor.
That means:
- Fasteners go into studs whenever possible. Drywall alone is not a reliable long-term hold.
- Where you cannot hit framing, use trim screws with plugs, appropriate wall anchors, or a small amount of adhesive. Keep any adhesive on the trim, and never bridge it down to the flooring.
- Caulk goes between trim and wall, not between trim and floor.
- You leave the manufacturer-recommended expansion gap at all walls and fixed objects, then you cover it with trim.
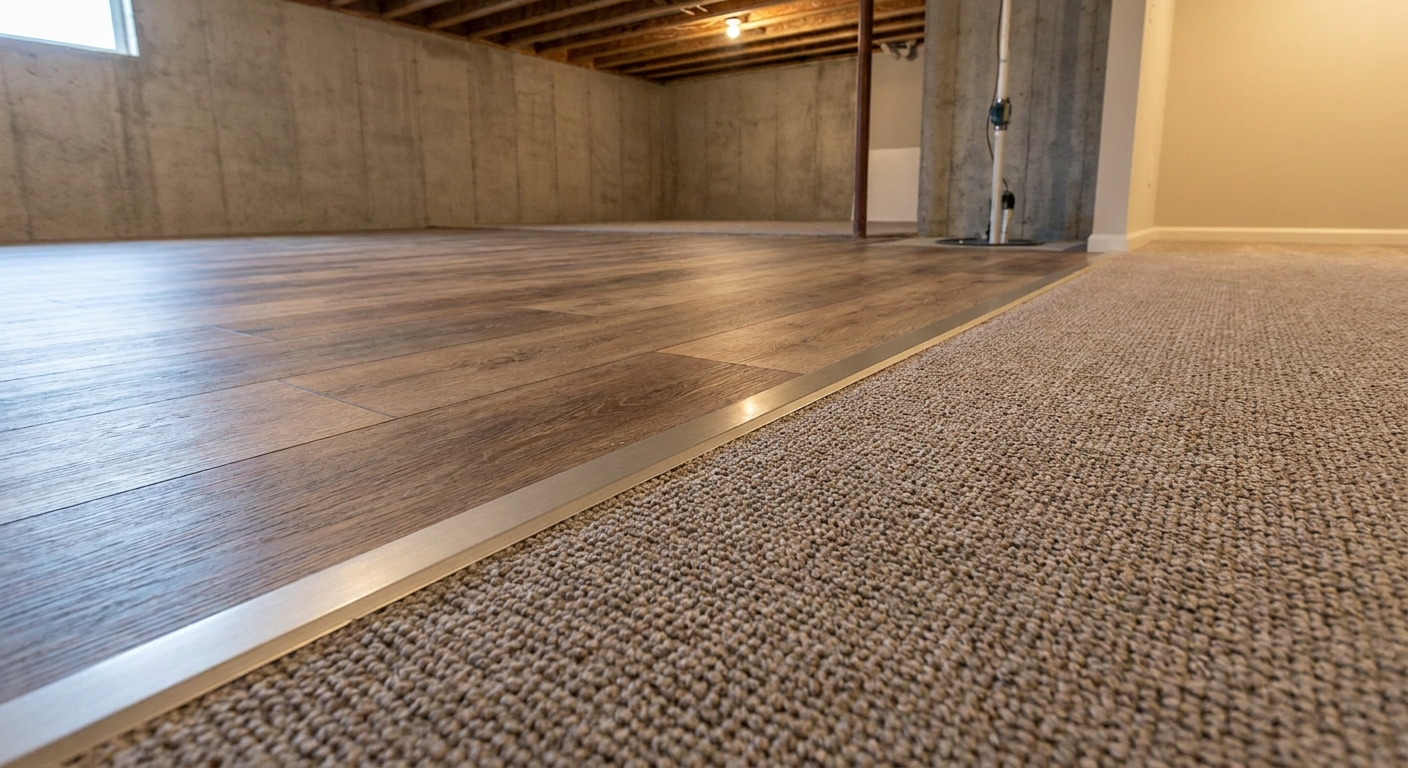
If you are working with LVP or laminate in a basement, you will run into movement details at doorways too. I cover the thinking behind transitions here: Seamless Room Transitions Between Basement Floors.
Before you start
Order matters. Install the floating floor first, then install trim. Baseboards and shoe molding should never trap a floating transition strip or pinch the floor at a doorway.
Tools and materials
Tools
- Miter saw (or miter box for small jobs)
- 16 gauge or 18 gauge finish nailer (battery or compressor)
- Nail set (even with a nailer, you will need it sometimes)
- Stud finder (plus a strong magnet as a backup)
- Speed square and tape measure
- Oscillating multi-tool (handy for undercutting door casing if needed)
- Caulk gun
- Small pry bar and a scrap block (for removing old trim without destroying drywall)
Materials
- Baseboard (MDF works in dry basements, but I prefer wood or PVC anywhere humidity is a possibility)
- Shoe molding or quarter round (shoe molding is usually slimmer and looks better)
- Finish nails or brads in lengths that match your build-up (more on that below)
- Paintable caulk for the top edge of baseboard
- Wood filler (paint grade) or putty (stain grade)
Basement tip: If the space is persistently damp or you have had water issues in the past, standard steel fasteners can rust and stain paint over time. In that kind of basement, it is worth considering corrosion-resistant fasteners and trim materials (and stepping back to fix moisture first).
If your basement has a moisture history, start there before you worry about trim. These two pages are where I send friends first: Moisture Control and Test a Basement Slab for Moisture Emissions.
Step 1: confirm the expansion gap
Before any trim goes on, walk the perimeter and confirm you have the correct gap between the floor and the wall. Many floating floors land somewhere around 1/4 inch to 1/2 inch, but the only number that matters is what your manufacturer requires. Big rooms and long runs can also change the rules for transitions and expansion breaks.
Quick basement-specific checks:
- Around posts, columns, and bump-outs: maintain the gap around every fixed object.
- At door jambs: the floor should slide under the casing with clearance, not wedge tight.
- Across large open basements: confirm whether your flooring needs transitions or expansion joints after a certain run length.
If you find tight spots now, fix them now. A multitool can shave small areas cleanly, and it is far easier before trim is installed.
Step 2: install baseboards first
I like baseboard first for two reasons. One, it sets a straight visual line around the room. Two, it lets the shoe molding do what it is best at: hiding small floor-to-wall variations without looking chunky.
Mark studs
Use a stud finder and lightly mark stud locations above where the baseboard will sit. In basements, studs can be slightly inconsistent if you are framed off a wavy foundation wall, so take your time.
Inside corners
For paint-grade trim, you can miter inside corners, but coped corners hold up better when the house moves. Basements do move. If you are comfortable coping, it is worth it.
Nail placement
- For typical 3-1/4 inch to 5-1/4 inch baseboards, I aim for solid attachment at studs and keep the board tight to the wall plane.
- Nail length varies with trim thickness, drywall thickness, and how wavy the wall is. A good rule is: choose fasteners long enough to get roughly 1 inch into framing when you hit a stud.
- If you cannot hit a stud in a short section, use a trim screw with a plug or an appropriate anchor. If you use adhesive, use it sparingly and keep it off the bottom edge so you do not accidentally bond trim to the floating floor.
Important: The baseboard can sit close to the floor, but do not force it down so hard that it compresses underlayment or pins the floor. An easy check is to slide a piece of paper or a business card along the bottom edge. You are looking for “touching lightly,” not clamping pressure.
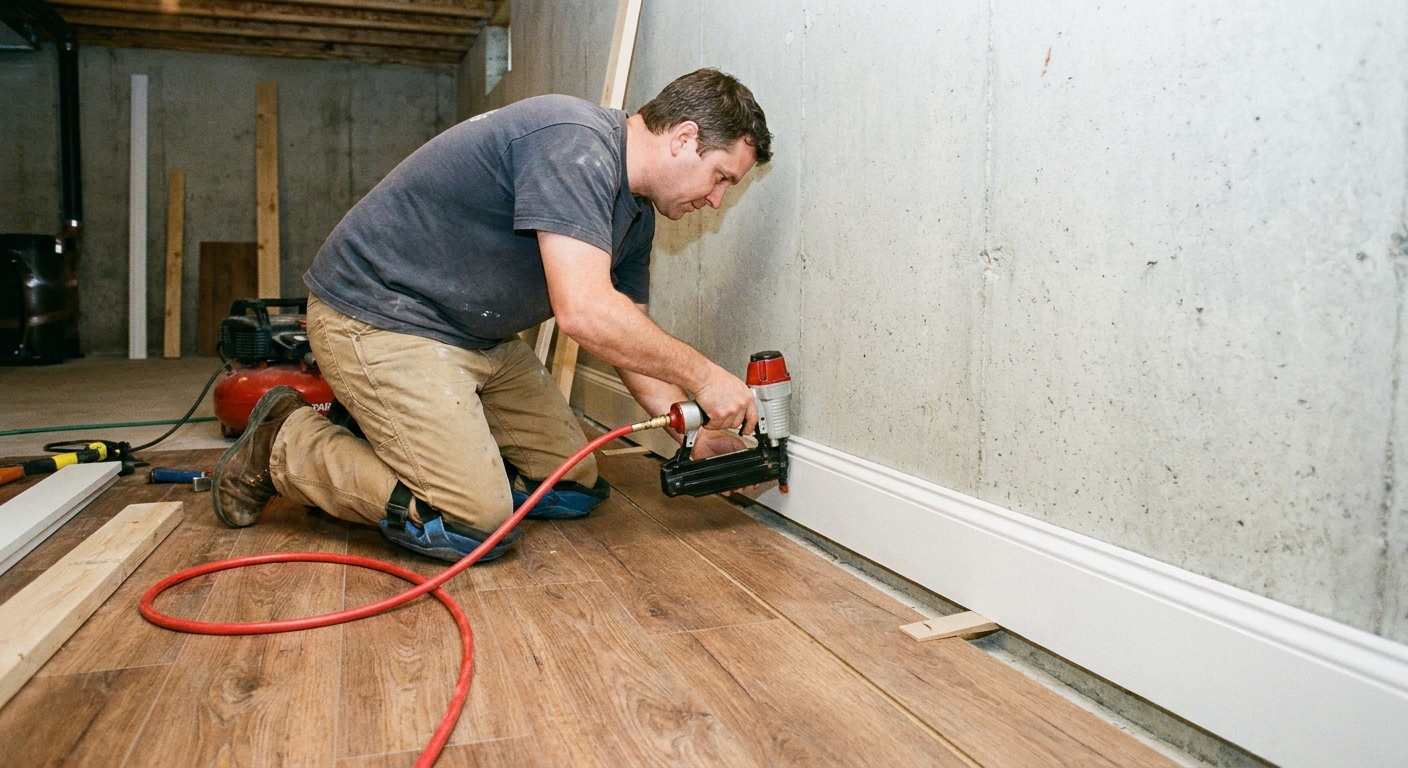
Step 3: add shoe molding
Shoe molding is the piece that should visually meet the floor. It also needs to be installed in a way that still lets the floor float.
How to set it
- Set the shoe so it covers the expansion gap.
- Let it kiss the floor or hover a paper-thin amount above it.
- Do not press it down so hard that it bows or digs into soft underlayment.
Where to fasten it
- Nail shoe molding into the baseboard. That is the normal target.
- Angle nails slightly upward so you are shooting into the baseboard (and sometimes the wall framing behind it). Hitting studs is a bonus, not a requirement.
- Use brad lengths that will stay in the baseboard and will not reach the flooring. The right length depends on your shoe thickness and baseboard thickness.
Spacing
I usually nail shoe molding every 12 to 16 inches, and within a few inches of joints and corners. If the piece is springy, add a nail where it wants to pull away.
Doors, stairs, and columns
Undercut door casing
If your floor is meant to float, it is cleaner when it can slide under door trim. An oscillating tool is perfect here. The goal is clearance, not a tight pinch point.
Stair stringers and newel posts
Any post that is fastened to the structure is a fixed object. Your flooring should have a small gap around it, covered with trim or a matching skirt board detail. Do not run the floor tight to a post and rely on caulk.
Support columns
If you boxed in columns, treat the box like a wall and maintain your gap. If the column is exposed, you may need a two-piece trim ring or a flexible trim approach so movement does not open up cracks.
If you are planning column boxes or wall layouts around them, this can help: How to Frame Around Basement Support Columns.
Scribing and caulk
Basement walls are not always straight, and slab floors are not always flat. The trick is choosing the right fix without accidentally bonding the trim to the floating floor.
When to scribe
If the wall has a consistent bow or your baseboard is leaving a visible gap you cannot live with, scribing is the cleanest solution. It is slower, but it looks like the trim belongs there.
When to caulk
For small variations at the top edge of the baseboard, a light paintable caulk line is normal and expected on paint-grade work.
Where caulk goes (and where it does not)
Caulk here
- Between baseboard and wall along the top edge
- At baseboard joints on paint-grade trim (lightly)
- At inside corners if needed (again, lightly)
Do not caulk here
- Between shoe molding and floor
- Along the bottom edge of baseboard if it would bridge to the floating surface
Fill nail holes, sand, then paint. In basements, I prefer a good quality semi-gloss or satin trim paint because it handles scuffs and occasional humidity better.
When you can skip shoe molding
Sometimes shoe molding is not necessary. If you have a tall baseboard and a flat, consistent floor, you can set the baseboard a little higher so it cleanly covers the required expansion gap on its own.
The two things I check before skipping shoe:
- Coverage: baseboard must cover the entire expansion gap everywhere, including low spots.
- No pinching: the baseboard should not be forced down onto the floating floor. You still want that “touching lightly” feel.
Common mistakes
Nailing into the floor
This is the big one. If you are using a nailer, it is easy to angle downward without realizing it. Keep your angle aimed into the baseboard, and choose a nail length that cannot reach the subfloor through the shoe.
Forcing trim tight to a wavy floor
A basement slab is rarely perfect. If you crank the shoe molding down to follow every dip, you can create pressure points. Let the shoe follow the floor gently. Minor visual gaps are normal, especially in older homes.
Ignoring moisture
If the basement is damp, trim will swell, floors will move more, and caulk lines will crack. If your space still smells musty, step back and address air and moisture first. Two good starting points are Basement Ventilation Strategies for Fresh, Odor-Free Air and Basement Dehumidifier Sizing and System Options.
Quick checklist
- Expansion gap maintained around the entire perimeter (per manufacturer specs)
- Baseboards fastened to framing where possible and not forced down onto the floor
- Shoe molding fastened to baseboard, not into flooring
- No caulk sealing shoe molding to the floating floor
- Door casings undercut where needed so the floor is not pinched
- Transitions installed where required so large areas can still move
FAQ
Should I use baseboard only, or baseboard plus shoe molding?
If your floor and walls are perfectly consistent, you can sometimes get away with baseboard only. In real basements, shoe molding is the stress reliever. It hides the gap cleanly, especially where the slab or subfloor is slightly uneven.
Can I glue shoe molding instead of nailing?
You can, but I rarely recommend it in basements. Adhesive makes future floor repair harder, and it is easy to accidentally glue the shoe to the floor. If you do use adhesive, apply it to the back of the shoe only and keep it off the bottom edge.
What if my baseboard is MDF?
MDF can look great, but it hates water. If there is any chance of minor seepage, wet mopping accidents, or humidity swings, consider wood or PVC. If you do use MDF, prime all cut ends.
How much gap do I leave under baseboard?
You do not need a deliberate gap if you are using shoe molding. Set baseboard so it is straight and looks good, then let the shoe cover the floor gap. The key is not pinning the floor with fasteners or caulk.