The first time I finished a basement, I treated the steel support columns like unavoidable eyesores. I boxed them in fast, slapped drywall on, and told myself I would “forget they were there.” I did not forget. Every time I walked past, the wrap looked slightly off, the base got dinged by the vacuum, and the whole thing felt like an afterthought.
These days I look at columns differently. A good column wrap can disappear into a wall line, turn into a clean architectural post, or even become a natural divider between spaces. The trick is framing it like you meant to do it all along, while still respecting the structure, moisture realities, and code basics that apply in basements.
Before you wrap anything
Confirm what the post is
Many basement posts are steel lally columns supporting a beam, and they are structural. Some homes also have adjustable steel jack posts (sometimes intended to be temporary), wood posts, or built-up assemblies. Either way, your wrap is cosmetic.
Do not cut, drill, notch, shorten, or modify the post, its base plate, or its connection to the beam. And if you see heavy rust, a post that is out of plumb, concrete spalling around the base, or a post sitting on something questionable, pause and have a qualified contractor or structural engineer take a look. A wrap will only hide a problem, and hiding it does not make it safer.
Moisture check matters more than people think
Columns often sit where moisture shows up first, like near a stairwell, close to a foundation wall, or along a beam pocket. If your slab is actively emitting moisture, wood wraps can swell at the bottom and your trim will telegraph it.
If you have not already done a moisture reality check, start here: Test a Basement Slab for Moisture Emissions. If you are still in the planning stage, I like to run through a full prep list before framing: Pre-Finishing Basement Checklist.
Plan the wrap in the same grid as the layout
The cleanest column wraps are the ones that align with something else: a wall line, a soffit edge, a bar end, a stair half wall, a built-in bench. If your wrap is random, it will always look random.
If you have not dialed in the layout yet, this is a good companion read: How to Design a Basement Floor Plan.
Four wrap options that look planned
1) Simple square drywall wrap
This is the most common approach: build a small framed tube around the post, then drywall it like a mini wall.
- Best for: posts in open areas where you just want it clean and neutral
- Typical finished size: often 10 to 16 inches square, but size it to your post, base plate, and how far out of plumb things are
- Big win: easiest to tape and paint to match the room
2) Hidden inside a wall bump-out
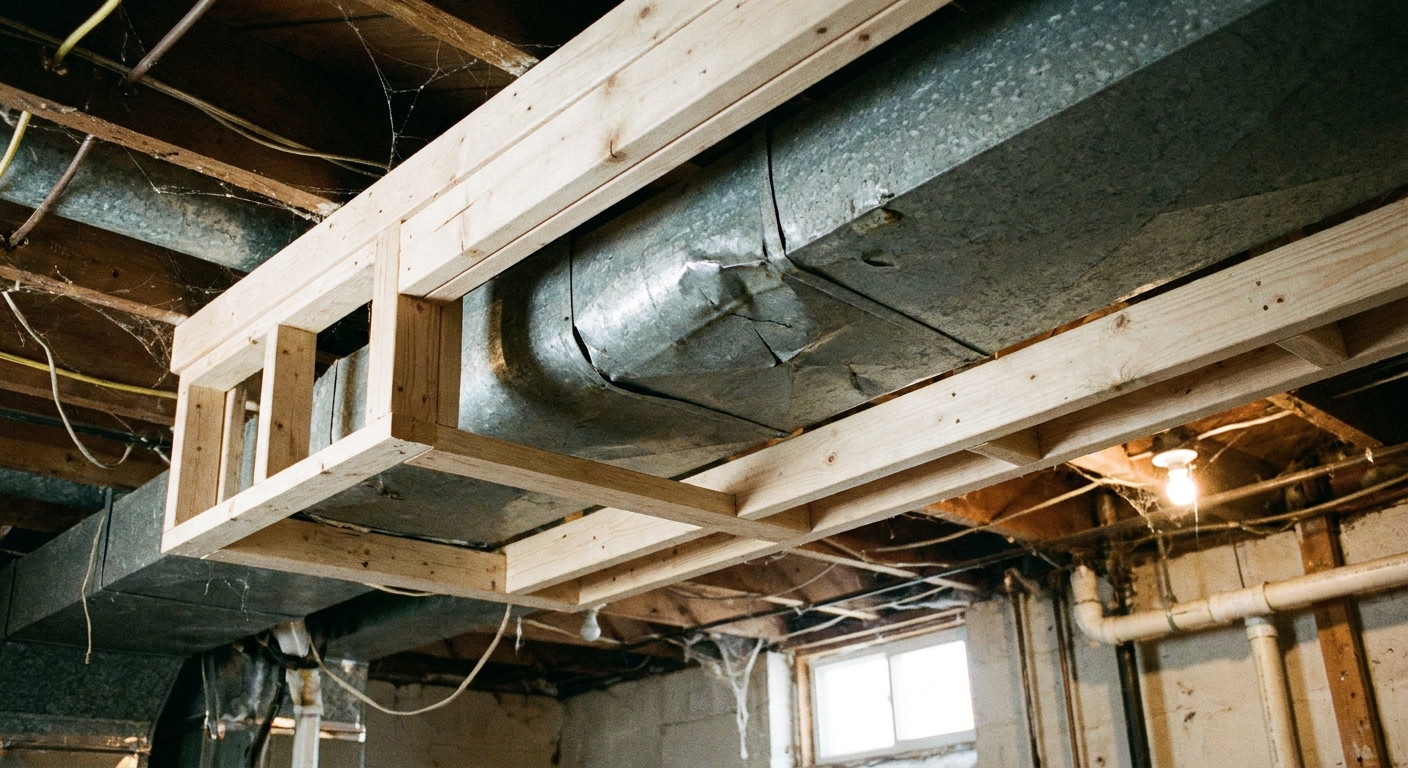
If the post sits close to where you want a wall anyway, you can hide it inside a shallow chase, then treat the whole thing as a design line. This is especially handy if you are already building a soffit for ducts or piping.
If you are wrestling with low ductwork, this pairs well with: How to Frame Basement Soffits and Bulkheads Around Ductwork and Pipes.
3) Decorative post (trimmed like a real pillar)
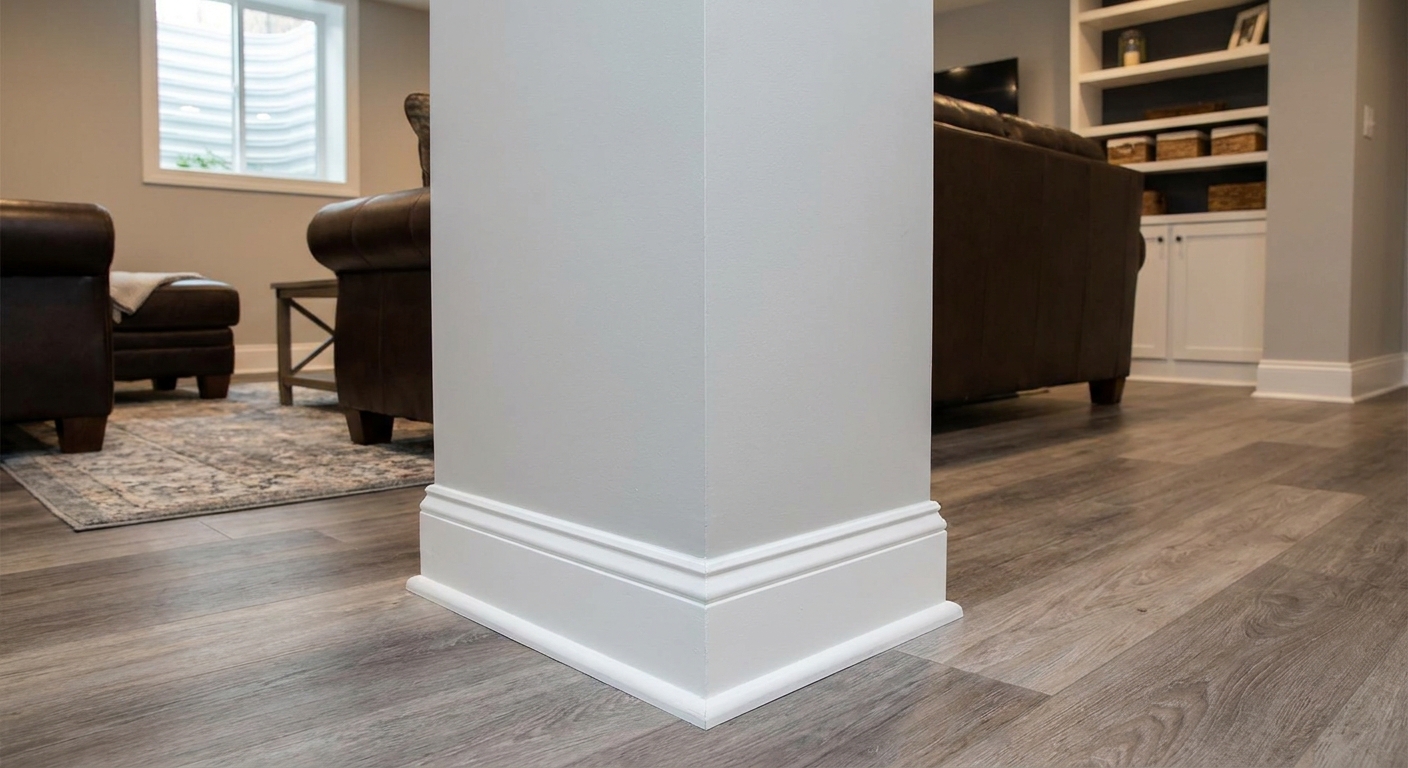
This is still a box, but you give it furniture details: a beefier base, a cap, maybe even a slightly tapered look with trim build-up. In basements, I like square craftsman pillars because they are forgiving and durable.
4) Built-in feature wrap (bench, bar end, shelving)
Posts are great anchors for built-ins because they are already telling you where the structure is. Wrap the post and extend framing for a half wall, bench back, or shelving tower. Suddenly the post is not in the way. It is the reason the feature exists.
Materials and tools I use
- Lumber: Straight 2x4s. For smaller wraps, 2x3s can work, but 2x4 gives you stiffer corners and easier fastening.
- Bottom plate protection: Sill gasket or foam tape under any wood touching the slab helps reduce moisture wicking and squeaks. Also, many jurisdictions require pressure-treated lumber anywhere wood contacts concrete. Follow local code and your inspector on this one.
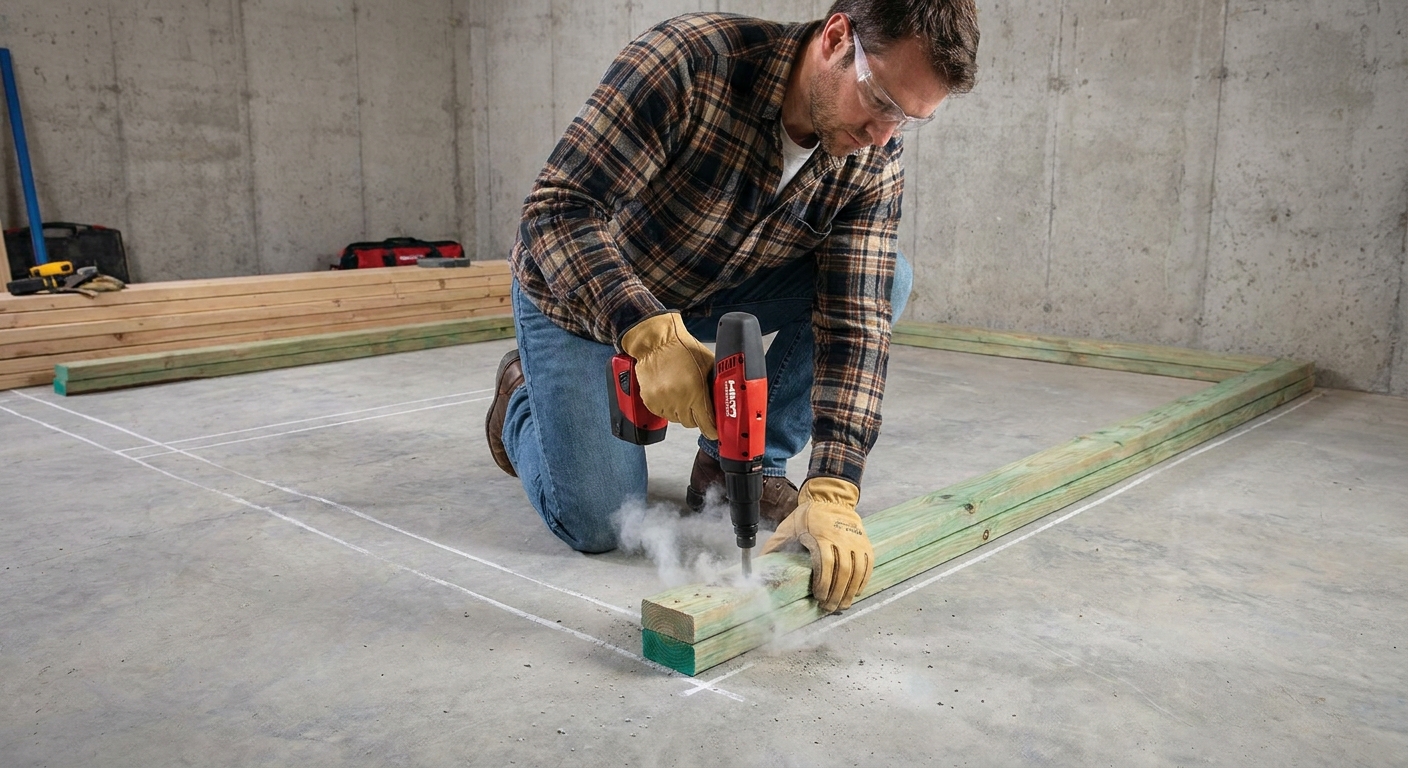
- Fasteners: Concrete screws or a powder actuated tool for bottom plates, plus standard framing screws or nails for the wrap itself. For comparing methods, see: Secure Bottom Plates to a Concrete Basement Floor: Ramset vs Masonry Screws.
- Drywall: 1/2-inch is common. If the wrap is in a traffic zone, consider abuse-resistant drywall for fewer dents.
- Trim: PVC or composite base trim can be smart at the very bottom in damp-prone basements, but you can also use wood if your moisture is controlled.
Step-by-step: square wrap framing
Step 1: Pick a finished size and align it
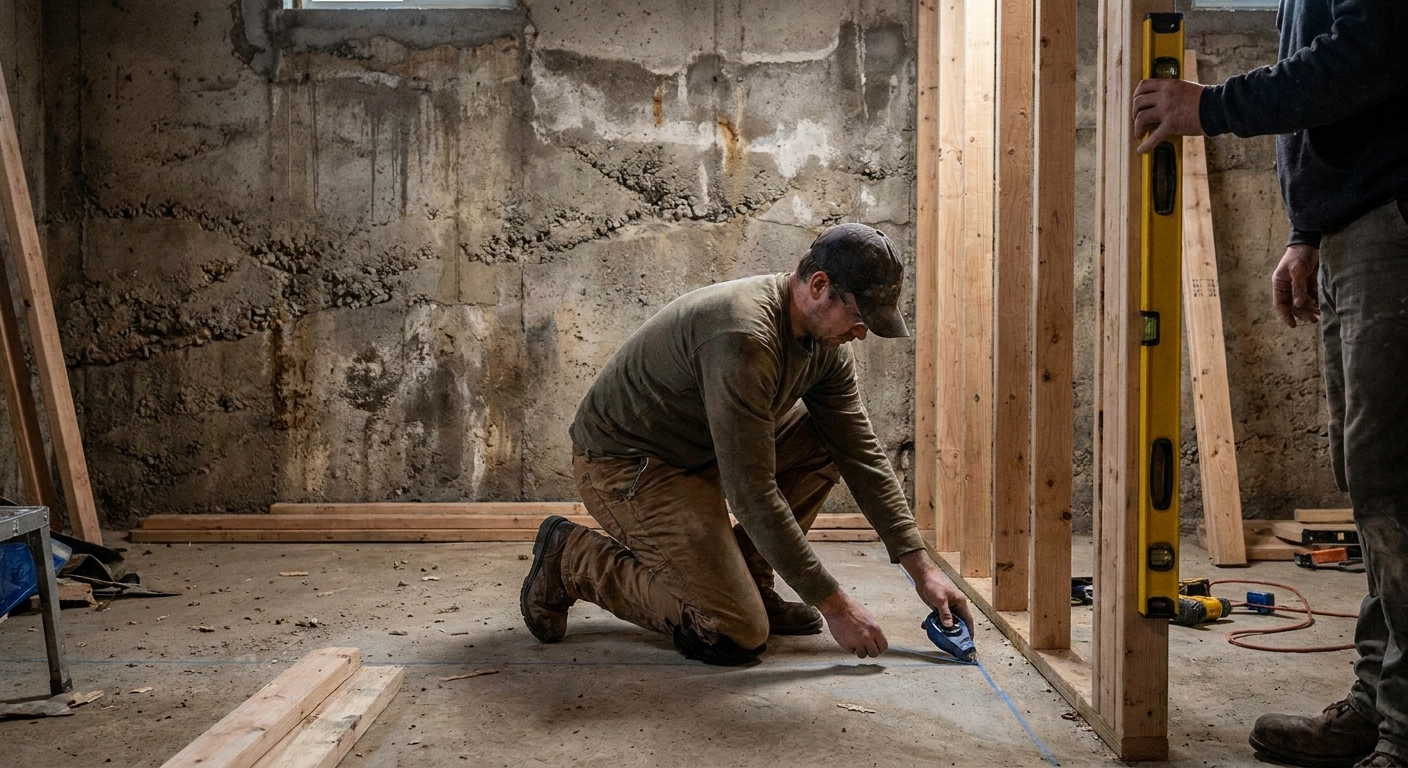
Stand back and pick a face that aligns with something you care about, like the edge of a wall, the end of a peninsula, or a beam soffit. Snap chalk lines so the wrap lands square to the room, not just square to the post.
Tip: If the post is slightly out of plumb, build the wrap plumb and aligned to your layout lines. You only need consistent clearance, not perfect centering.
Step 2: Leave clearance you will not regret
You do not need a huge air gap, but you do need enough room to:
- Keep the wood from rubbing the steel if the post is not perfectly centered
- Work around the base plate and any anchors, welds, or bolts
- Drywall without fighting tight corners
Often, about 1 inch of space from steel to framing on each side works well. Some wraps can be tighter, and some need more. Let the base plate footprint and real-world weirdness set the dimension, not a number you saw online.
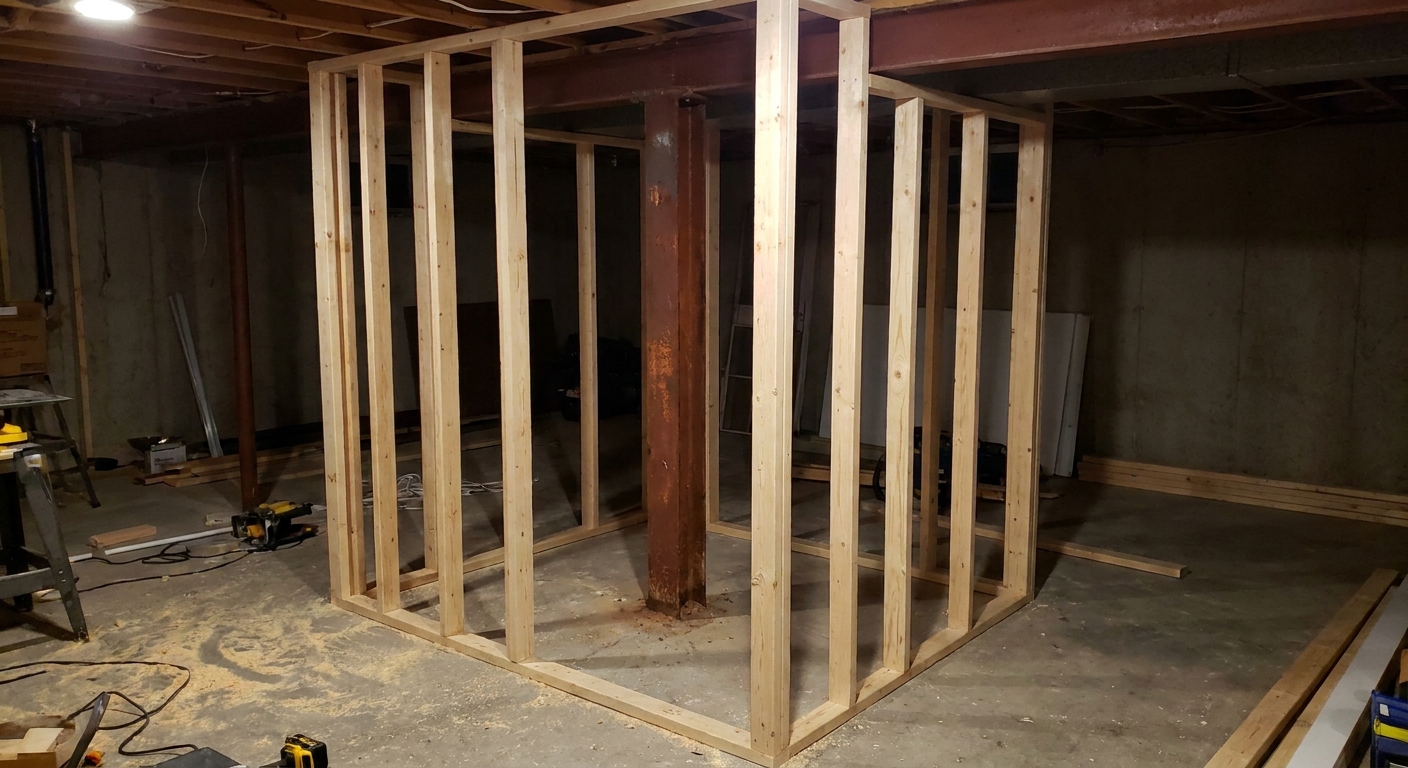
Step 3: Build it like four mini walls
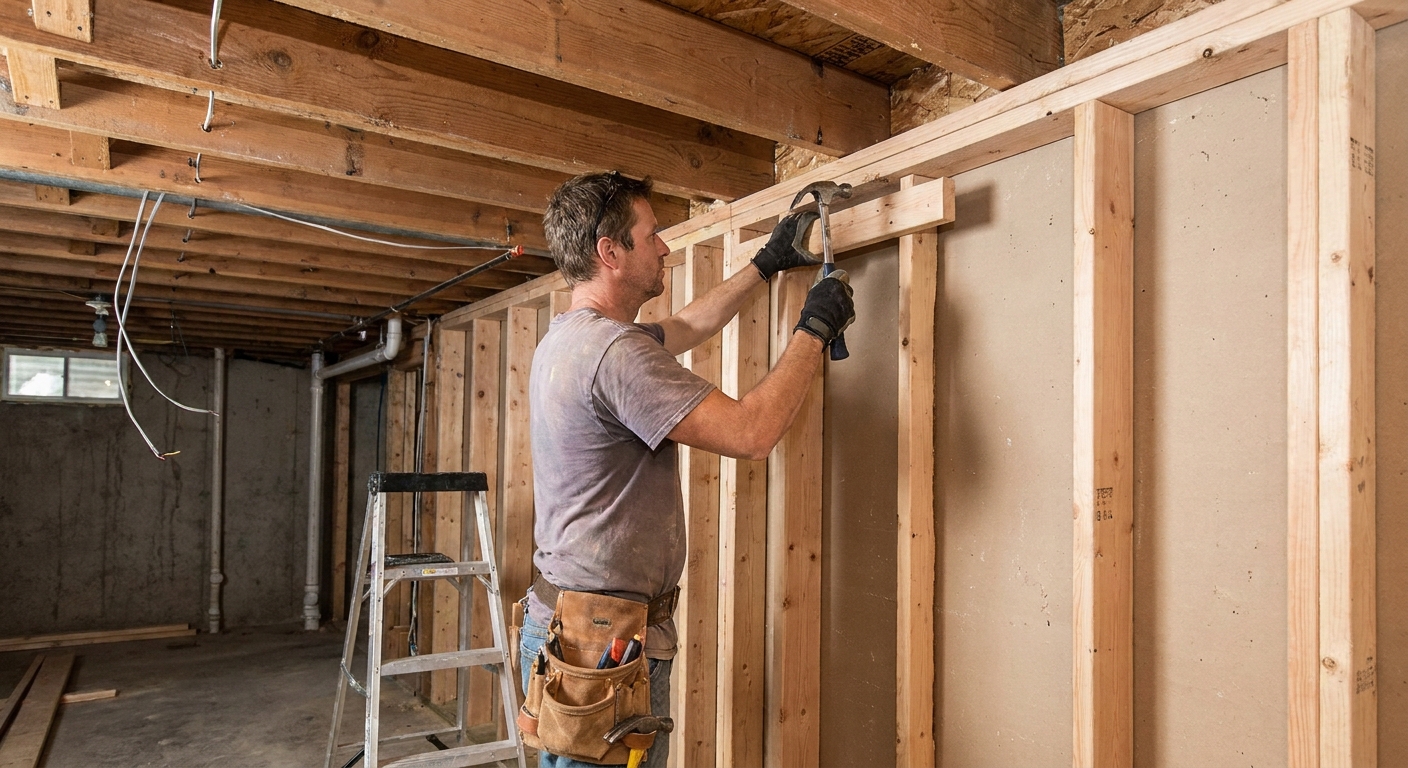
The easiest, straightest method is to build four narrow wall panels on the floor: each panel is a bottom plate, a top plate, and studs between. Then stand them up around the post and screw them together at the corners.
- Cut and assemble panels with studs spaced 12 to 16 inches on center, depending on your wrap width.
- Dry fit the panels around the post and confirm clearance at the base plate.
- Plumb one face using a level, then fasten its bottom plate to the slab.
- Add the adjacent face and screw the corners together. Repeat until all four sides are in place.
- Lock the top by fastening the top plates together and tying into blocking or nearby framing when practical.
Step 4: Anchor the wrap, not the steel
The wrap should be stable on its own, anchored to the slab and to adjacent framing or blocking. Avoid fastening your wrap directly to the steel. Leave a small gap so the wood is not rubbing the post, and so seasonal movement does not telegraph into the corners as cracks or squeaks. Also, you do not want anyone later confusing cosmetic screws with structural connections.
Step 5: Think about fireblocking and access
If your wrap ties into a soffit, a wall, or the joist area above, do not create open vertical chases that bypass required fireblocking or draftstopping. Basements are full of little cavities that can act like chimneys. Frame tight, then add blocking and fireblocking details as required by local code.
Also keep basic access common sense in mind. Do not bury a plumbing cleanout, a shutoff, or an electrical junction box inside a permanent wrap.
Step 6: Add backing for crisp corners
Drywall corners on a narrow wrap get beat up. I like to add blocking at corners and at mid-height to stiffen the box. It also gives you something solid for trim nails later.
Quick check: Before you hang drywall, run a long level or straightedge up each face. If the framing is not straight now, mud will not fix it later.
Step 7: Drywall and a durable base detail
Use metal or vinyl corner bead and take your time getting it straight. Your eye reads column wraps by the corners.
For the base, pick a detail that can handle basement life:
- Standard baseboard with a clean caulk joint to the floor if the slab is flat and dry
- PVC baseboard in basements that have a history of dampness
- A taller plinth block look to protect against mops, kids, and vacuums
If your slab is out of level, do not force the baseboard to follow a hump and hope caulk hides it. Scribe the trim, or leave a consistent small gap and use backer rod plus caulk where needed. Wavy baseboard is one of those little tells that makes a wrap feel DIY.
Make it look seamless
Match the framing rhythm
If your basement has soffits, align the column faces to those soffit edges. If you have a half wall, align the column to that thickness. Consistency beats creativity here.
Use symmetry when you can
When there are two posts, wrapping them different sizes almost always looks accidental. Even if one post could be wrapped tighter, consider matching them.
Protect the bottom
The lowest 6 inches of a basement column wrap takes abuse and sees the most moisture risk. A durable base detail is not decorative fluff. It is a longevity upgrade.
Common mistakes
- Wrapping too tight and fighting the base plate, then ending up with wavy drywall.
- Fastening wood directly to steel and creating squeaks, corner cracks, and confusion later.
- Ignoring moisture and letting the bottom plate wick water from the slab. Foam gasket helps, but it is not a moisture plan.
- Misaligning with the room so the wrap is visibly twisted compared to nearby walls.
- Overbuilding a gigantic wrap when a small bump-out tied to a wall line would have looked intentional.
Special cases
Near exterior walls
If the post is close to a foundation wall, keep your overall basement wall assembly in mind. Many basements need a thoughtful moisture control approach behind finished walls. Before you commit to framing details, it helps to understand your insulation strategy: Rigid Foam vs Spray Foam Basement Insulation for Moisture Control.
In the middle of a room
These are perfect candidates for a feature wrap. A plain box in the middle of a room reads like a mistake. A box that intentionally becomes the end of a bar, the corner of a game area divider, or the start of a built-in shelf reads like design.
Low headroom areas
Keep the wrap as compact as you can while staying plumb and durable. Also look up. If there is ductwork and you are planning a soffit anyway, you can make the post and soffit one continuous element, which looks cleaner and avoids random jogs.
Quick FAQ
Do I need to leave the post accessible?
Usually you can cover a typical structural post with a fixed drywall wrap. A removable access panel only makes sense if you have a specific reason, like a nearby shutoff, cleanout, or other component you actually need to reach. When in doubt, follow local code expectations and inspector preferences, especially if your basement finish requires permits. If you are early in the process, this helps: Basement Finishing Permits: What You Need and How to Get Them.
Can I use metal studs?
You can, and they stay straighter in damp environments. Wood is easier for most DIYers to trim out and fasten to. If you are deciding between the two for the rest of your basement, see: Wood vs Metal Studs for Basement Framing.
Can I add an outlet to a column wrap?
You can, but treat it like real electrical work. Plan for box fill, protect the cable, and keep every junction box accessible with a cover. Never bury splices inside a finished wrap.
Should flooring run under the wrap?
It depends on the floor type. For glue-down floors or installations that do not need an expansion gap, running flooring under the wrap often looks the cleanest.
For floating floors like laminate and many LVP systems, do not trap the floor under a fixed wrap. Leave the required expansion gap at the wrap, then cover that gap with trim or shoe molding that is fastened to the wrap, not pinned through the flooring. If you are still choosing materials, start here: Flooring Options.
My rule of thumb
If a support post has to exist in the room, it should earn its keep visually. Either align it so well it disappears, or frame it so cleanly it looks like it belongs. Take an extra hour to snap lines, build the box plumb, keep your clearances practical, and protect the bottom from basement realities. That is the difference between a pillar wrap that screams DIY compromise and one that quietly looks original to the house.