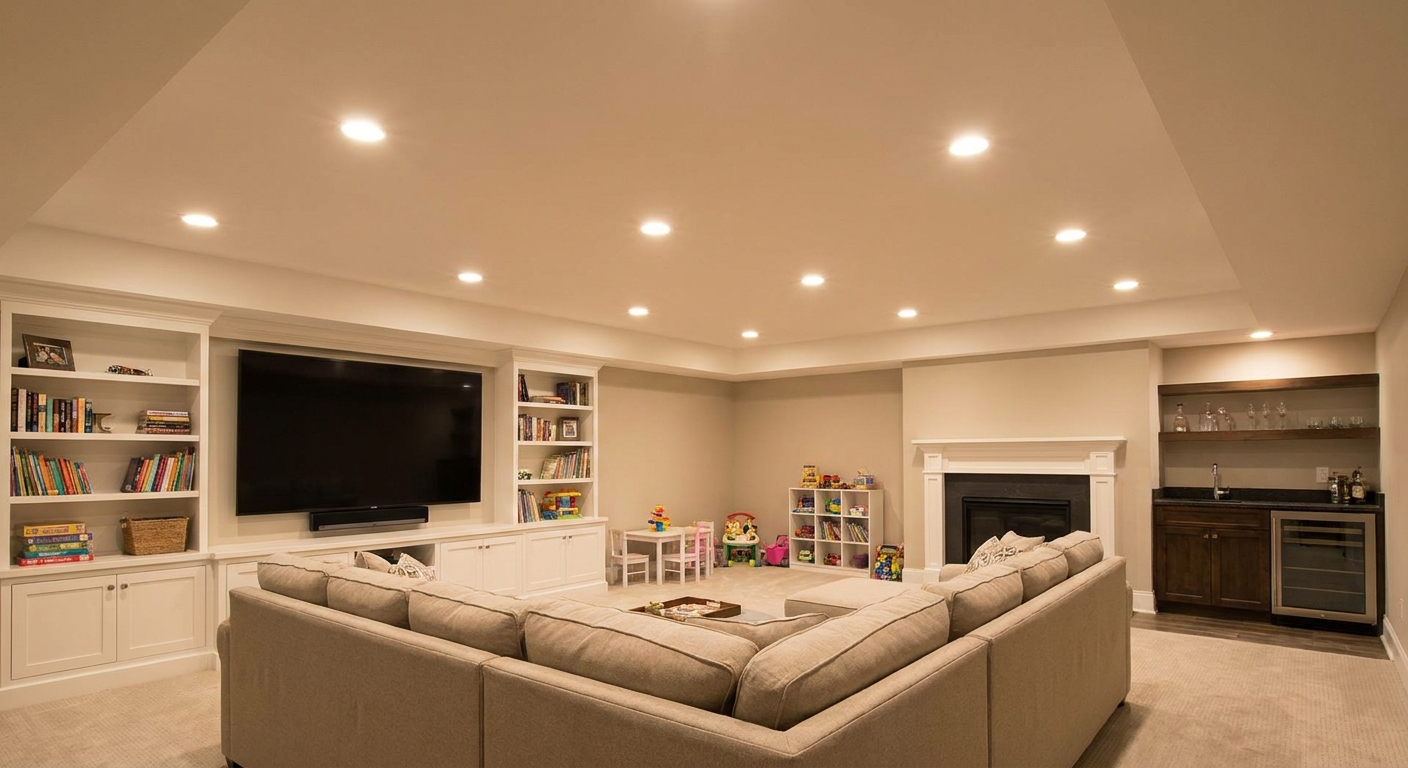
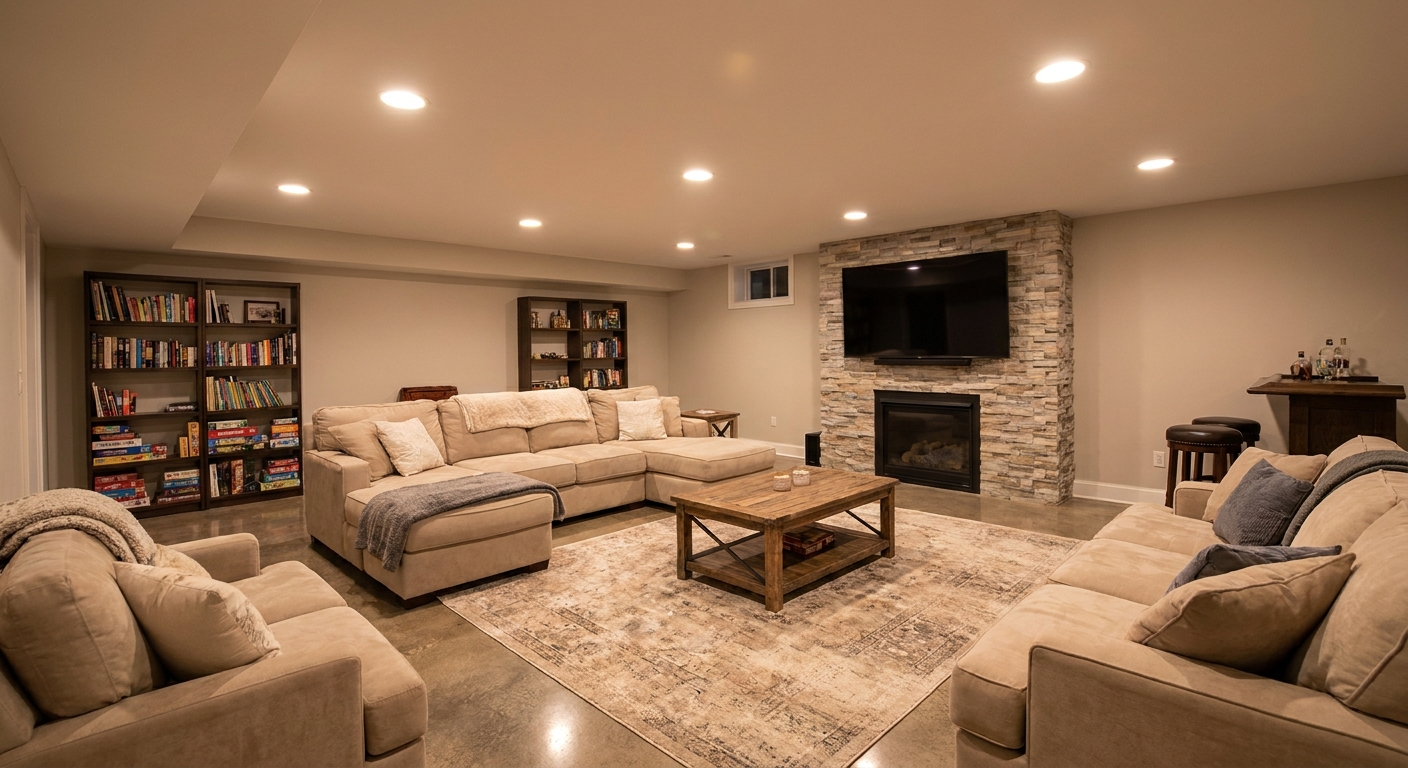
The first time I tried to “set a mood” in a basement, I did what a lot of DIYers do. I put in a few bright cans, flipped the switch, and wondered why my brand-new “home theater” felt like a dentist office.
Basements often benefit from layered light more than most rooms in the house. Low ceilings, limited daylight, and dark finishes can turn one type of fixture into either a cave or a spotlight. The fix is not complicated: you build lighting zones intentionally by combining ambient, task, and accent lighting, then put everything on dimmers so you can change the room’s personality in seconds.
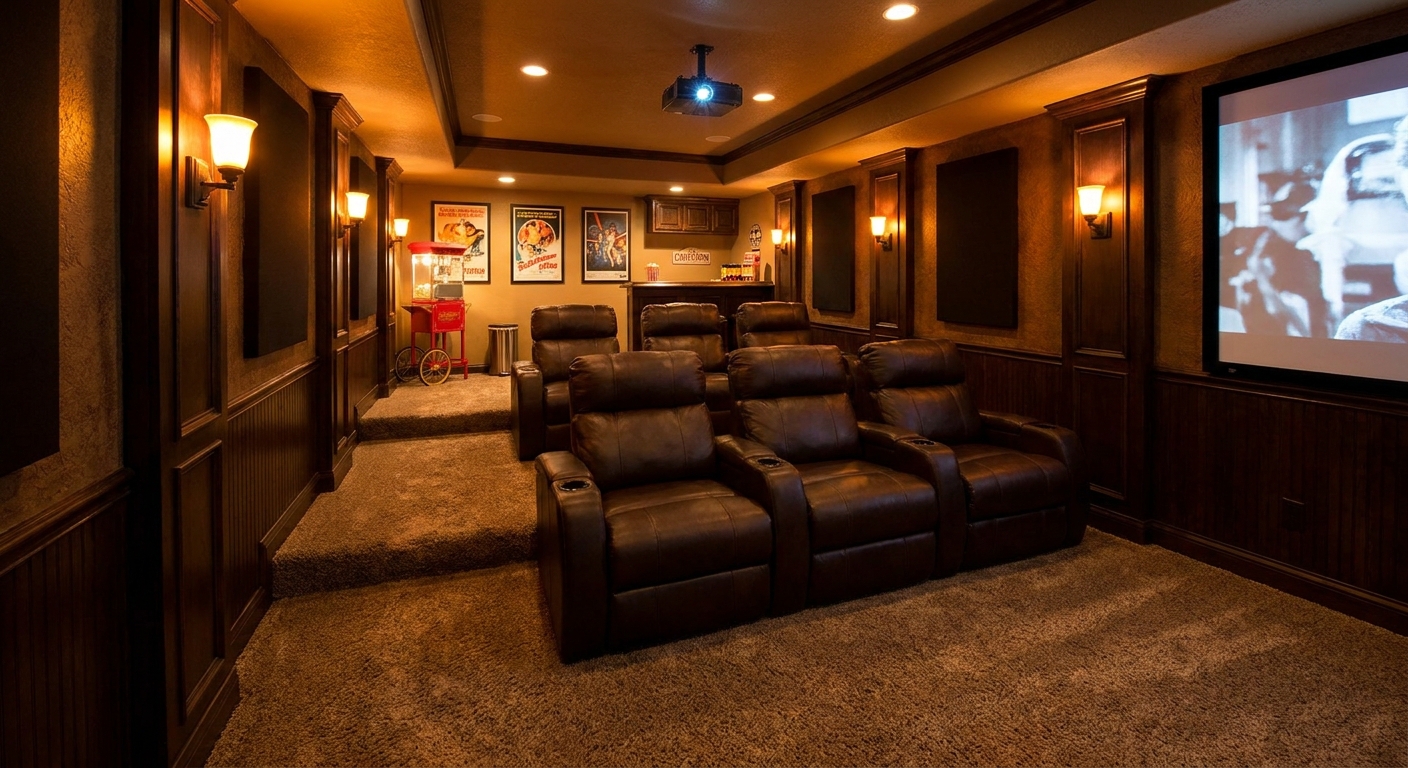
The three layers that make a basement feel finished
Think of lighting like audio in a theater. You do not want one speaker doing all the work. You want multiple sources, each doing a job.
- Ambient lighting: your base layer. It makes the room usable and safe to walk through.
- Task lighting: aimed light for doing things. Mixing drinks, reading a menu, grabbing snacks, cleaning up.
- Accent lighting: the mood layer. It highlights architecture, shelves, columns, a screen wall, or bar front, and it keeps the room from feeling flat.
In a basement bar or theater, you usually get the best results when the ambient layer is soft and dimmable, task lighting is targeted (not everywhere), and accent lighting does most of the “wow” work.
Start with a simple lighting plan
Before you fall in love with a sconce online, walk the space and answer three questions:
- Where do people move? Stairs, doorways, the path to the bathroom, the route behind a bar stool line, the aisle to theater seats.
- Where do people do work? Bar top, sink, mini fridge, snack counter, game table, AV rack, karaoke corner.
- What do you want to show off? Back bar shelves, stone veneer, poster wall, tray ceiling, columns, steps, screen wall.
I like to sketch this as zones. If you are still in the planning stage, it helps to place these zones right on your layout. If you are still designing the space, see How to Design a Basement Floor Plan so your lighting matches traffic flow instead of fighting it.
Wall sconces for theater and lounge vibe
If you want a basement theater to feel like a theater, wall sconces do more than recessed lights ever will. They also solve a classic basement problem: low ceilings. When you cannot hang much from above, the walls become your lighting canvas.
Where sconces work best
- Home theater side walls: spaced evenly to guide the eye and provide gentle brightness without washing out the screen.
- Stair landing and entry path: a warm welcome and safer steps.
- Behind seating: helps people find seats without blasting overhead light.
- Between bar and lounge area: creates a natural transition zone.
Placement rules I follow in basements
- Height: A typical starting point is about 60 to 66 inches from the floor to the center of the fixture, but I adjust for sightlines, fixture size, and ceiling height. If the ceiling is low, I often go a bit lower so the fixture does not crowd the ceiling line. If you have taller ceilings or tall occupants walking close to the wall, you can float them higher.
- Spacing: For a theater wall, a reasonable baseline is 6 to 8 feet apart, then adjust based on stud locations, wall art, seating rows, and the fixture’s beam spread and brightness. A wide, soft up/down sconce can space farther apart than a small, punchy sconce.
- Glare control: Choose sconces that shield the bulb or throw light up and down softly. Exposed bulbs can be brutal in a dark room.
- Dimming: Non-negotiable. Sconces that cannot dim are the fastest way to ruin movie mode.
If your basement ceiling is tight and you are relying on lighting to open the room up, pair this with the ideas in Lighting for Low Basement Ceilings.
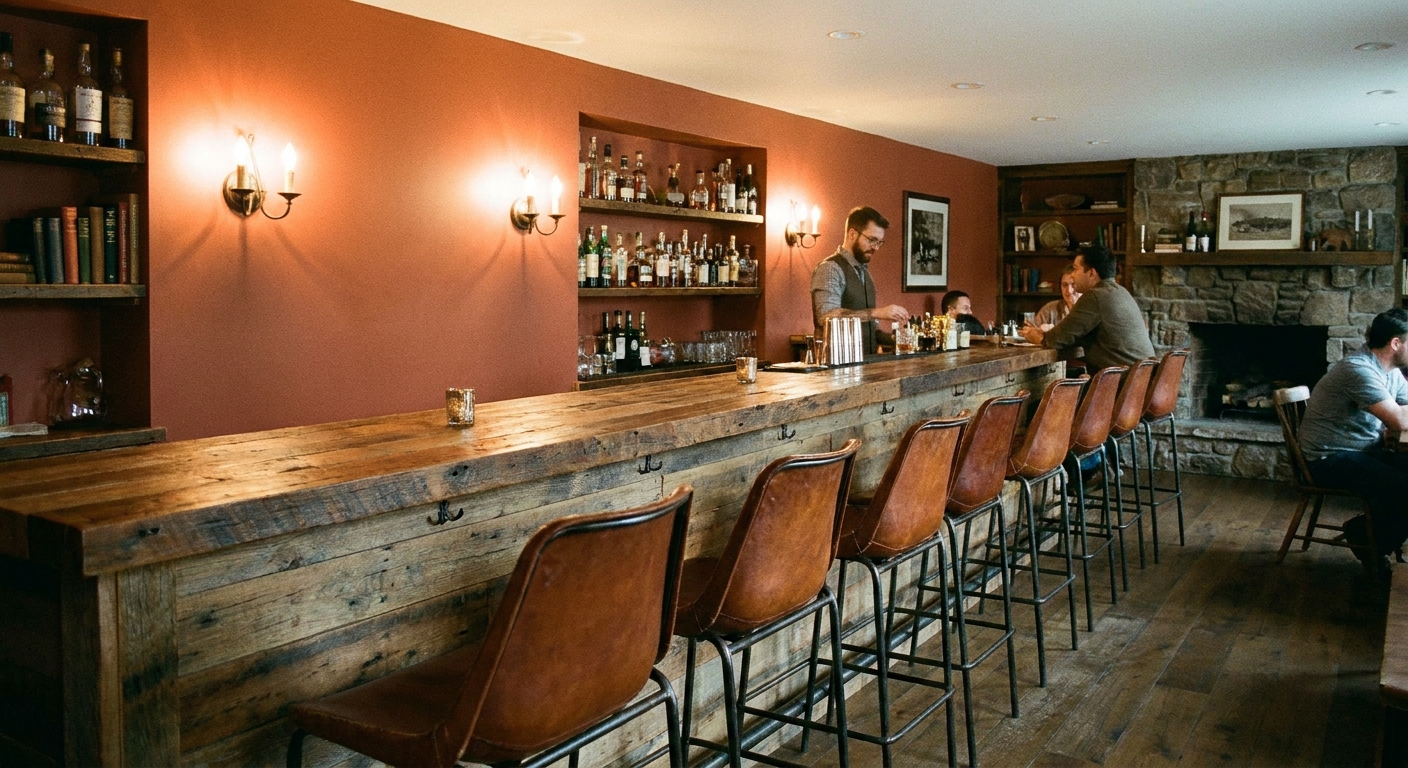
Pendants over a bar
Pendants are fantastic for a basement bar because they put light exactly where you need it: on the counter surface. The mistake is treating pendants like the room’s ambient lighting. In a basement, that usually creates dark corners and harsh hotspots.
Best pendant locations
- Over the bar top: classic and functional.
- Over a pub table or poker table: great for games without lighting the whole room.
- Over a snack counter: if your theater has a concession vibe.
Sizing and hanging height
- Clearance: For a typical bar or counter-height surface, aim for the bottom of the pendant (or shade) to sit about 30 to 36 inches above the top. That usually keeps sight lines open while keeping light on the work surface.
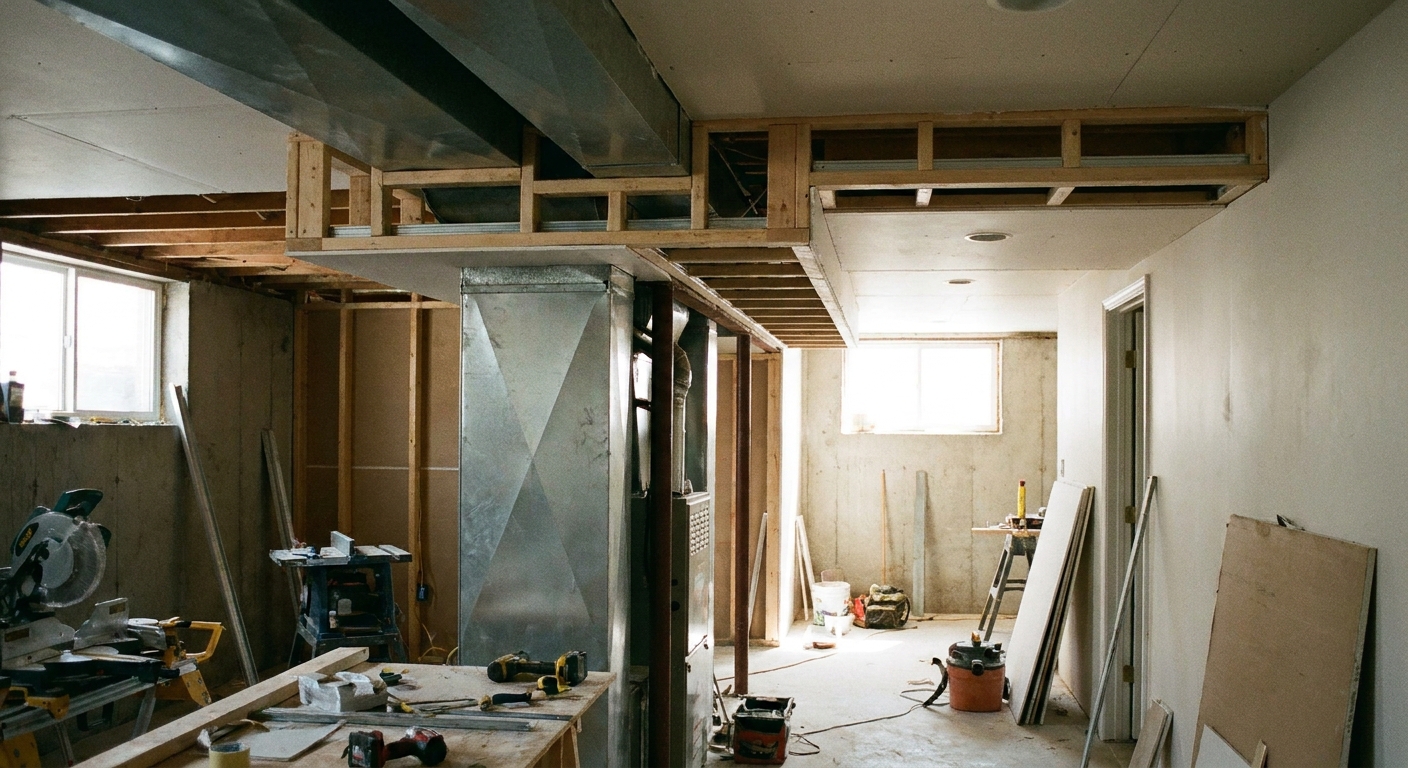
- Low ceiling warning: If you have a low duct run or soffit, a pendant can become a head-bumper quickly. If you are boxing around HVAC, plan it early. This is where Basement Plumbing and HVAC Without Losing Ceiling Height saves a lot of grief.
- Glare: Use shades that hide the bulb when seated. Clear glass looks sharp in photos, but it can be annoying in real life if the bulb is in your eyes.
How many pendants?
Instead of chasing a magic formula, I use a simple approach:
- For a typical home bar, 2 pendants can look clean and modern.
- For a longer bar, 3 pendants spaced evenly is usually the sweet spot.
Then I sanity-check it against the room: bar length, ceiling height, and how bright the pendants actually are. I have taped paper circles to the ceiling and lived with it for a day. Cheap test, expensive regret avoided.
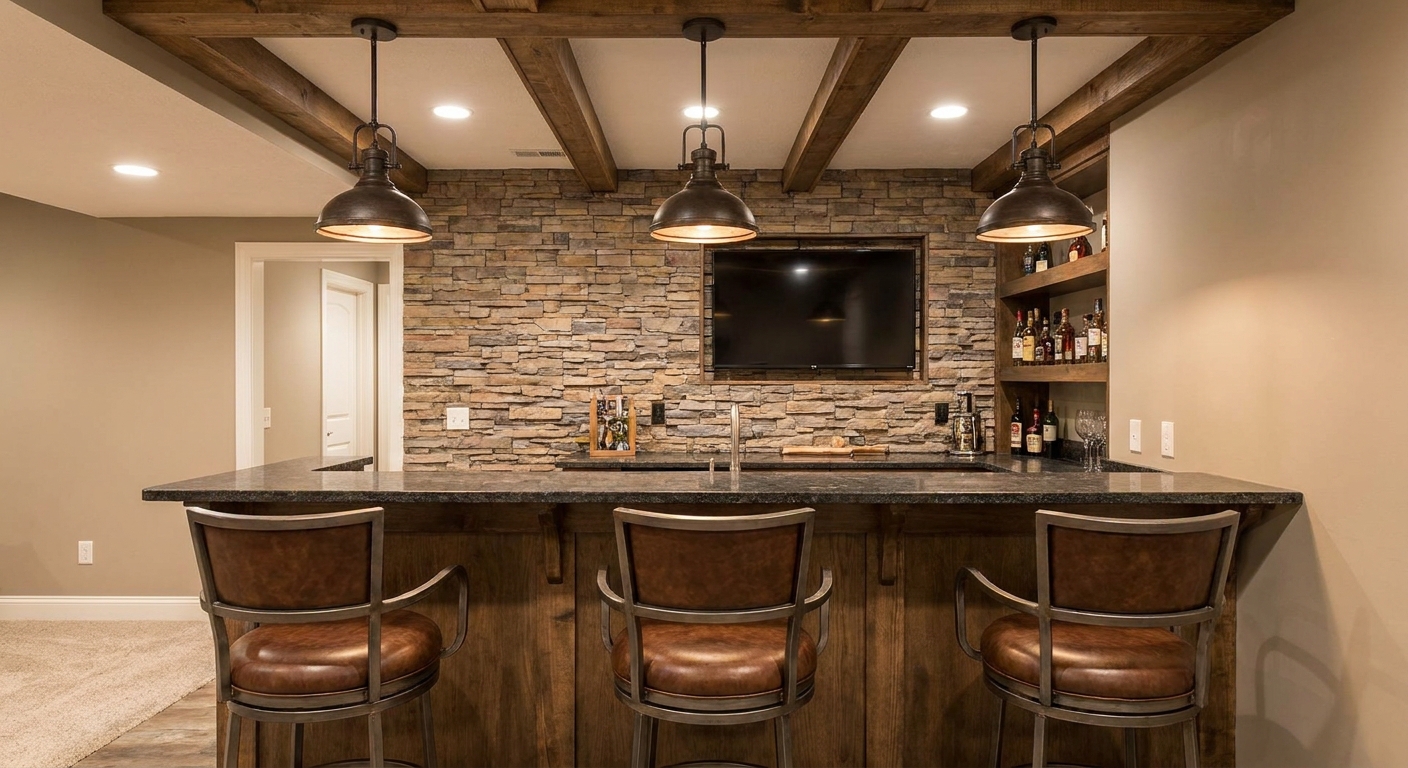
LED strips for easy accent light
LED strips are where basements can really shine, especially in entertainment spaces. They add depth without taking ceiling height, and they give you that layered, high-end feel even on a modest budget.
Favorite LED strip locations in a basement bar
- Under-bar toe kick: makes the bar look like it is floating and gives subtle pathway light.
- Under-cabinet: clean task light on the back counter without glare.
- Inside glass-front cabinets or open shelves: makes bottles and decor pop.
- Behind a mirror or sign: soft halo effect.
Favorite LED strip locations in a home theater
- Step lights or under-seat lighting: safe movement without turning on the room.
- Cove lighting: around a tray ceiling or soffit for a soft ambient glow.
- Behind the screen wall treatment: creates depth so the front wall is not a black hole.
- Behind a TV: reduces perceived contrast and can make casual viewing more comfortable if kept subtle.
Strip specs that matter
- Color temperature: For most bars and theaters, I stick to 2700K to 3000K for warmth. If the rest of your basement lighting is 3000K, match it. Mixing color temps is one of the quickest ways to make a room feel “off.”
- High CRI: Look for 90+ CRI if possible, especially near a bar. Bottles, wood tones, and food look better.
- Diffusion: Use an LED channel with a diffuser lens where strips are visible. Bare diodes scream “DIY.”
- Dimming compatibility: Decide up front whether you are dimming with a wall dimmer (requires the right driver) or with a controller. Plan this before drywall.
If your basement has moisture concerns, do not ignore them just because you are working on “finishes.” Humidity can shorten the life of adhesives and electronics, and it can make small problems show up faster. I still treat flicker and buzzing as a compatibility problem first, but I like to get humidity under control early either way. See Basement Dehumidifier Sizing and System Options and Basement Ventilation Strategies for Fresh, Odor-Free Air.
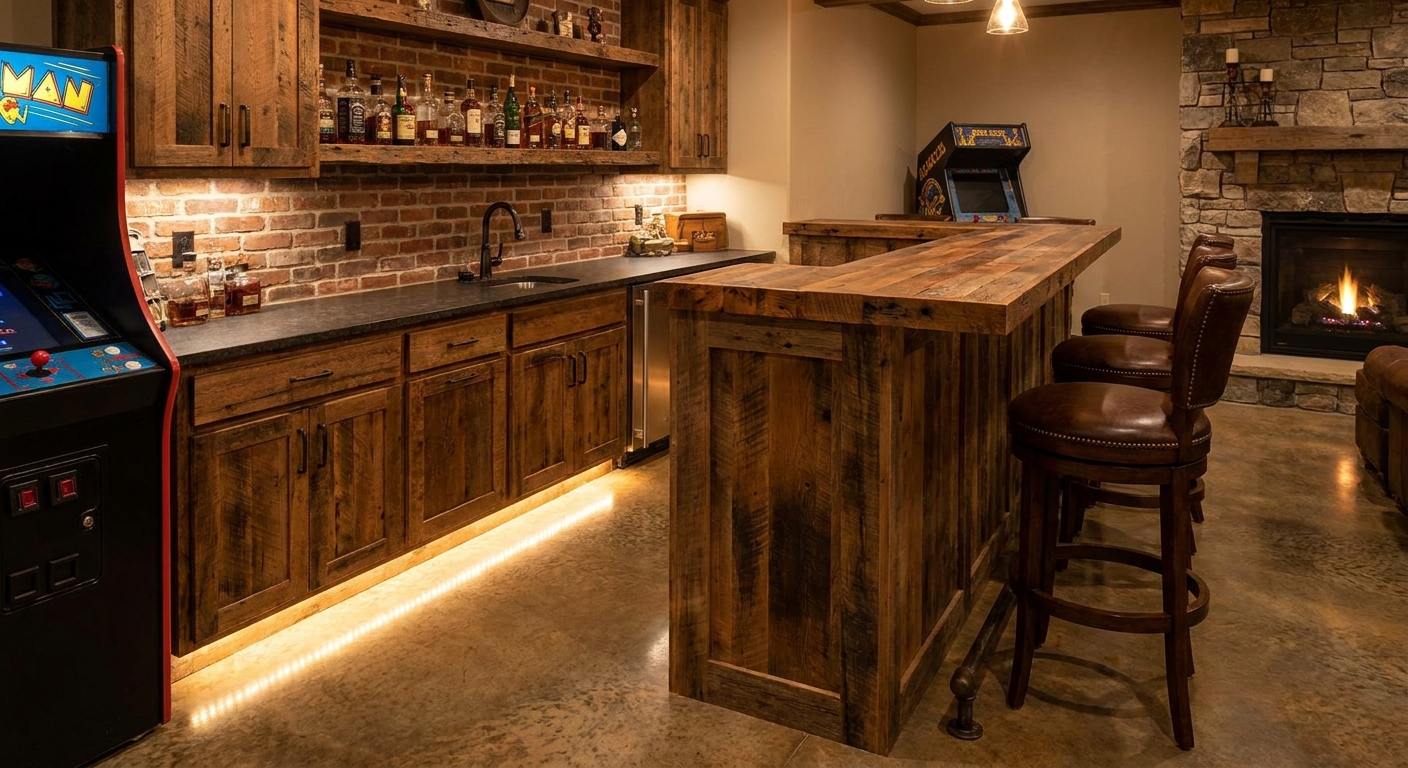
How bright should it be?
This is the part most people skip, then they end up with either a dim cave or a stadium. I use these rough targets as a buying reality check:
- Bar top task light: aim for about 30 to 50 foot-candles on the counter (bright enough to make drinks and clean up).
- Game table task light: about 20 to 40 foot-candles on the playing surface.
- Theater ambient: keep it low. I like 5 to 10 foot-candles for pre-movie and intermission, then dim down from there for movie mode.
You do not have to own a fancy meter to be close, but if you want to get nerdy, inexpensive lux meters exist. The bigger takeaway is that fixture output and room size matter. Two sconces in a narrow room can feel totally different than two sconces in a wide one.
Two lighting recipes
Recipe 1: Basement home theater
- Ambient: dimmable recessed lights on the perimeter only, or dimmable cove lighting. Keep overhead light off the screen area when possible.
- Task: a small, aimed light near the snack counter or AV rack. Optional low-level aisle lighting.
- Accent: wall sconces on a dimmer plus LED strips in a tray ceiling or behind wall panels.
- Controls: at least two zones, ideally three. Movie mode is not the same as cleaning mode.
Recipe 2: Basement bar with lounge seating
- Ambient: a soft overhead layer that fills the room, usually recessed lights spaced wider and dimmed down.
- Task: pendants over the bar top and under-cabinet LED for the back counter.
- Accent: toe-kick LED at the bar, shelf lighting for bottles, and one or two sconces on a feature wall to balance the room.
- Controls: split pendants from overhead lights so you can keep the bar functional without lighting up the whole basement.
If you want help thinking through recessed placement and avoiding “spotlight syndrome,” my layout approach is in Recessed Lighting Layout for Basements.
Dimmers, switches, and scenes
The best fixture plan can still fall flat if everything is on one switch. In entertainment spaces, control matters as much as the light source.
Minimum zoning I recommend
- Zone 1: overhead ambient
- Zone 2: sconces or wall lighting
- Zone 3: LED strips and accents
Scenes that make it feel intentional
- Movie: sconces at 10 to 30 percent, accents low, overhead off
- Intermission: sconces mid, low-level path lights on, overhead low
- Game night: overhead mid, pendants on, accents moderate
- Cleaning: everything bright
One practical tip: make sure your dimmers match your bulbs and drivers. Flicker and buzzing are usually compatibility problems, not bad luck.
Warm color wins
Basements tend to look best with warm light. Cool white can make concrete, gray paint, and dark flooring feel chilly and unfinished.
- 2700K: very warm, cozy, “living room” feel. Great for a lounge bar vibe.
- 3000K: warm-neutral. My most common choice for basements because it still feels warm but looks clean.
- 3500K and up: usually too cool for theaters and bars unless you are intentionally going modern and bright.
Whatever you choose, try to keep the whole basement on one color temperature so the rooms transition smoothly. If you are mixing spaces and flooring types, the same idea applies visually. See Seamless Room Transitions Between Basement Floors for the flooring side of that cohesive finish problem.
Glare and reflections
Screens make lighting more picky. My quick rules:
- Avoid shiny trims on recessed lights in the front half of the room. Matte trims and deeper baffles help keep light from bouncing around.
- Keep cans out of the screen lane. If a recessed light is in front of the screen wall, it is begging to wash out the picture.
- Aim accent light carefully. Wall washers and picture lights should graze the wall, not shoot into seating sightlines.
Code and safety notes
I am not going to turn this into a code article, but there are a few basement lighting basics I never ignore:
- Stairs and paths: make stair lighting a priority. It is one of the highest value safety upgrades in a basement.
- Damp locations: if you have a sink, wet bar, or consistently humid area, use fixtures rated for the location and follow manufacturer instructions.
- Recessed lights: use the correct rating for your situation, especially if insulation is present above the fixture.
- Power near a bar: outlets near sinks and bar tops have specific requirements in many areas, so plan electrical early if you are adding a wet bar.
If you are pulling permits for a finish, it helps to know what inspectors typically want to see. Start with Basement Finishing Permits: What You Need and How to Get Them.
Common basement lighting mistakes
- All overhead, no walls: add sconces or wall grazing, especially in theaters.
- Too many recessed lights: more cans rarely equals better light. It usually equals glare and a grid look.
- No dimmers: entertainment spaces need dimming. Period.
- LED strips stuck to raw drywall: use channels and diffuser lenses where the strip can be seen.
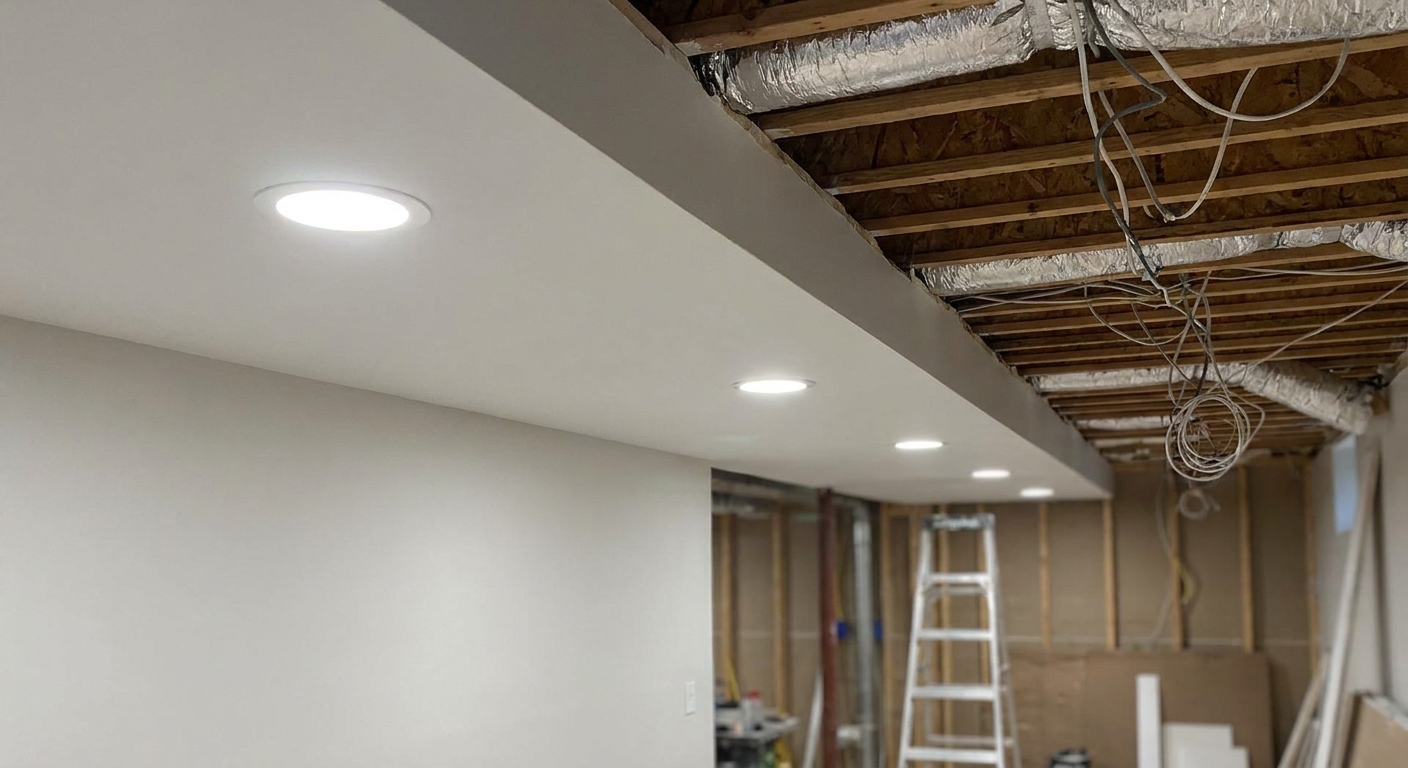
- Unplanned soffits: ducts and pipes can force last-minute fixture moves. Plan lighting alongside soffits. See How to Frame Basement Soffits and Bulkheads Around Ductwork and Pipes.
- Ignoring moisture: humidity can accelerate corrosion and shorten the life of adhesives and electronics. Treat compatibility as the first suspect for flicker, but keep the space dry.
Checklist before you close the ceiling
- All lighting zones decided and labeled
- Switch locations make sense for how you enter the room
- Dedicated circuits where needed for AV equipment and lighting loads
- Compatible dimmers chosen for LEDs and drivers
- Blocking added for heavy sconces or large pendants
- Any low ceiling conflicts resolved (ducts, beams, soffits)
If you are still sequencing your build, lighting rough-in is one of those steps that has to land at the right time. The big picture order is in Basement Remodel Timeline: Correct Order of Operations.
Light the people, not the ceiling
In a basement bar or home theater, the goal is comfort. When the lighting is layered correctly, you stop noticing the fixtures and start noticing the room. Sconces give you that soft, human-level glow. Pendants give you honest task light where you need it. LED strips add depth and polish. Tie them together with dimmers and separate zones, and your basement finally feels like the entertainment space you pictured when you started.