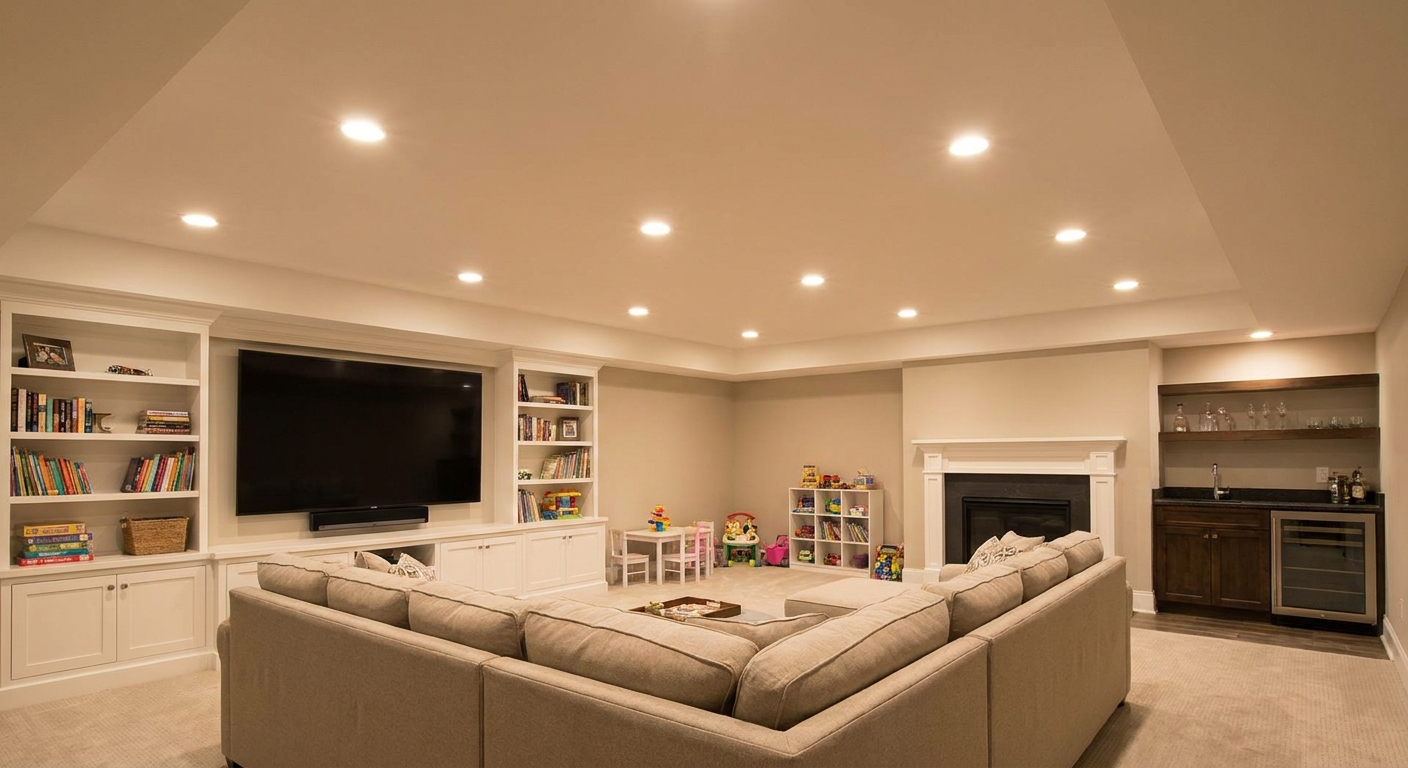
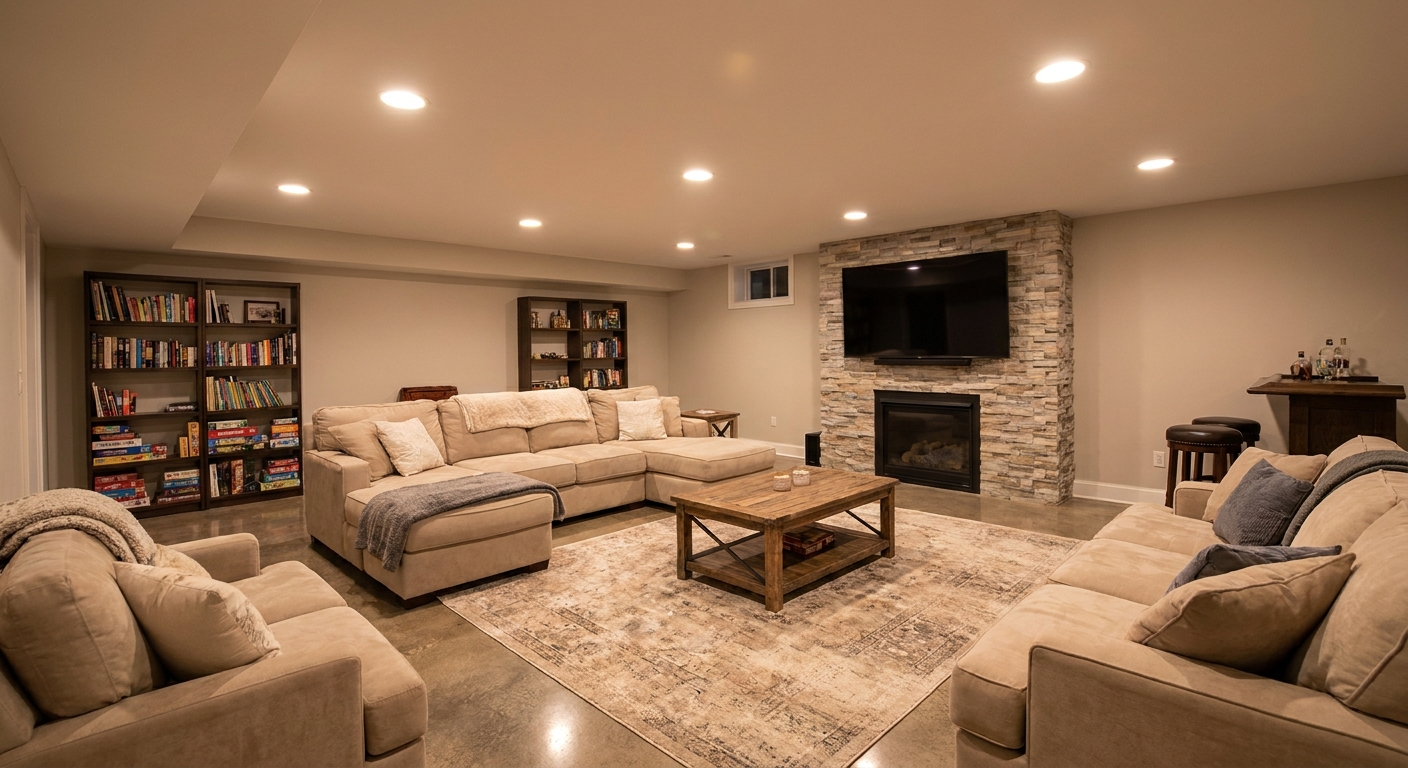
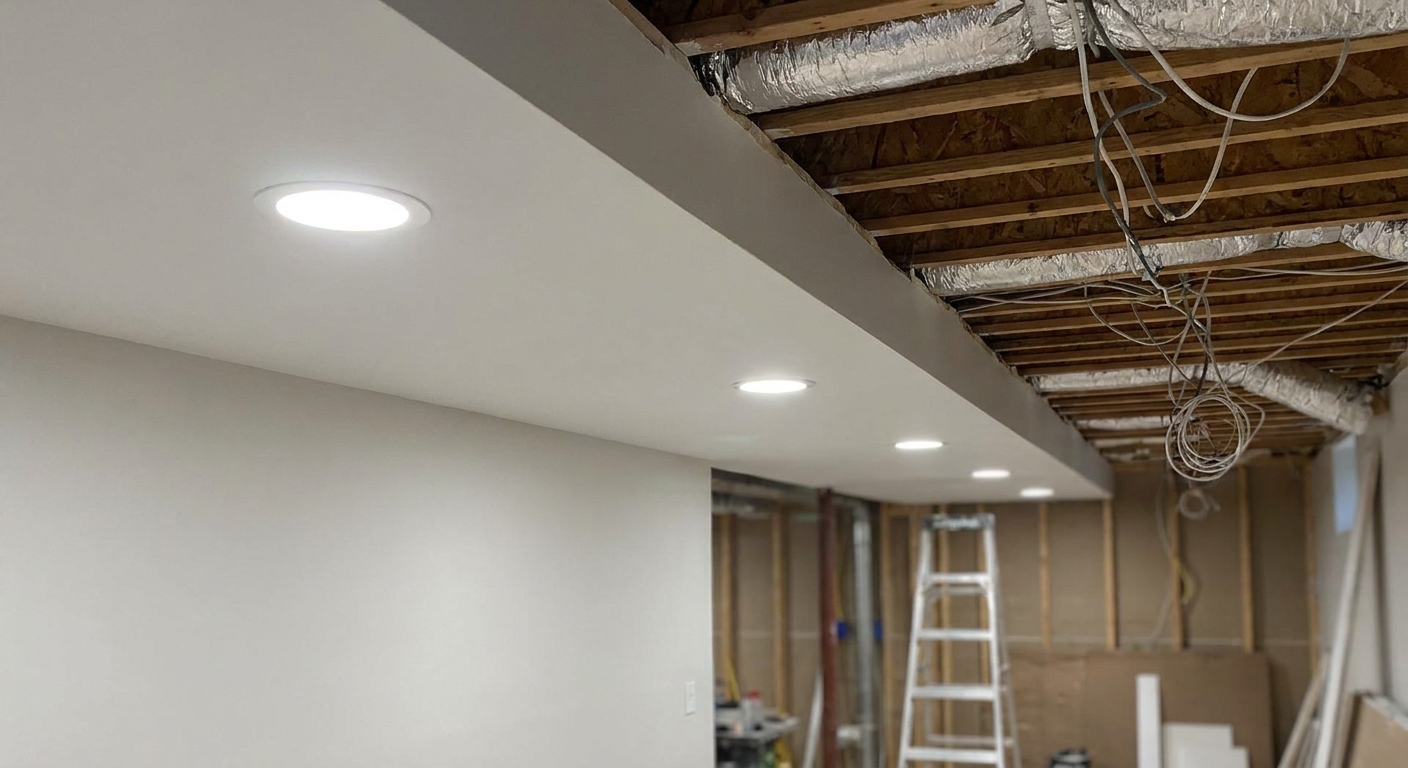
The first basement I ever finished taught me a humbling lesson: drywall doesn’t forgive. Upstairs walls can look “pretty good” and still pass, but basements are a different animal. Long runs of wall, low ceilings, duct soffits, and harsh can lighting will spotlight every ridge and fastener like a crime scene flashlight.
If you are deciding between a smooth wall and a textured finish, start with this truth: most “drywall decisions” are really lighting decisions and flatness decisions. Let’s break down Level 4 versus Level 5, where each makes sense in a basement, and when texture is the smarter way to hide the inevitable imperfections that come with uneven foundation walls and framing.
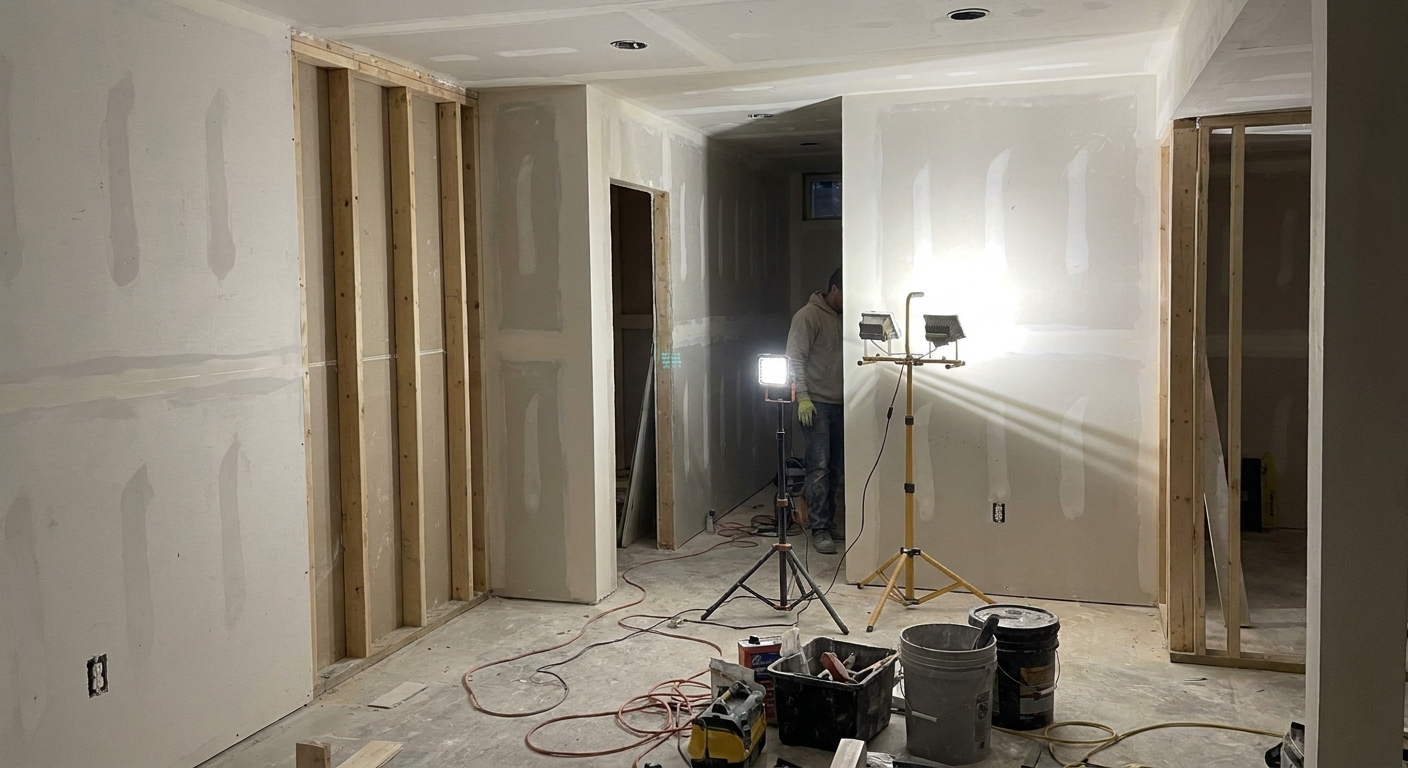
Why basements show flaws
Basements tend to exaggerate drywall problems for a few common reasons:
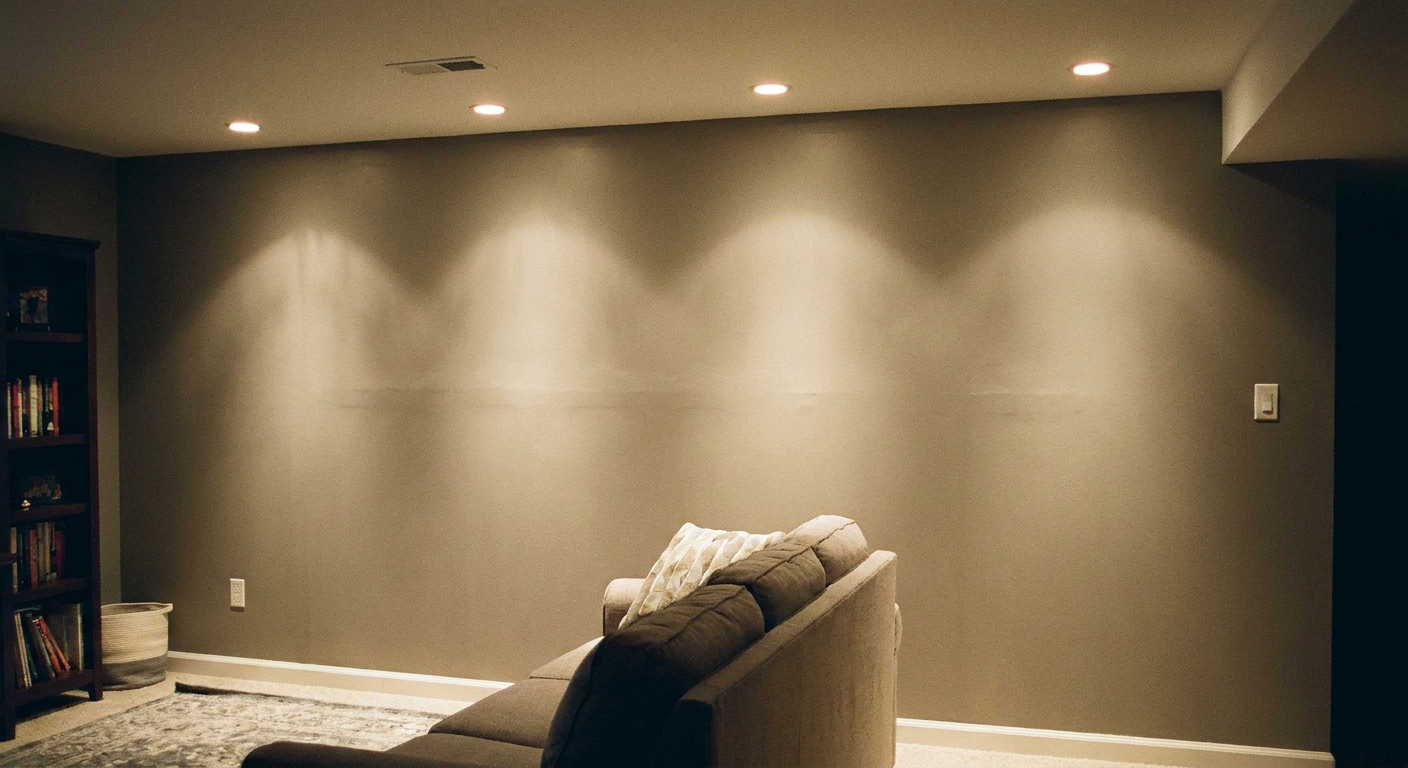
- Raking light and wall wash. “Critical lighting” is light that hits the wall at a shallow angle (or deliberately washes down the wall). It makes every bump cast a shadow. If you are planning lots of recessed lighting, read this alongside Recessed Lighting Layout for Basements.
- Long, uninterrupted walls. Big finished areas, home theaters, and family rooms often create long sightlines where waves in the drywall are obvious.
- Framing over imperfect surfaces. Many basement walls are framed in front of uneven foundation walls or slabs that are not perfectly flat. If your walls fought you the whole way, you are not alone. See Frame Plumb and Square Walls Against Uneven Foundation Walls.
- Humidity swings. Seasonal moisture movement can stress joints if the basement is not controlled. If you have any musty history, dial in moisture control before you obsess over finish coats. Start with Basement Ventilation Strategies and Basement Dehumidifier Sizing and Options.
Finish levels in plain English
Finish “levels” describe how much joint compound work happens after hanging and taping. They are often referenced from GA-214 and ASTM C840 guidance, but you do not need to memorize the documents to make a good basement decision. You just need to know what you are paying for and what your lighting will reveal.
Level 4
Level 4 is what most people think of as “finished drywall.” Tape is embedded in joint compound at the seams and corners, then the finisher applies two more coats of compound over joints and angles (with sanding between steps as needed). Fasteners typically get three coats total. In normal lighting, it reads as smooth.
What Level 4 is good for in a basement:
- Most family rooms, bedrooms, offices, and hallways with normal, layered lighting
- Walls that will get matte or eggshell paint (glossier paints highlight flaws)
- Spaces where you are not intentionally washing light down the wall
Level 5
Level 5 is Level 4, plus a thin, continuous skim coat of joint compound (or a specialty product) over the entire face of the drywall. This helps equalize the porosity and texture differences between paper face and dried compound, and it reduces the “flashing” you sometimes see after priming and painting.
What Level 5 is good for in a basement:
- Walls with raking light (recessed cans near walls, wall washers, strong up-down sconces)
- Large, open areas where you will notice flatness from multiple angles
- Any wall you want to paint in semi-gloss or darker colors
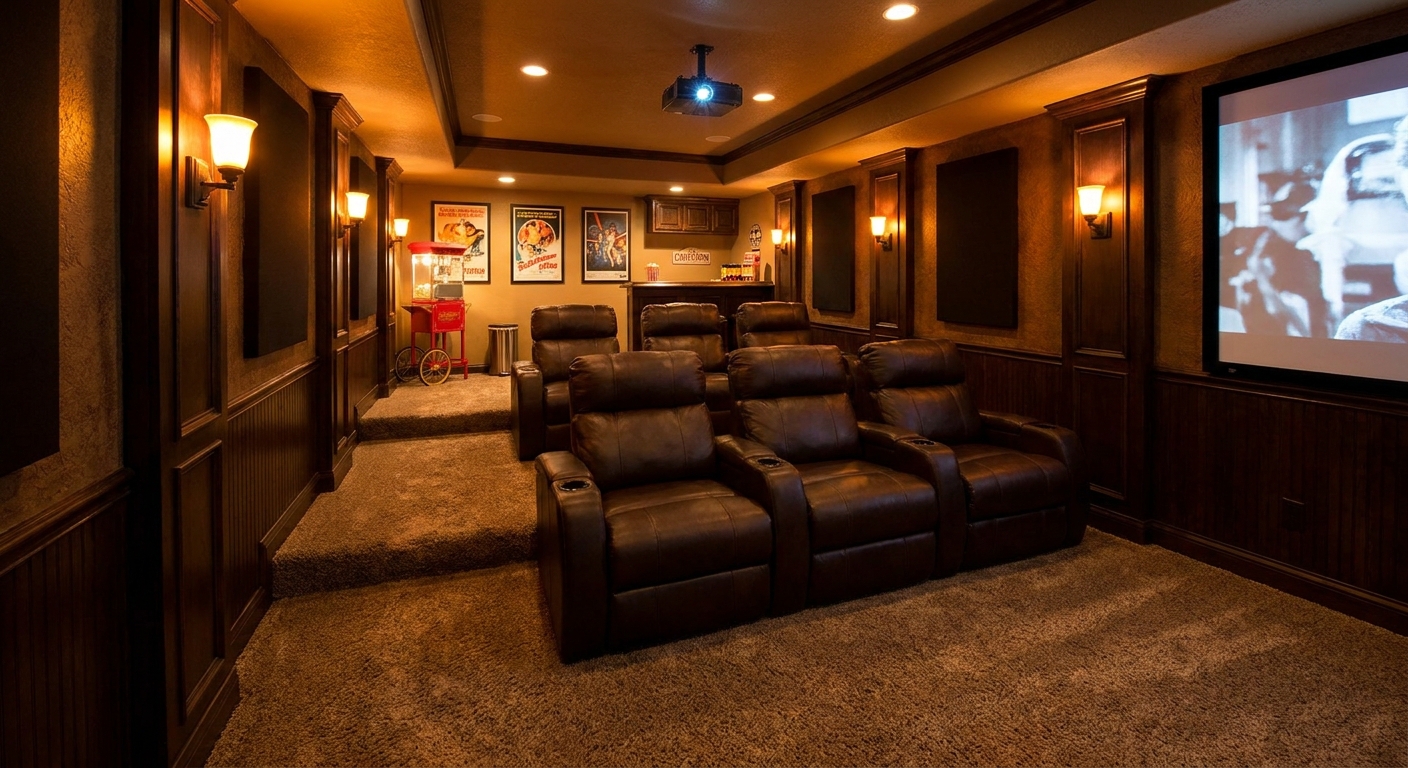
- Home theaters and bars where you want a cleaner, higher-end look under intentional lighting
Level 5 is not magic. If your framing is wavy, Level 5 will help, but it will not completely hide a badly bowed stud line. It just gives you a more uniform, more forgiving final surface.
Smooth vs textured
“Smooth versus textured” is not just an aesthetic choice. It changes how your walls handle imperfections, patching, and future updates if you modify wiring or add a new TV location.
Smooth walls (Level 4 or 5)
- Pros: clean look, easiest to decorate, generally easiest to wipe down, simplest to patch invisibly if you do the work carefully
- Cons: shows flatness problems, shows bad sanding, shows flashing if you skip proper priming or if the wall has mixed porosity
One quick caveat: washability is also a paint decision. Dead-flat paints hide flaws well, but they can be less scrub-friendly than a quality washable matte or eggshell.
Textured walls
- Pros: hides minor waves and sanding scratches, reduces the visibility of taped joints under raking light, often faster than chasing a perfect smooth finish
- Cons: harder to patch seamlessly later, collects dust in heavier textures, can look dated depending on the style
Also, texture is not a license to under-finish the drywall. For most living areas, a light orange peel or knockdown still looks best over a Level 4 base so joints do not telegraph. Level 3 can work in utility areas or where a heavier texture is planned, but it is easier to “see through” a light texture than people expect.

When Level 4 is enough
I use Level 4 in basements all the time, but I choose it intentionally. Level 4 is usually enough when these conditions line up:
- Your lighting plan is forgiving. Fewer recessed cans near walls, more ambient lighting, and fixtures that do not throw light down the wall.
- You are using flat or matte paint. A quality primer and a flat topcoat hide a lot.
- Your walls are broken up. Doors, windows, built-ins, or wainscoting reduce long uninterrupted sightlines.
- You can accept normal drywall reality. Not “wavy,” but not gallery-perfect either.
If your basement has low ceilings and you are considering a ceiling system, note that ceilings have their own finish and access tradeoffs. See Drop Ceiling vs. Drywall.
When Level 5 is worth it
If you have ever walked into a basement with fresh paint and thought, “Why do I see every seam?”, it was probably a Level 4 wall paired with raking light.
Level 5 is worth strong consideration when:
- You are using recessed lighting around the perimeter. Those cans create shallow-angle light that makes joints more obvious.
- You want a smooth, modern look. Especially in open concept basements where the finish reads like the main floor.
- You have a lot of soffits and bulkheads. Transitions and angles create shadows. If you are boxing around ducts and pipes, this pairs well with How to Frame Basement Soffits and Bulkheads Around Ductwork and Pipes.
- You plan to paint darker colors. Dark walls show surface variation more than off-whites.
My rule of thumb: If your basement design leans “home theater, bar, guest suite,” I lean Level 5 in the main showpiece area and Level 4 in secondary rooms.
One more basement-specific note: drywall ceilings can be even less forgiving than walls under can lights. If you are set on a drywall ceiling with lots of recessed lights, that is a spot where better finishing (and better lighting layout) pays off fast.
Using texture to hide waves
Sometimes the real problem is not the finish level. It is the wall behind it.
If you framed in front of a foundation wall that kicked in and out, or you had to cheat studs to hit plumb, you can end up with a wall that is technically straight enough, but not dead-flat. In those cases, chasing perfect smooth walls can become an expensive loop of mud, sand, light-check, repeat.
Textures that help
- Orange peel (light). A subtle, modern-friendly way to soften minor imperfections.
- Knockdown (light). Can hide more than orange peel, but keep it restrained so it does not dominate the room.
- Skip trowel (only if it matches the home). More stylized and depends heavily on your upstairs finishes.
Where texture makes sense
- Long foundation-adjacent walls where flatness is hard to achieve
- Stairwell walls where patching dings is common
- Utility-adjacent spaces where “tough and forgiving” beats “perfect”
A practical compromise I like: Keep the main finished area smooth (Level 4 or Level 5), and use a light texture in hallways, stairwells, or the wall you know will take abuse.
If you do texture, do yourself a favor and practice on a scrap sheet first. And if you hire it out, take a couple photos of the finished texture before it is painted. Matching texture later is part art, part memory.
Common finish problems
1) Joint flashing
If you can see bands over seams after painting, that is often porosity differences between paper face and joint compound, or uneven sanding. Level 5 helps, but so does a smart primer plan.
- Prime the entire surface, not just patches.
- Use a drywall primer designed for new drywall (PVA is common). If you are fighting flashing or you want more forgiveness, stepping up to a higher-build primer can help.
- Keep your final sanding consistent, and do not burn through paper.
- Avoid spot-priming only the patches unless you repaint corner to corner.
2) Screw pops
Basements can move slightly season to season, but screw pops are more often tied to framing movement and shrinkage, loose framing, or fasteners that were not set right to begin with. Good fastening, solid backing, and stable moisture all help.
3) Cracks at soffits and corners
Angles and transitions are stress points. Use proper corner bead, consider paper-faced bead for cleaner corners, and avoid rushing dry time between coats. If your basement is prone to humidity, keep it stable with ventilation and dehumidification so finishes do not cycle.
4) Mold worries
This is less about the finish and more about the assembly. A beautiful Level 5 wall on a damp basement is just a future tear-out. Start with moisture fundamentals at Moisture Control, and if you are selecting materials, see 7 Mold-Resistant Materials for a Basement Remodel.
Finish by room
| Basement area | Typical best choice | Why |
|---|---|---|
| Main family room with recessed cans near walls | Level 5 smooth | Shallow-angle light will highlight seams and surface variation |
| Bedroom with a central ceiling fixture and lamps | Level 4 smooth | More forgiving lighting, less wall wash |
| Stairwell and hallway | Level 4 smooth or light texture | High traffic, more bumps and patches over time |
| Home theater | Level 5 smooth (often darker paint) | Premium look, and dark colors reveal more |
| Kids playroom | Light texture or Level 4 with durable paint | Practicality and patch tolerance matter |
| Utility room | Level 3 to 4, optional texture | No need to over-finish a non-living space |
Lighting changes everything
If you take nothing else from this article, take this: drywall is judged by the light you put on it.
- Recessed lighting near walls makes smooth finishes look worse if the wall is not very flat.
- Wall sconces can create dramatic raking light, especially if they throw light up and down.
- Warm, layered lighting is more forgiving than a grid of bright cans.
If you are building out a bar, theater, or multipurpose room, good lighting design can make Level 4 look better and make a textured wall feel intentional. Two helpful reads are Layered Lighting for a Basement Bar or Home Theater and LED Color Temperature for Basement Rooms.
Cost and time
Level 5 costs more because it is more labor, more drying time, and more sanding control. If you are DIYing, it is also more chances to create sanding swirls or unevenness if you rush.
Texture can be a cost saver in the right situation, but it is not free. A good texture job still requires consistent prep, masking, and practice to keep it uniform.
If you are budgeting a full basement finish, keep drywall finishing in the same conversation as your timeline and overall costs. These two site pages help put it in context: Basement Finishing Cost Breakdown Per Square Foot and Basement Remodel Timeline and Order of Operations.
My decision checklist
- Step 1: Decide your lighting plan first. If you have lots of cans near walls, plan for Level 5 or plan for texture.
- Step 2: Be honest about wall flatness. If framing fought you, texture is a valid tool, not a defeat.
- Step 3: Match the finish to the room’s job. Showpiece spaces get the higher finish.
- Step 4: Pick paint sheen wisely. Flatter sheens are more forgiving in basements.
- Step 5: Control moisture. Drywall finishing is not the place to ignore humidity and ventilation.
FAQ
Is Level 5 required?
No. Level 4 is the norm for most finished basements. Level 5 becomes a smart upgrade when you have raking light, darker paint, or you want a more premium look in the main living area.
Does texture let me skip good mud work?
Not really. Texture hides minor surface issues, but it will not hide bad joints, proud fasteners, or visible tape lines. You still need solid prep, especially at seams and corners.
What finish is best for low ceilings?
Low ceilings often mean more recessed lights and more shadows. If the ceiling is drywall and you are using lots of cans, a higher finish level helps. If you want easier future access above the ceiling, consider whether a ceiling system fits your plan. See Drop Ceiling vs. Drywall.
Can I do Level 5 myself?
Yes, but it is a patience project. The skim coat needs to be consistent and thin, and sanding needs to be controlled. If you are already stretched thin in your basement project, Level 4 plus smart lighting and paint choices is often the better DIY value.