The first basement I ever finished had what I call “builder beige fatigue.” The walls were straight and freshly drywalled, but the whole space still felt like a rec room in a rental. I wanted character, but I also knew one ugly truth: basements punish the wrong materials. A little seasonal humidity can turn cheap trim into swollen joints, peeling paint, and that faint musty smell you cannot un-smell once it shows up.
The good news is you can absolutely add wainscoting, board and batten, shiplap, or beadboard in a basement and have it last. You just have to pick moisture-smart materials, leave the right gaps, and install it in a way that does not trap damp air where it cannot dry.
Start with a reality check
Before you buy a single panel, make sure your basement is acting like a basement you can finish. Accent walls are a finish layer. If moisture is still an active problem, you are basically putting a nice jacket over a wet sweatshirt.
Quick moisture red flags
- Efflorescence (white, dusty mineral stains) on masonry walls
- Peeling paint on concrete or block
- Musty smell that comes and goes with weather
- Rusting fasteners or damp baseboard edges
- Seasonal puddling at the slab perimeter
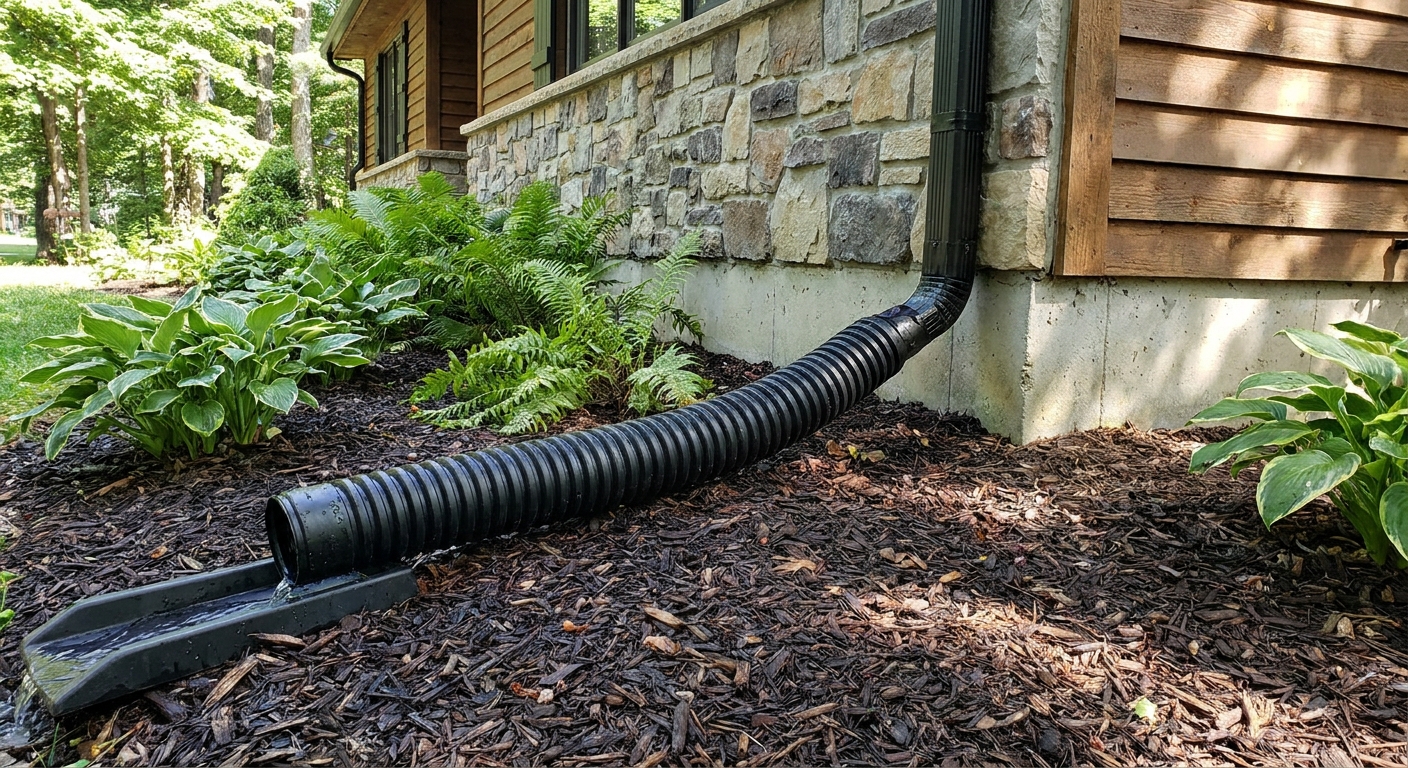
If any of those are happening, pause and solve the water management first. On this site, I would start with exterior moisture control, then work inward if needed. For basements with ongoing seepage, interior drains and a sump system may be part of the plan.
Get humidity under control first
Even “dry” basements can run humid in summer. For finishes, I like basements to live around 40 to 50 percent relative humidity most of the time, with 55 percent as a practical upper limit. Above that, wood movement tends to increase and many paints cure slower, especially if the basement is cool.
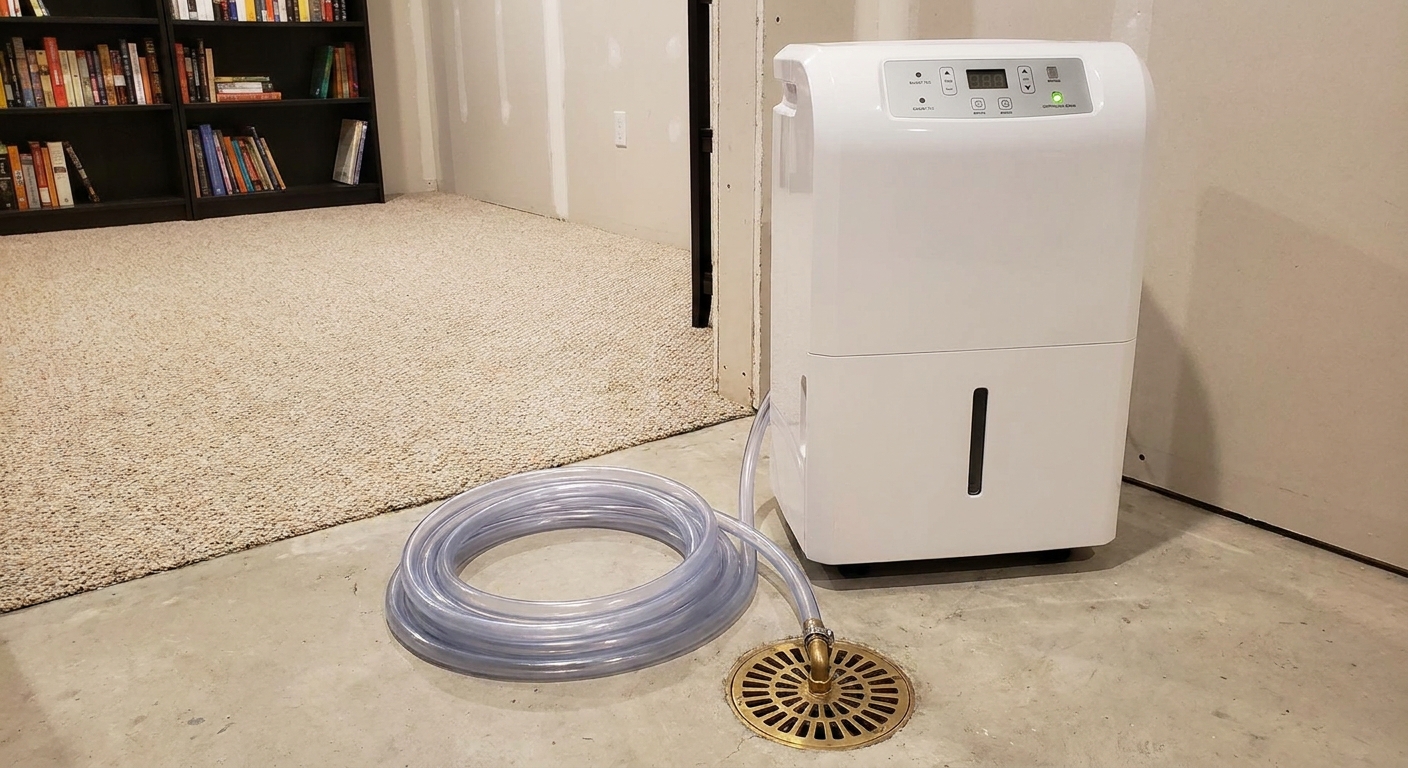
A properly sized dehumidifier makes every finish detail behave better. I walk through sizing options here: Basement dehumidifier sizing and system options.
Build the wall right first
This is the part most people want to skip, and it is the part that keeps your wainscoting from turning into a science experiment.
What your accent wall should be attached to
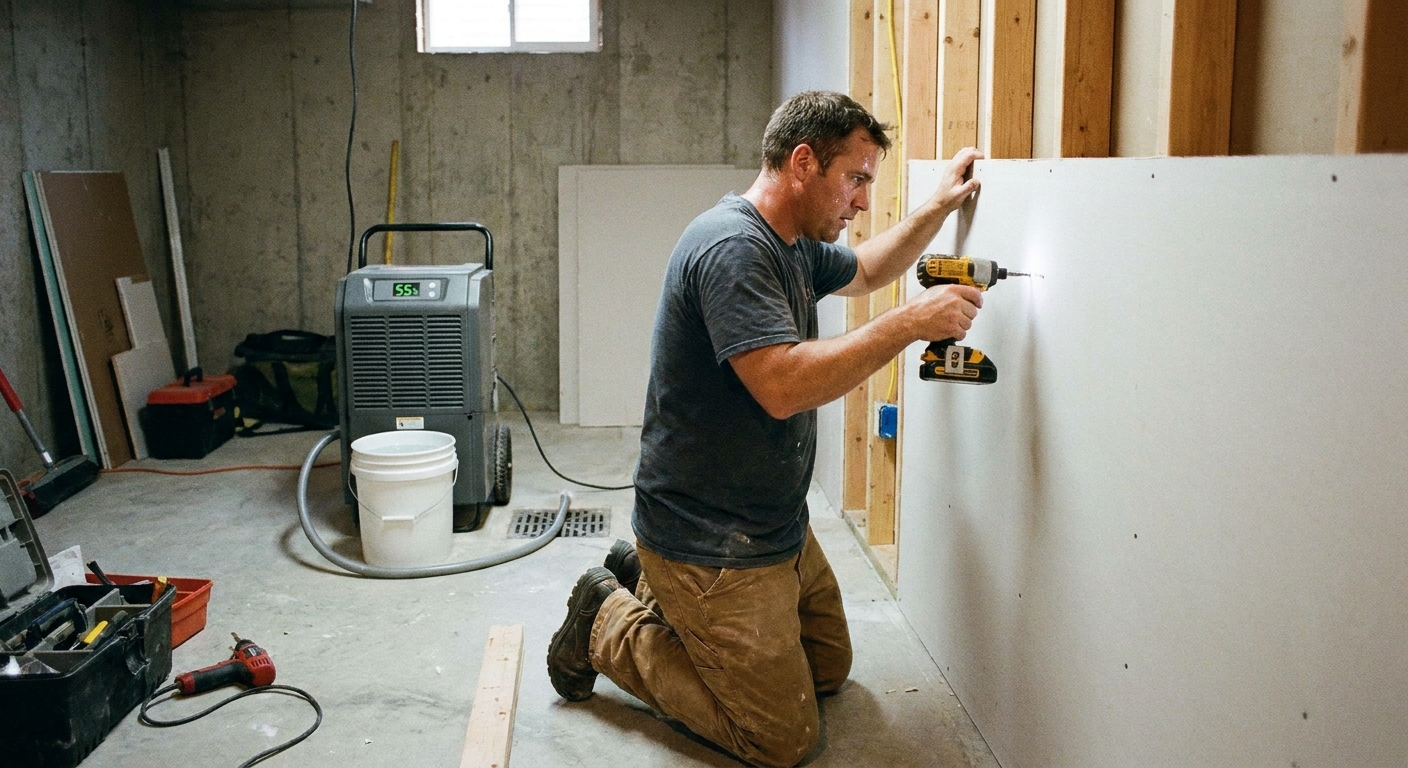
- A framed wall, not paneling glued to concrete.
- A capillary break between anything wood based and concrete. That can be as simple as the right sill gasket or foam under bottom plates, plus a wall design that does not let wet concrete feed moisture into trim.
- An insulation and air sealing approach that manages basement moisture instead of trapping it.
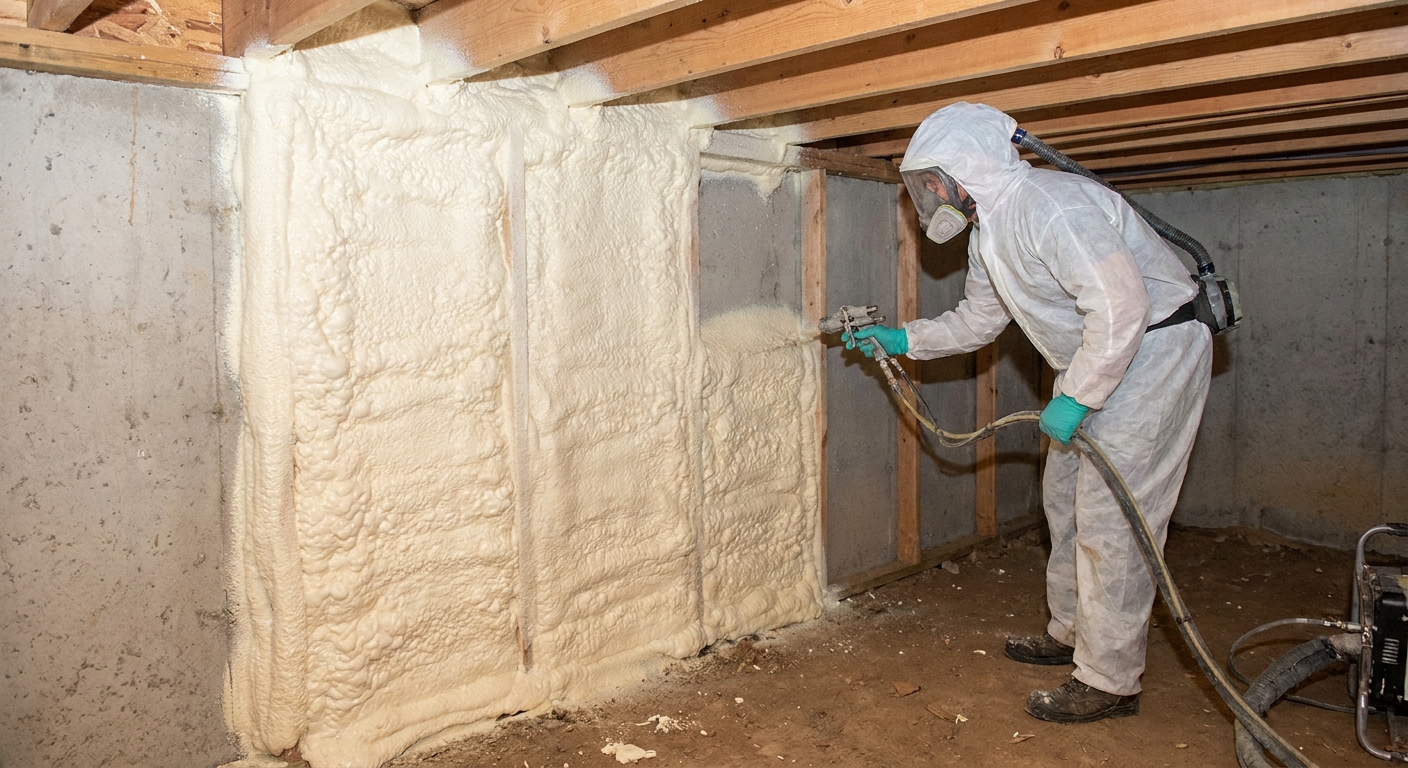
If you are still deciding on the wall assembly, start here: rigid foam vs spray foam basement insulation. And if you are framing new walls, floating basement walls are worth understanding in places where slab movement is a concern.
Materials that hold up
Most wainscoting failures I see in basements come down to one of three issues: the material swells, the wall assembly traps moisture, or the details at the floor invite water damage. You can dodge all three with smart material choices.
Best choices for wainscoting and accent panels
- Moisture-resistant MDF (MR MDF): Stable and paints beautifully. It is still a wood fiber product, so it is not waterproof, but it handles humidity swings far better than standard MDF.
- PVC trim boards: Excellent at the bottom of wainscoting and for baseboards in higher-risk areas. PVC will not rot, but repeated wetting can still hurt drywall, framing, and fasteners around it, so it is not a free pass for water problems.
- Good plywood (exterior glue or better): A solid backer for board and batten or a painted accent wall. Stability varies by grade and how well it is acclimated, but a quality panel is usually more forgiving than bargain wall panels.
- Pre-primed pine or poplar: Works well if the basement humidity is controlled. Seal all faces and edges before install for best results.
Materials I avoid in basements
- Standard MDF where it could ever see water, especially near the slab
- Hardboard beadboard sheets in damp basements, because they can telegraph swelling at seams
- Unsealed wood installed tight to concrete or tight to the floor
If you want a broader shopping list of moisture-safe remodeling materials, this roundup is worth bookmarking: 7 mold-resistant materials for a basement remodel.
Design that fits basements
Basements often feel short and a little flat. Wainscoting is a cheat code if you use it intentionally.
Pick a height that fits
- Chair-rail height (32 to 40 inches): Classic, safe, and works in low ceilings.
- Three-fifths wall height (about 54 to 60 inches): Great for hiding scuffs in playrooms and for making the room feel more built in.
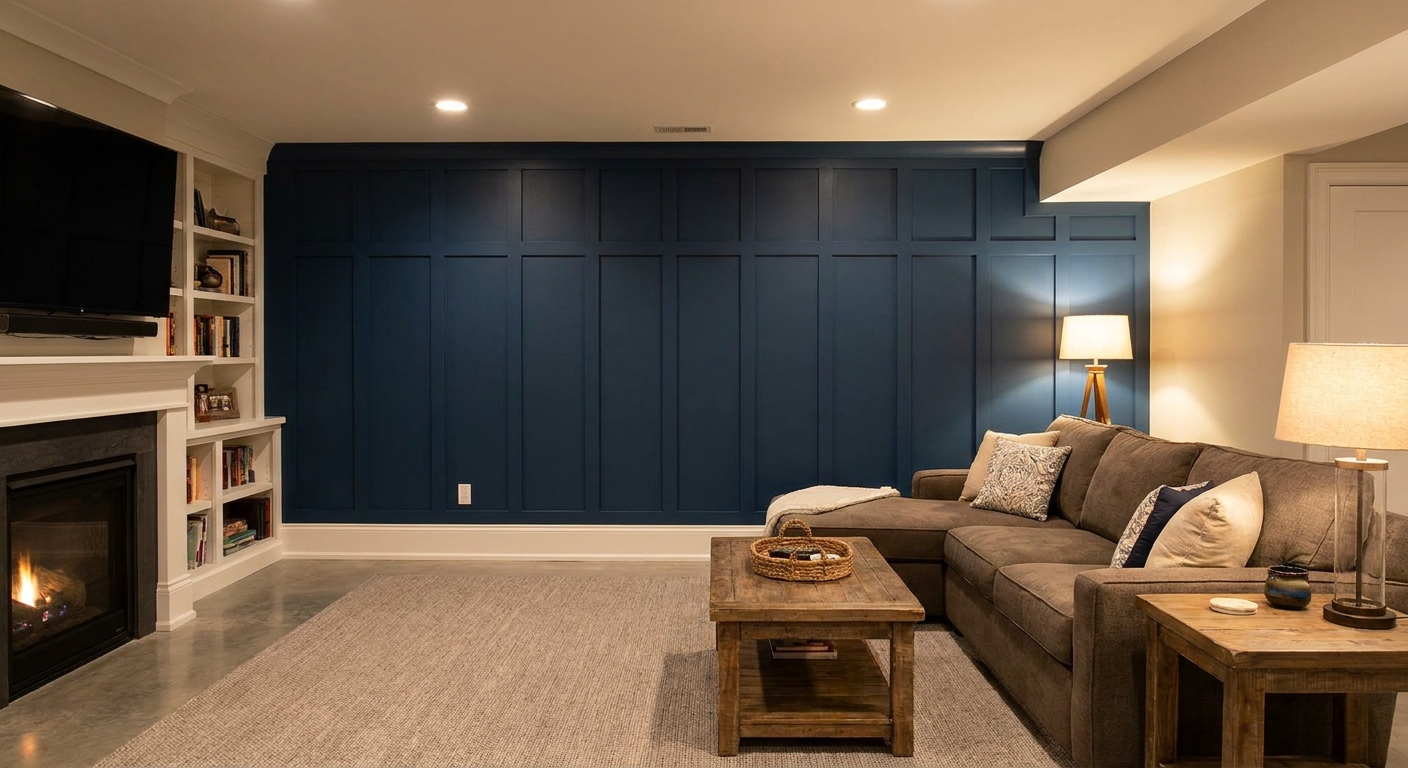
- Near full-height board and batten: Makes walls feel taller if you keep battens vertical and spacing consistent.
One practical trick: try to line the top rail with window sills when you can, and think about outlets early. If your panels or battens add thickness, plan for box extenders so outlets do not end up looking “buried.”
Lighting matters
Wainscoting creates shadows and texture, which is the whole point, but it also shows bad lighting fast. If your ceiling is low, aim for even light coverage with fewer harsh hot spots. My go-to basics are in lighting for low basement ceilings.
Board and batten install
Board and batten is my favorite “architectural detail for normal people” because you can build it right on the wall with simple tools. The basement twist is leaving breathing room where it counts.
Two reliable build methods
Method A: Battens over drywall
- Keep drywall as your wall surface.
- Locate studs and fasten battens into framing.
- Use a rail at the top (optional) and a durable baseboard at the bottom.
This works best when your walls are already reasonably flat and you are aiming for a painted look.
Method B: Plywood backer plus battens
- Fasten a quality plywood backer to studs. Do not glue it to masonry.
- Leave a small expansion gap between sheets so seasonal movement does not telegraph.
- Either leave seams as-is and cover with battens, or caulk lightly only where a seam would print through the paint.
- Install battens on top.
This creates a clean plane. It is also forgiving when the original framing is not perfect.
Basement-specific details I do every time
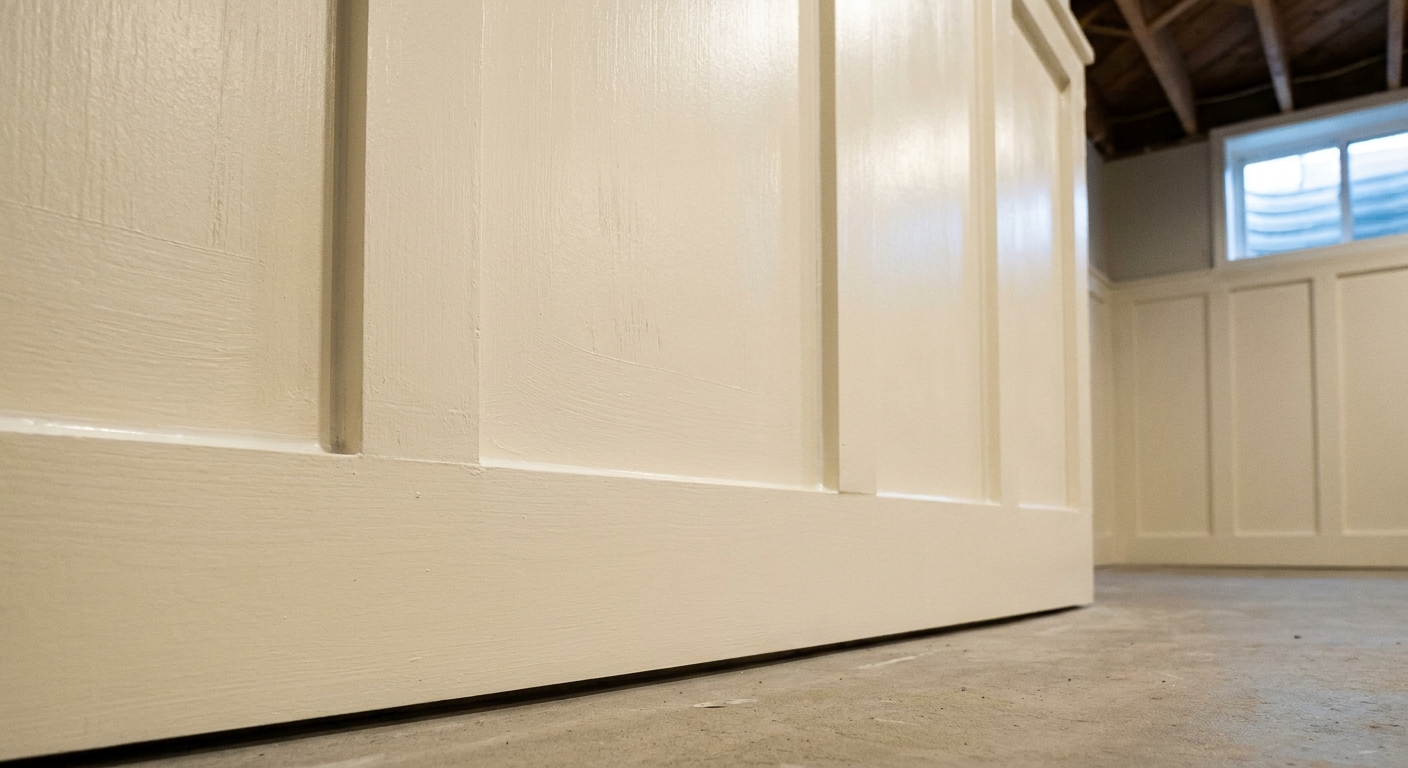
- Leave a small gap above the floor (about 1/4 inch) where the vertical pieces end. Cover the gap with baseboard or shoe molding so you are not wicking moisture from the slab.
- Do not caulk the bottom edge airtight if there is any chance of occasional dampness. This gap is for drying from incidental humidity or a minor damp event, not for managing bulk water. If you get real water on the floor, fix that problem first.
- Prime and paint all sides of wood components when possible, especially cut ends.
- Use a baseboard strategy that matches the floor. If you have a floating floor, you need trim details that allow movement. This guide helps: baseboards and shoe molding on floating basement floors.
Shiplap without problems
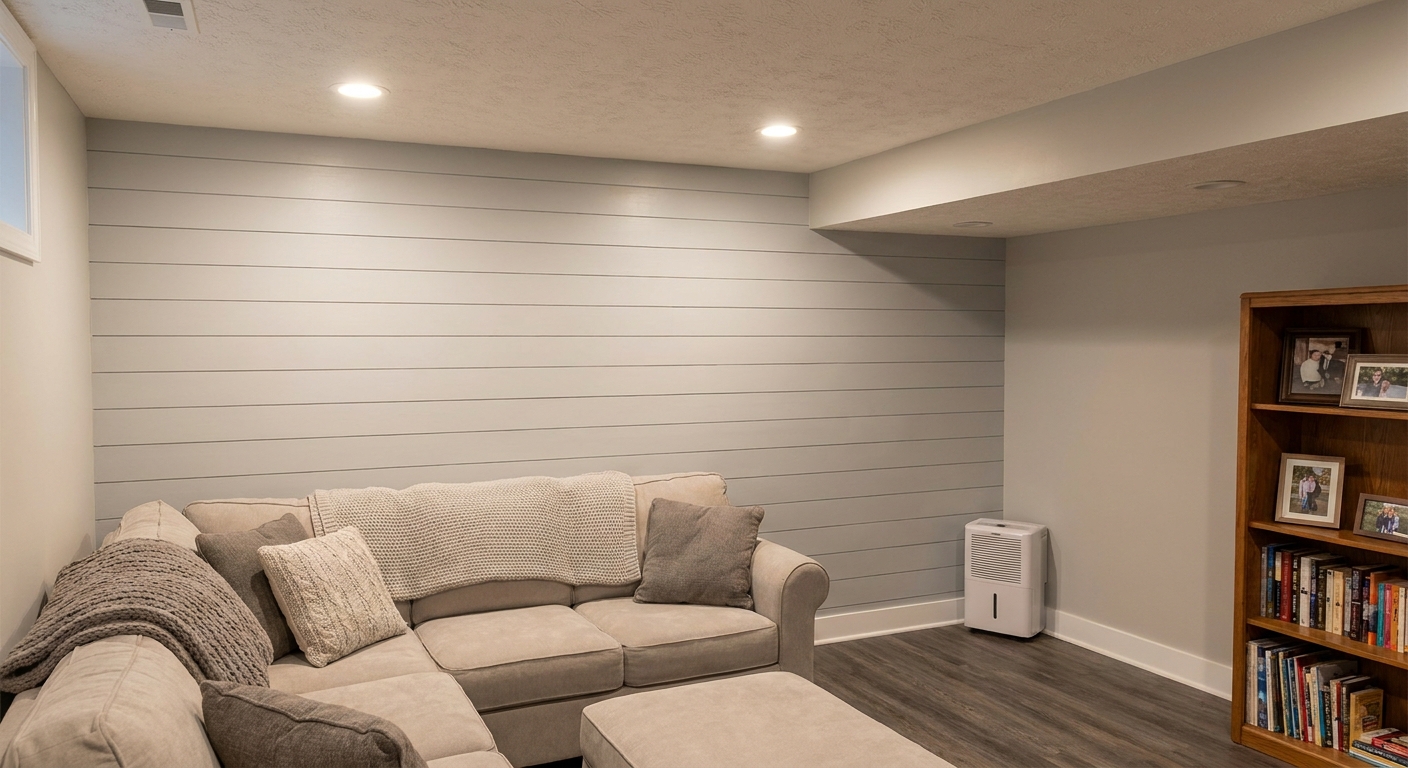
Shiplap looks great behind a TV wall, bar, or reading nook, but the word “plank” tricks people into thinking it is automatically safe. The real risk is what happens behind it.
Rules for basement shiplap
- Install on framed, conditioned walls, not directly on concrete or block.
- Be careful with polyethylene. In many basement assemblies, interior poly can reduce drying potential and trap moisture. Local codes and climate matter, so follow your jurisdiction and choose a wall design that can dry to at least one side.
- Use paint-grade, sealed boards or a stable interior-rated product.
- Keep an intentional gap at the bottom and protect that area with a baseboard that can handle minor dampness.
If you are still planning your wall assembly, start here so the whole system works together: rigid foam vs spray foam basement insulation.
Beadboard done right
Beadboard is a classic wainscot look, and it can be very basement-friendly if you choose the right version.
Better beadboard options
- PVC beadboard: Great in laundry rooms, bathrooms, and anywhere you want worry-free cleanup.
- MR MDF beadboard panels: Paints well and looks crisp, especially when topped with a substantial cap rail.
- Wood tongue-and-groove beadboard: Works if the basement is kept dry and you seal every face and edge before installation.
Finish the edges
Beadboard looks finished when you treat it like a system: baseboard, beadboard field, top rail or cap, and clean inside and outside corners. In basements, those transitions also help protect edges from dings and moisture.
Wet areas are different
Not every basement wall lives the same life. A TV room wall is one thing. A laundry room or basement bath is another.
When to treat it like a wet area
- If it is within splash range of a sink, toilet, shower, or laundry hookups
- If you have a floor drain, history of minor backups, or occasional seepage
- If it is an unfinished utility corner that stays cooler and damper
In those spots, I lean hard into PVC for the lowest trim, keep a little more clearance at the bottom edge, and make sure ventilation is doing its job. If you are building a basement bathroom wall system, this framing guide helps you avoid common clearance mistakes: framing a basement bathroom.
Fasteners, adhesive, and caulk
I am not anti-adhesive, but basements are where I use it carefully. You want your finish details secure, but you do not want to glue moisture against a wall or create a repair nightmare later.
My typical approach
- Fasten to studs whenever possible using finish nails or brad nails, then touch up and fill.
- Use construction adhesive sparingly on framed walls, not on masonry, and not as a substitute for hitting studs.
- If you are bonding PVC, use an adhesive that is compatible with PVC, and follow the manufacturer’s instructions.
- Where corrosion is a concern (damp utility areas), consider galvanized or stainless fasteners so you are not feeding rust stains into your nice paint job.
- Use paintable acrylic latex caulk for interior seams and small gaps. Avoid over-caulking at the bottom edge where drying matters.
Accent walls that work
If you are not ready to panel an entire room, one accent wall is often the best return on effort. Basements tend to have a natural “feature wall” already, like the TV wall, the wall behind a bar, or the wall you see first coming down the stairs.
Three good options
- Vertical battens in tight spacing to visually stretch a low ceiling.
- Half-wall wainscoting in a kid zone or gym area where scuffs happen.
- Shiplap on a partition wall instead of a foundation wall, so drying potential is less complicated.
If you are still figuring out where walls and zones should go, it helps to sketch the plan before you commit to finish details. I break that process down here: how to design a basement floor plan.
Paint that stays crisp
Paint is where wainscoting turns from “wood on a wall” into architecture. Basements add one more variable: humidity, which affects dry time and hardness.
Finishing checklist
- Prime raw wood and all cut ends. This is where swelling starts if you skip it.
- Use a durable trim paint in satin or semi-gloss for wipeability.
- Let coats cure before you put furniture against it. Dry-to-touch is not cured.
- Control humidity while painting with ventilation and a dehumidifier.
If your basement has little or no natural light, color choice matters more than in the rest of the house. This guide has practical options that do not turn gray and gloomy downstairs: paint colors that brighten a windowless basement.
Common mistakes
- Installing trim tight to the slab: Leave a small gap and protect it with baseboard or shoe molding.
- Using standard MDF at floor level: Use PVC or MR MDF, especially in laundry and bathroom areas.
- Covering a damp wall with paneling: Fix water and humidity first. Finishes are not waterproofing.
- Gluing panels to masonry: Build a proper wall system instead. If you need to manage moisture at the wall, start with proven steps like masonry sealant on basement walls and a correct insulation approach.
- Skipping planning for outlets and switches: Accent walls make electrical boxes more noticeable. Plan thickness and box extensions before installation.
When to call a pro
If your foundation walls show active leaks, you have recurring mold, or you are not sure how your insulation and vapor control layers should be built, it is worth getting expert eyes on the moisture plan before you cover anything up. Finish carpentry is forgiving. A wrong basement wall assembly is not.
For everyone else, start small. A single board and batten accent wall is a weekend project that can change how the whole basement feels. Do it with moisture-smart materials and basement-friendly gaps, and you will get the custom look without the custom repair bill later.