The space under a basement staircase is one of those areas that looks useful until you actually try to use it. You crouch in, bump your head on the stringer, and realize the “closet” is basically a dusty triangle with nowhere to put anything.
I have framed more than a few under-stair closets for friends and family, and the best ones all have the same DNA: a straight, plumb front wall, a door that matches how you will access the space, and an interior layout that works with the weird angles instead of fighting them.
Before you frame
Before you build a clean closet, make sure you are not boxing in a moisture problem or a code problem. Under-stair cavities often sit against foundation walls, and they tend to have poor airflow. If that area smells musty now, it will smell worse after drywall.
- Deal with water first. If you have seepage, address it before framing. Start with grading and downspouts outside, then move inward if needed. See Exterior moisture control: yard grade and downspouts.
- Confirm the slab is not constantly emitting moisture. A simple test can save you from building a closet that turns cardboard boxes into sponge cake. See Test a basement slab for moisture emissions.
- Think about what you are storing. Paper, clothing, and keepsakes need a drier, better-sealed closet than paint cans and holiday inflatables. If humidity runs high, consider sizing a dehumidifier appropriately. See Basement dehumidifier sizing and system options.
- Check for “hidden” utilities. Under stairs is a common route for wiring, plumbing, and returns. You can frame around them, but you need an access plan.
- Expect local code quirks. Under-stair areas sometimes have extra requirements (fireblocking details, finish requirements, or limits if the stairs are part of an egress route). If your basement is being finished as living space, it is worth a quick call to your building department before you close anything in. See Basement finishing permits: what you need and how to get them.
If you are in the planning stage of a full basement finish, this is a good moment to look at overall sequencing so the closet does not get built twice. See Basement remodel timeline: correct order of operations.
Pick a layout that fits
There are three under-stair storage layouts I recommend most often. Your choice drives how you frame the front partition and where you put doors.
Option A: One door on a straight wall
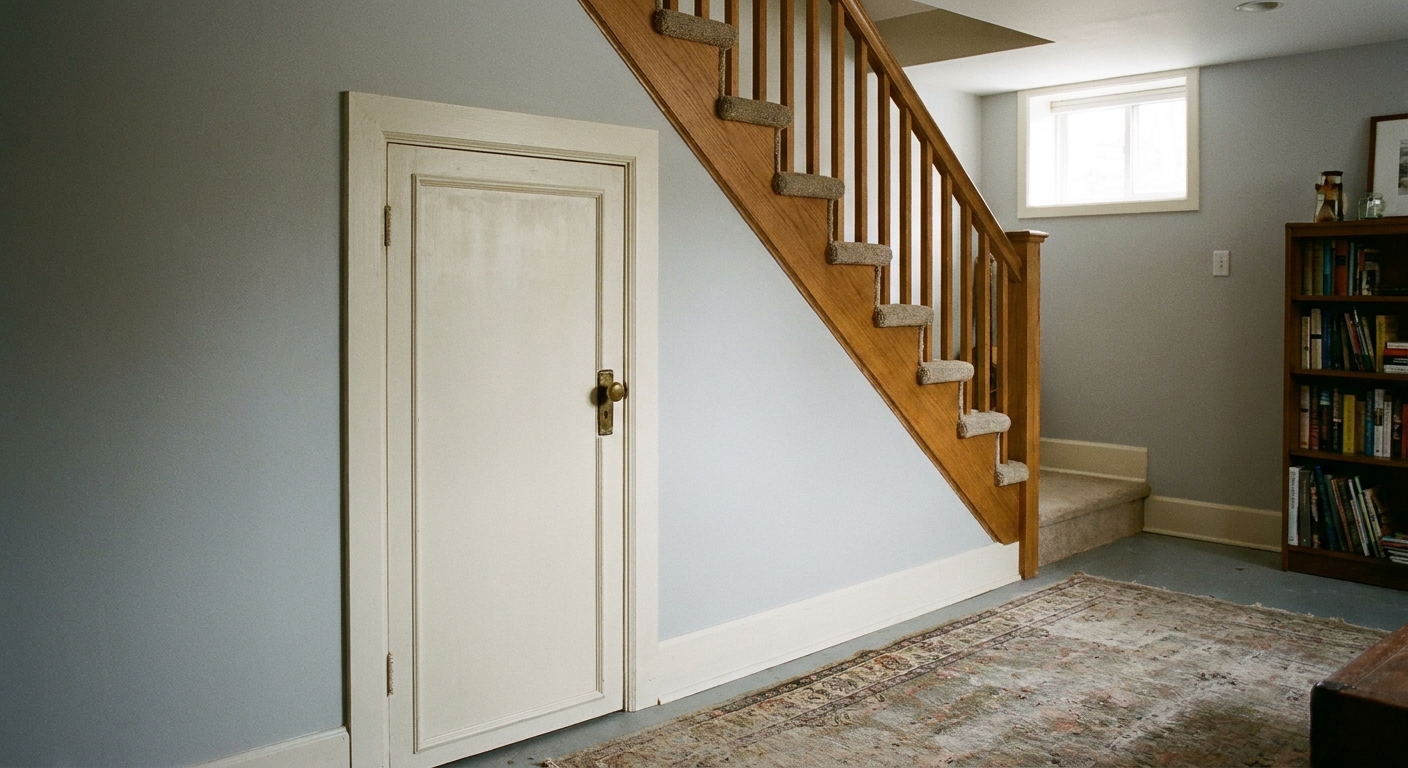
This is the cleanest look and the easiest to trim out. You frame a straight wall in front of the stairs, put one door in it, and the interior becomes a single triangular storage room.
- Best for: bins, luggage, bulky items, shelving on the tall side.
- Watch out for: deep dead corners you cannot reach without crawling.
Option B: Two or three small doors
You frame a straight wall and add multiple openings that access different zones. This prevents the classic “stuff avalanche” where everything migrates to the back.
- Best for: organized categories (holiday, tools, kids stuff) and when the stair run is long.
- Watch out for: extra framing and extra trim work.
Option C: Kneewall and short door
Sometimes the best storage is not a closet at all. If the stair area is in a utility corner, you can build a low wall and use the top as a shelf ledge, with a short access door for long-term storage behind.
- Best for: mechanical-adjacent areas, workshop basements.
- Watch out for: it can look busy if it is in a finished family room.
Tools and materials I use
Under-stair framing is standard wall framing with extra measuring. Here is a practical list.
Tools
- Tape measure and pencil
- 4 ft level (and a small torpedo level for tight spots)
- Chalk line
- Framing square or speed square
- Miter saw or circular saw
- Hammer or framing nailer
- Drill and impact driver
- Concrete fastener tool choice (see below)
- Stud finder (helpful if tying into existing framed walls)
Lumber and hardware
- 2x4s for plates and studs (2x3 can work in tight hallways, but I prefer 2x4 for stiffness)
- Bottom plate moisture break. In many areas, pressure-treated is required anywhere wood contacts concrete. In others, a sill gasket or approved capillary break may be accepted for an interior, non-load-bearing wall. I default to pressure-treated and tell people to confirm local requirements.
- Shims and composite shims
- Construction adhesive (optional, but helpful on uneven concrete)
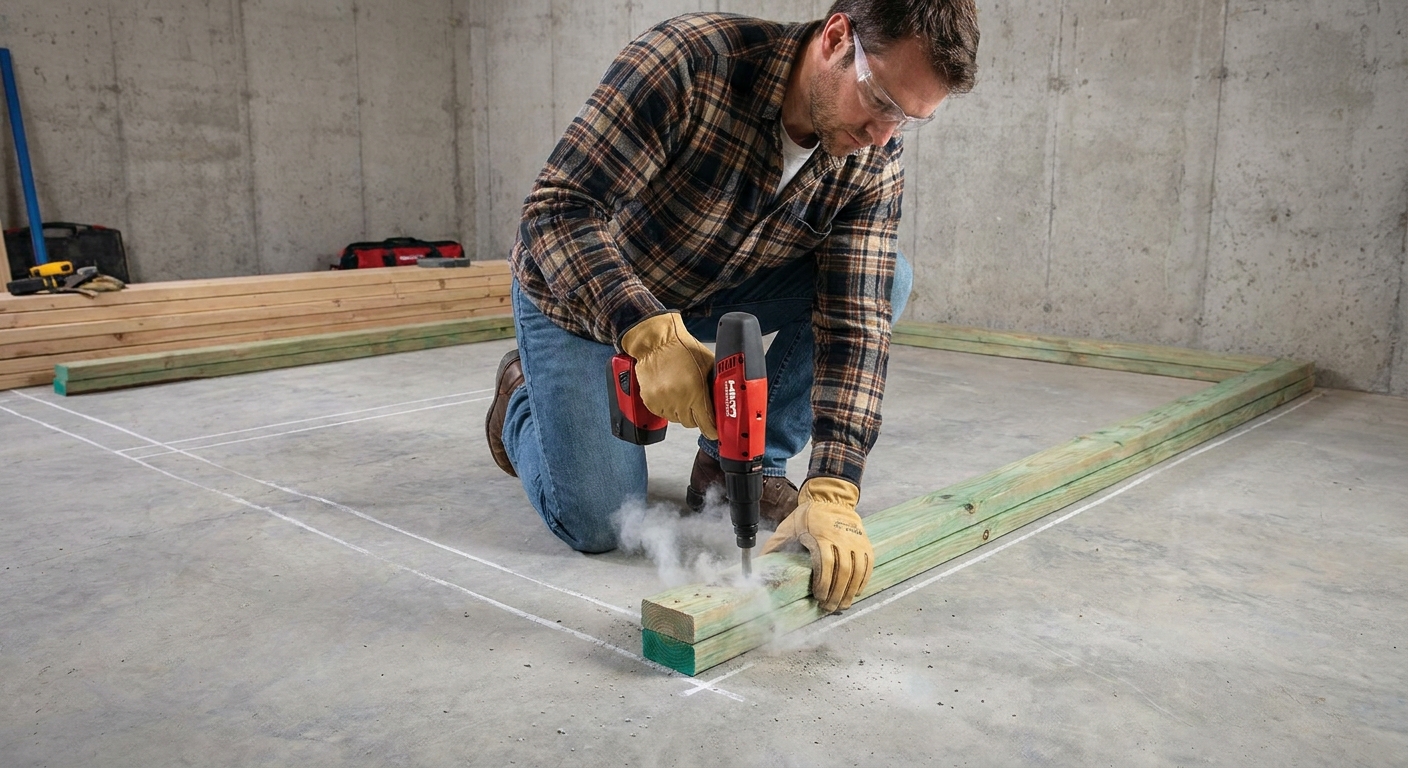
- Concrete fasteners: masonry screws or powder-actuated fasteners
If you have not anchored bottom plates to concrete before, read Secure bottom plates to a concrete basement floor: Ramset vs masonry screws. Under-stair closets are small, but you still want the wall locked down.
Step 1: Lay out the front wall
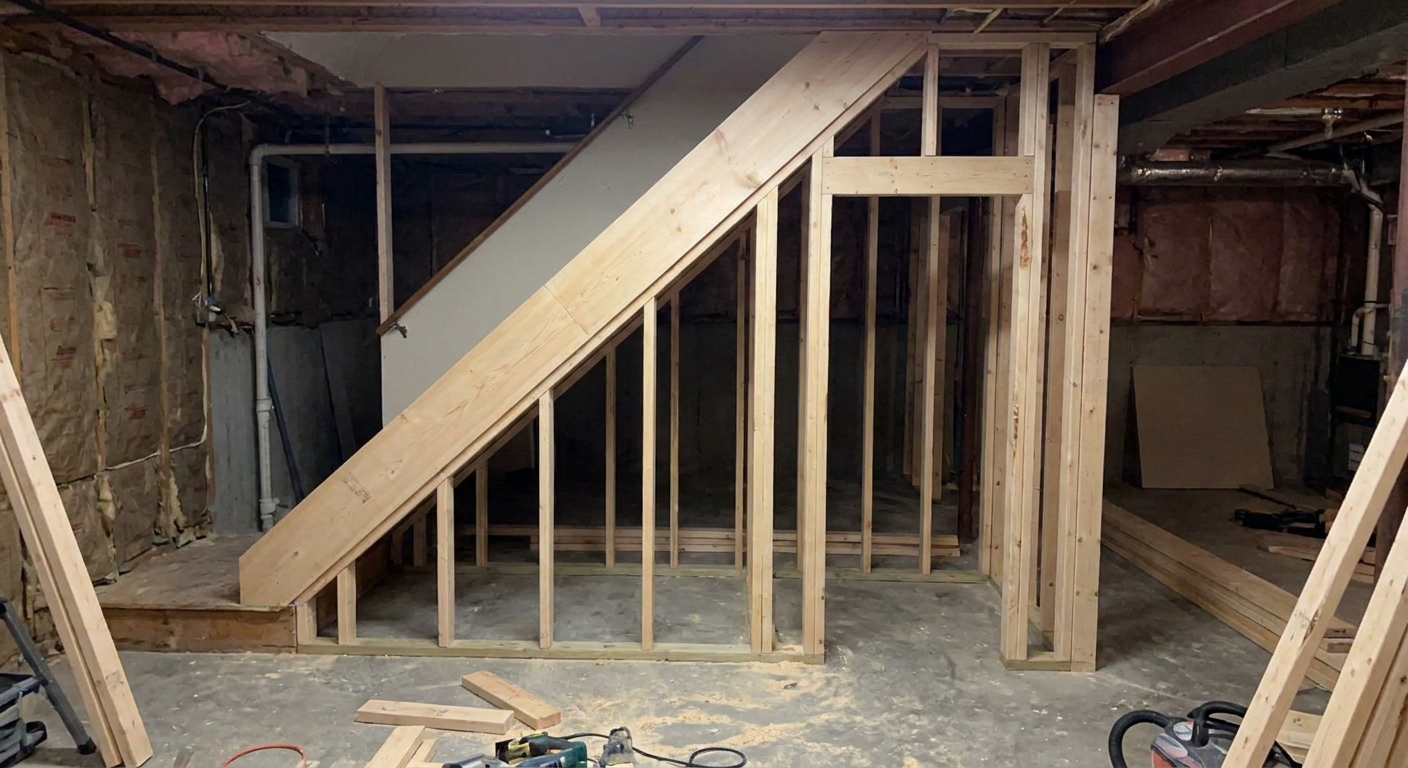
The number one mistake I see is trying to follow the exact angle of the stairs with the front wall. It sounds logical, but it creates a crooked doorway and a finishing nightmare.
Instead, frame a straight wall out in front of the stair underside. You can still maximize storage depth, but you get a plumb, square plane for drywall and a door that does not look like it belongs on a pirate ship.
A quick way to visualize it
Think of the stairs as a sloped roof and your new wall as a vertical “gable” in front of it. The wall stays straight and square. The slope happens behind it, inside the closet, where it is easy to drywall and trim cleanly.
How far out should the wall be?
- Far enough for a normal door. For under-stair closets, I usually see 24 in to 30 in doors, with 28 in, 30 in, and sometimes 32 in being common choices depending on the space. Pick the door first, then frame to its rough opening.
- Put the opening where you can actually stand. My personal trick is to find the spot where the underside of the stairs gives you roughly 72 in of headroom and aim the doorway there when possible. Your stair geometry is the boss here, so adjust as needed.
- Do not sacrifice the room for the closet. If you push the wall too far out, you will be storing air and shrinking the finished space in front of it.
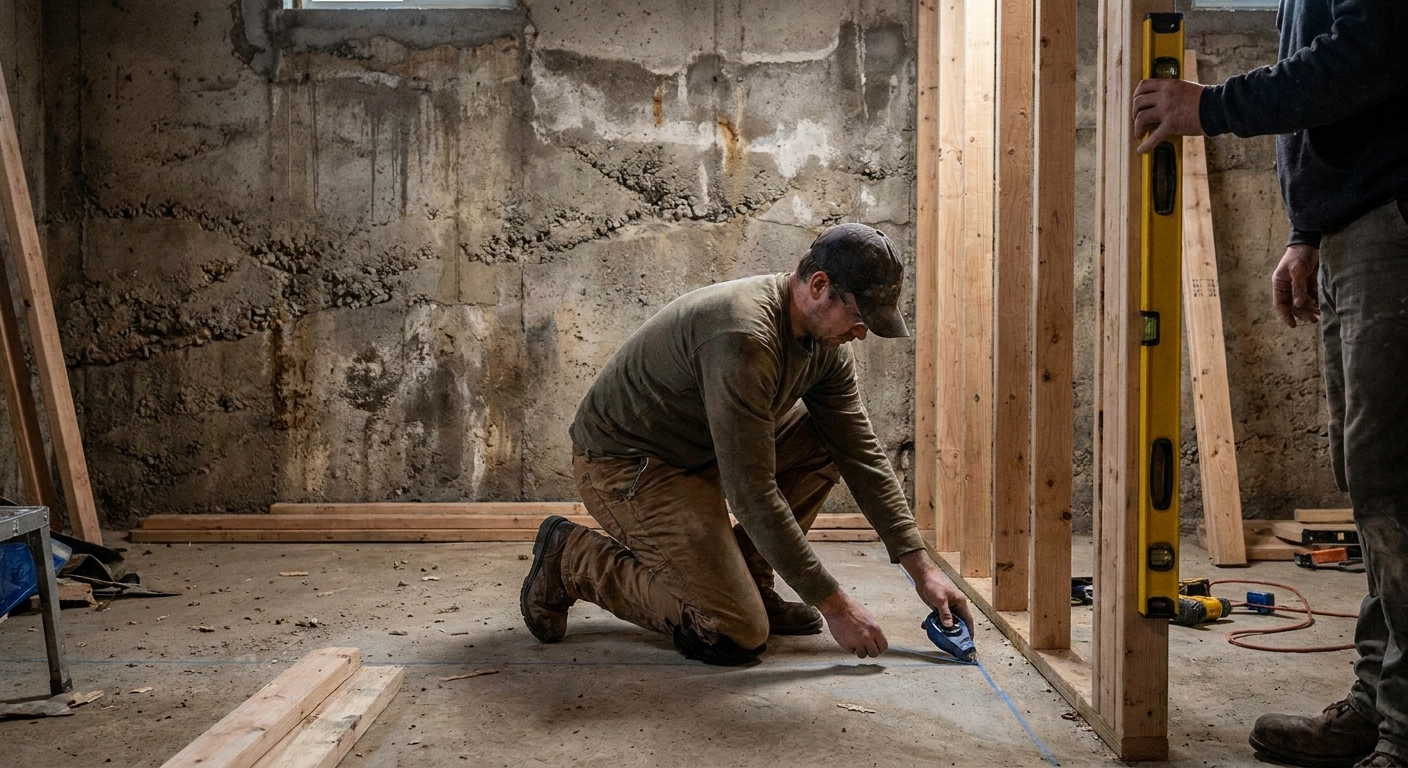
Snap a chalk line for the wall, then mark door location. If the closet is near a hallway or finished room, think about sightlines and traffic flow now, not after the wall is built.
Step 2: Handle the stair slope
You have two common ways to deal with the angled ceiling inside the closet.
Method A: Standard wall, slope framed inside
If your new wall does not need to meet the underside of the stairs, frame it like a normal wall with a flat top plate at a sensible height. Later, inside the closet, you build the sloped “ceiling” plane with blocking and drywall (basically a small soffit). This approach is simple and forgiving.
Method B: Angle-cut top plate
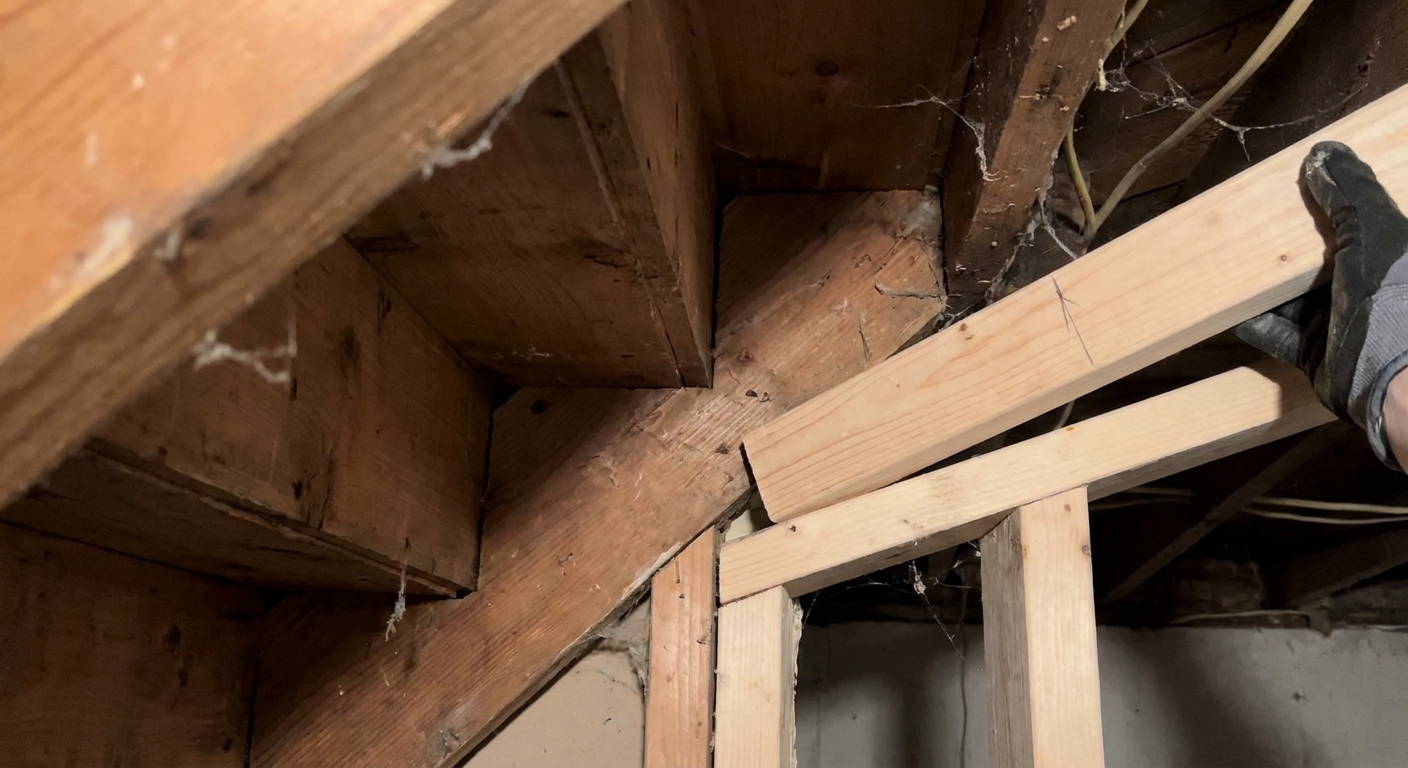
If you want the wall tight to the underside of the stairs, you can cut an angled top plate to match the slope. This gives you a cleaner cavity, but it requires careful measuring.
Here is the low-stress way I do it:
- Make a template. Hold a scrap of cardboard or thin plywood tight to the underside of the stairs and trace the angle.
- Transfer the template to your top plate. Lay the template on a 2x4 and mark the cut line.
- Test fit before cutting your “real” plate. Cut a short sample piece first. When the sample fits, cut the long plate.
If your stair underside is finished with drywall already, be gentle. You are fitting to an existing surface, not forcing it to fit your lumber.
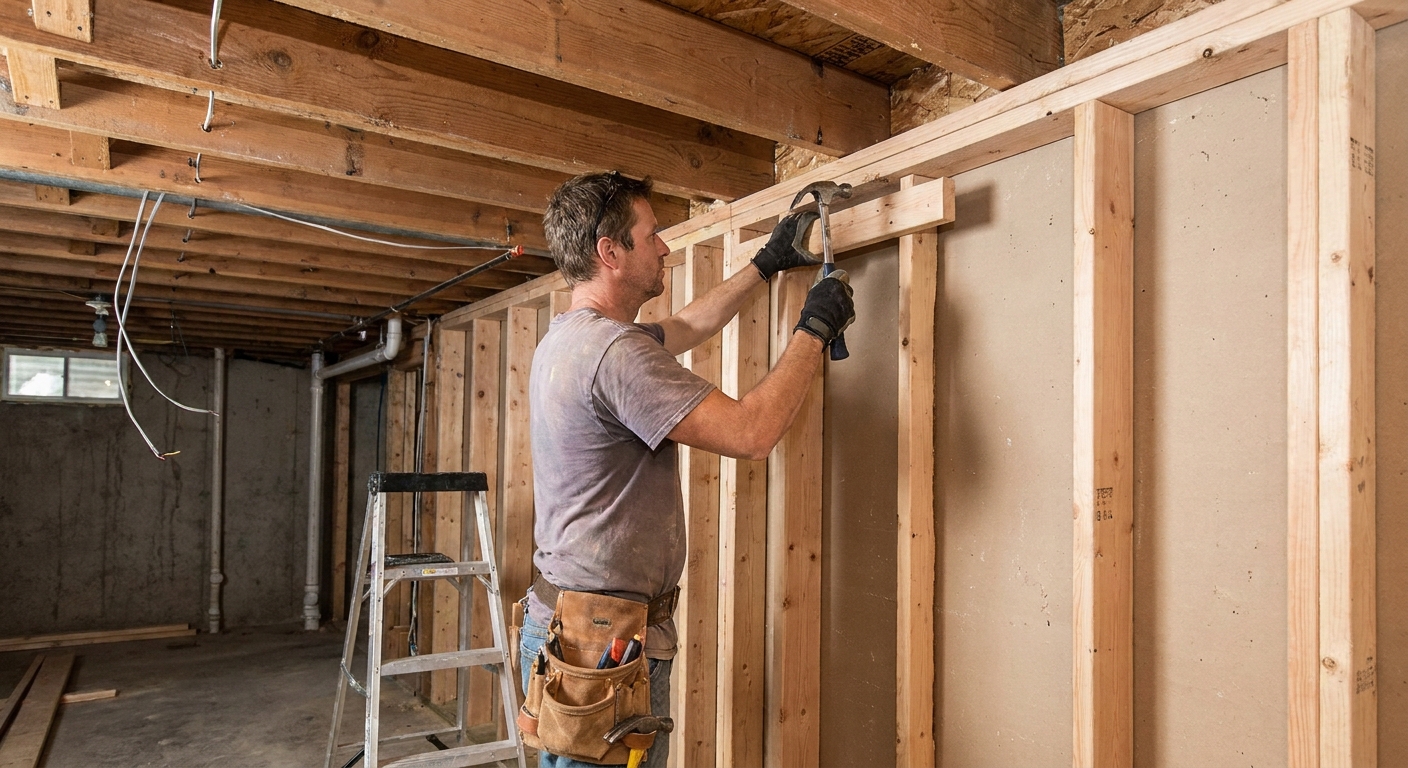
Step 3: Frame and square it
Build on the floor if you can
If the ceiling height allows, assemble the wall flat on the slab and tip it up. Under stairs you often cannot, but it is worth checking. A floor-built wall is faster, straighter, and easier to keep square.
Stud spacing
Standard 16 in on center is fine. For short walls and tight doors, I often stick with 16 in on center even if the rest of the basement is 24 in on center. It makes drywall edges land cleanly and gives you more backing for shelves.
Keep the face plumb, even if the concrete is not
Basement floors and nearby walls are rarely perfect. Shim the bottom plate as needed and keep the face of the wall plumb and flat. If you need help with the “straight wall against crooked concrete” problem, this article is my go-to: Frame plumb and square walls against uneven foundation walls.
Fireblocking and draftstopping
Under stairs can connect to other concealed cavities. Depending on your layout and local code, you may need fireblocking at the top of the wall or where cavities connect. I cover the practical how and where here: Fireblocking basement framing.
Step 4: Frame the door
If there is one spot to slow down, it is the door rough opening. Under-stair doors get installed in tight spaces, and a slightly crooked opening turns into a door that rubs forever.
Choose the door type first
- Prehung swing door: easiest to finish and weatherstrip, needs swing clearance.
- Bifold door: good when clearance is tight, can feel flimsier and needs careful track install.
- Shallow access panel: best for long-term storage zones, not great for daily use.
Rough opening basics
Follow your door manufacturer’s rough opening requirements, but these rules keep you out of trouble:
- King studs and jack studs at the opening like any other wall.
- Header sized for the opening even if it is non-load-bearing, mainly to keep the wall stiff and give you a solid nailing surface.
- Plan for finished floor height. If you will add a subfloor and finished flooring later, leave the right clearance so the door does not drag. If you are still planning the floor build-up, see Basement subfloor systems: dimpled mats vs interlocking OSB panels.
My preference in basements is a prehung door if there is room for the swing. It seals better, looks more finished, and is less fiddly than bifolds in a humid environment.
Step 5: Make it useful inside
A framed triangle is not automatically good storage. A few small details make it feel custom.
Add backing for shelves now
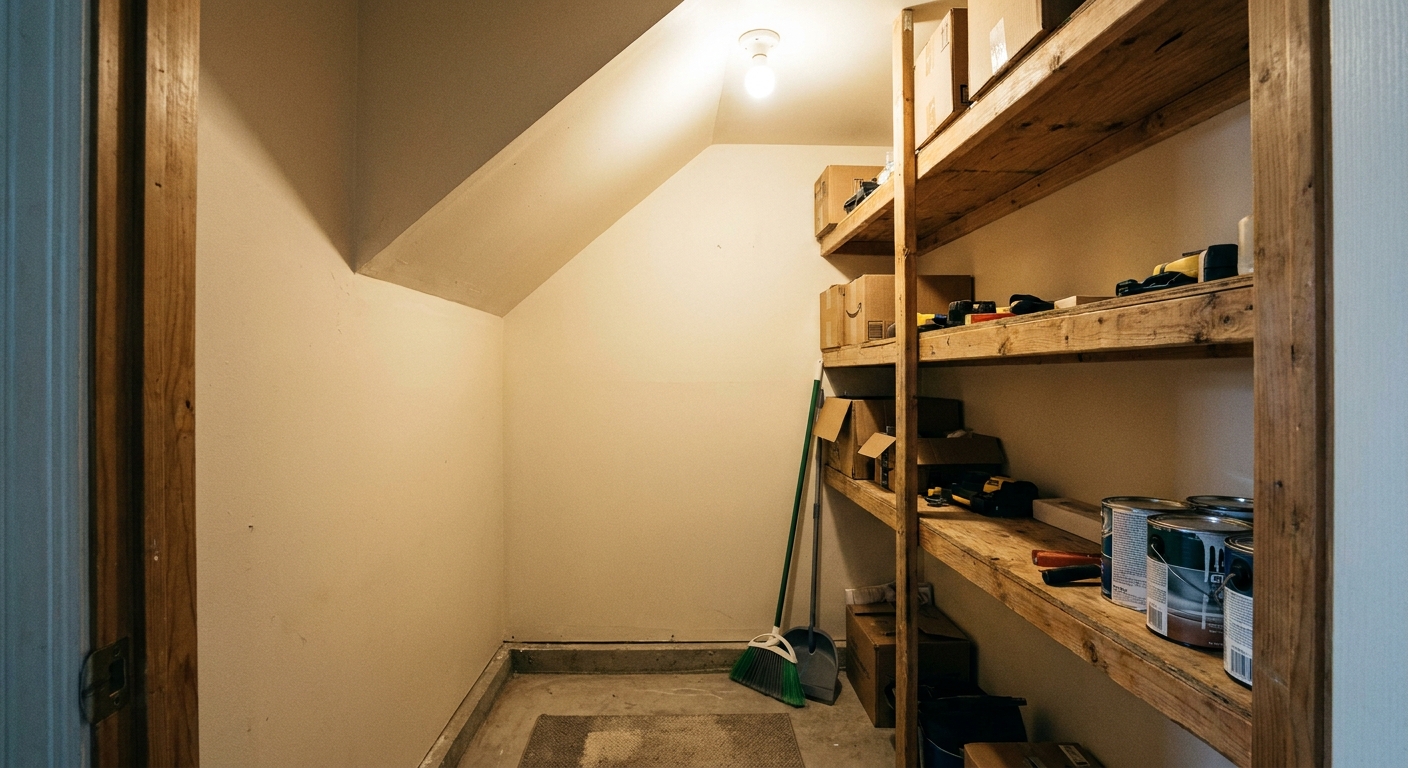
If you want shelves, install horizontal blocking where shelf standards or cleats will go. Drywall alone is not shelf support. I like to add blocking at two heights on the tall side, and at least one run on the low side for hooks or a narrow ledge shelf.
If you plan to store heavy stuff (tools, paint, hardware), assume the loads will be higher than you think. Anchor shelf standards into studs or solid blocking, not just anchors in drywall.
Create a stop wall for deep closets
If your closet runs deep under the stairs, consider framing a short interior partition to create a shallow front zone for daily items and a deeper back zone for long-term storage. Two small doors can make this really practical.
Plan for lighting and wiring
Even a small LED closet light makes a huge difference, but do not treat closet wiring like a free-for-all. Run electrical and low-voltage before drywall, keep junction boxes accessible, and pay attention to fixture type and clearances in small closets. When in doubt, ask your inspector or electrician what they expect for your setup.
If you are planning basement lighting more broadly, see Lighting & finishes.
Step 6: Insulation and vapor
If the under-stair area shares a wall with the foundation, treat it like any other basement exterior wall. Cold concrete plus indoor humidity equals condensation, and condensation inside a closet is where mold gets comfortable.
- Use the right insulation strategy for basements. Continuous rigid foam or properly installed spray foam is often the safest approach against concrete because it controls condensation at the surface. Read Rigid foam vs spray foam basement insulation for moisture control.
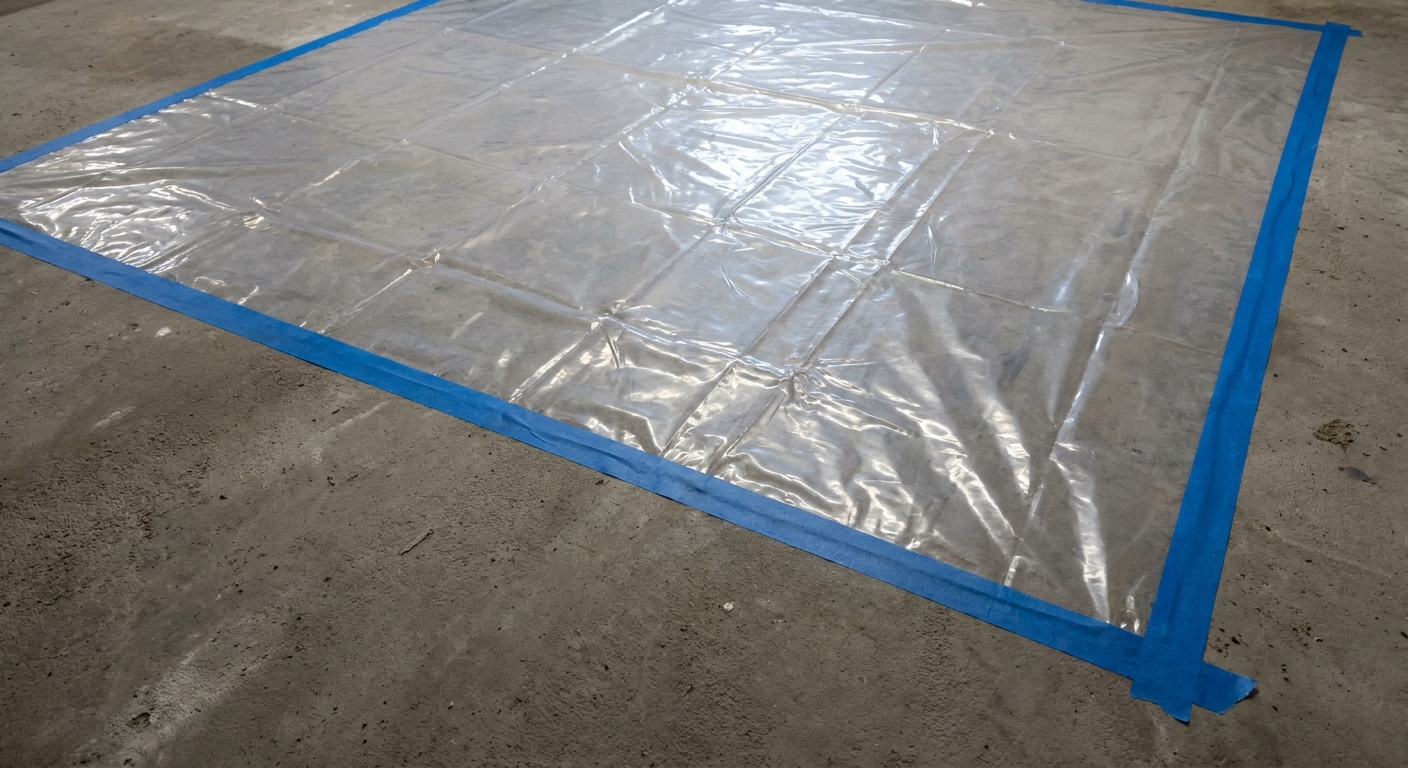
- Be careful with interior poly vapor barriers. In many basements, interior poly can create moisture traps if you do not understand your assembly. If you are planning a vapor barrier layer, start here: How to install a vapor barrier before basement framing.
- Choose mold-resistant materials where it matters. In a closet that might see seasonal humidity spikes, mold-resistant drywall and moisture-tolerant trim can be worth it. See 7 mold-resistant materials for a basement remodel.
Step 7: Drywall and finish
Make the angles crisp
Inside the closet, the stair angle creates odd corners. Use corner bead where needed and add backing behind drywall edges. If an edge feels floppy while you are hanging drywall, it will crack later.
Baseboard and flooring transitions
Under-stair closets often sit where you transition flooring types, like from a finished area to a utility zone. Decide whether the closet floor will match the room or be a durable utility floor.
If you want the closet to feel like part of the finished basement, matching flooring is the move. If you want a tougher surface for wet boots and storage bins, choose a more resilient option. See Flooring options.
Ventilation helps a lot
A tight closet with no airflow can turn into a smell trap, especially if it sits on an exterior wall. You do not need to overcomplicate it, but I strongly recommend planning for some air movement:
- Undercut the door slightly (common interior door practice)
- Use a louvered door if appearance allows
- Consider tying it into your overall basement ventilation approach
More on keeping basement air fresh: Basement ventilation strategies for fresh, odor-free air.
Common mistakes
- Putting the door where you cannot stand. Find the best headroom zone first, then place the door.
- Angling the front wall to match the stairs. It usually looks sloppy and makes trim harder.
- Assuming untreated lumber on concrete is fine. Many codes require pressure-treated where wood touches concrete, and even where they do not, you still want a real moisture break.
- Burying shutoffs or junction boxes. If you need access, build an access panel into your plan.
- Ignoring fireblocking. Small closets still create concealed cavities that can move smoke fast.
- Thinking “storage closet” means “no moisture risk.” Closets are often the first place you notice musty air because they have low airflow.
FAQ
Do I need a permit to build an under-stair closet?
Sometimes. If you are altering egress routes, adding electrical, changing mechanical systems, or finishing new square footage, your local building department may require permits. When in doubt, check before you frame. I walk through the practical side here: Basement finishing permits: what you need and how to get them.
Can I use 2x3 studs to save space?
You can, especially for a non-load-bearing partition, but I only do it when inches truly matter. A 2x4 wall is stiffer, easier for door framing, and gives you more room for backing and electrical.
What is the best door for under stairs?
If you have the swing clearance, a prehung swing door is my pick for a finished basement because it is solid and seals well. If clearance is tight, bifolds work, but spend extra time making the opening square and the track straight.
How do I maximize storage in the deep back corner?
Either (1) do multiple small doors so you can reach each zone, or (2) build pull-out shelves or sliding bins in the deep section. The best solution depends on what you store and how often you need it.
A simple Saturday plan
If you want a simple, realistic order of operations for a weekend project, here is what I would do:
- Confirm moisture is under control, local requirements are understood, and utilities are mapped.
- Chalk line the front wall and mark the door location at the best headroom spot.
- Frame the wall, anchor the bottom plate to concrete, then plumb and square it.
- Frame the door rough opening carefully.
- Run any wiring for lights or switches, and add interior blocking for shelves and any access panels you need.
- Fireblock where required.
- Drywall and trim when the rest of your basement finishing stage is ready.
Done right, an under-stair closet is not just “extra storage.” It is the place that keeps the rest of your finished basement from becoming the storage area.