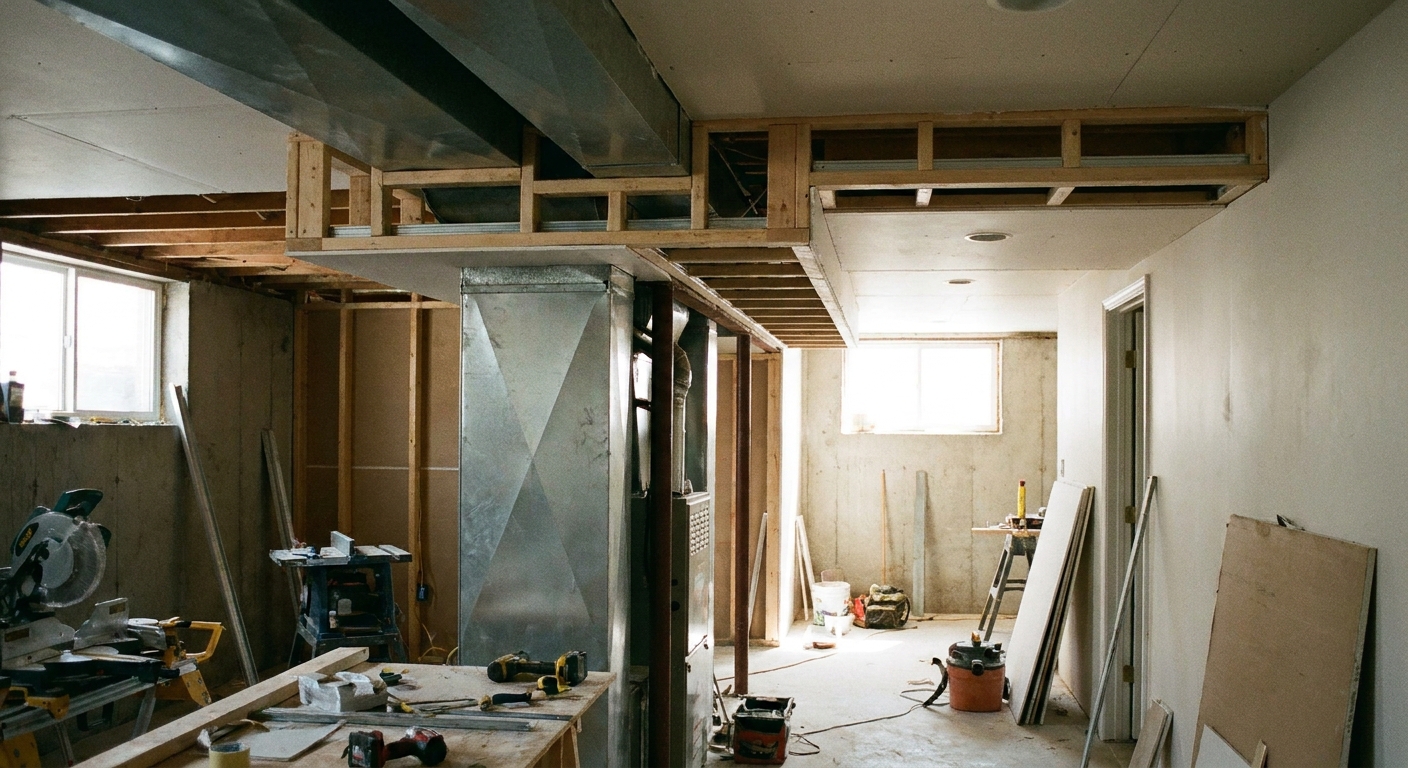
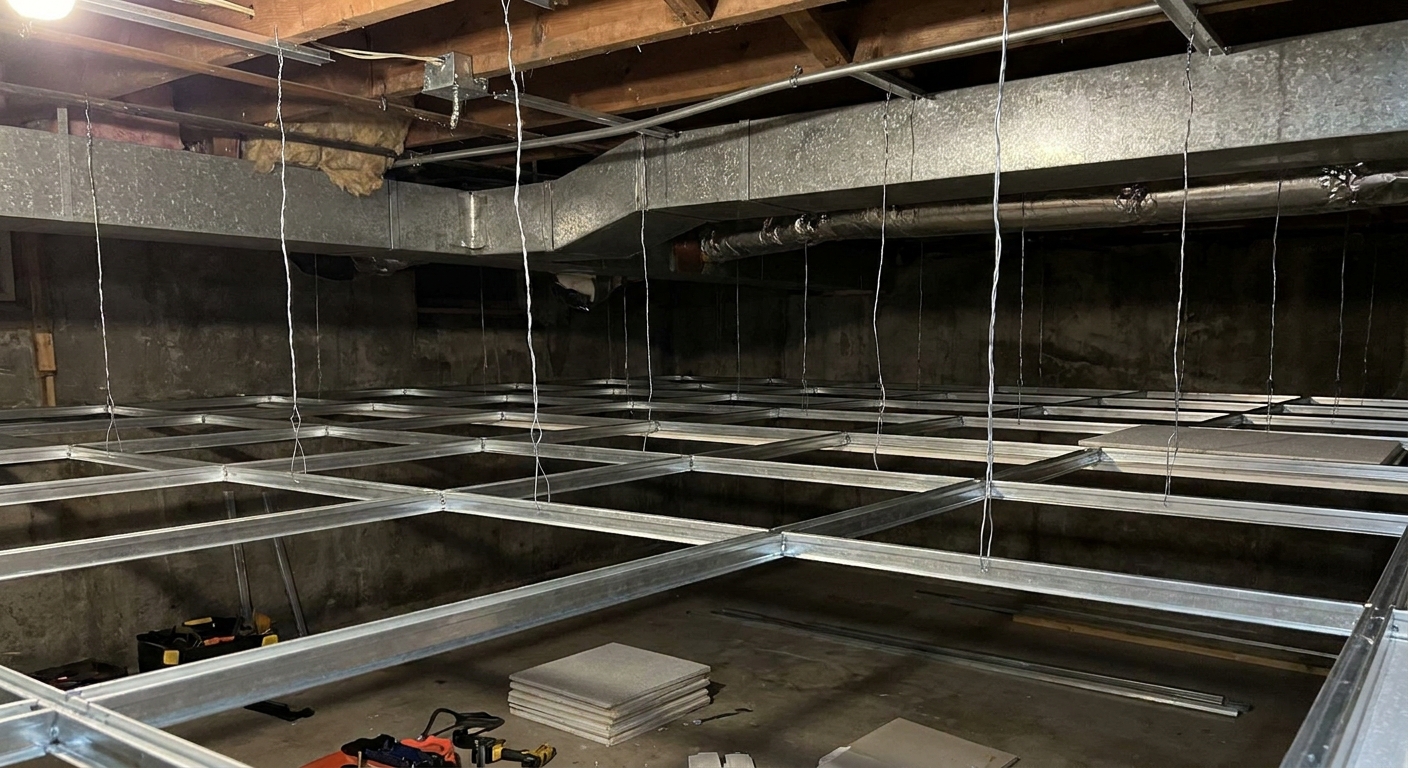
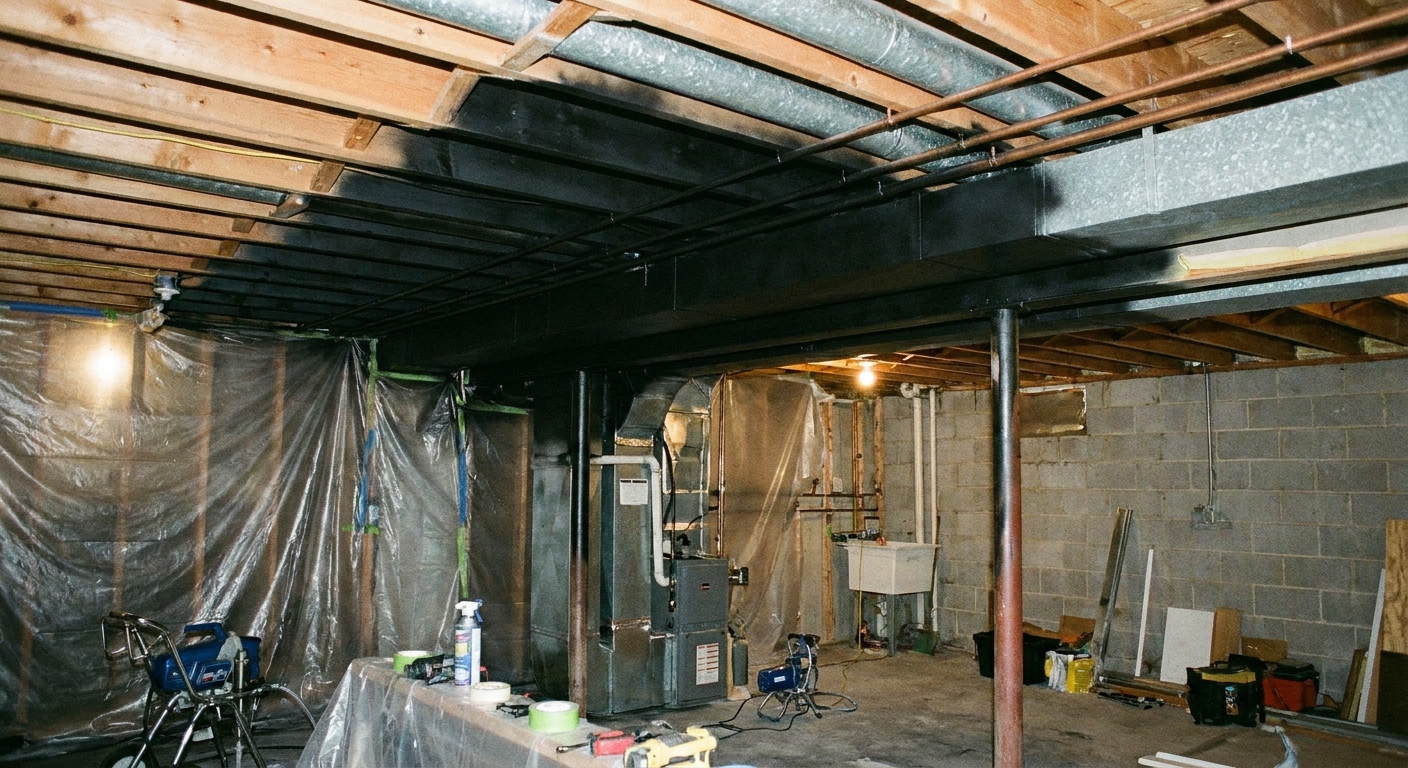
The first basement I ever finished had the classic problem: low ductwork, random pipes, and just enough headroom that a dropped ceiling would have made the whole place feel like a cave. I couldn’t afford to lose inches, and I didn’t want to stare at raw fiberglass and spiderwebs either. Painting the ceiling black was the compromise that made the space feel intentional, taller, and honestly kind of cool.
If you do it right, an exposed ceiling painted with dryfall looks clean and modern, hides visual clutter, and keeps access to plumbing and electrical. If you do it wrong, you get gritty overspray on everything, peeling paint from oily joists, and a fine black dust that haunts you for weeks. This guide is how I’d walk a neighbor through it on a Saturday, including the prep steps most people skip.
Before you paint: is exposed the right ceiling?
Painting an open ceiling is not just an aesthetic choice. It impacts sound, lighting, and future access.
- Ceiling height: If you are tight on headroom, an open ceiling can help. If you have plenty of height, drywall with sound control can feel more finished.
- Noise: Exposed joists reflect sound. Home theaters and guest rooms usually benefit from a closed, insulated ceiling. If sound matters, read Soundproofing a Basement Ceiling With Resilient Channel and Clips.
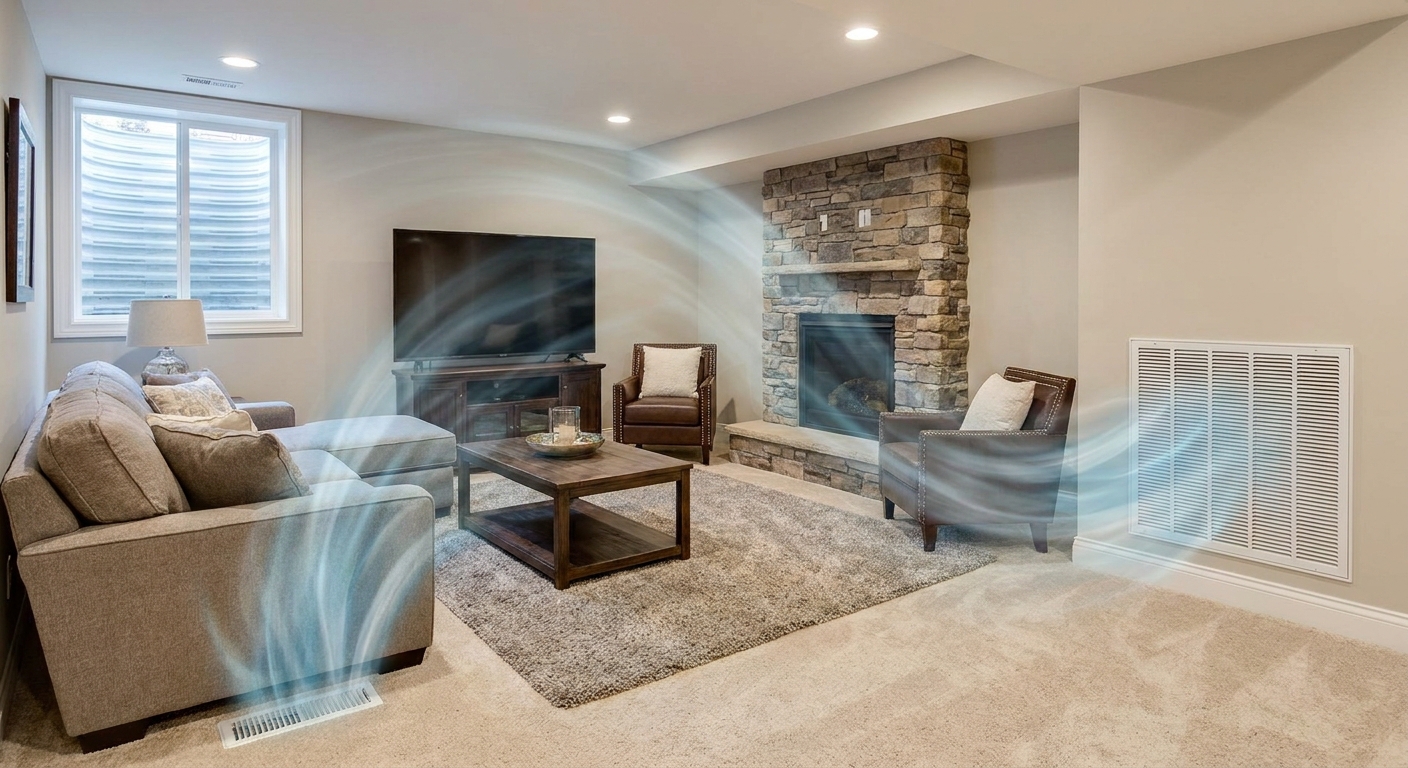
- Moisture: Painting does not fix a damp basement. If you have humidity issues, address those first or paint can peel and mildew can grow on dust and wood oils. Start with Moisture Control and consider Basement Ventilation Strategies.
- Permits and inspections: If you have open permits or need inspections, check what your inspector wants visible. Junction boxes must remain accessible, and some jurisdictions want certain items easy to see. See Basement Finishing Permits.
Dryfall paint: what it is and what it is not
Dryfall is a coating designed so a lot of the overspray dries on the way down and becomes dust instead of sticking like wet paint. That is the appeal: cleanup is closer to sweeping and vacuuming than scraping stuck paint off everything.
Here is the catch that trips people up. Dryfall works best when you have enough fall distance, decent airflow, and the right temperature and humidity. In a low basement, especially a humid one, more overspray can stay tacky and land as speckles on floors and walls. Plan and mask like it is regular sprayed paint, and treat dryfall as a bonus, not a force field.
- It is not magic. Up close, you still get wet overspray on nearby walls, windows, and anything within range of your spray pattern.
- It still makes dust. That dust will coat surfaces and get tracked through the house if you don’t contain the work zone.
- It is usually sprayed. Rolling is possible, but slow and annoying around pipes and wires. I only roll for small sections or touch-ups when the sprayer would take longer to set up than the job itself.
Dryfall is common in commercial spaces and can work well on joists, subfloor, and ductwork, but only if you prep the surface and follow the coating data sheet for acceptable substrates.
Quick planning numbers
- Time: A typical open basement ceiling is often a full weekend for a DIYer. Day one is clearing, cleaning, masking, and setup. Day two is spray, second coat if needed, and first-pass cleanup.
- Coverage: Exposed ceilings eat paint. Between joist bays, blocking, pipes, and ductwork, your effective coverage can be a lot less than a smooth drywall ceiling. Buy enough for a second coat and return what you do not use.
Tools and materials checklist
Spray equipment
- Airless sprayer with a reversible tip and adequate output for ceilings
- Extension pole for the spray gun (highly recommended for shoulders and consistency)
- Extra filters and a clean bucket for flushing
- Tip options: follow your paint manufacturer’s recommendation. As a rough starting point for many water-based coatings, people often land in the 515 to 517 neighborhood, but dryfall varies a lot by product. Use the data sheet and adjust from there.
Prep and masking
- Shop vacuum with brush attachment
- Broom and stiff brush for joists and corners
- Degreaser or TSP substitute, rags, and a pump sprayer or bucket
- Drop cloths or rosin paper for floors
- Plastic sheeting for walls and large items
- Painter’s tape in a couple widths
- Masking paper and a dispenser if you have one
- Foil tape or plastic bags for covering registers and small fixtures
Safety
- Proper respirator for paint spray, not a simple dust mask
- Safety glasses
- Hearing protection if your sprayer is loud
- Hat or disposable hood and coveralls, or clothes you are ready to sacrifice
- Good lighting, including a bright portable work light
Coatings
- Dryfall paint in your chosen sheen and color (flat or matte hides the most)
- Stain blocking primer for knots, resin, and old stains if you have older lumber
- Bonding primer for metal if your ductwork is slick, galvanized, or oily (after degreasing)
If you are picking colors, black is common because it visually “erases” the ceiling, but dark charcoal can look a little softer and hide dust better than pure black. White can brighten the basement but it highlights every wire and pipe and often looks busier.
Step 1: Fix moisture and odor first
Paint is not a moisture plan. If your basement smells musty, you see efflorescence on walls, or you have a history of water on the slab, pause and handle that before you spray.
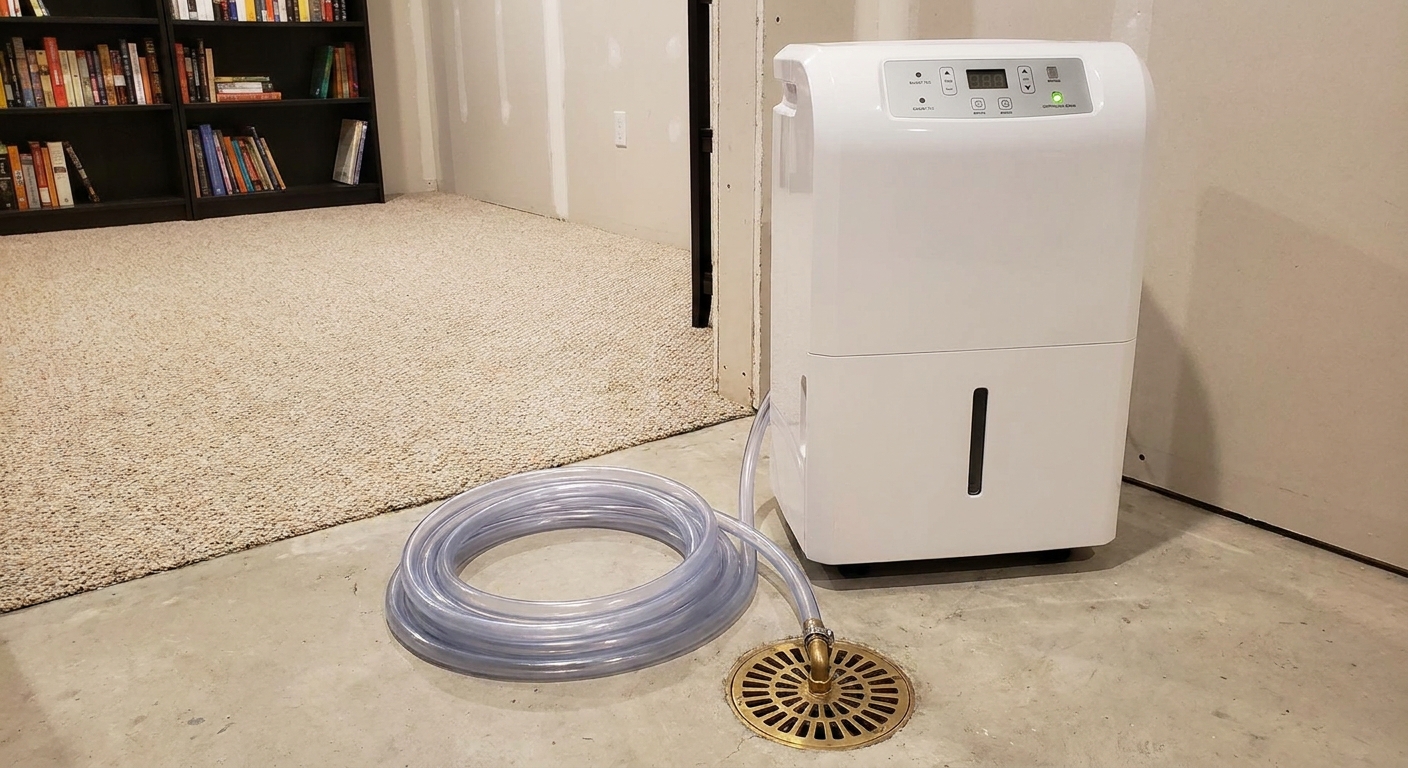
- Run a dehumidifier and dial in a target humidity. If you are unsure what size or setup you need, see Basement Dehumidifier Sizing and System Options.
- Address water entry at the source when possible. Start outside with Yard Grade and Downspouts.
- Seal known cracks, especially active ones. See Seal Foundation Cracks With Injection Kits.
If your ceiling has visible mold, stop and remediate properly. Painting over growth is not a fix.
Step 2: Check temperature and humidity
Basements love being cold and damp, and both can mess with adhesion and cure. Before you do all the masking and setup, check the coating label for minimum application temperature and recommended humidity. If your basement is hovering near that minimum, warm the space first and keep it stable through dry time.
Also, do not rush recoat time just because the surface feels dry. Cool air slows cure, and that is when you get that soft, dusty finish that collects fingerprints.
Step 3: Clear the space and plan your spray path
Spraying a ceiling is a lot easier when the room is empty. If it cannot be empty, get everything to the center and wrap it like you mean it.
- Remove: curtains, rugs, shelving you can take down, loose insulation, and anything that will catch dust.
- Cover: floors, stairs, windows, doors, furnaces or water heaters (avoid blocking combustion air), and any finished walls.
- Create zones: I like to work from the far corner back toward the exit so you are not walking under fresh paint and shedding dust onto wet sections.
Also pick your cut line now. Decide if the ceiling color will stop at the top of the foundation wall, drop down a few inches, or wrap an entire wall. Clean lines come from planning, not from “I’ll tape it as I go.”
Step 4: Clean like paint has to stick
Basement ceilings collect a mix of dust, cobwebs, sawdust, and sometimes oily residue from HVAC work. Paint sticks to what is there. If what is there is grime, your paint is only as strong as the grime.
Dry cleaning
- Shop-vac the joists, ledges, and tops of ductwork.
- Knock down cobwebs and loose debris with a broom.
- Vacuum again, especially the tops of beams and the rim joist area.
Wet cleaning (worth it in most basements)
- Use a degreaser or TSP substitute on areas that look shiny, feel oily, or sit above a workshop space.
- Wipe metal ductwork and pipes especially well. This is where adhesion failures love to start.
- Let everything dry fully before priming or spraying.
If you are painting in a cold season, be patient here. Damp wood plus paint equals slow cure and a dusty surface that holds onto every fingerprint.
Step 5: Do the unglamorous prep
Handle insulation correctly
If you have fiberglass batts between joists and you plan to keep them, don’t spray them. Painted fiberglass looks dirty fast and sheds fibers. Either remove and replace later, or plan a different insulation strategy. For insulation choices that play nice with basements, see Rigid Foam vs Spray Foam Basement Insulation.
Secure loose wiring and small lines
Anything dangling will cast ugly shadows and look sloppy after paint. Strap what you can. If you are not comfortable touching electrical, do not. But you can usually tidy low voltage cabling and coax with proper clips.
Scrape and spot-prime problem areas
- Scrape flaking material and vacuum the dust.
- Spot-prime knots, resin pockets, and old stains with a stain blocking primer.
- For galvanized ductwork, degrease first, then consider a bonding primer if your dryfall system calls for it.
Knots and old stains can bleed right through dark paint. I learned that one the hard way in a corner where I skipped primer and ended up with amber blotches.
Step 6: Masking that works
Dryfall helps with cleanup, but it does not replace masking. The goal is to keep overspray dust from drifting into the rest of the house and to protect surfaces you care about.
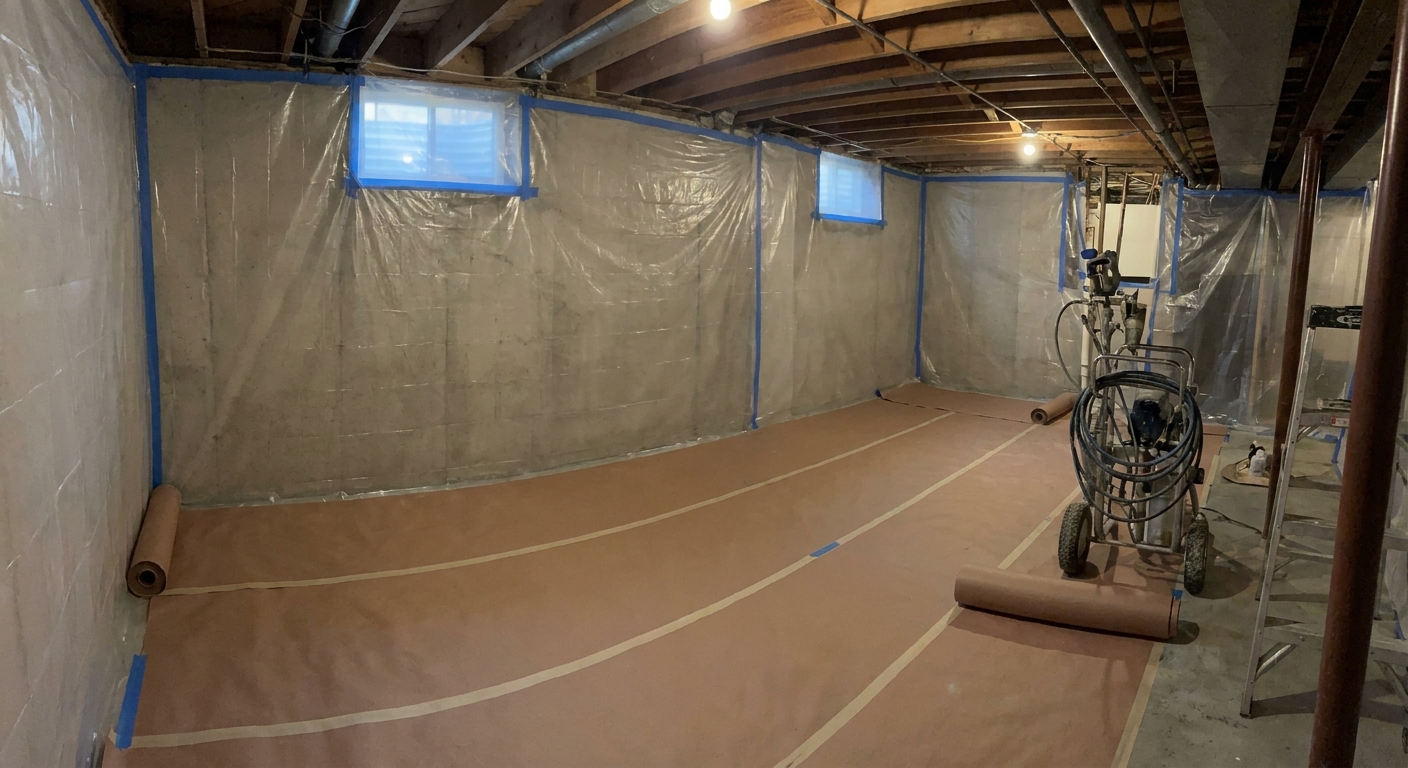
Mask the perimeter
- Hang plastic from the top of foundation walls to the floor if the walls are finished or freshly painted.
- Tape seams and overlaps so air movement does not pump dust into cracks.
- Cover windows and glass completely. Dryfall dust loves glass.
Protect HVAC
- Turn off HVAC while spraying.
- Cover supply and return openings so you are not blowing paint dust through your ducts.
- If your basement has exposed returns or filter racks, seal them with plastic and tape while you work.
Mask things you should not paint
- Recessed lights, smoke and CO alarms, heat detectors, and sprinkler heads (if you have them) should be protected, not fogged with paint.
- Labels on shutoffs and cleanouts are worth preserving. A small piece of tape can save you future frustration.
- Mask open electrical boxes and keep paint out of connectors. Also, avoid blasting NM cable markings if you still have inspections coming, because some inspectors want labels readable.
If you are building soffits later, think ahead. You might not need a perfect spray edge where future framing will cover it. This is one of those planning details that saves time. If you are boxing around ductwork, see How to Frame Basement Soffits and Bulkheads.
Step 7: Ventilation and safety
Even water-based coatings create a lot of airborne junk when sprayed. Set up airflow so it exits the basement and does not drift upstairs.
- Use a box fan in a basement window exhausting out, if you have one.
- Provide make-up air from another opening so the fan is not just fighting itself.
- Close off the basement from the rest of the house with plastic at the stair opening if possible.
One big safety note: if you have an atmospherically vented furnace or water heater in the basement, be careful with strong exhaust fans. Creating negative pressure can backdraft combustion gases into the house. If you are not sure what you have, err on the cautious side, crack a window for make-up air, and consider talking to an HVAC pro before you run fans hard.
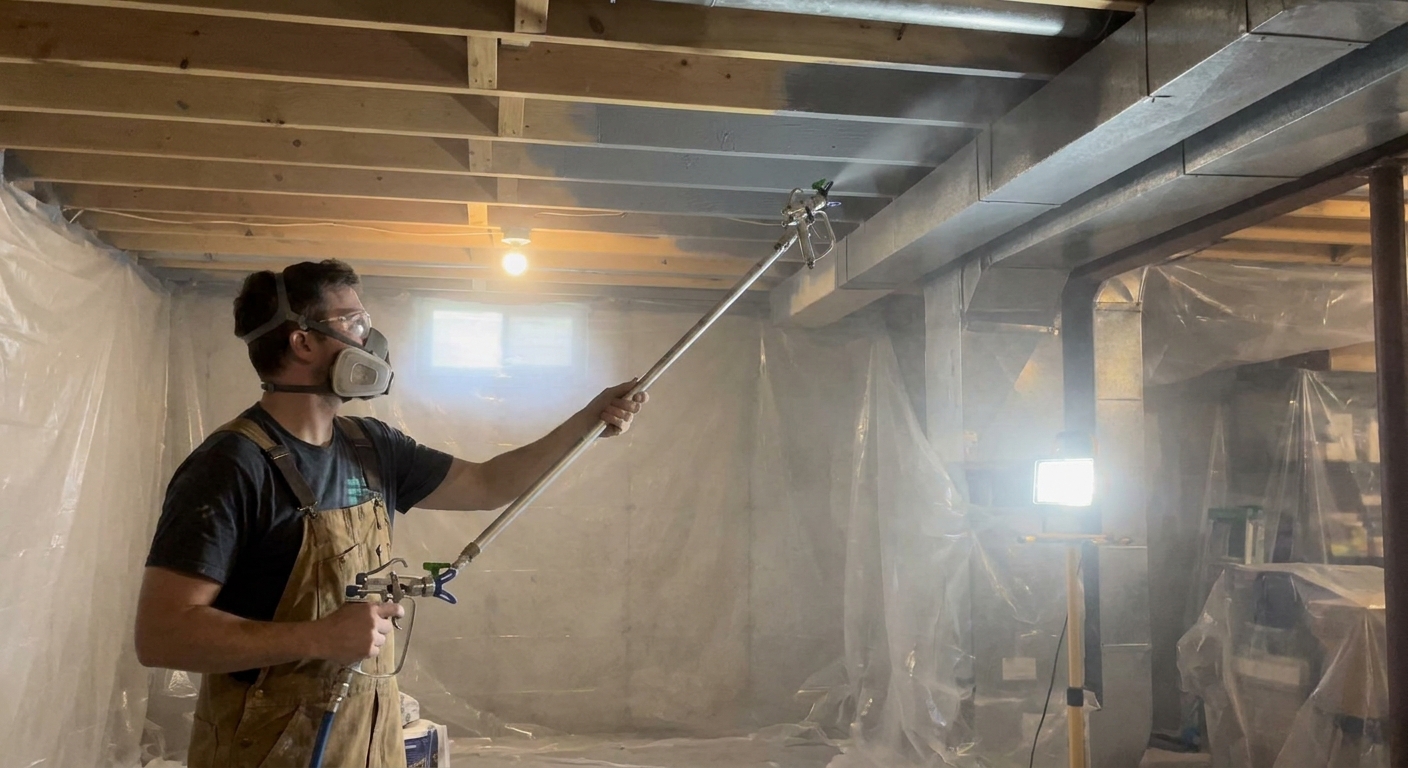
Wear a real respirator rated for paint spray. Overspray is not just a smell problem. It is a lungs problem. Also protect your eyes. You will be spraying overhead, and gravity is not on your side.
Step 8: Spraying technique
This is where you earn the “clean industrial” look. The trick is consistent distance, consistent speed, and a plan for all the weird angles.
Start with a test area
- Pick a corner that will be less noticeable.
- Dial in your sprayer pressure to get an even fan without heavy tails.
- Check for runs on vertical surfaces like beams and duct sides.
Spray order that works
- Rim joist and perimeter bays: Hit the edges first so you are not trying to aim into corners after the main ceiling is wet.
- Between joists: Spray the underside of the subfloor and the sides of joists in each bay.
- Bottom edges of joists: Finish with long, steady passes along the joist bottoms.
- Ductwork and pipes: Treat them as their own surfaces. Walk around them and keep the nozzle angle consistent.
Distance and overlap
- Keep the tip roughly 12 to 18 inches from the surface, unless your sprayer and tip recommendation differs.
- Overlap each pass by about 50 percent.
- Keep the gun moving before you pull the trigger and after you release it to avoid heavy spots.
Watch for missed shadows
Exposed ceilings have lots of hidden faces. After your first coat, walk the room with a bright work light and look up from different angles. You will find zebra stripes and unpainted edges that only show when light hits them just right.
Step 9: One coat or two?
In many basements, two thinner coats look better than one heavy coat. Heavy spraying increases runs on pipes and duct sides, and it can leave a rough texture if the paint starts drying mid-air.
- New lumber: Often needs two coats for even color, especially with dark paint.
- Old stained wood: May need primer plus two coats to prevent bleed-through.
- Already painted ceilings: Can sometimes get by with one coat if adhesion is good and the color change is minor.
Follow the recoat window on your paint. Dryfall can feel dry fast on the surface, but cure time is different. If you rush the second coat too soon, you can trap moisture and end up with a soft, dusty finish.
Step 10: Cleanup without wrecking the finish
Let the dust settle
Dryfall overspray will float, then settle. If you start ripping plastic down immediately, you can shower dust onto wet paint and onto the rest of the basement.
- Give it time, then carefully fold plastic inward so dust stays contained.
- Vacuum floors with a shop vac, then vacuum again the next day. It is amazing how much shows up overnight.
- Wipe horizontal surfaces you care about, especially shelves, window sills, and door trim.
Change filters if you share HVAC
If your basement shares a forced-air system, plan to check and change the furnace or air handler filter after the job. Even with careful masking, fine dust has a way of getting places.
Flush your sprayer properly
Do not shortcut sprayer cleanup. Dried paint in the pump or gun will turn your next project into a repair project.
- Flush with the correct cleaner for your coating.
- Clean filters, tip, and guard.
- Store the sprayer per manufacturer instructions.
Lighting tips
A painted open ceiling can look dramatic or dingy depending on lighting. The ceiling will absorb light, especially in flat black.
- Use more fixtures than you think: Dark ceilings eat lumens. Plan for layers of light.
- Aim light down: Wall wash and task lighting keep the space feeling bright.
- Pick fixture finishes that match: Black ceiling with black fixtures reads clean. Mixed finishes can look busy overhead.
If you are still deciding how the basement should feel, browse the rest of our Lighting & Finishes articles for options that work in low-ceiling spaces.
Common mistakes
- Skipping cleaning: Dust and oils cause peeling, especially on ducts and pipes.
- Not masking returns: Pulling paint dust through HVAC is a misery you do not want.
- Spraying too heavy: Runs on pipes and duct seams are hard to hide later.
- Forgetting access: Cleanouts, shutoff valves, and junction boxes should stay findable and accessible.
- Painting over problems: Moisture, mold, and active leaks always win eventually.
FAQ
Should I paint the ceiling black or white?
Black or dark charcoal hides visual clutter and makes the ceiling feel higher, but you need more lighting. White brightens the space but highlights every pipe and wire and can look busy. If you want the industrial look, dark wins most of the time.
Do I need primer on an exposed basement ceiling?
Sometimes. If you have knots, resin, old stains, or smoke residue, spot-priming is smart. For slick or galvanized ductwork, degrease first, then use a bonding primer if your coating system recommends it.
Can I spray paint around electrical wiring and boxes?
You can spray near wiring, but you should not fill boxes and devices with paint. Mask open boxes, keep paint out of connectors, and never paint over anything that needs to be serviceable. Junction boxes must remain accessible. If your electrical is mid-project, it is often better to wait until rough-in is complete and inspected.
How messy is dryfall really?
Less messy than standard paint in the right conditions, but still messy. In low ceilings and higher humidity, more overspray may stay tacky and stick. Expect dust either way. The key is containment and cleanup, not wishful thinking.
Where this fits in a remodel
Painting an exposed ceiling is usually best after rough mechanicals are done and approved, but before finish flooring and trim go in. If you are trying to map the whole job in the right order, follow Basement Remodel Timeline: Correct Order of Operations. Doing this at the right time saves you from masking around brand-new flooring or repainting after a plumber has to open something up.
If your low ductwork and pipes are the whole reason you are considering an exposed ceiling in the first place, it also helps to read Basement Plumbing and HVAC Without Losing Ceiling Height before you commit to a layout.