The first basement I finished had one problem I did not respect enough: cold concrete. I insulated the walls, sealed the rim joist, put down nice flooring, and still ended up walking around in thick socks like I was camping. Radiant floor heat is the upgrade I wish I had planned for from day one because it fixes the problem at the source. Not the air, the slab.
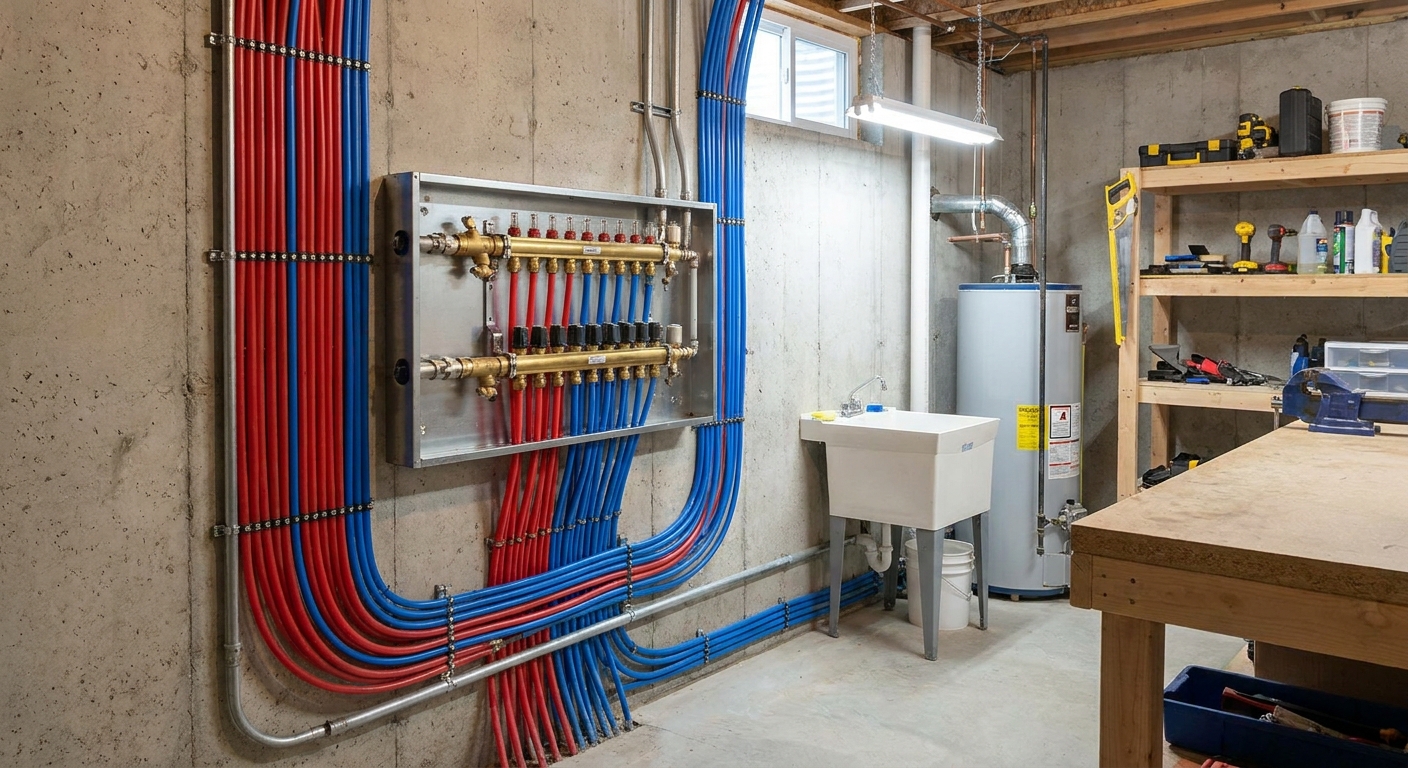
In basements, radiant heat usually comes in two flavors: electric heating mats (or loose cables) and hydronic systems (hot water running through PEX tubing). They can both make a basement feel dramatically warmer, but they are very different when it comes to cost, complexity, and what they make sense for.
Why basement floors feel so cold
Concrete has high thermal mass and it sits in contact with cool soil. So even if your basement air temperature is comfortable, the slab can stay much cooler, and your feet notice immediately. Basements also tend to run more humid than the rest of the house, which does not change the temperature but does make cold surfaces feel clammy and worse.
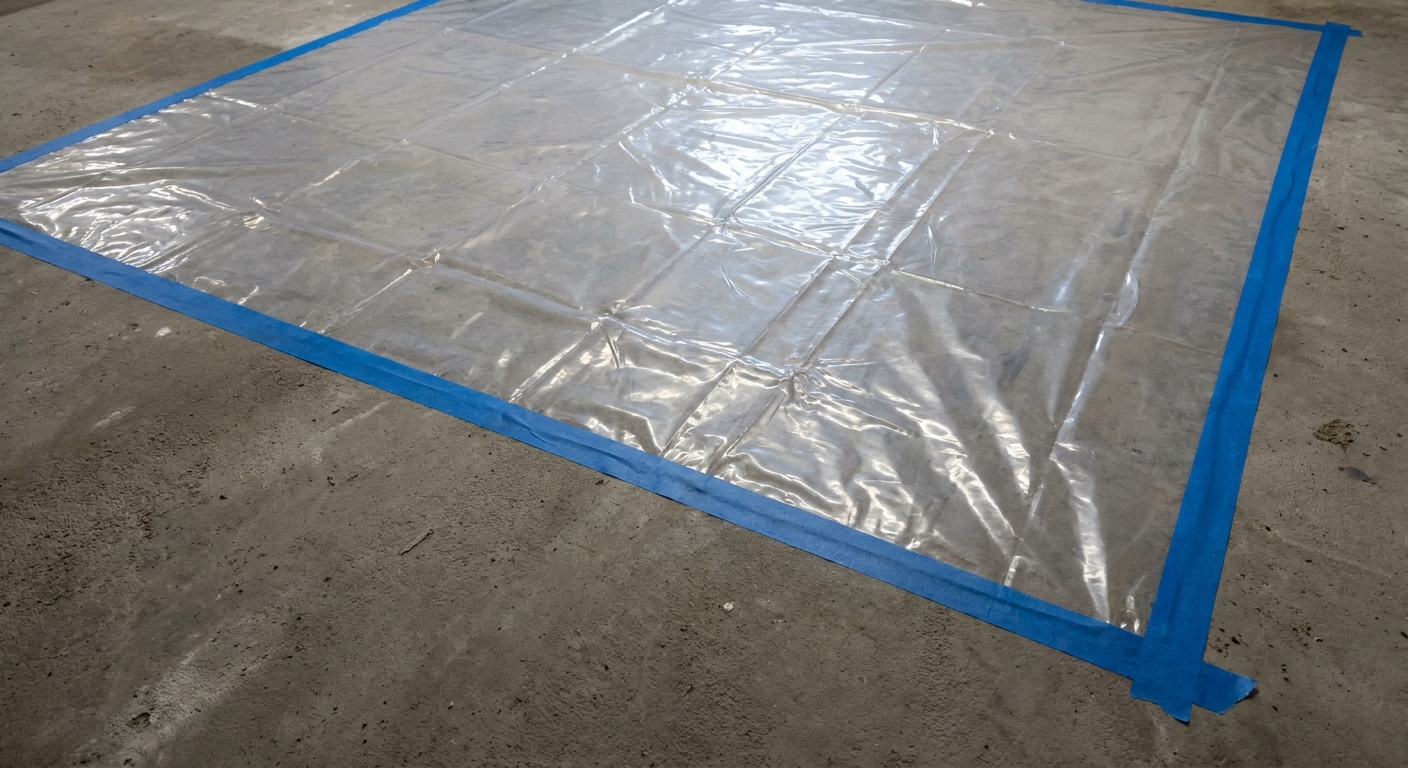
Before you spend money on radiant heat, make sure you are not fighting moisture. Radiant systems can live in a basement, but a wet slab or damp walls can ruin flooring, adhesives, trim, and indoor air quality. Handle water and vapor first. A few good starting points on Finish Below:
Electric radiant floor heat
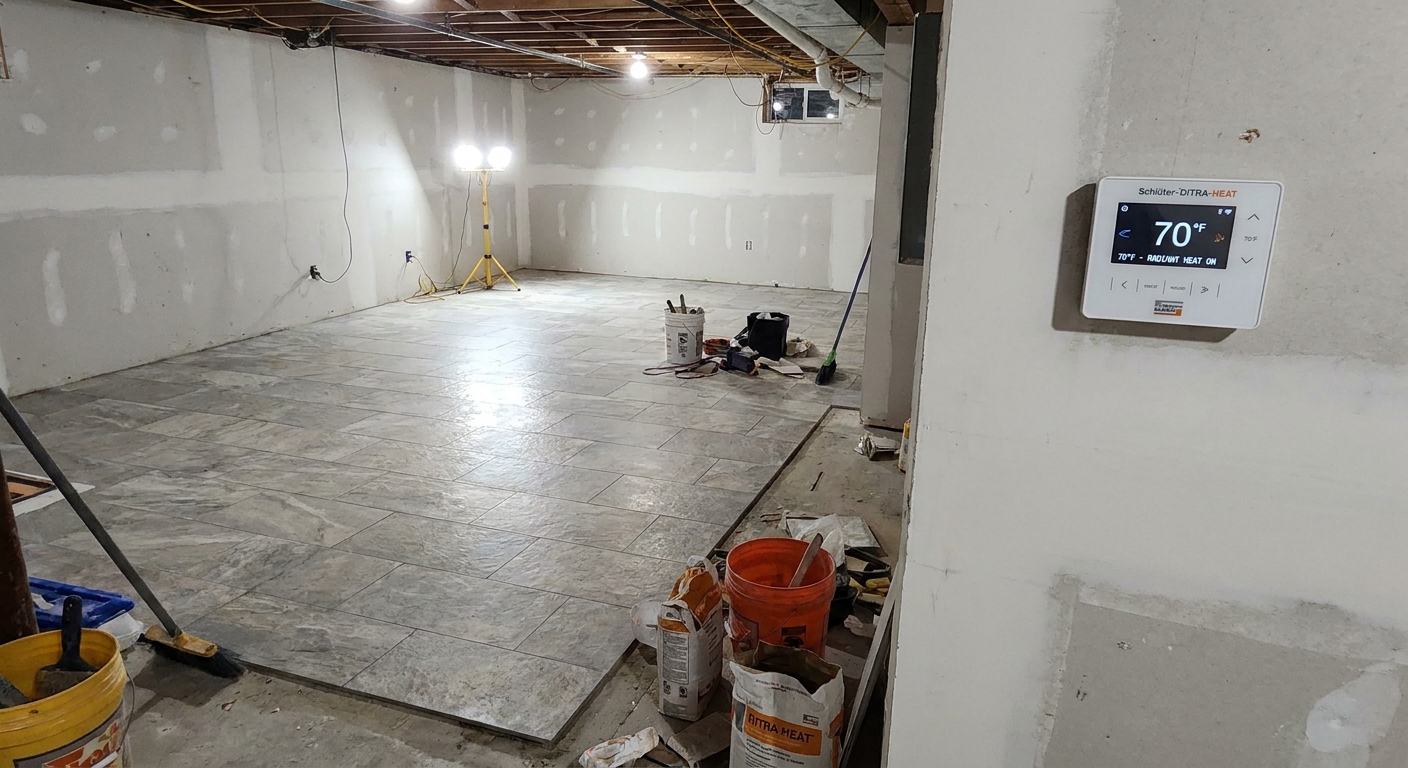
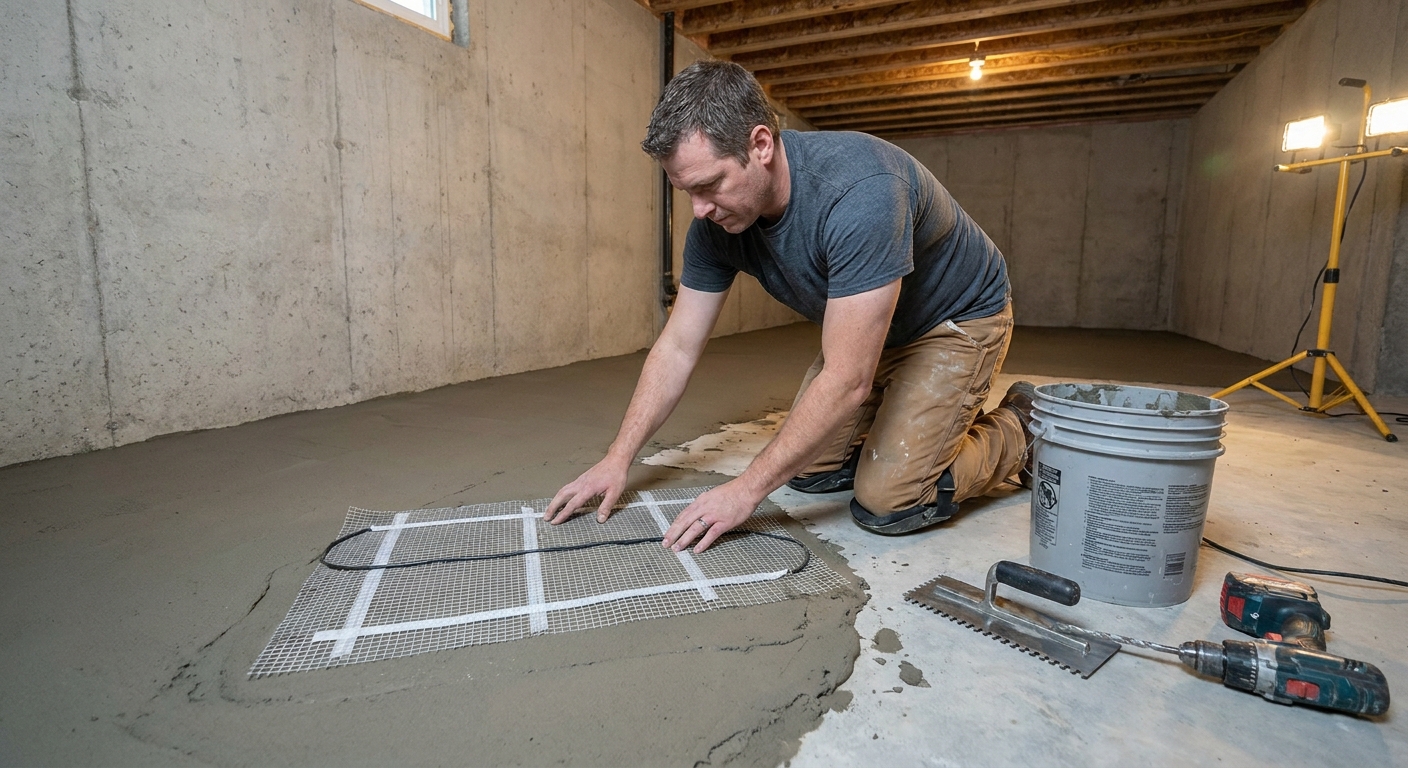
Electric radiant floors use resistance heating wires. Those wires come pre-spaced in a roll-out mat, or as loose cable that you snake back and forth. You embed them in thinset mortar or a self-leveling underlayment, then install tile or a floating floor above (depending on product approval).
Where electric mats shine
- Small to medium areas like a bathroom, a kids play zone, or a TV nook.
- Remodels where you do not want major mechanical work. No boiler tie-in, no manifold, no pump station.
- Floor-height limited spaces. Many systems add relatively little thickness, though the leveling layer and underlayment still matter.
Electric downsides
- Operating cost can be higher than hydronic in many climates, especially if you heat large areas for long hours.
- Electrical capacity matters. Basements already have dehumidifiers, freezers, home theaters, treadmills, and bathrooms. A radiant floor can push you into new circuits or even a panel upgrade.
- You must protect the cable. One stray screw or tack later can mean chasing a failure you cannot see.
Typical cost (electric)
Electric is usually the cheaper install, especially for smaller footprints. But treat numbers like these as ballpark planning ranges, not quotes. Floor prep, self-leveling compound, and electrical work can easily become the big line items.
- DIY materials: often roughly $8 to $20 per square foot for the heating system, thermostat, and sensor, plus thinset or self-leveler.
- Pro installed: commonly $15 to $35+ per square foot depending on floor prep and electrical scope.
Costs swing based on whether you need crack repair, floor flattening, a new dedicated circuit, or an electrician to adjust the panel. If you have not priced basement prep work lately, my cost breakdown page helps set expectations: Basement finishing cost breakdown per square foot.
Power and circuit reality
If you are thinking electric for anything bigger than a bathroom, do a quick gut-check on power early. Many systems land in the neighborhood of 10 to 15 watts per square foot, but you have to follow the exact product specs you buy. Multiply that out and it is easy to see how a “nice comfort upgrade” turns into a real electrical load that needs dedicated circuits, proper breaker sizing, and a thermostat rated for the amperage.
Efficiency and operating cost
Electric resistance heat is essentially 100 percent efficient at the site, meaning almost all the electricity you buy becomes heat in the floor. What you actually pay to run it still depends on your electric rates, how long you run it, and how much heat your slab dumps into the ground.
In practice, electric radiant floors are most cost-effective when they are used like a comfort feature, not the primary heat source for a whole basement. Think “warm feet in the bathroom” and “take the chill off while we watch a movie,” not “replace the furnace.”
Hydronic radiant heat
Hydronic radiant floors circulate warm water through PEX tubing embedded in a slab pour, a thin slab overpour, or a grooved panel system. Heat comes from a boiler, a water heater rated for space heating, a combi boiler, or sometimes a heat pump setup.
Where hydronic shines
- Large basements where you want whole-floor comfort without a higher-than-expected electric bill.
- When you already have a boiler or plan to install one for the home anyway.
- Zoned heating (guest suite vs. game room vs. storage) with better long-run flexibility.
Hydronic downsides
- Higher upfront cost and complexity. Manifolds, pumps, mixing valves, expansion tanks, controls, and real design decisions.
- More coordination with your HVAC and plumbing plan. It is not hard, but it is not last-minute-friendly either. If you are trying to preserve ceiling height while adding mechanicals, this ties in: Basement plumbing and HVAC without losing ceiling height.
- Best done early because the tubing is buried under your finished floor system.
Typical cost (hydronic)
Hydronic has a wider cost range because the “heat source” can be simple or expensive. These are ballpark ranges meant for early planning. The heat source, controls, and floor build-up often matter more than the tubing itself.
- Tubing and manifold materials: often in the $3 to $8 per square foot range for basic components, plus controls and insulation.
- Installed system cost: commonly $15 to $40+ per square foot when you include labor, mixing controls, and slab overpour or panel systems.
- If a new boiler is needed: total project cost can jump significantly.
Efficiency and operating cost
Hydronic radiant floors are usually cheaper to run for whole-basement heating because you can generate heat more efficiently than electric resistance in many setups, and you can zone and modulate the output. The real efficiency comes down to your heat source and water temperature.
- Condensing boilers can be very efficient when running lower water temperatures, which radiant floors are good at.
- Heat pumps can be even more efficient in the right conditions, but hydronic heat-pump designs are a specialized conversation.
One thing homeowners miss: even a very efficient hydronic system can waste money if the slab is losing heat downward. Which brings us to the detail that matters most.
Insulation matters most
If you only remember one thing from this article, make it this: radiant heat without insulation is like running a space heater with the window cracked.
In basements, you are either heating:
- The room (what you want), and
- The ground (what you pay for).
How you handle insulation depends on your system and your floor build-up:
- Electric mats in thinset: You usually do not have room for thick foam. Some setups use an insulated underlayment board approved for tile, which can help, but you must follow the manufacturer’s load ratings and fastener rules.
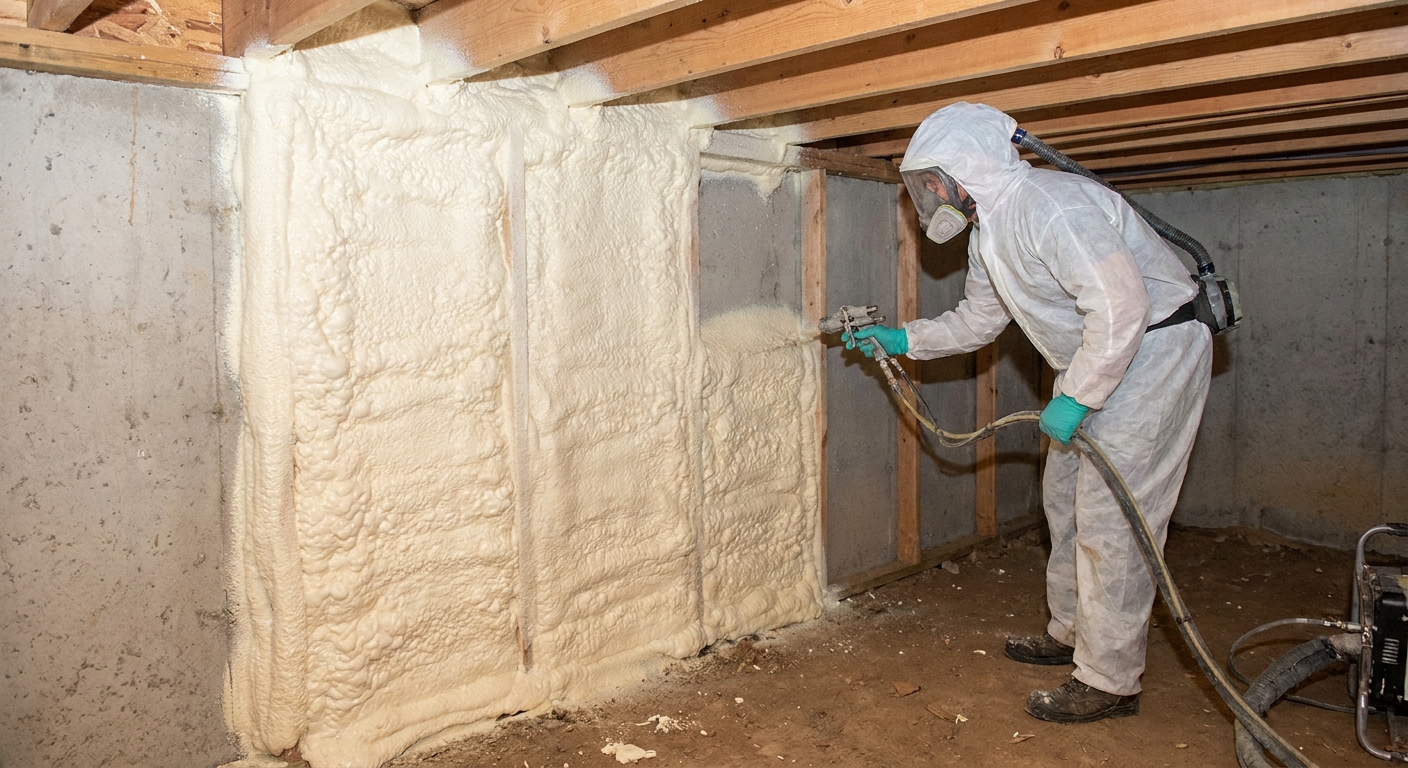
- Hydronic in an overpour: This is where you can often do it right. Rigid foam under the pour can dramatically improve performance. If you are weighing foam options for below-grade work, see Rigid foam vs. spray foam basement insulation.
Also consider perimeter slab losses. The slab edge at exterior foundation walls is a huge heat leak. Even modest improvements there can make radiant feel more responsive.
Response time and comfort
Radiant heat feels great, but it does not always feel fast. Systems embedded in a slab or overpour have a lot of mass to warm up, so they respond slowly to thermostat changes. That is not a flaw, it is just how it works.
- Electric under tile often feels quicker because the heating element is closer to the surface.
- Hydronic in slab or overpour is usually slower, but it delivers very even, steady comfort once it is up to temperature.
If you want “instant heat,” radiant may frustrate you unless you run it more steadily and let it maintain temperature instead of chasing it.
Flooring compatibility
You can put radiant heat under a lot of floors, but some materials move heat better, and some tolerate basement conditions better.
Great pairings
- Tile: best heat transfer, very stable. Electric mats are especially common here.
- Luxury vinyl plank (LVP): many products are approved for radiant, but you have to obey max surface temperature limits and underlayment rules. If you are still choosing between LVP and laminate for below-grade, start here: Luxury vinyl plank vs. laminate for basements.
Use caution
- Engineered wood: can work, but humidity swings and temperature limits matter. Basements require extra discipline on moisture.
- Carpet: carpet and thick pad act like insulation. You can still do radiant, but output drops. If you want carpet anyway, choose basement-friendly carpet and pad: Best carpet and pad choices for damp basements.
Subfloors change the math
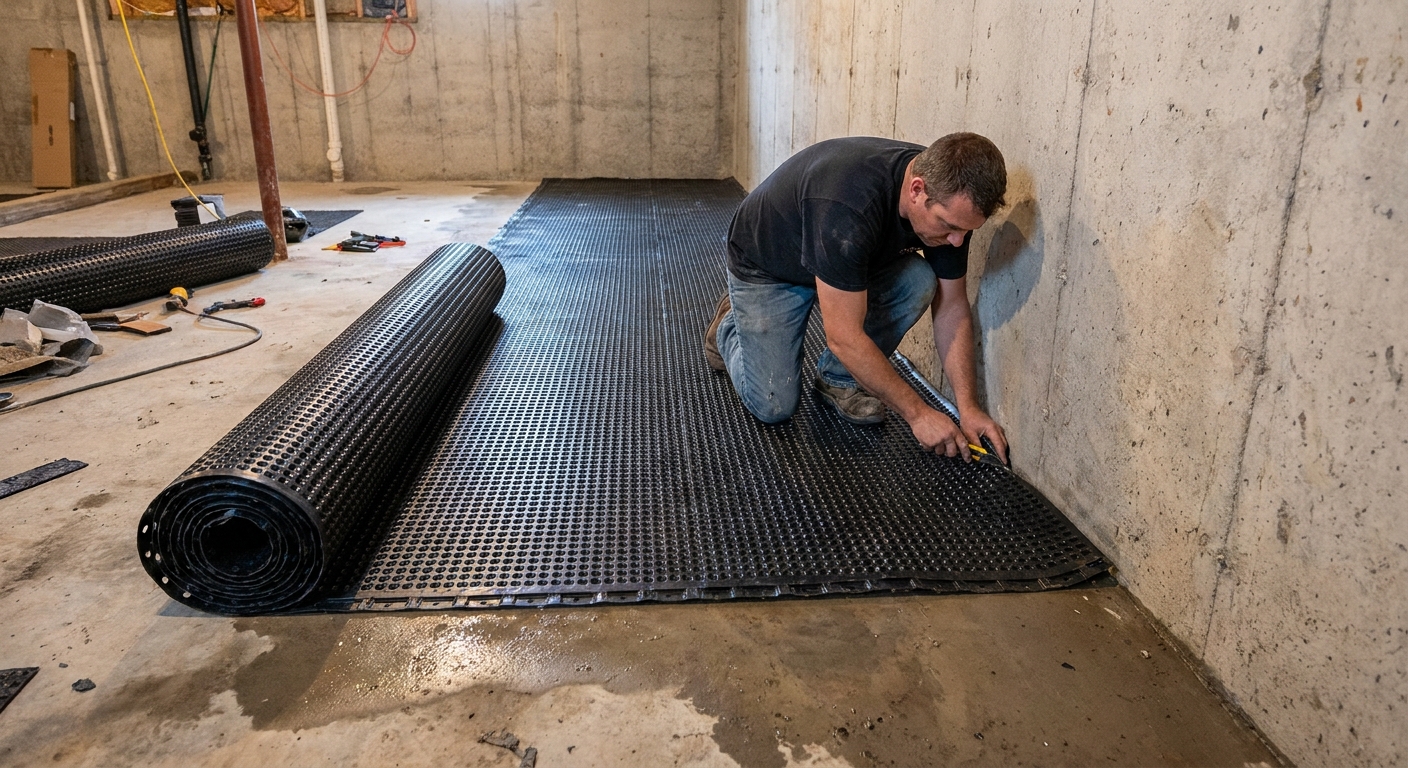
If you are using a dimple mat or interlocking subfloor panels to keep your finished floor separated from the slab, understand what you are doing to heat flow. Many subfloor systems add an insulating air gap. That is great for comfort and moisture management, but it can reduce how much radiant heat makes it to the surface if the heat is below that layer.
If you are planning a subfloor anyway, read this before you lock in radiant design: Basement subfloor systems: dimpled mats vs. interlocking OSB panels.
Build-up and height
Basements are not generous with headroom, and radiant can add thickness fast if you are not paying attention. Before you buy anything, sketch the whole stack from concrete to finished floor and look at doors, stairs, and transitions.
- Electric in thinset can be relatively thin, but you still have thinset, possible uncoupling membrane, and tile thickness.
- Electric in self-leveler adds more thickness, but it can be a lifesaver on a rough slab.
- Hydronic overpour is usually the thickest approach, and it can force stair and door changes.
- Hydronic panels can be thinner than an overpour, but they still add height and have their own flooring rules.
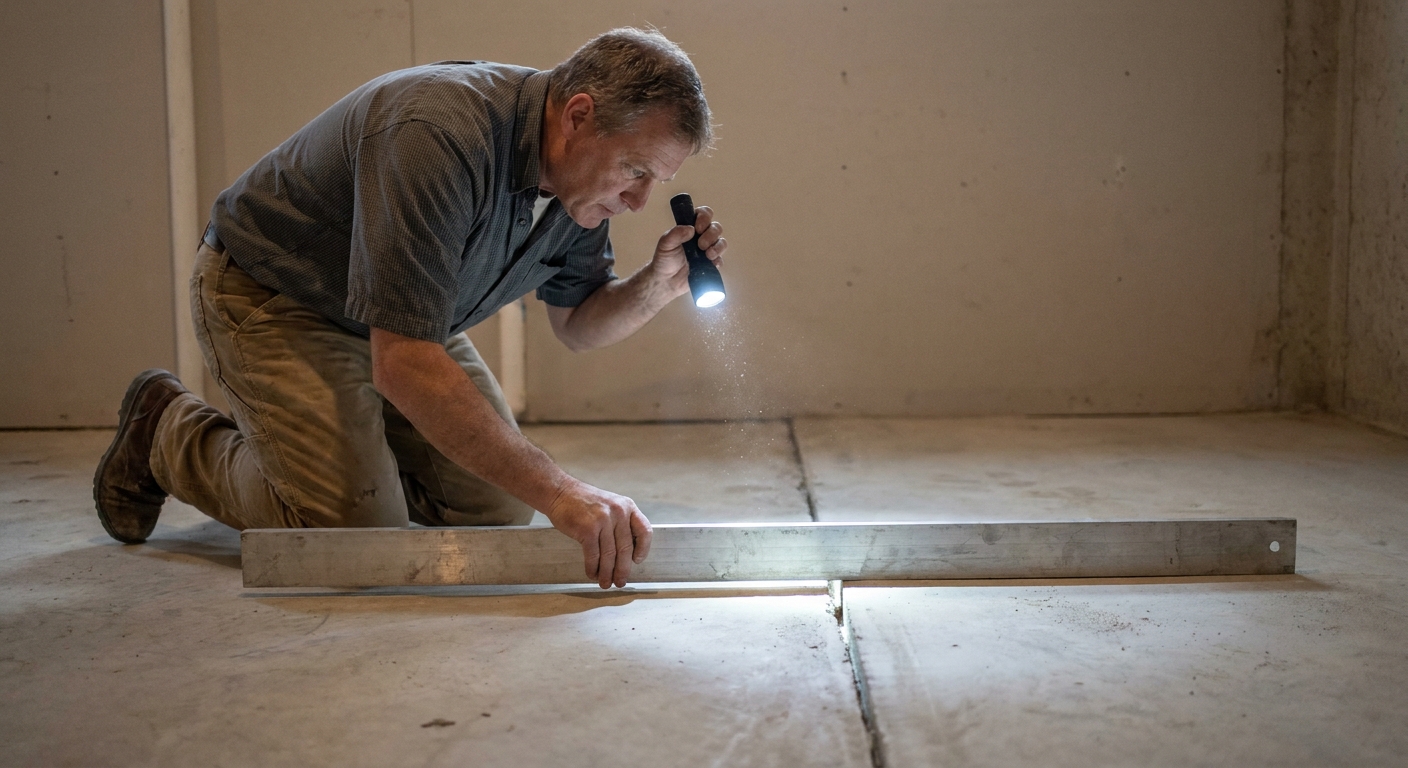
If your slab is not friendly, fix that early so you are not stacking product on top of a problem: Level an uneven basement concrete floor.
Installation overview
Every brand has its own requirements, but the workflow below is what I see most often in real basements.
Electric mats: common sequence
- Moisture check and floor prep: patch cracks, grind high spots, clean thoroughly.
- Plan layout: avoid under vanities, permanent cabinets, and toilets (unless product explicitly allows). Keep clearances from walls as specified.
- Run conduit for sensor and position floor temperature sensor between heating wires.
- Install mat and test: measure resistance before, during, and after embedding.
- Embed in thinset or self-leveler: follow minimum cover thickness.
- Install flooring after cure, then connect thermostat (often electrician work).
Hydronic: common sequence
- Heat-loss and zone planning: decide what areas need heat, where the manifold goes, and what water temps you will run.
- Insulation strategy: especially under an overpour and at slab edges when possible.
- Lay tubing and pressure test: tubing gets fastened to mesh, staples, or panels. Pressure test stays on during pour.
- Pour or cover: overpour slab, gypcrete, or panel system depending on design.
- Mechanical hookup: manifold, pump, mixing valve, controls, tie-in to boiler or heat source.
- Commissioning: balance loops, verify flow rates, set limits.
If you are trying to keep a basement remodel on track, radiant work has to be scheduled early. Here is the sequencing guide I use when I am planning my own projects: Basement remodel timeline and order of operations.
Controls and safety
Most radiant floor problems I see are not “the concept is bad.” They are “the controls and limits were an afterthought.”
- Electric: many systems require GFCI protection (sometimes built into the thermostat, sometimes at the breaker). Follow the manufacturer instructions and local code.
- Hydronic: use the right mixing and limit controls so you do not overheat the floor. Floor coverings often have a maximum surface temperature, and your water temperature needs to respect that.
Comfort is great. Cooking your vinyl plank or drying out an engineered wood floor into gaps is not.
How to choose
Here is the simplest way I know to choose without getting lost in spreadsheets.
Choose electric if
- You are heating a small area (bathroom, kitchenette zone, reading corner).
- You want fast installation with minimal mechanical work.
- Your basement already has a main heat source and radiant is comfort-only.
- You have enough electrical capacity, or upgrading the panel is already on the menu.
Choose hydronic if
- You want to heat most or all of the basement.
- You already have, or are willing to install, a suitable boiler or hydronic heat source.
- You can build in insulation under or around the heated mass.
- You want lower long-term operating cost and good zoning.
My rule of thumb
Electric mats are hard to beat for a basement bathroom remodel. Hydronic is hard to beat for a full basement finish where you want the whole level to feel like the upstairs.
Basement pitfalls
1) Ignoring moisture, then trapping it
Radiant heat does not solve dampness. PEX tubing itself can tolerate moisture, but your flooring, adhesives, wood, and air quality usually cannot. Also, warming a damp slab can increase evaporation and push more moisture into the layers above, which is how you end up with musty smells or flooring issues.
Start by testing and addressing water entry, then choose floor layers that handle below-grade conditions. If you need help thinking through vapor barriers and layers, see How to install a vapor barrier before basement framing. It is wall-focused, but the “control layers first” mindset applies to floors too.
2) Misplacing the sensor
Floor sensors should sit between heat runs, not on top of a wire and not jammed against an exterior wall. A badly placed sensor causes short cycling and weird temperature swings.
3) Heating under built-ins
Heat needs to dissipate. Covering radiant wires with a vanity or a big built-in cabinet can create hot spots and shorten system life. Plan those zones before any wire or tubing goes down.
4) Forgetting transitions
Basements are full of “almost level” slabs. Once you add leveling compound, radiant, underlayment, and flooring, you can end up with awkward transitions at stairs and doors. Measure early, and do not assume trim will hide a bad plan.
FAQ
Can radiant floor heat be the only heat source in a basement?
It can, but only if the system is designed for it. That means doing a heat-loss calculation, insulating well, zoning smart, and making sure your heat source can keep up. Electric systems are usually not cost-effective as the sole heat for a large basement in colder climates.
Is radiant heat safe under vinyl plank?
Often yes, but it depends on the exact flooring product and the radiant system. Most manufacturers set a maximum floor surface temperature and sometimes require a specific underlayment. Always follow the stricter requirement between the radiant manufacturer and the flooring manufacturer.
Does radiant floor heat increase home value?
It usually increases perceived quality and comfort, which helps marketability. Whether you “get it back” depends on how much you spend and your local market. If you are weighing upgrades overall, I like to decide what is worth splurging on early: Where to splurge and where to save.
Do I need permits?
Often yes. Electric radiant floors typically trigger electrical permits. Hydronic systems can trigger plumbing and mechanical permits, plus inspections for boilers and controls. Local rules vary, so check early: Basement finishing permits.
My recommendation
If you are finishing an entire basement and you have access to a good hydronic heat source, hydronic is usually the long-game winner for comfort and operating cost. If you are remodeling a bathroom or a small section and want warm tile without turning your project into a mechanical redesign, electric mats are a clean, satisfying upgrade.
Either way, do not skip the basement fundamentals. Dry first, flat second, warm third. That order saves a lot of expensive rework.