The first time I framed around an egress window in my own basement, I treated it like any other window. I figured, studs are studs, opening is an opening, and trim hides sins. Then I fought a wavy foundation wall, discovered my “perfect” opening was out of square by nearly half an inch, and realized my future drywall returns would crack if I forced everything to fit. If you get the rough opening right, everything downstream gets easier: drywall, casing, window well trim, even how the room feels when you walk past it.
This guide walks you through framing basement egress windows (including common “window buck” details for masonry openings) and properly sizing interior door headers across your basement floor plan. I will stay practical and basement-specific, because below-grade framing has its own rules.
Before you frame: checks
Confirm moisture is under control
Wood framing and wet concrete are a bad long-term relationship. Before you build any window or door rough openings, make sure you are not framing into a moisture problem you should have solved first.
- If you have water on the floor after storms, stop and address drainage first. Start with exterior basics like grade and downspouts. See Exterior moisture control: yard grade and downspouts.
- If your slab is questionable, test it. See Test a basement slab for moisture emissions.
- If you are sealing cracks, do that before framing. See Seal foundation cracks with injection kits.
Know what is bearing and what is not
Many basement partition walls are non-load-bearing, but basements also hide bearing lines, beams, posts, and point loads in ways that surprise people. If a wall is carrying joists, supporting a beam, or taking a post load, it is not just a “partition” anymore.
A quick heuristic that helps me start the conversation: floor joists that run perpendicular to a wall often bear on it, and joists that run parallel usually do not. Usually is doing a lot of work in that sentence. Verify before you assume.
If you are altering a foundation opening, cutting concrete, or changing a beam or post layout, pull permits and get an engineer where required.
If you are still in planning mode, it helps to sketch your openings early so your door swings and furniture layouts make sense. See How to design a basement floor plan.
Permits and egress basics
Egress requirements are code-driven and local inspectors take them seriously. Minimum clear opening area, minimum clear width and height, and maximum sill height are the big ones, plus window well size and ladder requirements when applicable. Those “clear opening” measurements are typically evaluated as net clear opening with the window fully open, per the window listing and manufacturer instructions. The sash and hardware matter.
Those numbers vary by jurisdiction and by code edition, so treat the manufacturer instructions and your local code office as the final word.
If you are unsure what your permit path looks like, read Basement finishing permits: what you need and how to get them.
Tools and materials I use
Tools
- 25 ft tape, pencil, sharpie
- 4 ft level and a shorter torpedo level
- Speed square and framing square
- Plumb bob or laser level (nice to have for crooked foundations)
- Circular saw or miter saw
- Impact driver and drill bits
- Hammer or framing nailer
- Construction adhesive (for treated bottom plates and bucks where appropriate)
- Shims (composite shims are great around concrete and treated lumber)
Lumber and fastening
- Studs: typically 2x4, sometimes 2x6 depending on insulation plan
- Pressure-treated lumber: bottom plates that contact concrete
- Header material for doors: typically two 2x pieces with a spacer, or an LVL where required
- Fasteners: framing nails or structural screws as appropriate
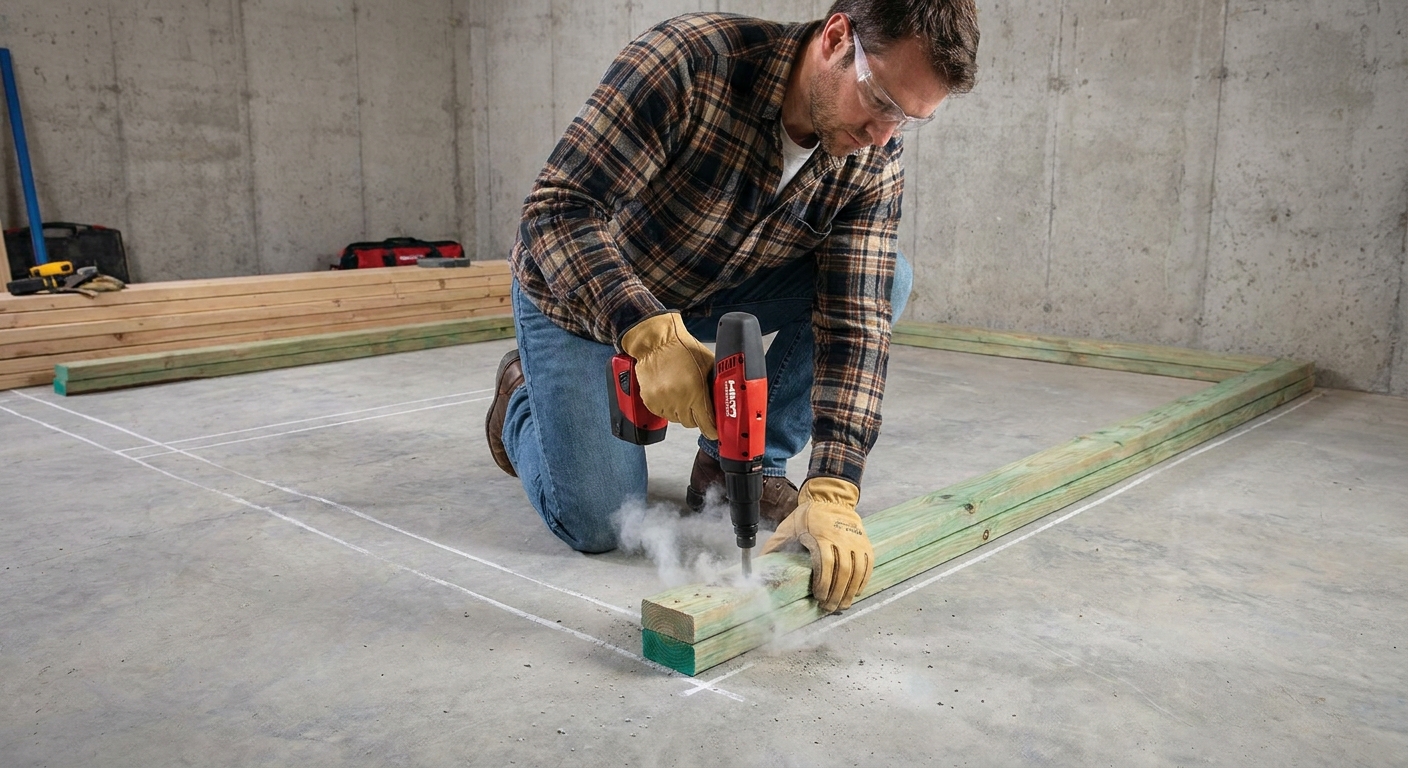
- Concrete fasteners for bottom plates: powder-actuated fasteners or masonry screws. See Secure bottom plates to a concrete basement floor: Ramset vs masonry screws.
Basement extras for window openings
- PT lumber or composite for window bucks when the opening is in concrete or block
- Foam backer rod and compatible sealant for air sealing perimeter gaps
- Rigid foam or low-expansion window and door foam for air sealing
- Fasteners compatible with PT lumber chemistry, such as hot-dipped galvanized or other approved fasteners per your lumber and fastener manufacturer
How to size basement window openings
The rough opening is not the same as the window size printed on the box. Your window will have a manufacturer rough opening spec, and you should follow it. If you are ordering the window, get the cut sheet first and build your framing around that.
Three measurements that matter
- Rough opening width and height: Manufacturer spec. This usually includes room for shimming and squaring. As a practical reality check, you generally want enough clearance to shim the unit plumb and square without forcing it. If you frame so tight that the window has to be pounded into place, you are asking for problems.
- Sill height: For egress, code limits maximum sill height from finished floor. Remember “finished floor” includes any subfloor system plus flooring.
- Wall thickness and jamb depth: Basements often have thick assemblies: foundation wall plus insulation plus framing plus drywall. Plan whether you will do drywall returns, extension jambs, or interior trim solutions.
Do not forget subfloor thickness
This one bites DIYers all the time. If your egress window sill must be no more than a certain height above the finished floor, you have to account for:
- Dimple mat or subfloor panel thickness
- OSB or plywood thickness if used
- Finished flooring thickness
If you are still choosing your floor build-up, decide that now. See Basement subfloor systems: dimpled mats vs interlocking OSB panels and Flooring options.
Frame an egress window in a stud wall
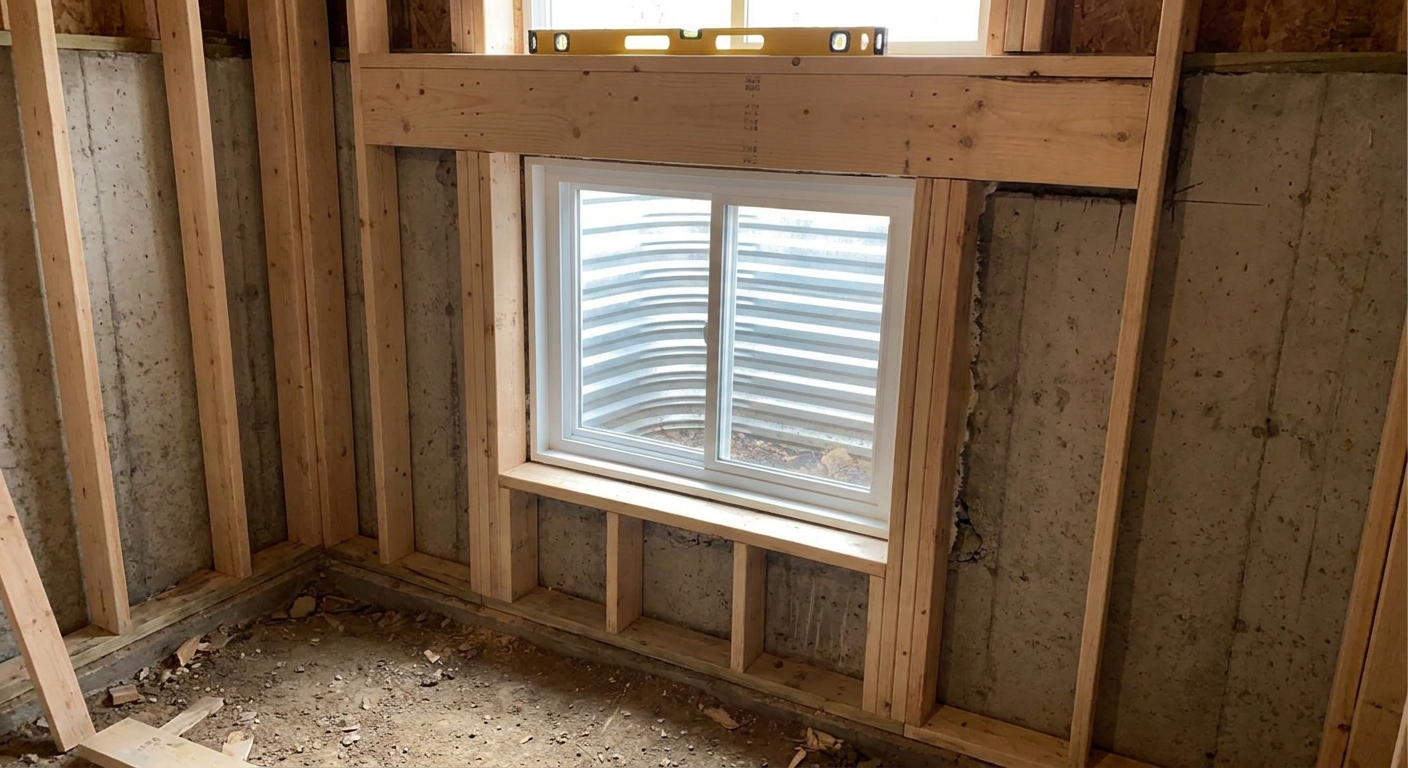
This is the most common basement finishing scenario: your concrete or block foundation already has an egress window installed, and you are building a stud wall in front of it. Your job is to frame a clean, square opening in the stud wall so drywall and trim behave.
Step 1: Pick the interior finish
You typically have two options inside:
- Drywall returns: Drywall wraps into the window opening, no wood jambs. Clean and modern, but your corners must be square and your framing must be solid.
- Extension jambs and casing: More traditional trim, a little more forgiving if the foundation opening is imperfect.
Step 2: Lay out the opening on the plates
Build your wall flat on the floor when possible. Mark:
- King studs (full-height studs on each side of the opening)
- Jack studs (trimmers supporting the header or sill members)
- Header position (top of opening)
- Rough sill position (bottom of opening)
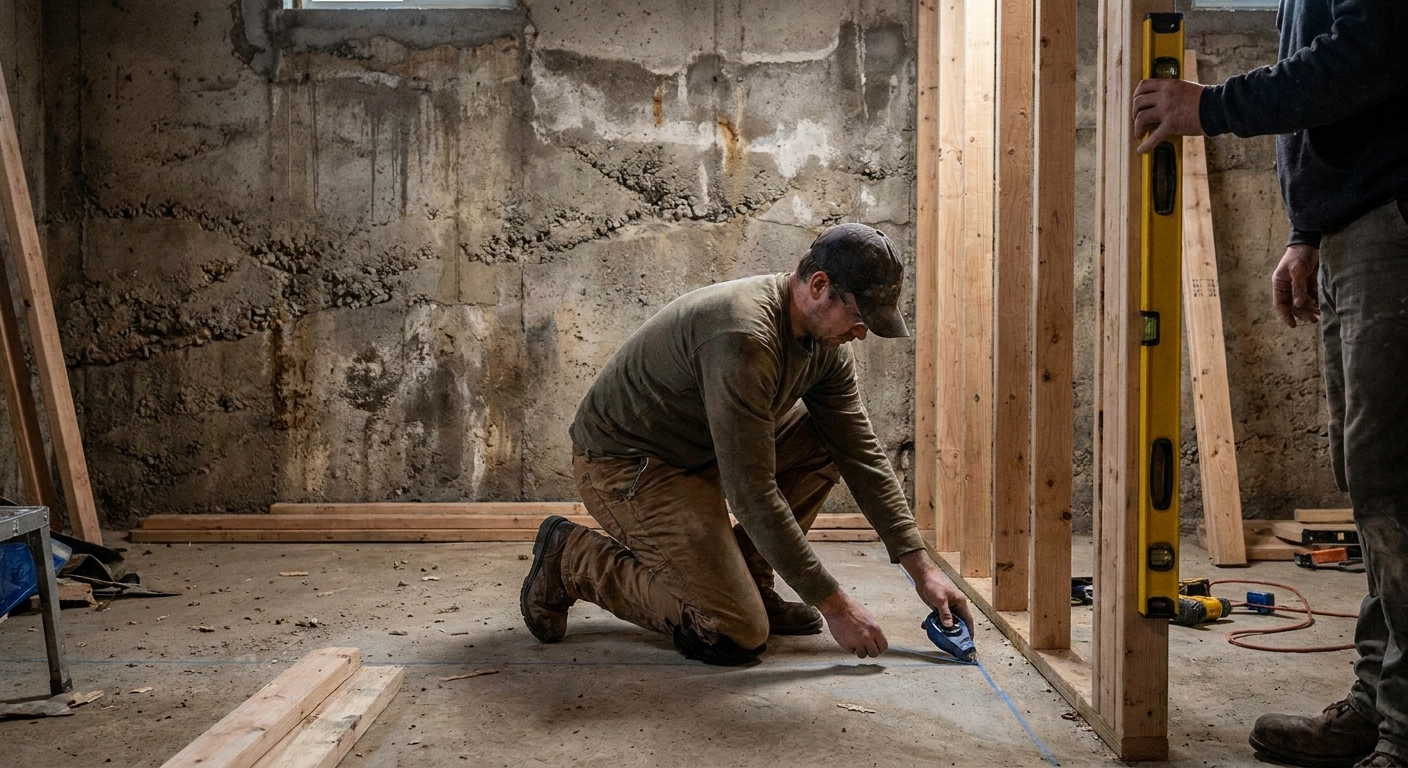
Basement floors are often not level, so I like to snap a level line around the room first and use that as my reference. If you build the wall on the floor and stand it up, be ready to shim under the bottom plate to hit a level header and a level sill line.
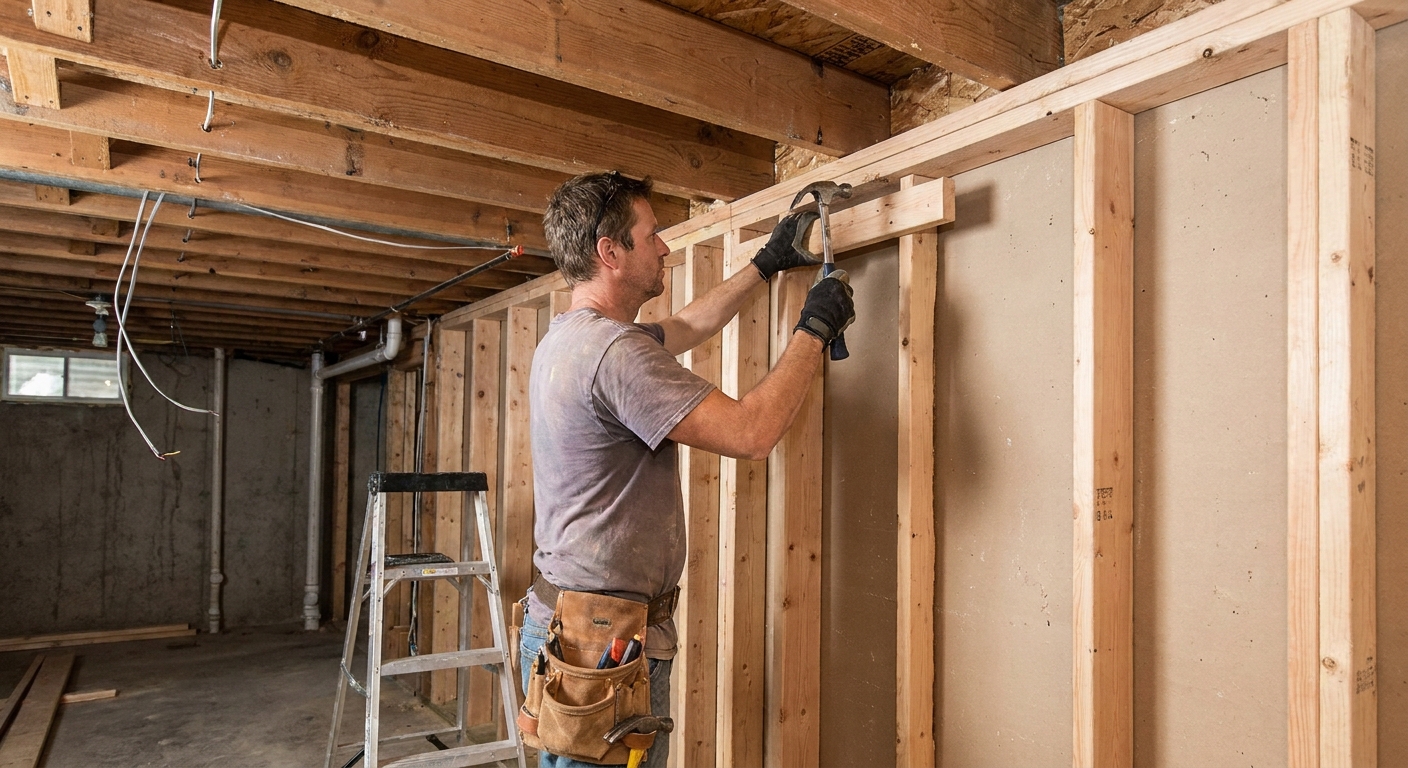
Step 3: Frame it square and stiff
A basic window opening in a non-load-bearing basement wall typically uses:
- King studs: One on each side.
- Jack studs: One on each side, cut to support the header.
- Header: In a non-load-bearing wall, the “header” is often more about stiffness and drywall backing than carrying load. It might be a single 2x or built-up 2x material depending on your wall thickness and local expectations. If there is any chance the wall carries load, size the header per code or engineering.
- Rough sill: A horizontal member at the bottom of the window opening.
- Cripple studs: Short studs under the rough sill and above the header as needed, usually 16 inches on center to match the wall.
Step 4: Stand the wall and match the foundation opening
Concrete openings are rarely perfectly plumb and square. When you stand the wall up:
- Plumb the king studs, not the concrete.
- Keep the window rough opening square, even if that means you have an uneven gap between the stud wall opening and the foundation opening.
- Plan to air seal and insulate the perimeter gap later with backer rod and foam or sealant, depending on your insulation strategy.
Step 5: Add backing for drywall and trim
Drywall around windows needs backing. If your opening edges do not land on wood, add nailers now. I routinely add extra blocking around the perimeter so I am not trying to catch drywall corners with half a stud later.
Air and water: tie the opening into your wall system
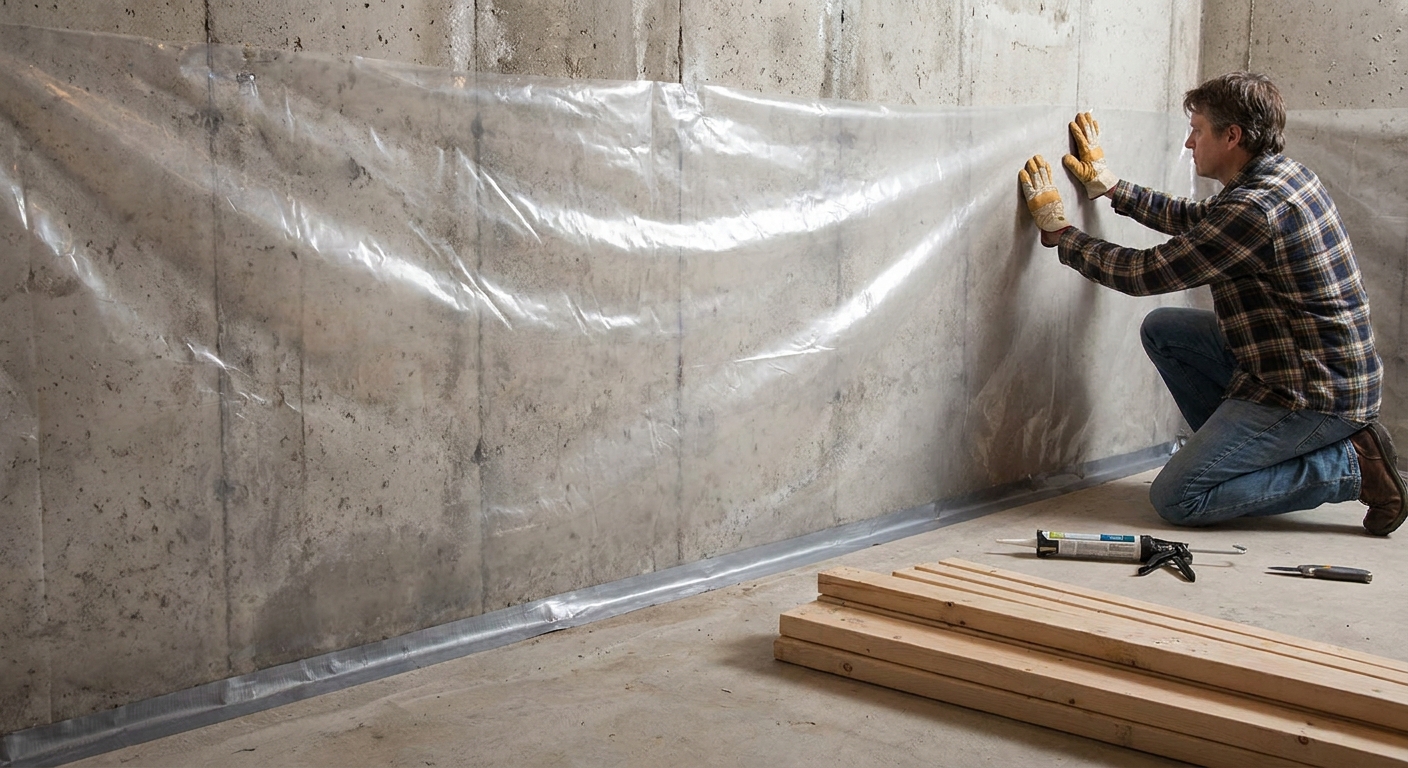
Most of the water management happens at the window install and on the exterior side, but the interior still matters. My goal is a continuous interior air seal from the foundation wall insulation to the window perimeter. That usually means backer rod and sealant at larger gaps, and low-expansion foam where it is appropriate, then carrying your insulation right up to the opening so you are not leaving a cold concrete edge exposed. If you are using a vapor control layer in your assembly, plan how it terminates at the opening before the drywall goes up. See How to install a vapor barrier before basement framing.
Build a window buck for masonry
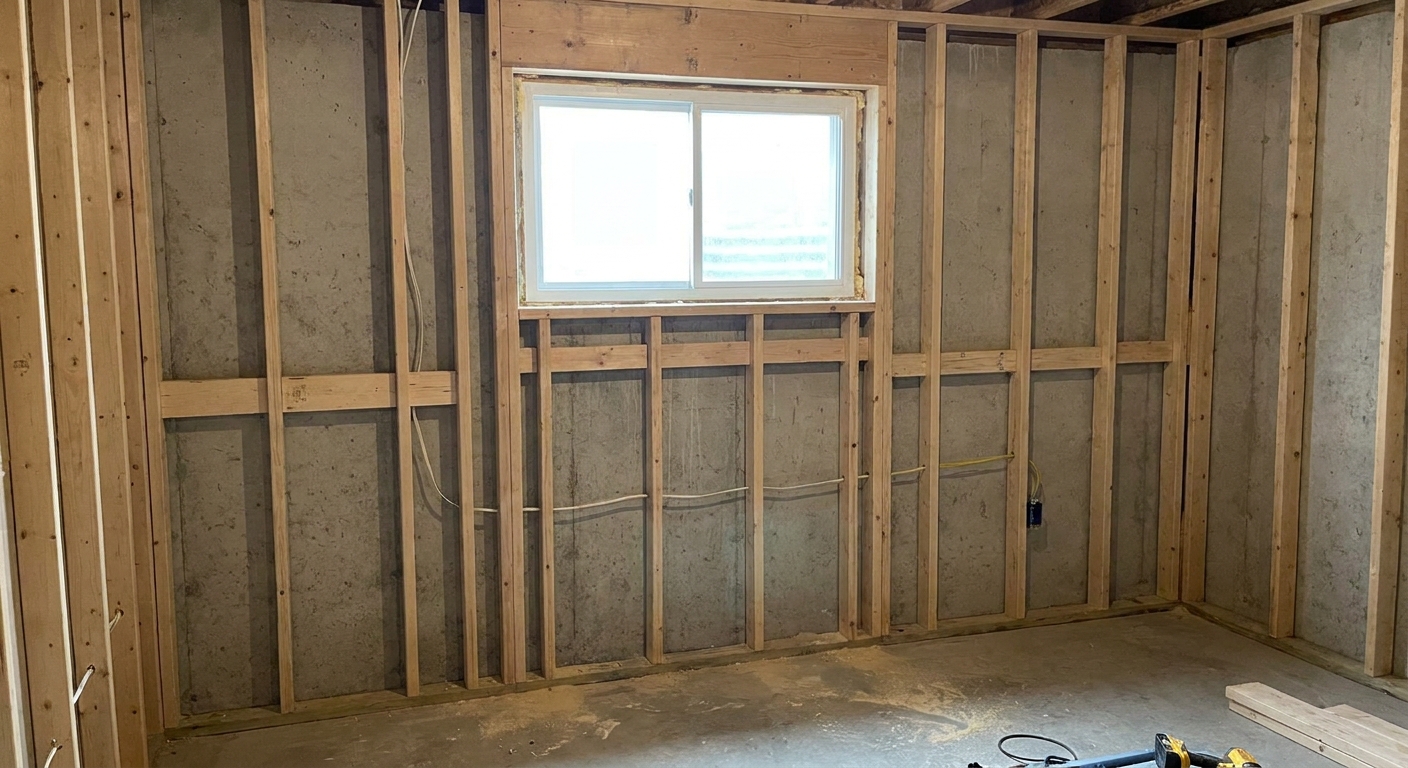
If you are cutting a new egress opening or you have a raw masonry opening that needs a framed “box” to mount the window, you are in window buck territory. Bucks are common in poured concrete and block foundations because they give you a straight, fastenable surface for window installation and finishing.
This is also where projects cross from “carpentry” into “structural and waterproofing.” New egress openings often trigger structural review, engineered lintel requirements, and very specific details for reinforcement and water management. If you are creating a new opening, follow your local requirements closely and do not wing it on lintels, reinforcement, or drainage. When in doubt, hire out the cutting and structural work and handle the interior framing yourself.
What a buck does
- Creates a square, consistent rough opening inside an irregular concrete opening
- Provides wood to fasten the window, interior returns, and trim
- Helps you air seal the window perimeter
Materials that hold up below grade
- Pressure-treated lumber: Common and available. Use compatible fasteners.
- Composite or PVC bucks: Great moisture resistance, often used by pros, usually more expensive.
Even with PT lumber, I still treat the opening like a moisture-sensitive detail. Air seal it well, and make sure your exterior window well and drainage strategy is correct.
Basic buck sequence
- Measure the masonry opening at multiple points. Use the smallest width and height, not the biggest.
- Confirm the window rough opening spec and design the buck inside dimensions to match that spec. In other words, the buck’s inside dimensions become the rough opening for the window unit.
- Build the buck square on the floor if possible. Check diagonals. If the diagonals match, you are square.
- Dry fit the buck into the masonry opening. Plane or shim as needed.
- Fasten to masonry using approved concrete screws or anchors, following local requirements and the fastener manufacturer instructions.
- Air seal the perimeter between buck and concrete with a compatible sealant or foam strategy, then integrate with your insulation and vapor control approach.
Plan for insulation continuity
Basement walls are about comfort as much as code. When you frame a buck, think ahead: how will your rigid foam or other insulation meet the buck without leaving a cold strip that invites condensation? If you are still choosing insulation, see Rigid foam vs spray foam basement insulation for moisture control.
Door openings: rough openings and headers
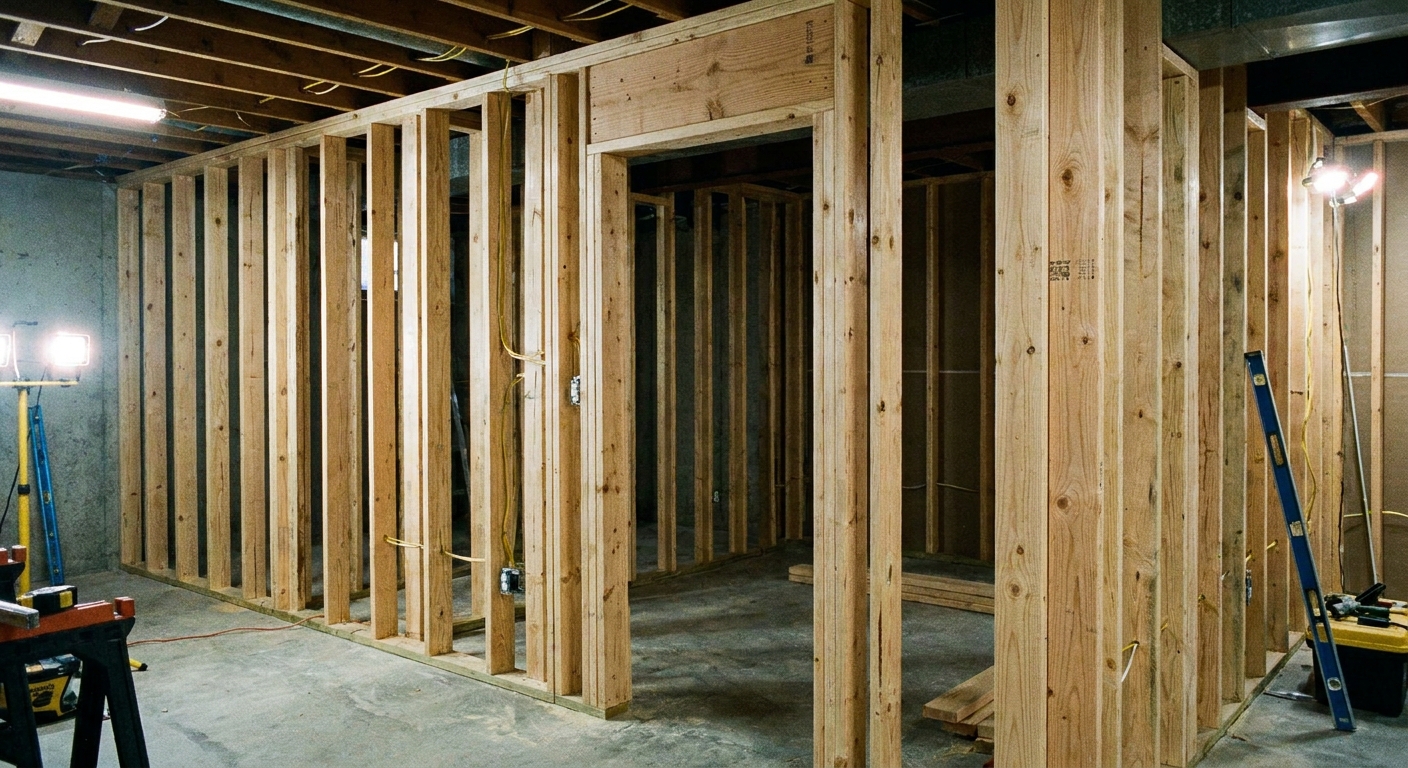
Door openings are where DIY basements either feel polished or feel like a maze of weird clearances. The best approach is to decide your door sizes early, then frame every opening intentionally so you are not shaving jambs and fighting casing later.
Rough opening sizing
Most prehung interior doors need a rough opening larger than the nominal door size to allow for the jamb, shims, and making everything plumb. Door manufacturers vary, so read the spec for the actual unit you are installing.
As a quick, real-world example: a common 30-inch by 80-inch prehung interior door often lands in a rough opening around 32 inches wide by about 82 1/2 inches tall. I treat that as a sanity check, not a promise. Measure your unit and follow its instructions.
Basement gotcha: headroom and ducts
In basements, doors often land near soffits, beams, and low-hanging duct trunks. Before you frame a door opening, confirm you can maintain a comfortable header height and still have room for casing.
If you are routing around HVAC and plumbing, it helps to plan bulkheads first. See How to frame basement soffits and bulkheads around ductwork and pipes and Basement plumbing and HVAC without losing ceiling height.
Structural header vs drywall backing
Here is how I think about it:
- Non-load-bearing wall: You still need something above the door to keep the wall stiff and give drywall a clean edge. Depending on your region and inspector expectations, that might be a single 2x “lintel,” a built-up member, or simply maintaining top-plate continuity with added blocking so drywall edges are supported. The goal is stiffness and backing, not load capacity.
- Load-bearing wall or point loads nearby: You need a properly sized structural header, and that sizing depends on span, loads above, species and grade, and what the wall supports.
If you are not sure a wall is non-load-bearing, treat it like it might be bearing until you verify. This is one of those moments where calling a pro for an hour can prevent a very expensive mistake.
Header sizing process
I cannot responsibly give a one-size-fits-all header chart that overrides your local code, because the right header depends on what is above. But you can still build smart by following this process:
- Identify whether the wall is bearing. Check joist direction, beams, posts, and what lands where.
- Confirm the door width. Wider doors increase header demands.
- Check local code tables or get an engineer to specify header size for your conditions.
- Build the header straight and stable. Crown your lumber consistently, nail properly, and make sure jack studs fully support the header ends.
Sequence for consistent door openings
- Mark your door centerlines on the slab and transfer to plates.
- Frame walls with rough openings built in on the floor when possible.
- Stand walls, plumb corners, and lock layout with top plates.
- Only then fine-tune each opening for plumb and square, using shims under bottom plates where needed.
Plumb, level, square
Basements love to humble you. The slab might slope to a drain, the foundation walls might belly in or out, and the ceiling might be a patchwork of joists and mechanicals. Your job is to create a straight, square world for drywall and doors inside that imperfect shell.
My go-to checks
- Square: Measure diagonals of the rough opening. Matching diagonals means square.
- Plumb: Check both king studs. Doors especially need plumb jambs.
- Level: Check header and rough sill level. Level openings look right even if the floor is not.
Shimming strategy
If the slab is out of level, shim under the bottom plate to keep headers level across a room. Do not follow the floor with your openings. A door with a level head and consistent casing reveal looks correct. A door that leans with the slab looks like a DIY basement forever.
Framing against a wavy foundation
If your stud wall is tight to concrete, you will often need to float it off the wall slightly or shim to keep studs plumb. I go deeper on this in Frame plumb and square walls against uneven foundation walls.
Fireblocking and inspections
Openings and soffits create hidden cavities, and inspectors will look for fireblocking. Plan it now, not after insulation and drywall are staged in the driveway.
For the basement-specific details, read Fireblocking basement framing.
Common mistakes
- Setting egress sill height without accounting for subfloor and flooring. Decide your finished floor build-up early and measure from that.
- Framing the window tight with no room to shim. Build to the manufacturer rough opening spec and leave the intended clearance so you can plumb and square the unit.
- Building the stud wall opening to match the concrete opening. Frame square and plumb, then manage the gap with air sealing and your trim strategy.
- Forgetting backing for drywall returns and casing. Add nailers and blocking while framing is open.
- Assuming every door opening needs the same header. Non-bearing walls and bearing walls are not the same. Verify loads.
- Letting ductwork dictate door height after the fact. Coordinate doors with soffits and mechanical routes before you frame the opening.
Quick FAQ
Should I use pressure-treated lumber around basement windows?
If lumber is in contact with concrete or masonry, pressure-treated is a safer choice. For a stud wall opening that is not touching concrete, standard kiln-dried lumber is typical. Always follow local requirements and the window manufacturer installation instructions.
Can I frame a door opening without a header?
You still need something above the door to keep the wall rigid and give drywall a solid edge. Whether that is called a header in your area or just a lintel or blocking detail, the goal is the same: stiffness, nailing surface, and consistent drywall support.
How do I keep the egress window area from feeling cold?
Air sealing and insulation continuity. Make sure the perimeter between foundation and buck or framing is sealed, and plan your insulation so it meets the opening cleanly without leaving exposed concrete edges that act like a heat sink.
Where to go next
If you are still sequencing your basement build, framing openings usually sits after moisture control, layout, and any plumbing or HVAC rough-ins that affect wall locations. I lay out a clean order of operations in Basement remodel timeline: correct order of operations.
And if you are estimating how much material you need for all those studs, headers, and drywall, use Calculate materials for basement framing and drywall before your first lumber run. Your back will thank you.